A dishwasher air gap is a small fitting, mounted on the sink deck, that stops wastewater from flowing back into the machine. It works by putting an open air space between the dishwasher’s drain hose and the drain system, so the drain line cannot pull water backward.
What does a dishwasher air gap do?
Preventing backflow into the dishwasher
Dirty water from the sink drain can travel back up the dishwasher hose if the drain line dips low or the sink backs up. A high loop prevents this by holding the hose above the water level in the drain. Where the hose cannot be routed that high, the air gap provides the same protection at the sink.
How the air gap breaks siphon action
Siphon action occurs when a full, lowered drain line keeps water moving in reverse toward the lowest point. The air gap interrupts this. Water from the dishwasher enters the fitting, and air enters through its vent, so the water cannot form a continuous column back to the machine. Excess water then exits through the outlet to the sink’s drain.
Components of a typical air gap fitting
- Cap: the top cover that houses the air chamber and vent openings.
- Dishwasher inlet: the port that receives the drain hose from the machine.
- Outlet: the port that connects to the sink’s waste tee or drain, which carries the water away.
Air gap or high loop: which does your code allow?
The deciding factor is where the drain connects. A high loop must rise at least 20 inches above the finished floor, which keeps wastewater from flowing back into the dishwasher. If the drain connects to a waste line below that 20-inch point, the Journal of Light Construction (JLC), a US trade source, says an air gap is required. We could not verify what the National Plumbing Code of Canada or your provincial code requires, so confirm this locally. The air-gap device must sit above the sink rim.
Measure from the finished floor, meaning the surface you walk on after tile or flooring is in place, not the subfloor.
Danby’s dishwasher manual describes the same two options. The high loop is fastened to the underside of the countertop, and the air gap mounts above the sink rim.
| Option | Mounting point | Height condition |
|---|---|---|
| High loop | Underside of the countertop | At least 20 inches above the finished floor |
| Air gap | Above the sink rim | Required if the drain connects below the 20-inch point |
Local plumbing code determines whether your jurisdiction requires an air gap or accepts a high loop, and the rules vary by region. Confirm with your provincial or municipal plumbing authority before mounting anything, because a manufacturer’s manual does not replace local requirements.
Tools and parts you need
Confirm the parts before you cut or remove anything, because the connection only works if the fittings match. Most of the work is done with hand tools, and the main purchase is the fitting itself.
Parts
- Air gap fitting: the device that vents the dishwasher drain above the sink.
- Hose clamps: secure the drain hose at each connection. Use clamps sized for your hose.
- Couplers: join the drain hose to fittings or add a length of hose.
Tools
- Adjustable wrench: tightens and loosens the sink’s supply and drain nuts. Tighten plastic fittings snugly, without force, to avoid cracking them.
- Screwdriver: removes the screws on the access panel, the trap cover, or the mounting bracket.
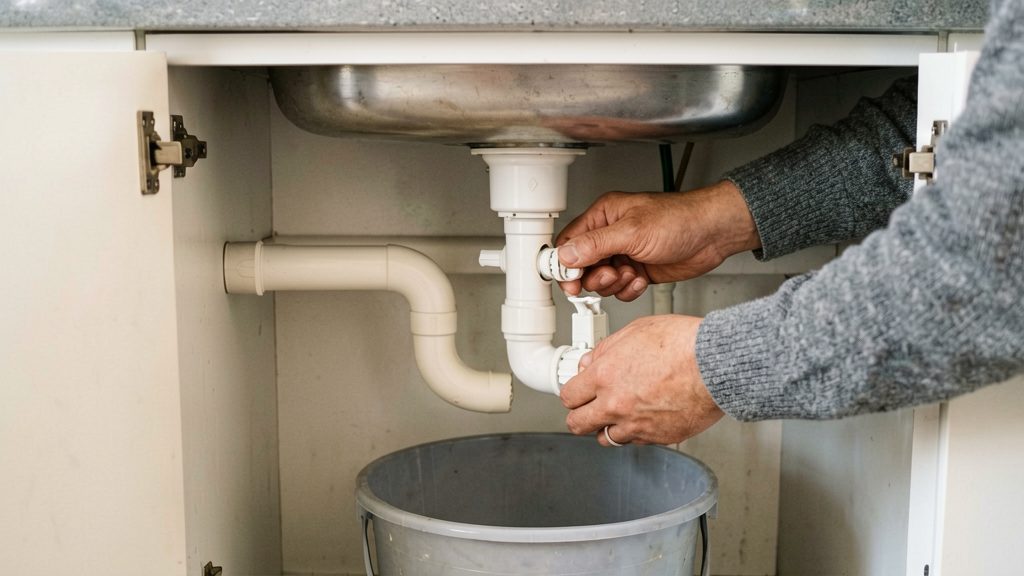
- Bucket: catches the water that drains from the trap and the hoses when you disconnect them.
Checking fitting compatibility
- Measure the hose diameter: measure the dishwasher drain hose before buying. Compare that measurement against the manufacturer’s manual or the label on the air gap fitting. Do not assume that two parts with the same nominal name will fit.
How to mount the air gap on the sink
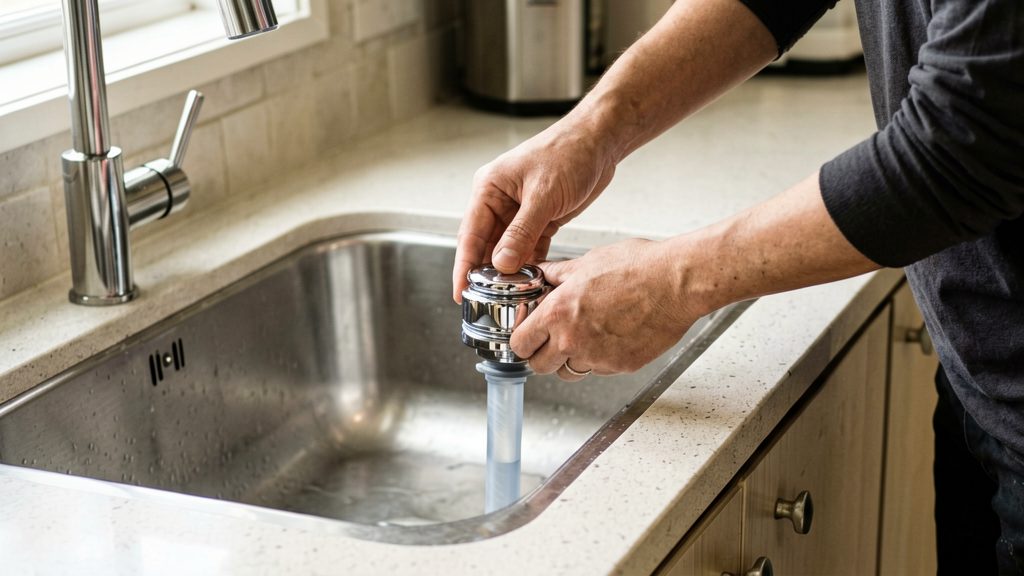
An air gap is a small fitting that passes through the sink deck, so the mounting has to be watertight and mechanically secure before any hose is connected. Start by choosing the hole. Many sinks have an unused hole for a soap dispenser or spray attachment, and that hole can take the air gap body if its diameter matches. If no suitable hole exists, drill a new one. The required hole diameter is listed in the air gap’s own instructions, so check that document before buying a hole saw or drilling anything.
Before drilling, look underneath the sink. Confirm that the spot is clear of the drain assembly, supply lines, mounting clips and cabinet braces. On stainless steel, use a sharp bit at low speed and keep it cool with cutting oil. On porcelain or enamel, put masking tape over the spot first to stop the bit from skating. Deburr the cut edge so the gasket can seat flat.
Sealing the base
Two common sealing methods are used, and the product design decides which one applies:
- Rubber gasket: A gasket sits between the sink deck and the fitting’s flange, on top of the deck, as the product design specifies. Seat it squarely, with no folds, before tightening.
- Plumber’s putty: Putty is pressed around the flange on the top side of the deck. Roll it into a rope, form a continuous bead, and wipe away any excess that squeezes out.
Clean the deck around the hole before sealing, since grease or grit prevents a proper seal. Follow the sealant instructions printed on the putty or fitting packaging.
Tightening the locknut
Insert the body from above, with the flange seated on the sealing material. From below, slide on the washer and threaded locknut, and hand-tighten it first. Orient the fitting’s ports so the hose connections face the direction you need before final tightening, because rotating a tightened body can break the seal.
Tighten the nut gradually, in small steps, until the gasket or putty compresses evenly. A basin wrench or adjustable spanner works well here; wrap tape or a cloth around the jaws to protect the finish. Stop as soon as the fitting feels firm and does not turn in the hole.
How to connect the dishwasher drain hose to the air gap
Connecting the drain hose correctly means keeping a high loop or an air gap in the line, and keeping the hose from kinking or sagging. The steps below cover routing the hose, clamping it to the air gap inlet, and staying within the length limits in the manufacturer’s manual.
Routing the hose
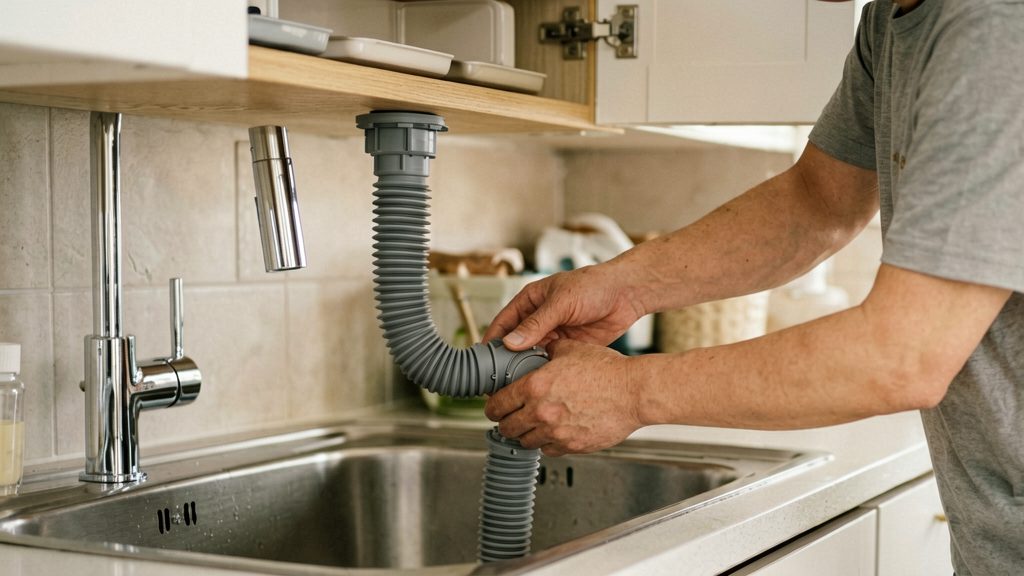
Run the hose from the dishwasher outlet toward the sink, following the shortest practical path without pinching it against cabinet edges or the back of the unit. Fasten the hose to the underside of the countertop or to a support so it does not sag or move when the dishwasher pumps.
Clamping the hose to the air gap inlet
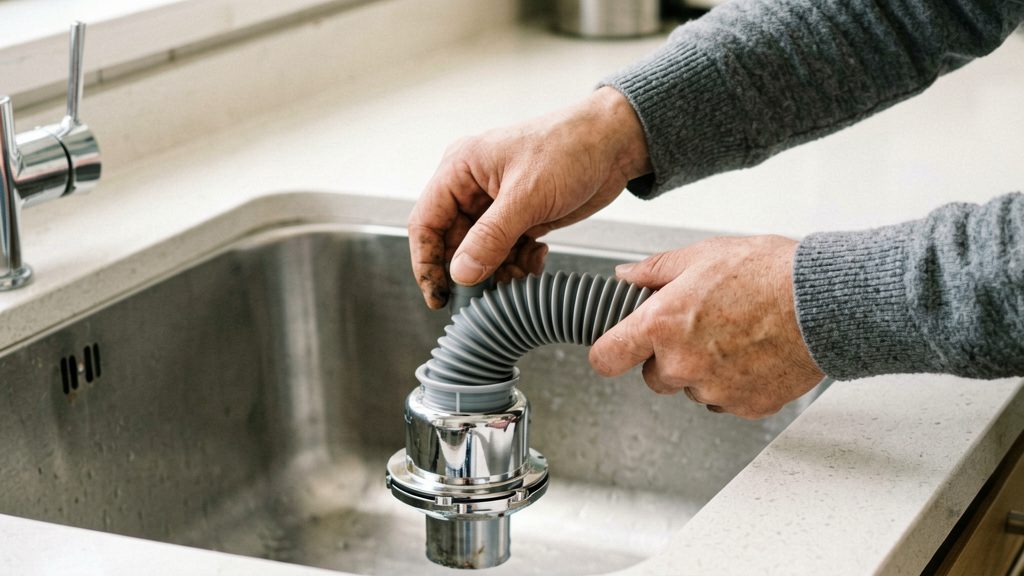
Slide the hose end over the air gap inlet until it sits fully on the fitting, then tighten a hose clamp over the hose at that point. Check that the clamp is snug and that the hose cannot pull free when you gently tug it.
Maximum hose length and extensions
Danby’s dishwasher manual says total drain hose length must not exceed 10 feet. If you need more reach, the same manual allows an extension of up to 42 inches, joined with a coupler and hose clamps. Check your own model’s manual, because limits differ between brands.
How to connect the outlet hose to the disposal or sink drain
In most kitchens the connection is either the garbage disposer inlet or a waste tee on the sink drain, between the sink outlet and the sink’s existing trap, so the trap sits between the connection and the sewer.
Remove the disposer knockout plug first
If the sink has a garbage disposer, the dishwasher connects through a side inlet on the disposer housing. This inlet is closed by a knockout plug, a thin plastic or metal cap. Remove it before connecting the hose. Danby’s dishwasher manual warns that if this plug stays in place, the dishwasher will not drain.
Unplug the disposer or switch off its breaker first. Knock the plug out with a screwdriver and a hammer or blunt punch, then retrieve the plug and any fragments from the disposer chamber so they cannot jam the unit. Check that the opening is clear before continuing.
Connect to a waste tee or disposer inlet
Attach the dishwasher drain hose to whichever fitting is present:
- Disposer inlet: Fit the hose end over the side inlet and secure it with a hose clamp.
- Waste tee: Install a tee in the drain pipe between the sink outlet and the trap, or on the trap arm. The dishwasher hose connects to the side branch of the tee.
Danby’s manual states that both its air gap and high loop methods connect to a waste tee or disposer, according to Danby (via ManualsLib) (year not stated in the source).
⚠️ Avoid: Connecting the dishwasher hose to a drain line with no trap between the connection and the sewer. The trap’s water seal is what blocks sewer gas, so the connection must be to a trapped fitting, on the sink side of the trap.
Keep a trapped fitting to block sewer gas
The dishwasher drain must end at a trapped fitting so that sewer gas cannot reach the appliance. The connection must be on the sink side of a water-filled trap, so the trap seals it from the sewer. If the dishwasher drains into an untrapped line, sewer gases can reach the appliance and the kitchen. The sink’s existing trap usually provides this seal, and connecting to the kitchen sink drain is preferred, according to the Journal of Light Construction (JLC) (2025).
Keep the trap in place and fully filled after connecting. Check that the trap’s water seal has not been removed or bypassed during the work.
How do you test for leaks and clogs?
Test the drain after the connections are finished, before you put dishes in the machine. Run a drain cycle with the sink empty and watch each joint while the water is pumped out. Check the hose clamps, the air gap body, and the point where the hose meets the sink’s waste tee or trap. Wrap a dry paper towel around each joint: seepage shows up on the towel even when the fitting looks dry. If a joint drips, stop the cycle and note its location.
After the drain cycle ends, check for backflow. Water standing in the tub, or water draining back toward the dishwasher once the pump stops, means the drain path is not holding its high point. According to Journal of Light Construction (JLC), the high loop exists to keep wastewater from flowing back into the dishwasher, so inspect the hose’s loop first.
If the dishwasher drains slowly, check the air gap cap:
- Turn off the dishwasher and remove power or the breaker feeding it.
- Place a towel and bucket under the air gap, since trapped water will spill when the cap is removed.
- Unscrew the cap and remove food debris from the cap and the air gap body with a flexible brush or rag.
- Reattach the cap, then run a drain cycle and watch the joints again.
If the slowdown continues after clearing the cap, the blockage may be further down the drain line or in the sink trap. Check your dishwasher’s manual for the air gap’s disassembly steps for your model.
When to call a licensed plumber
Some dishwasher drain jobs suit a homeowner or tenant with basic tools. Others do not. Call a licensed plumber when local rules are unclear, when backflow or sewer odors return after you have checked the connection, or when the sink deck or drain pipe is damaged.
Unclear local code or permit requirements
Plumbing rules are set at the provincial, territorial or municipal level, and they can differ from the manufacturer’s instructions. This article does not cover how Canadian provincial or municipal codes treat dishwasher drains.
Call a plumber if:
- You are unsure whether a permit is needed for a change to the drain layout.
- Your building owner or landlord requires licensed work for plumbing changes.
- The hose run cannot meet the manufacturer’s length limits. A run that only fits after cutting it needs a professional.
Persistent backflow or sewer gas odors
If a sewer smell or standing water returns after you have confirmed the hose loop and trap are in place, stop running the dishwasher. A plumber can inspect the trap, the connection and the drain line beyond the hose to find the cause.
Damage to the sink deck or drain pipe
Stop using the dishwasher and call a plumber if you notice any of the following:
- A soft, swollen or stained area on the countertop or sink deck around the drain
- Water collecting under the sink cabinet
- A cracked, corroded or sagging drain pipe or trap
- A worn or split hose at a connection point
A plumber can determine whether the deck or pipe can be repaired or needs replacing before any new hose or fitting is added.