A kitchen sink drain slows down when material builds up on the inside of the pipe and narrows the path the water needs. Grease and soap residue coat the pipe walls, and food particles and hair catch on that coating. The opening shrinks gradually, so water drains more slowly for some time before the sink stops draining. Telling a partial clog from a full blockage helps you choose the first method to try, and the signs near the end of the article show when to call a plumber.
How Grease, Food and Hair Narrow the Drain
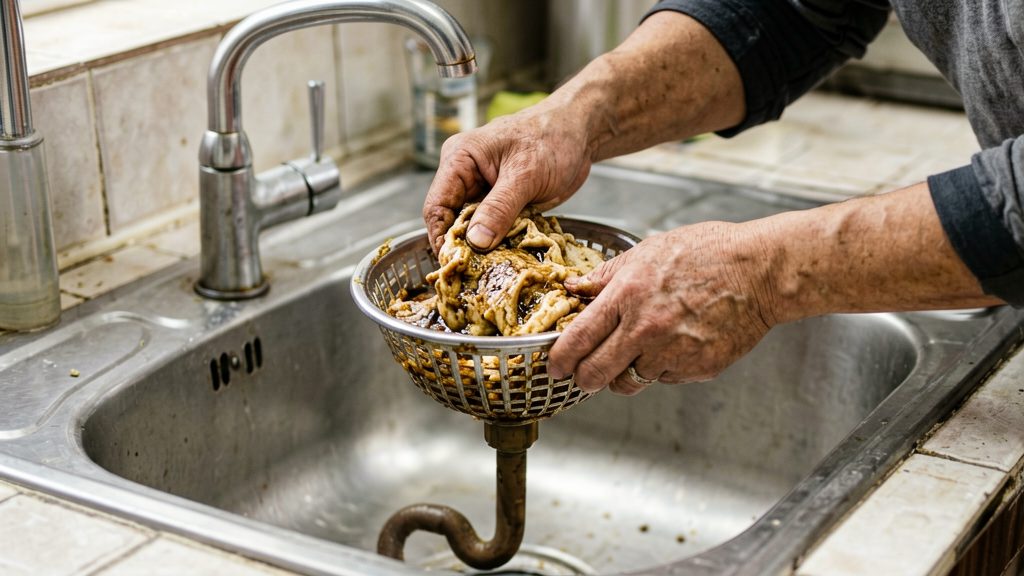
Hot grease stays liquid only while it is warm. As it cools inside the pipe, it clings to the walls and leaves a sticky grease film. Soap residue and small food particles then stick to that film, so the passage narrows over time. Bob Vila (2026) advises against putting oil or food scraps down the sink or disposal.
Hair and fibrous food act as a net. Hair wraps around the rough film and holds the food particles that pile up behind it. Hunker (2026) describes a barbed plastic strip, the Zip-It tool, that is designed to catch hair and fibrous food, which shows what typically gets snagged in a drain. Mr. Rooter Plumbing (Canada, 2026) also advises keeping bones, eggshells and coffee grounds out of a garburator, since these add solid material to the same build-up.
Partial Clogs Versus Full Blockages
A partial clog lets water through, but the sink empties more slowly than usual. The water still moves, and the narrowing is often in the trap or the first section of pipe.
A full blockage stops the water from leaving. Water stands in the basin and does not drop.
Mr. Rooter Plumbing (Canada, 2026) also advises calling a plumber when a clog persists after several attempts, or when you suspect tree roots or a cracked or corroded sewer line.
What Tools Do You Need to Clear a Slow Kitchen Sink?
Most slow kitchen sink clogs can be tackled with a few basic hand tools, and it helps to have them ready before you start. A bucket, rags and an adjustable pair of pliers cover the mess and the trap, while a Zip-It barbed strip or a hand auger reaches the clog itself.
- Bucket and old towels or rags: Keep towels or rags nearby to soak up spills and to block the overflow opening when you plunge.
- Adjustable pliers: Use them to loosen the slip nuts (the plastic or metal couplings) that join the P-trap to the drain pipe. Grip the nut firmly, but do not force or pound it, since excess force can damage the trap connectors or pipes.
- Zip-It barbed strip: This is a flexible plastic strip with barbs that catches hair and fibrous food. Feed it slowly into the drain, then pull it out to bring the debris with it.
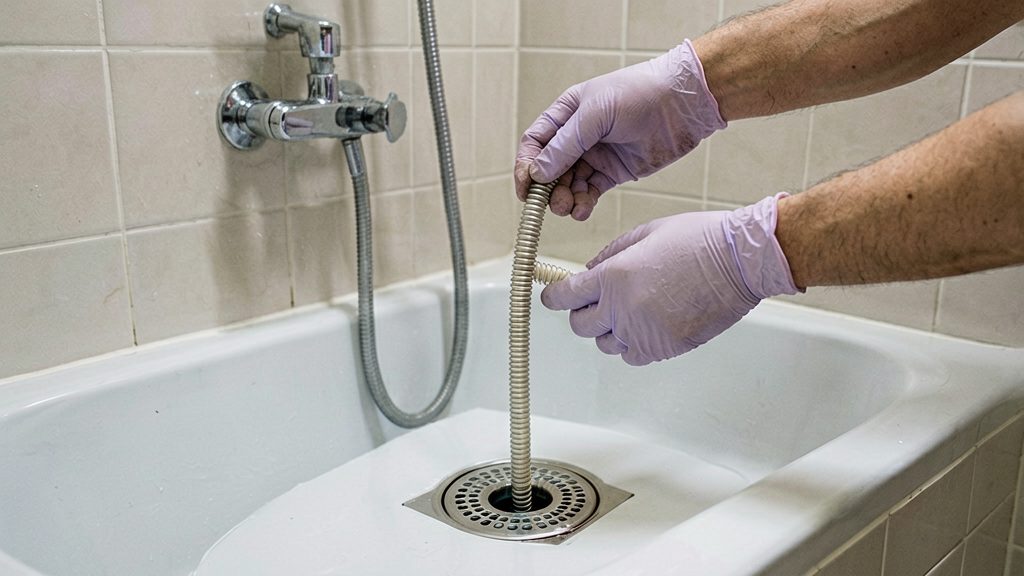
- Hand auger (drain snake): A manual auger is used for clogs that sit deeper than the trap. Feed it in gently and turn it; do not force it, because that can damage the trap connectors or pipes.
How Do You Remove and Clean the Sink Trap?
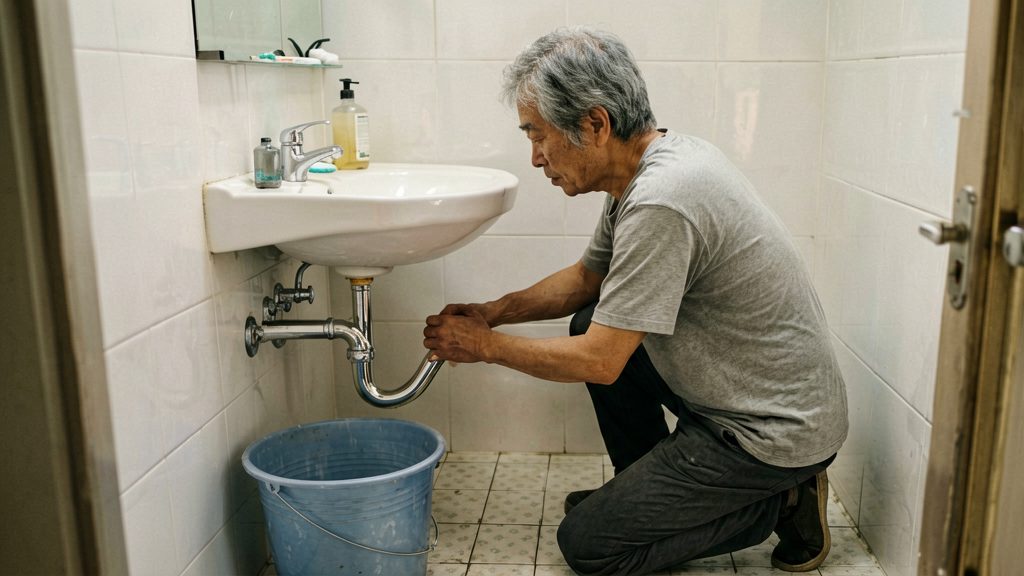
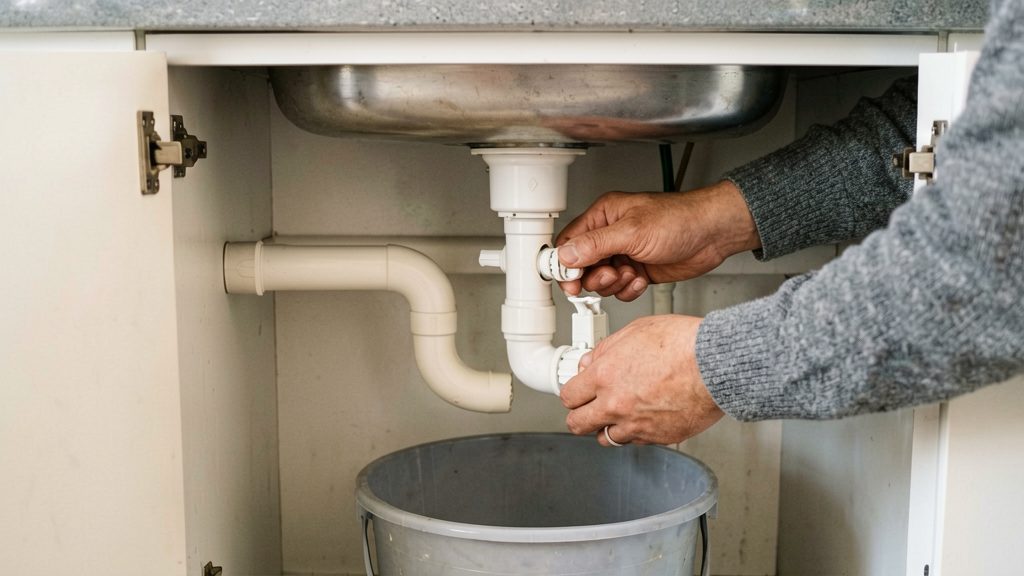
The P-trap, the curved pipe under the sink, is a common clog site because it catches grease, hair, and food particles before they reach the main drain. Removing it lets you empty the bend and clear what has collected there. The job takes four stages: drain the trap into a bucket, remove and rinse it, reconnect the parts, and check for leaks.
Place a Bucket and Loosen the Couplings
- Clear the cabinet under the sink and set a bucket directly beneath the trap.
- Loosen the slip nuts (couplings) at each end of the trap by turning them counterclockwise, by hand or with pliers. Water and debris will drain into the bucket.
Remove, Rinse, and Clear the Trap
- Unscrew the trap completely and lift it out, keeping it level so the contents stay in the bucket.
- Empty the trap into a bag or bin. Do not tip the debris down another drain.
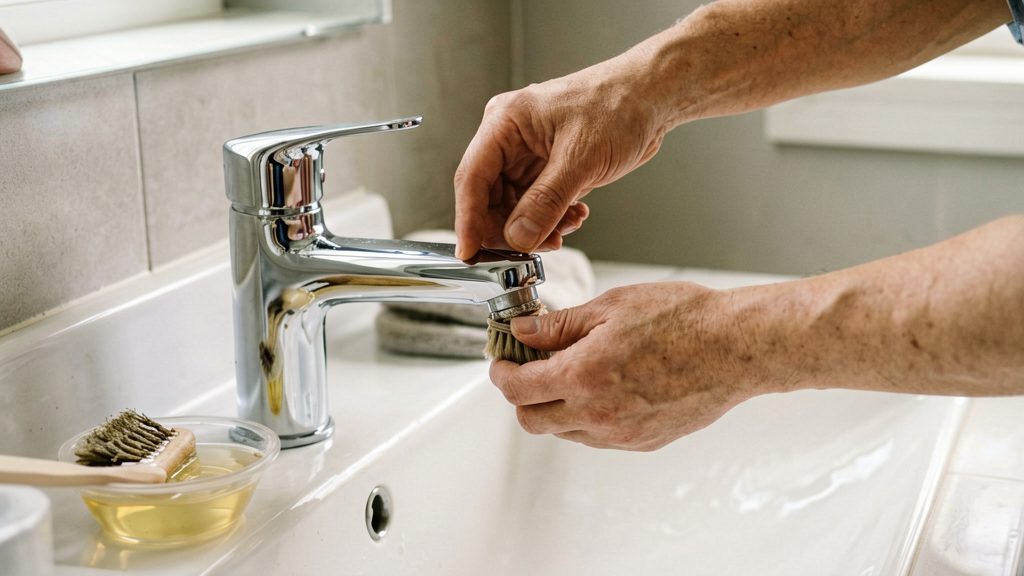
- Rinse the trap under running water, using a brush or rag to clear the inside of the bend. Also rinse the removed washer, if one is present, and keep it for reassembly.
Hardened grease is a frequent cause of blockages.
Reattach and Retighten the Connections
- Reposition the trap, aligning each end with its pipe.
- Hand-tighten the slip nuts first, then snug them with pliers without forcing them. Over-tightening can crack the plastic nuts or strip the threads.
- Check that the trap’s washers sit correctly in each joint before tightening.
Test for Leaks
- Run the tap or fill the basin partway, then let the water drain through the trap.
- Dry each joint with a paper towel and watch the joints while the water runs.
- If a joint drips, tighten it slightly more and test again. If it keeps leaking, the washer may be misaligned or worn, so reopen the joint and inspect it.
How Do You Clear the Drain Line Without Removing the Trap?
Three non-chemical methods reach the drain line below the trap without unscrewing it: dish soap and hot water for greasy clogs, boiling water for metal pipes only, and a hand auger fed through the sink outlet. Choose the method based on what is blocking the line and what the pipes are made of.
Dish soap and hot water for greasy clogs
For a greasy kitchen sink clog, pour about one tablespoon of dish soap down the drain, then follow it with a large pot of hot water (Bob Vila, 2026). This method targets greasy buildup. It is not a general-purpose fix for hair, food, or solid blockages.
Boiling water on metal pipes only
Pour boiling water in two to three times, but only if the drain pipe is metal. Check the pipe material under the sink before you start. If the pipe is plastic, do not use boiling water.
| Pipe material | Boiling water |
|---|---|
| Iron | Suitable |
| Copper | Suitable |
| Galvanized steel | Suitable |
| PEX | Not suitable |
| PVC | Not suitable |
Source: Mr. Rooter Plumbing (Canada), 2026.
Feeding a hand auger through the sink outlet
- Only if the sink has no garbage disposal, feed the auger head into the sink outlet, turning the handle gently to work it through the clog. Do not force or pound it.
- Withdraw the auger slowly, then run water to check whether the drain flows.
How Do You Use a Plunger on a Double Kitchen Sink?
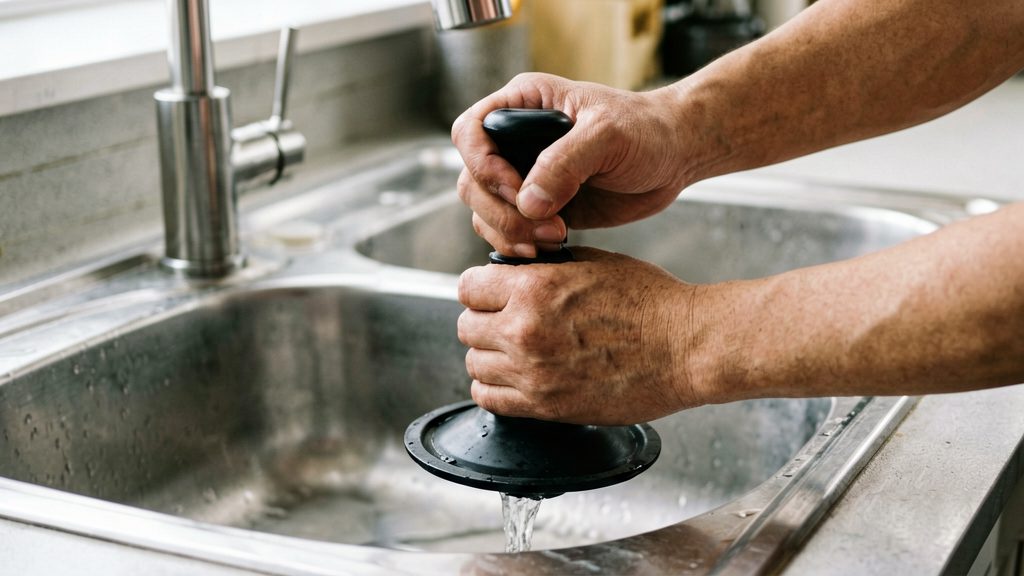
Plunging clears many slow kitchen sink drains without any chemical, provided you use the correct tool and seal the second basin. Use a small dome-shaped sink plunger, not a toilet plunger, and block the drain you are not working on. Hunker says plunging works about nine times out of ten, though that figure is not independently confirmed.
Choose the Right Plunger
A dome plunger is designed for flat surfaces such as a sink basin. Its rounded rubber cup must fully cover the drain opening to create suction. A toilet plunger has a flared, elongated cup meant for a different shape and generally does not seal properly on a sink.
Prepare the Double Sink
On a double sink, the second basin acts as a water reservoir, so you need to isolate it:
- Stuff a wet rag into the other basin’s drain opening to seal it.
- Put a few inches of water in the basin you are working on. This water provides the pressure needed to push the clog.
- Block the overflow opening with a wet rag. Without this, air escapes through the overflow and the plunger loses its force.
Plunge the Drain
Seal the dome plunger firmly over the drain, then push down and pull up with steady, firm strokes. Keep the cup submerged in water throughout. Check after several sets of strokes whether the water drains.
If the clog does not clear after several attempts, stop and call a licensed plumber (Mr. Rooter Plumbing (Canada), 2026).
Which Tool Works Best for Each Type of Blockage?
Match the tool to the location of the clog.
| Blockage | Method or tool | Notes |
|---|---|---|
| Hair and fibrous food near the drain opening | Zip-It tool | A barbed plastic strip that catches hair and fibrous food (Hunker, 2026). |
| Clog deeper in a sink without a disposal | Drain auger, such as the RIDGID K-3 | Feed the cable gently. Do not force or pound it (Bob Vila, 2026). |
| Clog in the P-trap | Bucket beneath the trap | Loosen the couplings, remove and rinse the trap, then reattach it and retighten the connections (Mr. Rooter Plumbing (Canada), 2026). |
| Clog in the main drain line | Professional plumber | — |
Tools and Methods to Avoid
- Blow bags (drain bladders) that use hose pressure. The pressure can damage the trap connections (Bob Vila, 2026).
- Forced or pounded augers. They can damage the trap connectors or pipes (Bob Vila, 2026).
When Should You Call a Licensed Plumber?
Some clogs are within reach of a sink plunger, but others signal a problem in the drain system that DIY clearing cannot fix. Stop working on the drain and call a licensed plumber when the warning signs below appear.
Clogs that return within days. If the sink drains normally right after you clear it but slows again within a few days, the blockage is probably further down the line, in the main drain or the sewer connection, rather than in the trap. Repeated clogs in the same place are a reason to have a professional inspect the drain.
Gurgling, sewage smell, or several fixtures backing up. Gurgling from the drain when another fixture is used, a sewage odour in the room, or water rising in a shower or toilet when you run the kitchen sink often suggest a blockage in the main drain line rather than in the sink itself. The fault is shared by the whole drain system, so a professional should handle it. Bob Vila (2026) advises that a clog in the main drain line should be handled by a professional.
Leaks or corrosion at trap joints and pipes. Water pooling under the sink, drips at the trap couplings, or visible rust and crusting on the pipes mean the joints or pipe walls are failing. Tightening the couplings can fix a slight seep, but a crack or corroded section needs replacing. Do not keep forcing the connections, as this can make the damage worse.
How Do You Prevent a Kitchen Sink From Slowing Down Again?
Most kitchen sink slowdowns come from three sources: fat, food scraps and hair. Keeping these out of the drain and checking the trap on a schedule prevents most of the buildup that leads to a clog.
Keep oil, fat and food scraps out of the drain
According to Bob Vila (2026), oil and food scraps should not go down the sink or the disposal. Use a routine that replaces the drain with a disposal method:
| Waste | Routine instead |
|---|---|
| Cooking oil or hot grease | Pour into a can, let it solidify overnight, then throw it out (Mr. Rooter Plumbing (Canada), 2026) |
| Plate scrapings | Scrape into the bin before rinsing |
| Bones, eggshells, coffee grounds | Keep out of the garburator (Mr. Rooter Plumbing (Canada), 2026) |
Use a strainer basket on every drain opening
A strainer basket catches hair and food debris before they reach the trap. Empty it into the bin after each use, rather than waiting until water starts pooling. If hair has already passed through, a barbed plastic strip such as a Zip-It tool can pull it out.
Inspect the P-trap on a schedule
The P-trap is a common clog site (Mr. Rooter Plumbing (Canada), 2026). Waiting for drainage to slow means debris has already built up, so check the trap at regular intervals you set yourself, such as during routine cabinet cleaning. Look for grease, hair or sediment in the bend. Retighten the connections by hand before running water to check for leaks.