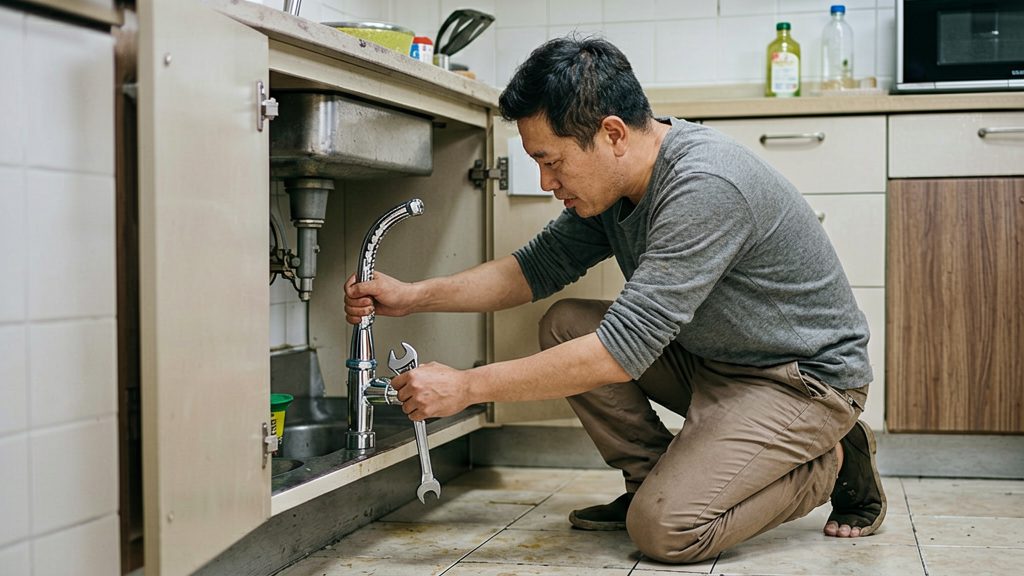
Before you disconnect anything, gather the right tools and clear the space under the sink. According to Canadian Tire, a faucet swap needs a basin wrench, an adjustable wrench, a faucet wrench, a bucket, and rags or paper towels. Empty the cabinet before you start.
What you need before replacing a kitchen faucet
Tools and materials
- Basin wrench, which removes the mounting hardware under the sink.
- Adjustable wrench and faucet wrench, for the water line connections.
- Plumber’s putty or silicone caulking, Teflon tape, a putty knife and optional lubricant for stubborn nuts.
- Slip-joint pliers, listed as an extra item.
- Bucket, rags or paper towels.
- Work light, for seeing the mounting nuts and connections inside the cabinet.
Clearing the cabinet
Remove cleaning products, storage bins, and anything else stored under the sink. The space needs to fit both your arms and the wrenches. A clear cabinet also makes it easier to spot water damage or drips on the floor of the cabinet.
Inspecting valves and supply lines
Check the shut-off valves and the supply lines before you loosen any connection. Look for drips, staining, and corrosion on the valve bodies and the flexible hoses. Canadian Tire advises replacing any valve that leaks, so you can work with reliable valves when you reconnect the new faucet. If a valve cannot be closed fully, see the section on calling a licensed plumber.
The table below sets out the four stages of a kitchen faucet replacement in the order you perform them, based on Canadian Tire’s guidance.
| Stage | Key actions | Checks and notes |
|---|---|---|
| Preparation | Close the two faucet shut-off valves. If the sink has none, Canadian Tire suggests installing them. Shut off the water heater supply valves, and the main supply in older homes. Open the taps to release remaining pressure. Clear the cabinet. | Check the shut-off valves and supply lines. Replace any valve that leaks. |
| Removal | Disconnect the water lines with a wrench over a bucket. Remove the mounting hardware with a basin wrench. Lift out the old faucet and its plate. | Keep a bucket under the connections, as water will drain out. |
| Installation | Seal the faucet base with plumber’s putty or silicone caulking and wipe away the excess. Pass the new faucet through the sink holes and hand-tighten the mounting nuts. Connect the supply lines, hand-tightening first, then add a quarter turn with a faucet wrench. | Use Teflon tape on threaded connections as needed. |
| Restoring water | Open the shut-off valves slowly over a bucket. Turn the water heater back on. Run the faucet for at least 30 seconds. | Check every connection. If one leaks, tighten it another quarter turn. |
How do you shut off the water safely?
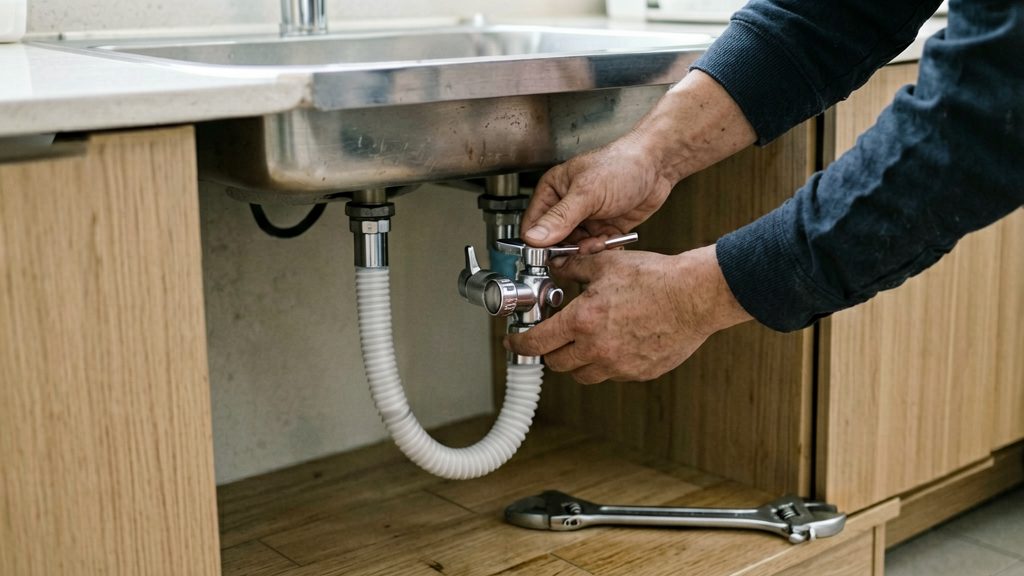
Shut off the water in stages, starting at the faucet valves under the sink, then the water heater supply, and the main only in older homes. Open the taps afterwards to release the pressure left in the lines before you disconnect anything.
Close the faucet shut-off valves
Under the sink, close the two faucet shut-off valves, one for hot and one for cold. Turn each one until it stops. If the sink has no individual shut-off valves, Canadian Tire suggests installing them before you start.
Close the water heater supply and the main
Also close the supply valves to the water heater. In older homes, you may need to close the main water supply as well. If the heater runs on gas, follow the manufacturer’s instructions for turning it off.
Open the taps to release pressure
Open the kitchen faucet and leave it open until the flow stops. This relieves most of the pressure remaining in the lines. Keep a bucket and rags ready, because some water can still drain out when you loosen the connections.
How do you remove the old faucet?
With the valves closed and the pressure released, removing the old faucet takes three steps: disconnect the supply lines, unscrew the mounting hardware under the sink, then lift the faucet and its mounting plate out through the sink holes.
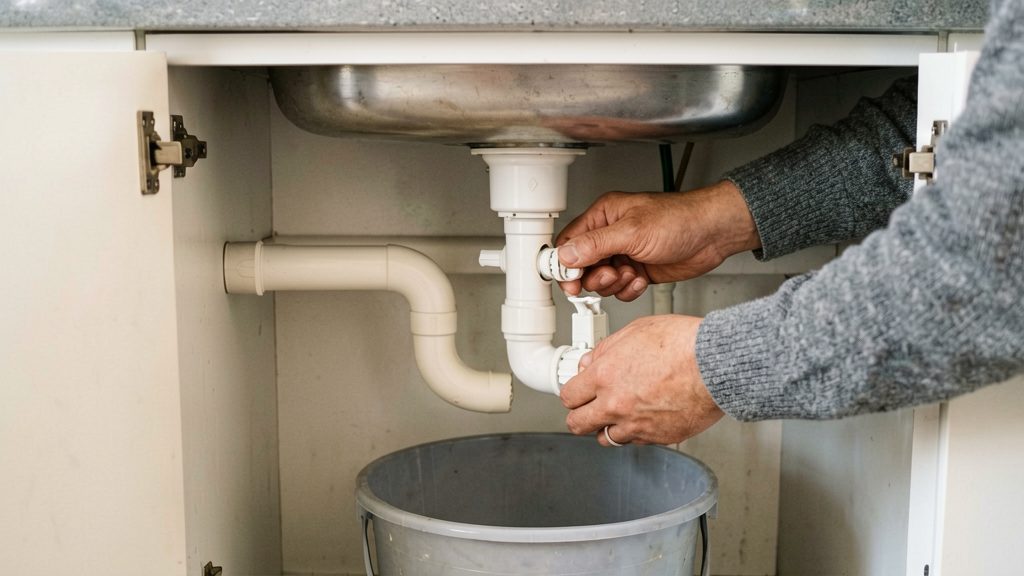
- Disconnect the supply lines. Hold a bucket under the connections and loosen each supply line with a wrench, catching any water that drains out.
- Remove the mounting nuts. Reach the nuts beneath the sink with a basin wrench, which fits the tight space better than a standard wrench.
- Lift out the old faucet and plate. Once the hardware is free, lift the faucet and its plate up through the sink holes.
Installing the new faucet and connecting supply lines
Installing the new faucet means passing its body through the sink holes, sealing the base and joining the supply lines to the shut-off valves. Canadian Tire describes this as a hand-tightening stage followed by a final wrench turn on the supply connections.
Set the faucet through the sink holes and hand-tighten the mounting nuts underneath.
Seal the faucet base with plumber’s putty or silicone caulking, then wipe away the excess. Canadian Tire lists a putty knife among the extra items for a faucet replacement, which helps with cleaning up putty.
Connect each supply line to its shut-off valve. Hand-tighten the connection first, then add a quarter turn with a faucet wrench, as Canadian Tire recommends.
Testing for leaks
Restore the water in a controlled way, because a new connection can leak as pressure returns. With the bucket and rags still under the sink, open each shut-off valve slowly. Any drip then lands in the bucket where you can see it, instead of spraying into the cabinet. Once both valves are open, turn the water heater back on, as Canadian Tire advises.
Next, open the tap and let it run for at least 30 seconds. Check every connection while the water flows, not only when the tap is off, because a joint can look dry at rest and leak under flow. Focus on three points:
- The two supply lines where they meet the shut-off valves
- The connections at the faucet’s underside
- The faucet base where it sits on the sink
If a connection leaks, tighten only that connection, using a faucet wrench. Add a quarter-turn adjustment and then check again. Repeat in small further increments rather than one large turn. If the drip continues after several small adjustments, stop and check the parts before tightening more.
When should you call a licensed plumber?
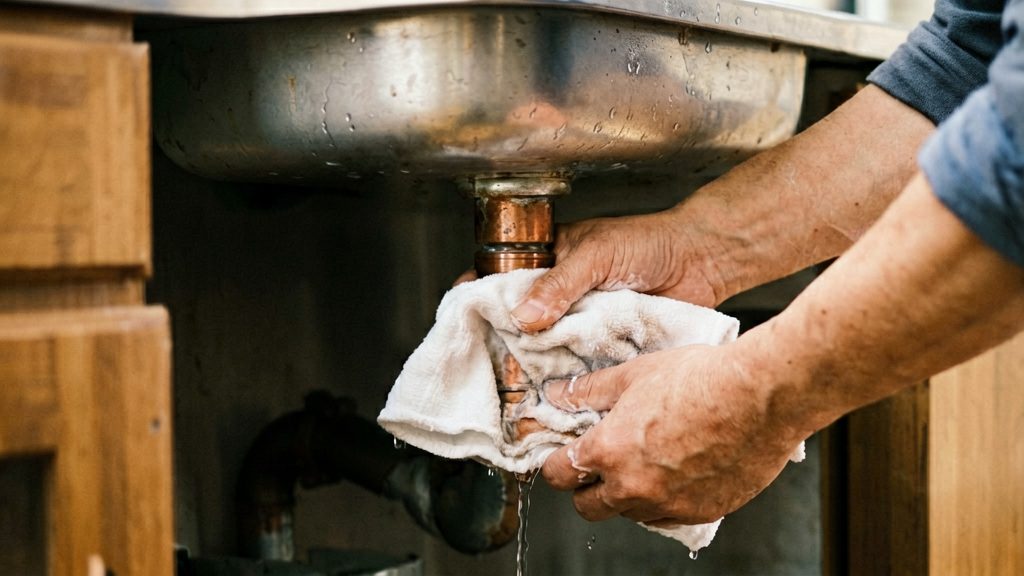
Three problems generally mark the point where a faucet swap stops being a reasonable DIY job: a shut-off valve that leaks or will not fully close, a seized fitting that resists the normal tools, and a leak that continues after the connections are tightened. If a valve fails inspection, or the problem is in the supply plumbing rather than the faucet itself, stop and call a licensed plumber.
Valves that leak or will not fully close
A valve that drips when closed, or keeps water flowing after its handle is turned off, cannot isolate the faucet. Do not rely on it. Close the supply further upstream, such as the main water supply, which Canadian Tire notes may be necessary in older homes. Replacing a failed valve means working on a line that has been isolated only partially, so a licensed plumber is the safer choice.
If the sink has no individual shut-off valves, Canadian Tire suggests installing them. Adding valves is a change to the plumbing, so check provincial and municipal permit rules first. Canada-specific rules for a like-for-like faucet swap were not confirmed, so do not assume the work is exempt.
Corroded or seized fittings
Older nuts and fittings can corrode in place. Canadian Tire lists lubricant for stubborn nuts as an optional item, so apply it and allow time to work before applying more force. If the nut still will not turn, stop. Forcing a seized fitting can crack a valve body, a faucet inlet, or a supply line, turning a simple replacement into a leak or a damaged valve.
Leaks that persist after tightening
A connection that still leaks after it has been tightened usually points to a cause other than a loose nut. A worn valve, a damaged supply line, or a damaged fitting will keep leaking regardless of how far it is tightened.
Gas and water heater connections
Work on gas lines is outside the scope of a DIY faucet swap. If the job involves a gas water heater or any gas connection, call a licensed professional.
Common mistakes to avoid
Most first-time faucet swaps go wrong at the connections, not the faucet itself. The three errors below cause the most damage or repeat leaks.
Overtightening nuts and forcing the sink
Tightening too far in one pass can crack plastic mounting parts, deform a plastic nut or distort a thin metal sink.
Using pliers on chrome finishes
Slip-joint pliers appear on Canadian Tire’s list of extra items, but their serrated jaws mark and can gouge chrome or brushed finishes. Use a faucet wrench or adjustable wrench on fittings and mounting nuts instead, and wrap the jaws with a rag or tape if you must grip a finished surface. Keep pliers for hidden or unfinished parts only.
Buying supply lines with mismatched thread or length
A supply line must match the thread at the shut-off valve and the connection on the faucet. A mismatched thread will not seal, and an undersized line can kink or pull on the faucet. Before buying, check the thread type and the connection size on the valve and faucet, then compare both with the packaging. Measure the distance from valve to faucet connection, and buy a line long enough to avoid stress without leaving a large loop. Confirm the fit against the manufacturer’s instructions for your faucet.