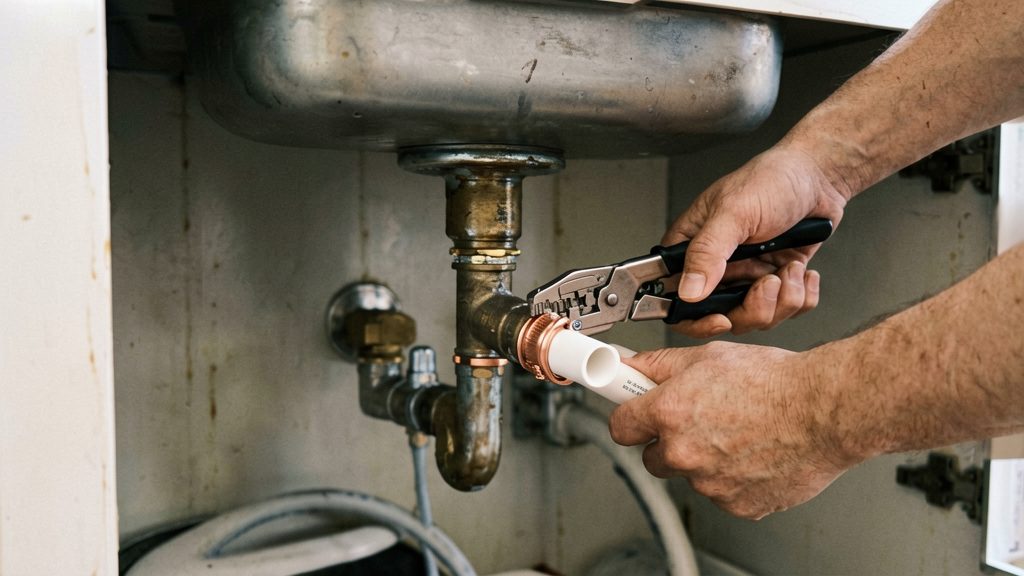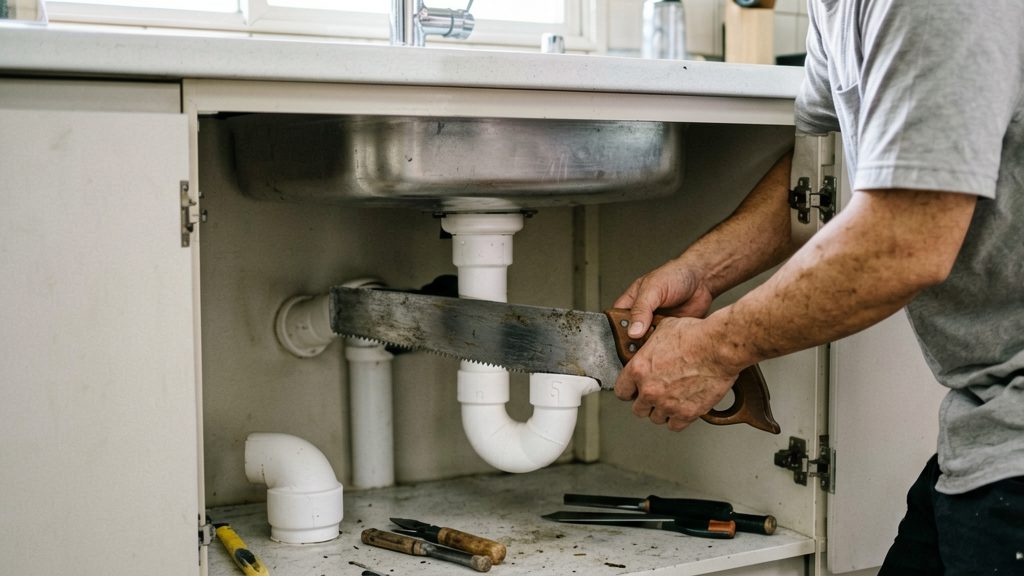
Cutting PVC drain pipe at home takes a tape measure, a marker, and a saw or cutter that can make a square cut. Charlotte Pipe and Foundry (2026) lists a handsaw, miter saw, cut-off saw or wheel-type cutter as acceptable.
What tools do you need to cut PVC drain pipe?
Handsaws, miter saws and ratchet cutters
| Tool | Status in the guidance | Trade-off |
|---|---|---|
| Handsaw | Listed as acceptable (Charlotte Pipe and Foundry, 2026) | Needs a slow, steady stroke to keep the cut square, but generates little heat. |
| Miter saw | Listed as acceptable (Charlotte Pipe and Foundry, 2026) | Its guide helps square cuts, but it is a power tool. |
| Ratchet cutter (wheel-type) | Wheel-type cutters are listed as acceptable (Charlotte Pipe and Foundry, 2026) | A hand-operated blade rotates around the pipe, which keeps the cut even. Check the cutter’s label for PVC use and pipe size range. |
Measuring and marking the cut line
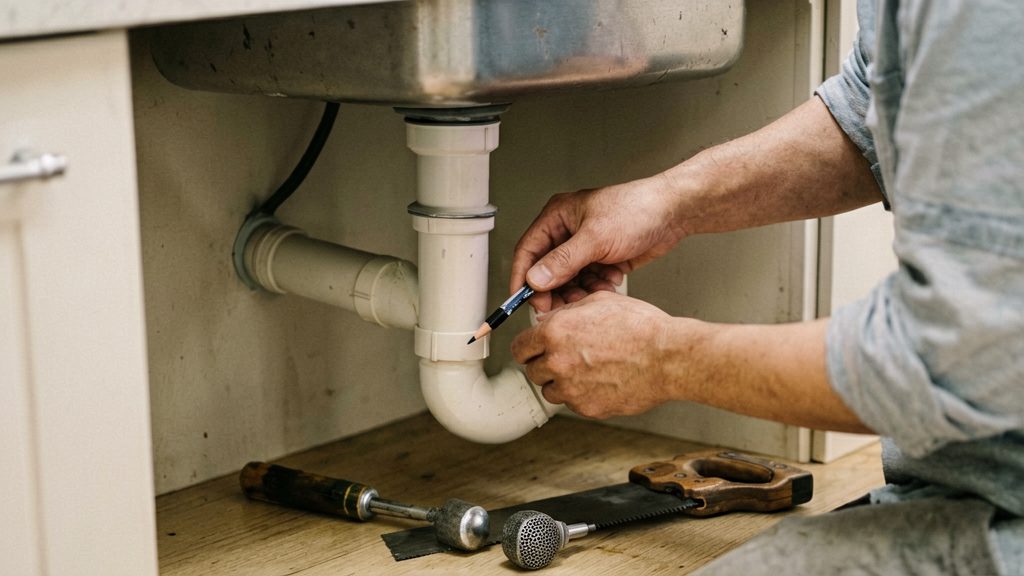
Measure the length you need with a tape measure, then mark the cut line all the way around the pipe with a marker. A continuous line lets a saw blade or cutter follow a straight ring. Leave about ½ inch (about 13 mm) of pipe for couplings, as noted by Mr. Rooter Plumbing (Canada), whose advice covers general PVC/CPVC work rather than drain pipe specifically.
Why power saws can melt PVC
Mr. Rooter Plumbing (Canada) advises avoiding power saws because they can melt the plastic. Melted edges are rough and misshapen, which makes it harder to produce a clean, square end.
How do you cut PVC pipe square?
A square cut means the end of the pipe sits at 90 degrees to its length, so the joint can seat evenly. According to Charlotte Pipe and Foundry (2026), the key requirement is a square cut, whatever saw you use.
Marking the cut line
Wrap a marker around the pipe to draw a continuous line, using a square or the edge of a combination square to keep the line at right angles to the pipe. Mark the measurement from the pipe’s end, not from the fitting, so the line matches the length you need.
Keeping the blade perpendicular
Start the saw on the marked line and keep the blade at right angles to the pipe wall. Make steady, even strokes and let the teeth do the work. Forcing the saw or letting it drift produces an angled or crooked end that will not seat squarely in the fitting. If you need to cut through a wide pipe, turn the pipe slowly and keep the blade on the line as you go.
Allowing for couplings
Leave about ½ inch (about 13 mm) of pipe for couplings, according to Mr. Rooter Plumbing (Canada). That source covers general PVC and CPVC work rather than drain (DWV) pipe specifically, so check the coupling’s own instructions if they give a different length.
Deburr, chamfer and dry fit
Prepare the cut end before any cement is opened. Remove the inside burr left by the saw with a deburring tool or file, and clean dirt off the pipe end, as Oatey (2026) recommends for solvent-welded PVC. Then bevel the outside edge to a 10 to 15 degree angle with a knife edge, file or deburring tool, according to Charlotte Pipe and Foundry (2026). The bevel only needs to be a light, even edge. The cut itself must be square.
Once the edges are clean, test the fit dry:
- Push the pipe into the hub without any primer or cement.
- Check that it slides about one-third to two-thirds of the way in before it meets resistance (Oatey, 2026).
- Mark the alignment on the pipe with a marker so you can orient the fitting correctly during assembly (Mr. Rooter Plumbing (Canada)).
- Pull the pipe out and clean the parts again if they are dusty or shaving debris remains.
How do you glue PVC pipe step by step?
The gluing sequence is the same whatever the job, but the timing is strict. Work through each hub and pipe end in one continuous motion, because the primer and cement stay workable only briefly. Keep the pipe, fitting and cement at the same temperature, and work in a dry, ventilated space.
Priming comes first. Apply primer to the inside of the fitting socket (the hub), then to the outside of the pipe end, then to the hub a second time. On PVC only, do not use primer on ABS; make sure the primer covers the full joint area rather than a thin patch.
Cementing follows immediately. Brush a coat of solvent cement onto the primed pipe end and a light coat into the hub. Apply cement while the primer is still wet, and assemble the joint within five minutes of priming. If the primer dries first, the joint loses its chemical bond, so start over with a fresh fitting.
Assembling the joint is the final step:
- Align the pipe with the hub, using the alignment mark you made during the dry fit.
- Push the pipe into the socket with a quarter turn as you insert it. The turn spreads the cement evenly.
- Push the pipe fully to the bottom of the socket.
- Hold the joint for about 30 seconds, and longer if the pipe still backs out.
- Wipe off the excess cement with a rag.
Once the pipe bottoms out, do not adjust the fitting. Hold the joint until the pipe no longer backs out, then leave it undisturbed.
PVC, ABS or mixed pipe: which cement?
Solvent cement is not interchangeable between plastics. The label on the can tells you which pipe material it bonds, and a PVC or ABS joint made with the wrong product will not hold. Check the label before you open the can, then match the cement and primer to the pipe you are joining.
PVC drain pipe needs a primer before the cement. The primer softens the surface so the cement can fuse the two parts into one piece. According to Oatey (2026), on PVC you prime the hub, then the pipe, then the hub again, and you assemble while the primer is still wet. Check the cement label for the primer requirement on your PVC product, because primer guidance varies by manufacturer.
ABS does not take primer. According to Oatey (2026), you should not use primer on ABS, so the cement goes straight onto the clean pipe and hub. Using PVC primer on ABS is a mistake to avoid, because the primer is formulated for a different plastic and does not give a reliable bond.
Reading the cement label
Every can states the pipe material it is designed for, the temperature and humidity range it works in, and the dry times. Read these before you start, since the working range changes how quickly the cement sets. Oatey (2026) and Charlotte Pipe and Foundry (2026) both direct readers to the cement label or a separate chart for cure figures, so use the number printed on your product rather than a figure from another brand. The label also gives ventilation and safety notes, which you should follow in any enclosed space.
Matching cement to the pipe
| Pipe material | Primer | Cement |
|---|---|---|
| PVC | Required, applied before the cement | PVC solvent cement |
| ABS | Not used | ABS solvent cement |
Cements must match the pipe material, as Oatey (2026) states. For a mixed PVC and ABS connection, the sources only say that cements must match the pipe material. Confirm the method with a licensed plumber before you cut or glue. Do not assume a generic all-purpose cement will bond both materials.
Cure time and leak testing
Solvent-welded PVC joints need time to harden before they carry load, and they must never be pressure-tested with compressed air or gas. The joint must not be tested or put in service until it has fully cured, according to the cement label.
Cure time depends on three things: pipe size, temperature and humidity. Cure time depends on pipe size, temperature and humidity, so use the dry times printed on your cement label or manufacturer chart. The exact figure for your product is printed on the cement label, and the manufacturer’s dry-time chart gives the values by pipe size. Read that chart before you start, not after the fitting is in place. (Oatey, 2026)
Do not test with compressed air or gas. Air under pressure can blow a joint apart that was not fully cured, and the risk of injury from a failing fitting is far higher than with water. Do not pressure-test solvent-welded joints with compressed air or gas (Oatey, 2026).
For drain work, the practical test is a water test with the system filled and the joint left dry and visible:
- Wait until the joint is fully cured before you fill the line.
- Plug the lower end of the run, fill the line with water, and check each joint for seepage.
- Keep the system out of service until the joint has cured. Do not run water through it, flush the toilet or drain a sink until the cure period on the label has passed. (Oatey, 2026)
When to call a licensed plumber
Call a licensed plumber if a solvent-welded drain joint still leaks after it has fully cured, if you cannot identify the pipe material or the connection joins two different systems, or if local rules require a permit or inspection for the work. Each of these situations can turn a simple repair into a hidden fault in the drain.
Leaks that persist after the joint has cured
According to Oatey (2026), cure time depends on pipe size, temperature and humidity, so the dry times on the cement label are the starting reference. Do not test the drain or put it back into service until the joint has fully cured. If a joint that was dry-fitted correctly still leaks after the full cure, the fault is likely in the joint itself or the fitting, and a licensed plumber can locate it.
Unclear pipe material or mixed-system connections
Cements must match the pipe material, according to Oatey (2026). If you cannot confirm whether a pipe is PVC or ABS, check any printing on the pipe wall and the packaging of the fittings before cutting. Do not assume that a transition cement exists for a given ABS-to-PVC connection. Check the product label for the materials it is rated to join, and if the connection crosses two systems, ask a licensed plumber to confirm the method.
Local code, permit or building authority requirements
Drain work can be subject to provincial and municipal rules in Canada, and the requirements differ between regions. Before you start, contact your local building authority and ask whether the work needs a permit or an inspection, and whether it must be done by a licensed plumber. If the answer is yes, the authority’s answer determines who may carry out the work.