Pipes bang when a washing machine stops because the water in the supply line is moving fast and must halt almost instantly. The machine’s inlet valve shuts in a fraction of a second, but the water behind it keeps moving, pushes against the closed valve, and creates a pressure spike that jolts the pipe. The pressure spike makes the pipes move and bang into something, such as framing or neighbouring pipes. This effect is called water hammer.
Why do pipes bang when the washing machine stops?
Momentum of moving water
Water in a supply line has momentum, much like a moving vehicle. When the valve closes, that momentum has nowhere to go. The water compresses against the closed valve and the pipe walls, and the energy travels back up the line as a pressure spike. A bang happens when this spike is strong enough to shake the pipe.
Why washing machines close abruptly
According to Hunker, washing machines and dishwashers open and close their supply valves abruptly, which makes them common causes of water hammer. A hand-operated tap closed quickly can produce the same effect, according to Jon Eakes (Fixit database). Hunker, a US publication, also notes that line pressure of roughly 50 psi (about 345 kPa) magnifies the effect. This is a US figure, not a recommended range for Canadian homes.
Pipe movement against framing
The pressure spike forces the pipe to flex and shift inside its supports. Where the pipe runs close to wall studs or joists, it strikes them, and the repeated impacts produce the familiar banging. Because the valve closes at the end of each fill, the noise often happens when the fill stops.
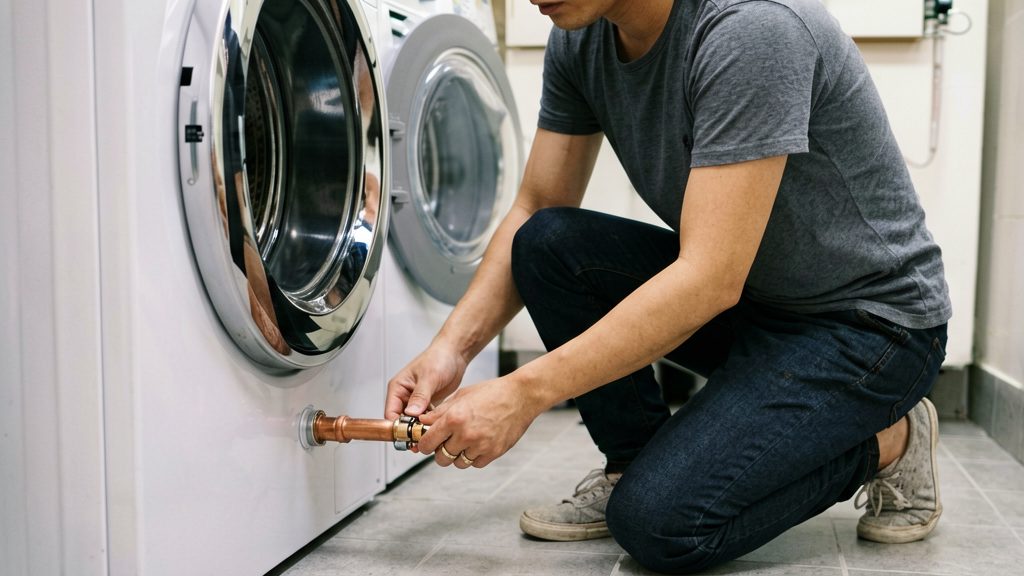
Is water hammer harmful to your plumbing?
It can be. Water hammer is more than a noise problem, and a machine that bangs every cycle keeps repeating the stress on the same joints.
Joint and fitting loosening from repeated impacts
Each impact pushes the pipe and its fittings against walls, joists or neighbouring pipes. Over time this movement may stress fittings. The sources report that the banging can break pipe joints and cause leaks at elbows, tees and valve or faucet seals. After a cycle ends, check whether the pipes shift, knock or move when the banging occurs, and whether any fitting sits at a different angle than before.
Fatigue cracking at pipe joints
The banging can be strong enough to break pipe joints, according to Jon Eakes (Fixit database), so treat a banging pipe as a maintenance issue rather than a cosmetic one. Cracks around joints can be hard to spot. Inspect the joint closely with a torch and a dry cloth, looking for hairline lines or dampness that returns after the surface dries.
Leak risk at threaded and soldered connections
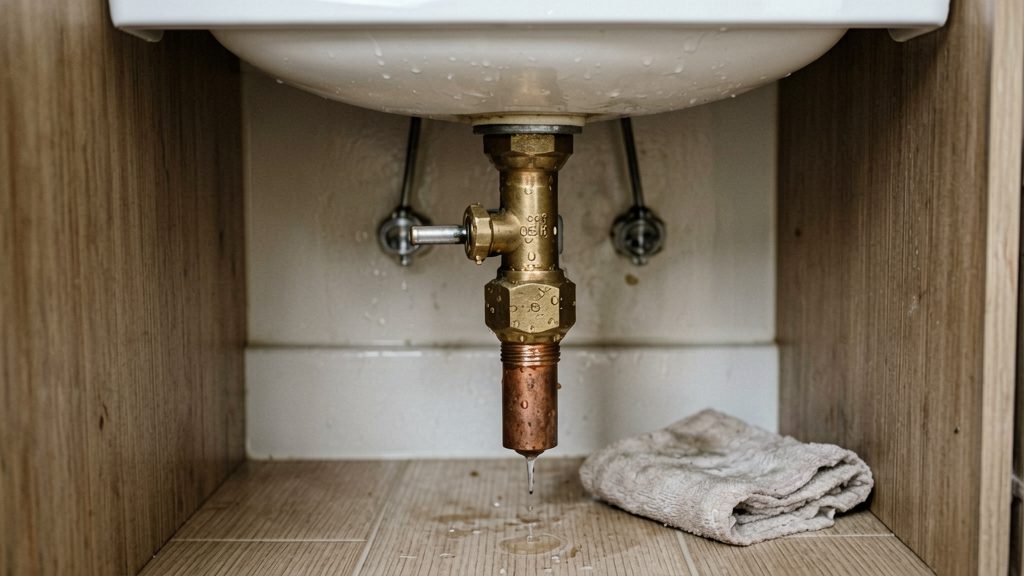
Hunker reports that water hammer can cause leaks at elbows, tees, and valve or faucet seals. For threaded connections, look for beads of water or drips at the fitting, and at the washer valve and its seals after a cycle. Soldered joints need the same visual check for pinhole drips, staining on the pipe or a damp patch beneath the joint. Flexible washer supply hoses face the same shocks, so inspect them for bulges and wet spots at each coupling.
Check water pressure first
Measure the static pressure before changing anything else. Line pressure can magnify water hammer, so a high reading tells you whether the pressure-reducing valve is worth adjusting. A normal reading does not rule out the washer valve as the trigger, so an arrestor may still be needed.
Measuring static pressure with a hose bib gauge
- Confirm that no tap, toilet or appliance is running, and that the washing machine and dishwasher supply valves are closed.
- Screw a pressure gauge onto an outdoor hose bib. Use a pressure gauge designed for hose bibs and check that its thread fits.
- Open the hose bib fully and read the gauge. With nothing else flowing in the house, this is your static pressure.
- Close the hose bib, remove the gauge and check the bib for drips.
Hunker notes that roughly 50 psi (about 345 kPa) magnifies the effect of abruptly closing valves. This is a figure from a US publication, not a Canadian limit. For the recommended range in your area, check with your municipality or a licensed plumber.
Adjusting or replacing a pressure-reducing valve
If the reading is high and the home has a pressure-reducing valve, lowering the system pressure can help, according to Hunker. The valve usually sits on the main supply line where water enters the house, often near the water meter, and has an adjusting screw or cap on top.
- Adjust: Follow the marking on the valve or the manufacturer’s instructions. Make one small change at a time, then re-read the gauge at the hose bib.
- Replace: If the valve will not hold a steady reading, leaks, or cannot be adjusted, replacement means shutting off the main and cutting into the pipe. Call a licensed plumber for this job.
How do you install a water hammer arrestor?
Install a water hammer arrestor just before the valve that causes the banging, according to Jon Eakes (Fixit database). Whether it goes directly at the washer valves or on the supply line near them is not specified in detail by the sources, so follow the product instructions. Follow the product instructions for the exact position on your connection, and ask a licensed plumber if the layout is unclear. According to Jon Eakes, the arrestor’s trapped air cushion gives the moving water somewhere to go, because air is compressible. Shut off the water before you start, and choose a diaphragm or piston-type arrestor that meets ASSE 1010 and carries the ASSE logo.
Locate the supply line before the valve
Trace the pipe that feeds the noisy valve, then choose a straight section between the main line and the valve. Place the arrestor upstream of the valve that closes abruptly, as close to it as practical. Check that the section has enough free space for the arrestor and its fittings.
Mount the piston-type arrestor
According to Hunker, a piston-type arrestor is a chamber about 2 to 3 inches long that protrudes about 4 inches. Compare these dimensions with the space you have before buying or cutting.
- Turn off the water supply and open a tap downstream to drain the line.
- Prepare the pipe as the arrestor manufacturer instructs for your pipe material (copper, PEX or other). If you are unsure, call a licensed plumber.
- Fit the compression fittings to the arrestor’s ends and onto the pipe, following the manufacturer’s instructions.
- Tighten the compression nuts. Hunker notes that compression fittings need no soldering, and the arrestor can be installed at any angle upstream of the fixture.
Seal the joints and check for leaks
Follow the manufacturer’s instructions for the fittings and any sealant. Restore the water slowly, then inspect each joint with a dry paper towel. Any wet spot indicates a leak that needs tightening or re-fitting.
Run the washing machine through several fill cycles and watch the arrestor’s joints, the elbows, tees and the valve seals.
Choosing an arrestor: ASSE 1010 and code
Choose a water hammer arrestor by its design and certification rather than by price alone. Look for a unit that meets ASSE 1010 and carries the ASSE logo, and confirm that it separates its air cushion from the water.
Why diaphragm and piston designs replaced air-filled pipes
The original arrestor was a closed length of pipe with air trapped inside. Air is compressible, so the trapped air absorbs the shock of moving water and gives it somewhere to go. The weakness of this design is that the air sits directly against the water and can dissolve into it. Once the air is gone, the pipe fills with water and the cushion no longer works.
According to Jon Eakes, a Canadian building and renovation expert, the Canadian National Plumbing Code has required the air cushion to be separated from the water since 2010. Newer arrestors meet this with a diaphragm or a piston. This is a rule about how arrestors are designed. It does not mean every home must have one. Check the National Plumbing Code of Canada and your provincial rules, or contact your local building authority, before assuming a requirement applies to you.
| Design | How air and water are kept apart |
|---|---|
| Air-filled pipe | Not separated; air can dissolve into the water and the pipe can fill |
| Diaphragm | A flexible membrane separates the air from the water |
| Piston | A piston separates the air from the water |
Reading the ASSE 1010 logo and product label
Eakes states that arrestors should meet ASSE 1010 and carry the ASSE logo. Check both on the unit or its packaging before buying. The label should also show the design, so you can confirm it is a diaphragm or piston type rather than a plain air-filled pipe.
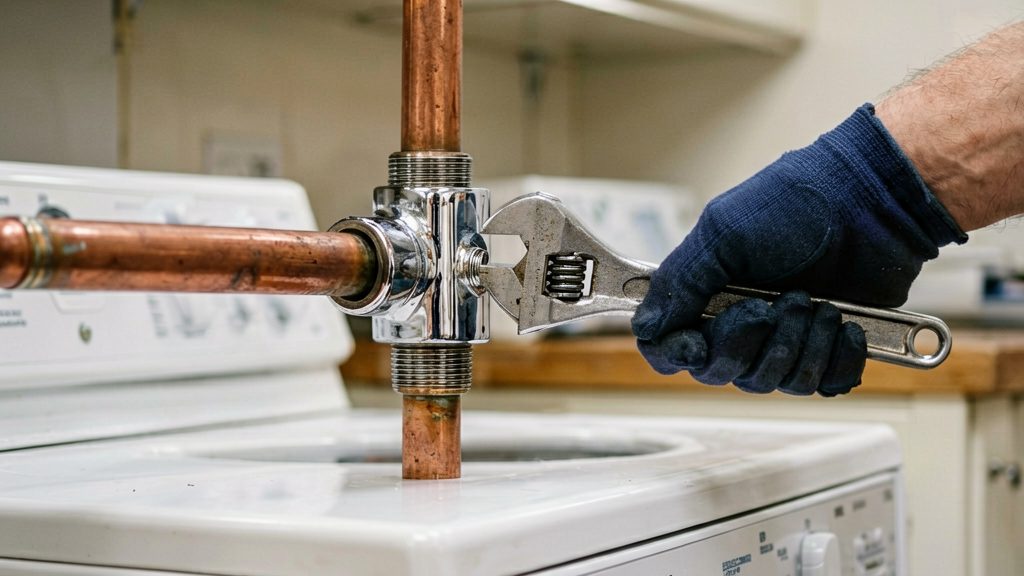
Purging air from the lines
Air in the lines after the water has been shut off may contribute to noise. Hunker describes this order to purge air from the lines: shut off the main, open the faucets from the top floor down, flush the toilets, wait, then restore the main and run the faucets from the lowest floor upward.
- Shut off the main. Close the main water supply valve so no new water enters the house.
- Open the top-floor faucets. Open the faucets on the highest floor first, then work down through the lower floors, so the air has a clear path out.
- Flush the toilets and wait. Flush each toilet, then wait about 30 minutes before restoring the water.
- Restore the main. Open the main valve again while the faucets stay open.
- Run the lowest-floor faucets. Starting on the lowest floor and moving upward, run each faucet for 5 to 10 minutes.
Other quick fixes
These checks look for the parts that move or strike when the valve closes, and need no new hardware.
Secure loose pipes
A pipe that can travel freely across framing or other pipes has room to knock. Reducing that room is the main no-hardware step:
- Trace the exposed pipe runs near the washer. Strapping loose pipes is a common practice, but its effect on water hammer is not verified by the sources used here.
- Hold loose sections in place with pipe straps or brackets, so the pipe cannot slide against framing or a neighbouring pipe.
- Tighten the strap only enough to hold the pipe. Over-tightening can deform copper or PEX and can make a rattle worse.
Inspect the inlet hoses and washers
The valve is the trigger, so check the parts that connect to it:
- Look along each rubber inlet hose for bulges, cracks or stiffness.
- Inspect the inlet hose washers in each coupling. Replace any washer that is flattened, cracked or hardened, since a worn washer can leak at the connection.
- Look for drips at the tap, at the machine and at the coupling itself.
A drip at the washer valve after the banging starts is a sign to check that connection.
Check for kinked or pinched supply hoses
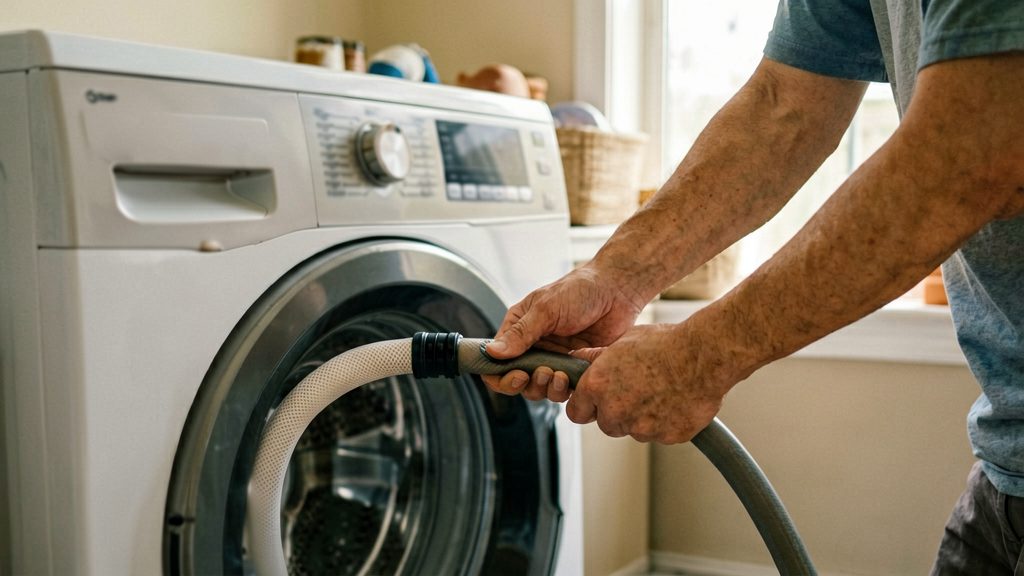
Hoses behind a washer are often bent or pinched when the machine is pushed back against the wall. A kinked supply hose restricts flow and can be pinched between the machine and the wall. This is a general hose check, and the sources do not link it to water hammer:
- Pull the machine out and follow each supply hose along its full length.
- Straighten any sharp bend and make sure no hose is trapped under a foot, behind a pipe or against the wall.
- Leave slack in the hose so it is not pulled taut when the machine moves during spin.
When to call a licensed plumber
Call a licensed plumber when water hammer starts damaging the plumbing or keeps going after the basic fixes. Any sign of damage means the problem needs professional assessment, not more tightening or noise-chasing.
Watch for these symptoms:
- Visible leaks or dripping joints: Water at an elbow, tee, or valve, or a joint that keeps dripping after the seal has been replaced, needs a plumber’s assessment. Do not rely on repeated tightening.
- Water stains on walls, floors, or ceilings: Staining near the washer’s supply lines or wall box often means water is escaping inside the wall or under the floor, where it is hard to see. Stop the washer’s water supply and call a plumber.
- Banging that persists after an arrestor is fitted and the lines are purged: A plumber should assess the cause. Possible factors include the arrestor position, the line pressure or loose pipes. A plumber can measure the pressure, check whether a pressure regulator is present or needed, and confirm the arrestor position relative to the noisy valve.
- Knocking or banging from a water heater or boiler: This noise is not a washing machine problem. Have a licensed plumber or heating engineer inspect the unit to find the cause.
When you call, describe which appliance triggers the banging, when it happens, and what you have already tried, so the visit can focus on the cause.