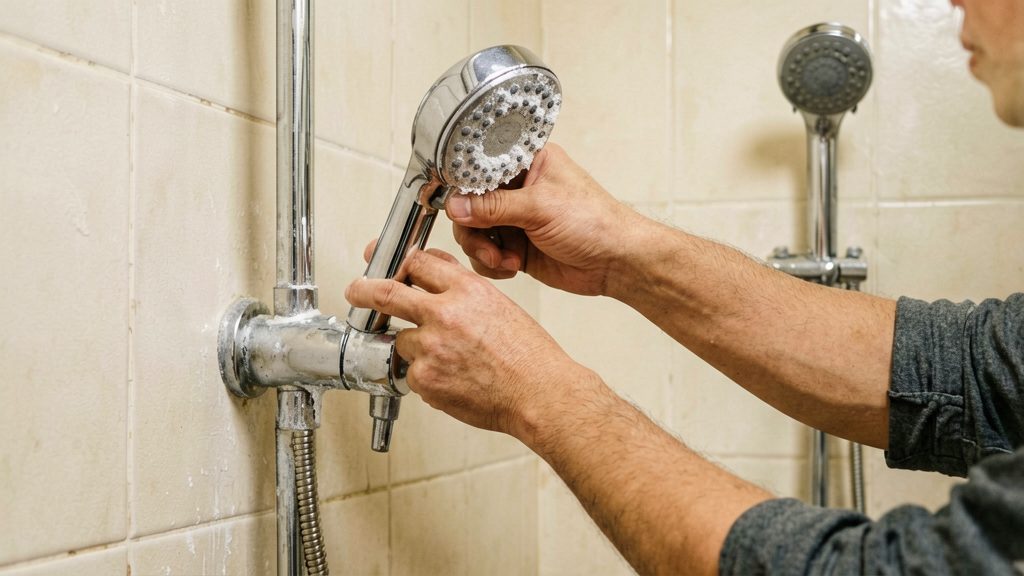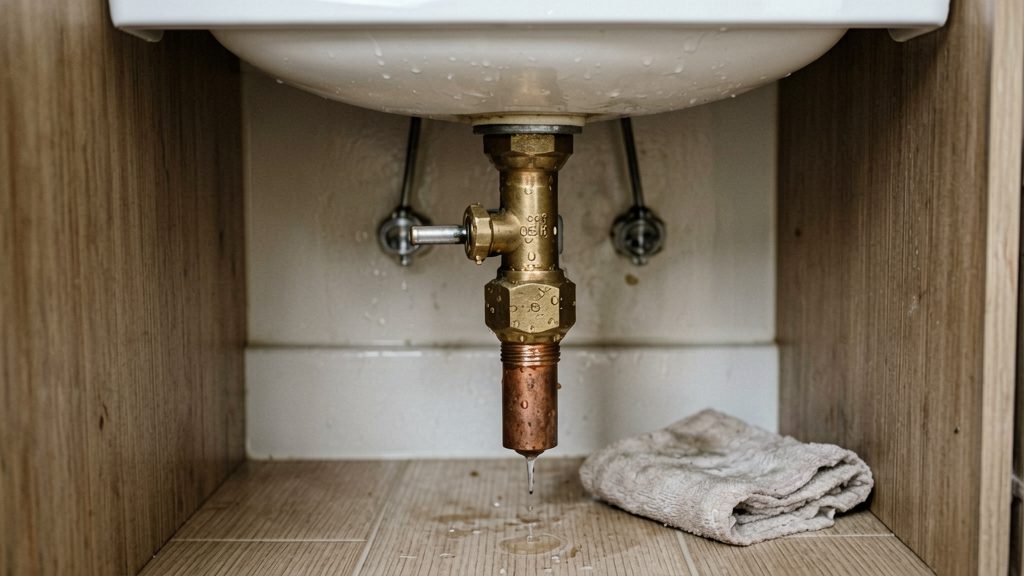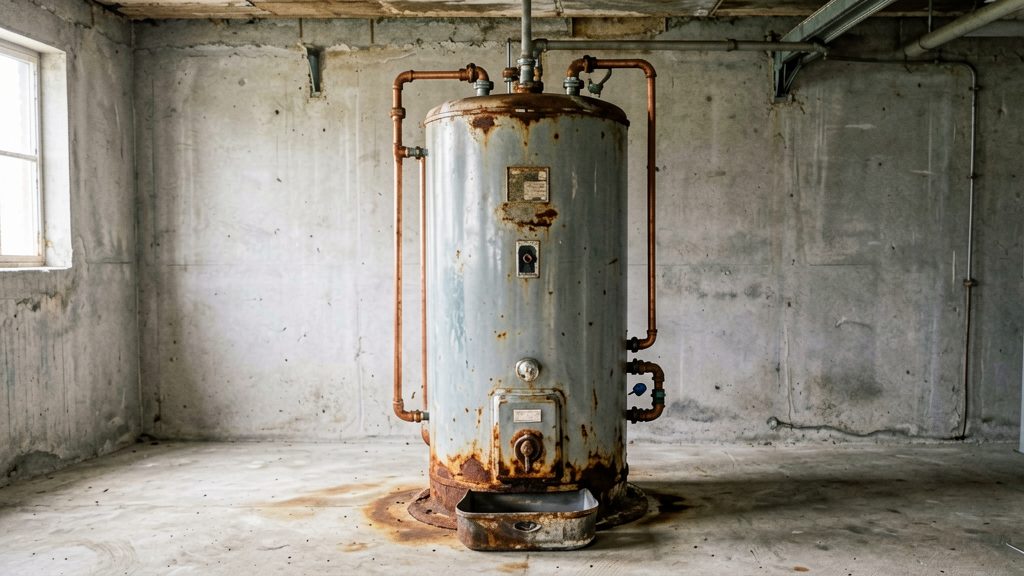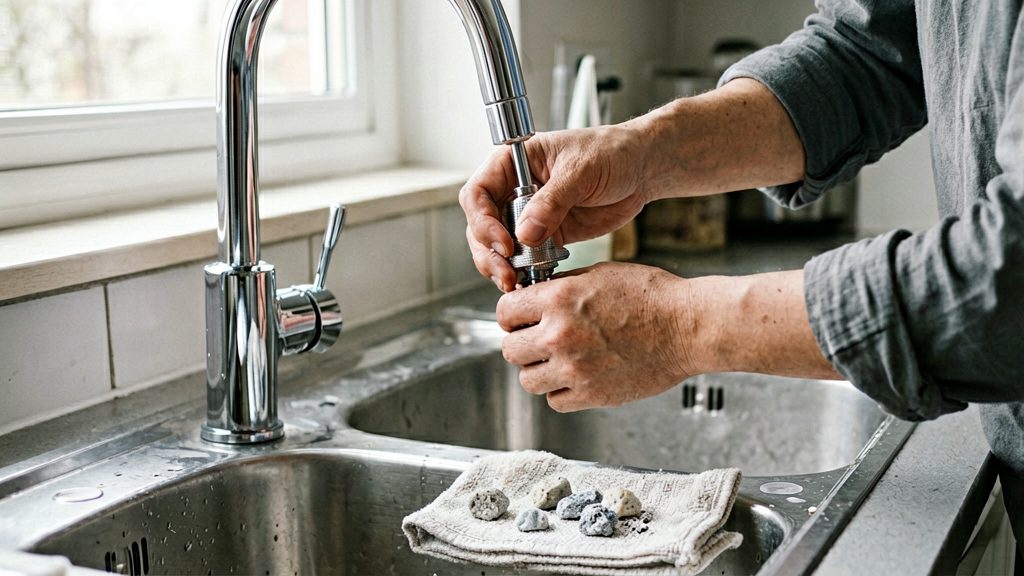
To tell whether low pressure affects only the kitchen tap or the whole home, compare the flow at the kitchen faucet with other outlets, such as a bathroom sink, a shower and a toilet fill valve. If only the kitchen faucet is weak, the cause is usually that fixture or the supply line feeding it. If several outlets are weak at once, the problem is more likely a shared supply rather than the faucet.
Is it the faucet or the whole house?
Compare other outlets
Run one fixture at a time, starting with the bathroom sink and the shower, and note the flow from each. Then run the kitchen faucet alone and compare. A strong flow elsewhere with a trickle at the kitchen tap points to a single-fixture fault.
Test the kitchen faucet’s hot and cold sides
Open only the cold side at the kitchen faucet and note the flow. Then open only the hot side. On a single-lever faucet, move the handle fully to each side. Record which side is weak and whether the other outlets in the house show the same weakness.
Single-fixture fault or shared supply problem
Single-fixture fault: Only the kitchen faucet is weak. Mr. Rooter Plumbing (2026) lists these causes: a clogged aerator, a partly closed shut-off valve, a worn or blocked cartridge, a kinked supply line, or corroded galvanized pipe. On a pull-down or pull-out sprayer, check the hose for kinks, and check braided supply lines for sharp bends or pinch points, often caused by items stored under the sink (Mr. Rooter Plumbing, 2026).
Shared supply problem: The kitchen faucet and other outlets are all weak. The opened sources did not verify the causes of whole-house low pressure, so confirm the issue before you act. Tenants should report it to the landlord, and homeowners should check with the local water utility to see whether the problem affects the neighbourhood.
Check the pressure with a psi gauge
Attach a psi gauge to an outdoor hose bib or a laundry tap and read the pressure. Mr. Rooter Plumbing (2026) gives a normal household range of 45–55 psi. This figure comes from a plumbing company’s blog rather than a building code, so confirm the acceptable range with your local code or municipality before relying on it.
The table below matches each low-pressure symptom at a kitchen tap to its usual cause and first check, based on Mr. Rooter Plumbing (2026) and Hunker (2026).
| Symptom | Usual cause | First check |
|---|---|---|
| Only the kitchen tap is weak, hot and cold | Clogged aerator, partly closed shut-off valve, worn or blocked cartridge, kinked supply line, corroded galvanized pipe | Unscrew the aerator counterclockwise, soak it in white vinegar for about 30 minutes, rinse and refit. Confirm both valves under the sink are fully open, handle parallel to the pipe. |
| Pressure still low after cleaning and valve checks | Cartridge or other faucet internals | Measure with a psi gauge. Normal household pressure is quoted as 45–55 psi, a North American blog figure rather than a code value, so confirm the local limit with your municipality before relying on it. |
| Only the hot side is weak | Sediment in the water heater clogging the hot outlet, or a failing dip tube sending debris into the hot lines | Have a plumber inspect the heater. The same source advises flushing the heater yearly. |
| Weak flow on a pull-down or pull-out sprayer | Kinked hose, debris between hose and wand, faulty diverter valve, pinched braided supply line | Straighten the hose, clean the screen between hose and wand, and check braided lines for sharp bends or items stored under the sink. |
| Low flow on a double-handle faucet | Sediment in one or both cartridges | Replace both cartridges. |
Clean the clogged aerator
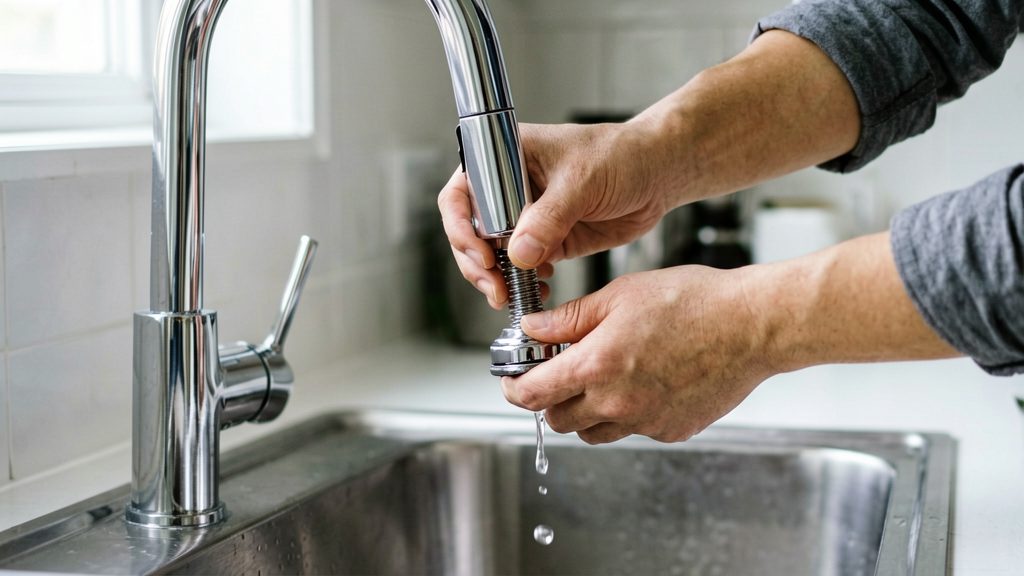
The aerator is the small screen with a mesh disc at the tip of the tap spout. It mixes air into the flow and filters debris. Over time, mineral scale and grit collect in the mesh and restrict the water flowing through it, which lowers pressure at that one outlet while the rest of the house stays normal. Cleaning it is the first step to try when only one kitchen faucet feels weak.
Remove and soak the aerator
- Turn the tap off.
- Unscrew the aerator from the spout. Turn it counterclockwise, as Hunker (2026) specifies. Use a cloth or rubber grip on the housing to avoid scratching the finish.
- Separate the parts in the order you removed them, and keep them on a towel so the small washers and mesh pieces do not roll away.
- Soak the aerator in white vinegar. Mr. Rooter Plumbing (2026) advises about 30 minutes. Vinegar dissolves mineral scale, so the soak loosens the deposits that a rinse alone would not clear.
Rinse, reattach and check the flow
- After soaking, rinse each part under running water. Use a small brush, such as an old toothbrush, to clear any grit still caught in the mesh.
- Reassemble the parts in the same order, then screw the aerator back onto the spout by hand, turning clockwise.
- Turn the tap on fully and check the flow. If the stream is now strong and even, the blockage was the cause.
Are the shut-off valves fully open?
Before suspecting a worn cartridge or a fault inside the faucet, confirm that the two isolation valves under the sink are fully open. According to Mr. Rooter Plumbing (2026), each valve should be fully open with its handle parallel to the pipe. A handle angled across the pipe usually means the valve is partly closed, which restricts flow to that tap alone. Hunker (2026) lists valves that are not fully open among the common causes of low flow at a kitchen faucet.
To check them:
- Locate the two valves under the sink, one on the hot supply and one on the cold.
- Look at each handle. It should run in line with the pipe, not across it.
- If a handle is out of line, turn it slowly to the fully open position, then run the tap for a few seconds to see whether flow improves.
If a valve is stiff, stop and assess it rather than applying more force or tools.
A valve that is corroded or leaking should be treated as a replacement candidate rather than something to keep adjusting. Tightening a leaking valve is a repair attempt, and it only postpones the problem if the valve body or its internal seal is already damaged. Only after both valves are confirmed fully open and flow remains low should you move on to checking the faucet’s internal parts.
Could the cartridge be worn?
Yes. The single-control faucet cartridge (the internal part that mixes hot and cold water behind the lever) is the next component to check.
How to tell the cartridge is the cause
Confirm two conditions before opening the faucet:
- Only this faucet has weak flow, while other fixtures on the same supply still run normally.
- Flow stays weak. Hunker identifies sediment in the cartridge as a cause of low flow at kitchen faucets.
If the problem is limited to this fixture, the cartridge is a likely cause.
Debris or mineral blockage inside the cartridge
Sediment can collect inside the cartridge body and restrict the water passages. To inspect it:
- Remove the handle and the cartridge, following the instructions for your faucet model.
- Look at the cartridge body and its openings for debris or mineral build-up.
- Check that the cartridge moves smoothly when it is removed and reinserted.
Matching the replacement cartridge
A replacement must be an exact match for the faucet model. Note the brand and model name, and compare the old cartridge’s part number with the manufacturer’s listing or the supplier’s catalogue before buying. Mr. Rooter Plumbing recommends replacing the cartridge with an exact match when pressure stays low.
Double-handle faucets are different. Each side has its own cartridge, and Hunker advises replacing both when flow is low.
Check the supply line and sprayer hose
A kink or pinch point in the flexible supply line can restrict flow to a kitchen faucet, much like a clogged aerator. Check the supply lines and any sprayer hose before replacing parts.
Braided supply lines
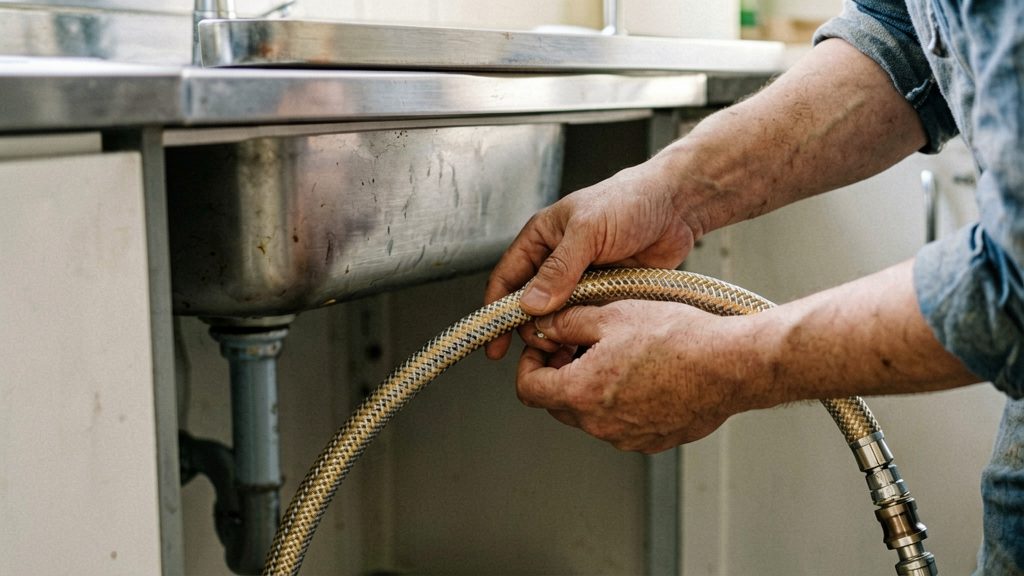
Follow each braided supply line from its shut-off valve to the faucet inlet. Look along the full length for sharp bends, flattened sections, and spots where the line rests against a pipe, bracket, or cabinet edge. Mr. Rooter Plumbing (2026) identifies sharp bends and pinch points as common causes of low flow. Straighten the line where you can, and do not force it into a tighter path.
Pull-down and pull-out sprayer hose
Pull the sprayer head out fully, then let it retract. Check the hose for kinks along its length, especially where it leaves the faucet body. Mr. Rooter Plumbing (2026) advises checking the hose for kinks and inspecting the connection and diverter valve. Hunker (2026) adds that on pull-out and pull-down faucets, the screen between the hose and the wand also needs cleaning when flow is low.
Diverter connection
Where the hose joins the faucet body, check for looseness or leaks. The diverter valve sends water to either the spout or the sprayer, so confirm that the spout runs at full flow when the sprayer is not in use. The sources cited here describe these checks only. Repairs depend on the faucet model, so follow the manufacturer’s instructions before taking the faucet apart.
Why is only the hot water weak?
When only the hot tap runs slowly, the restriction is most likely in the water heater or the hot line leaving it, not in the cold supply. According to Mr. Rooter Plumbing, two causes fit this pattern: sediment clogging the hot outlet, and a failing dip tube sending debris into the hot lines.
Sediment clogging the hot outlet
Minerals and debris settle at the bottom of a water heater tank over time. As the build-up grows, it can partly block the hot outlet, so hot flow drops while cold flow stays normal. Mr. Rooter names sediment in the water heater as a likely cause when only the hot side is weak.
Failing dip tube
The dip tube is the pipe inside the tank that carries incoming cold water down to the bottom, where it is heated. If it fails, it can send debris into the hot lines instead of keeping it in the tank, which again reduces hot flow. Mr. Rooter lists this as an alternative cause to sediment, so it is worth considering if flushing does not change the result.
Yearly flushing and plumber inspection
Mr. Rooter advises having a plumber inspect the heater and flushing it once a year. A flush removes settled sediment, and an inspection can check parts you cannot see from outside the tank, such as the dip tube. This is advice from a plumbing company’s blog, not a manufacturer requirement, so follow your heater’s manual if it gives a different interval.
When should you call a licensed plumber?
Most low pressure at a kitchen tap can be checked yourself, but three situations call for a licensed plumber: pressure that stays low after basic checks, a spraying supply line, and an older faucet with several worn parts.
Pressure stays low after the basic checks
If pressure is still low, stop troubleshooting and call a plumber. Mr. Rooter Plumbing (2026) cites a normal household range of 45–55 psi, but that figure comes from a plumbing company blog, not a building code. Check the local requirement with your municipality before treating that range as a standard.
A burst supply line is an emergency
Water spraying from a burst supply line is an emergency, not a repair job. Close the valve under the sink immediately. If the spray continues, close the main water shut-off for the building. Then call a plumber to replace the line.
An older faucet with several worn parts
Mr. Rooter Plumbing (2026) recommends calling a plumber when a faucet is over 15 years old and has several worn parts. Replacing one cartridge is a reasonable DIY job, but when multiple components wear out on an older fixture, a plumber can assess whether repair or full replacement makes more sense.