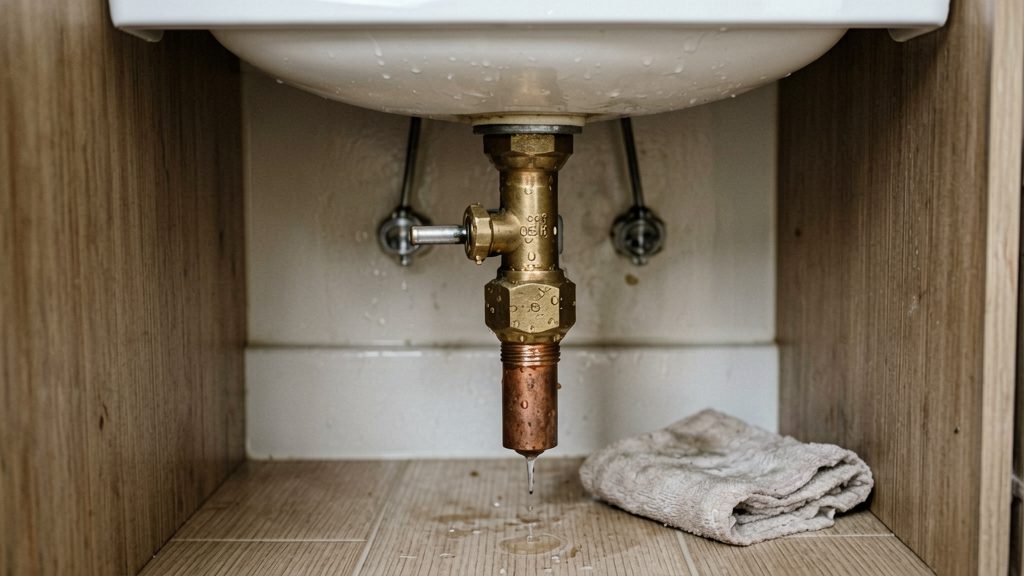
Water whistles in a pipe mainly because it is forced through a narrow passage at higher speed, which sets the pipe or fitting vibrating. A loose clamp can carry that vibration into the wall framing, and air trapped in the line can add gurgling or whistling as water pushes it along.
Why does my pipe whistle when water runs?
Turbulence at narrow openings
When water passes a partly closed valve or a constricted section of pipe, it speeds up and becomes turbulent. That turbulence vibrates the pipe wall and produces a whistle or hiss. The sound is most noticeable when the restriction is near the point where you hear it. A whistle that appears at one fixture or valve suggests a restriction nearby.
Loose clamps and fittings transmitting vibration
A pipe that is not firmly held can knock or buzz against studs, joists or a tile wall, and the wall then radiates the sound through the house. To check, have someone run the water while you hold the pipe lightly where it passes through a wall or under a floor. If the whistle changes or stops when the pipe is held still, the pipe is moving against its support.
To fix it:
- Tighten or re-secure the pipe clamp, and check that the clamp is not sitting on a fitting.
- Place a rubber or foam pad between the pipe and the framing.
- Add pipe insulation, which can also reduce noise (Hunker, 2026).
If the sound persists after these steps, the supply line may need a plumber (Hunker, 2026).
Air pockets in the line
Air trapped in a supply line, often after the water has been shut off for repairs, is pushed through the fixtures as water flows and produces gurgling or whistling. Open the faucet furthest from the water entry point, or the one at the highest point of the house, and let it run until the sound stops. Then close it. Repeat for other outlets if needed.
Is high water pressure the cause?
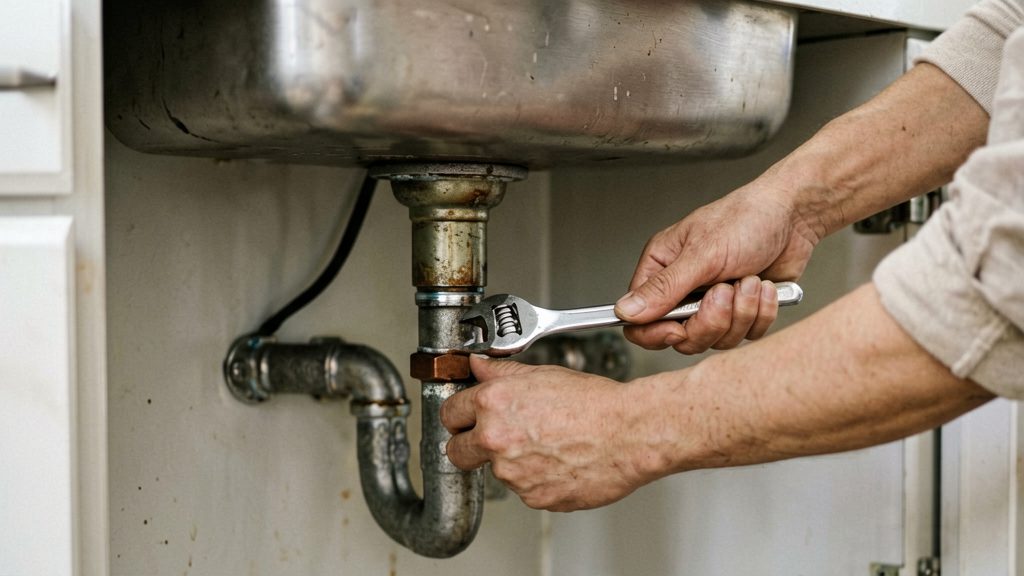
It can be. Pipe noise tends to grow as pressure or flow velocity rises, so a line that whistles mainly when water runs hard may be carrying more water than the fixtures need. According to InspectApedia (2026), reducing pressure or flow at the main shutoff or the pressure regulator is often the quickest and cheapest first fix.
How pressure amplifies the noise
Canadian CMHC research from 1996, as summarised by InspectApedia (2026), found that raising water pressure from 40 psi to 100 psi increased in-building plumbing noise by about 5 to 9 dBA. The figure is a general finding from that research. It does not give a figure for your own pipes, so treat it as evidence that pressure affects noise, not as a measurement of your home.
Reducing pressure at the regulator or main shutoff
- Locate the pressure regulator on the main supply line, where water enters the home. It is usually a valve body with an adjusting screw or cap.
- Check the manufacturer’s instructions for the adjustment direction before turning anything.
- Make small changes, then run a faucet and listen, and confirm the resulting pressure with a gauge (see the pressure-check section below). Stop when the whistle quiets.
- Test at the main shutoff if there is no adjustable regulator. Partly closing it reduces flow, which may silence a whistle. Reopen it fully once the test is over.
If the regulator is missing, worn, or does not hold its setting, a licensed plumber can install or replace it.
If the whistle does not change at all as pressure drops, high pressure is probably not the main driver, and a worn part or a restriction in the line is more likely.
How to find which fixture is whistling
Find the source by testing in a fixed order: first confirm whether the water supply is involved, then open fixtures one at a time, then decide whether the noise is limited to one fixture or spread through the house. Each step narrows the search, so you avoid opening and closing valves at random. Keep a short note of which action triggers the sound.
Confirm whether the supply is involved
Shut off the water at the main shutoff and check whether the whistle stops. According to InspectApedia (2026), if the noise continues with the water off, the source is elsewhere. A whistle that appears only at full flow points toward the supply side.
Before testing taps, check whether the whistle coincides with a toilet refilling. InspectApedia (2026) notes that even a small flow, such as a filling toilet, can set off a shriek, so a toilet can be the culprit even when no tap is open.
Run fixtures one at a time
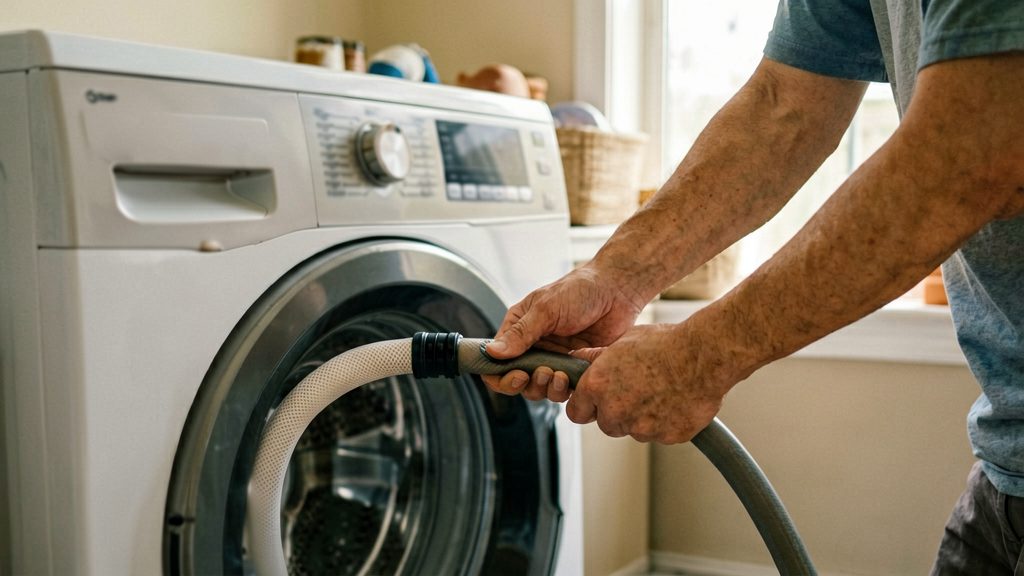
With the house quiet, open one fixture fully and listen. Close it, then repeat for the next. Test each cold and hot supply separately where the fixture allows it, and include the shower, the toilet and any appliance connected to the water line, such as a washing machine or dishwasher.
Mr. Rooter Plumbing (2026) gives the most common single-fixture culprits, which the table below summarises. Recording which fixture whistles and under which condition tells you which part to inspect, while the repairs are covered in the next section.
Whole-house or single-fixture whistling
The distinction between single-fixture whistling and whole-house whistling matters most. If the sound is limited to one or two faucets, the fixture is the likely source. Whistling heard at several outlets throughout the house suggests a shared part of the supply.
| Where the whistle occurs | Likely source |
|---|---|
| One or two faucets | Worn washer, loose brass screw or dirty aerator |
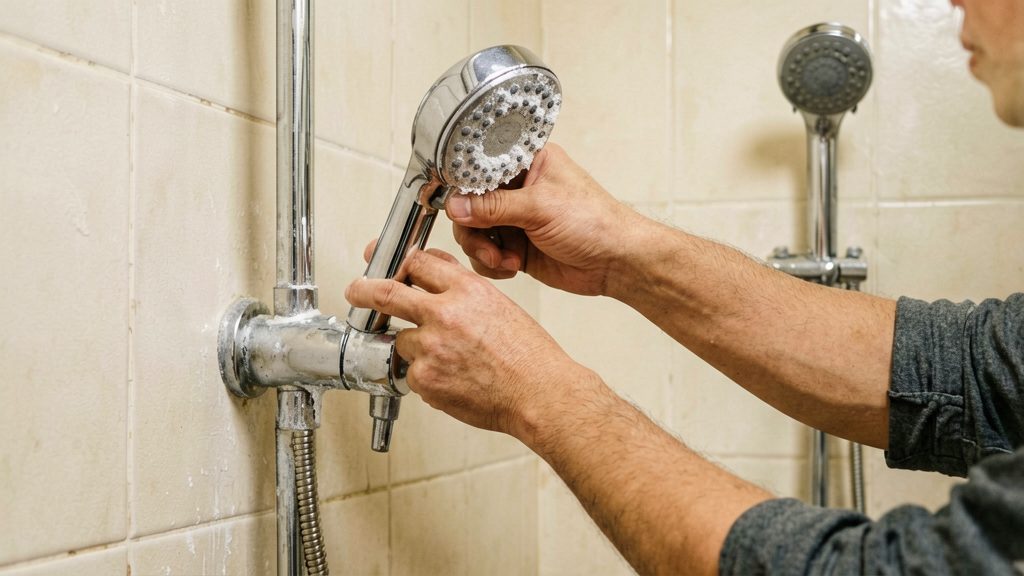
| Shower | Clogged showerhead or flow restrictor, worn diverter washer or cartridge |
| Throughout the house | Mineral buildup, worn main supply valve or faulty pressure regulator |
| Toilet, only while refilling | Fill (ballcock) valve likely needs replacement |
Sources for the table: Mr. Rooter Plumbing (2026) for faucets, toilets and whole-house cases; Hunker (2026) for showers.
Fixing a whistling tap, shower or toilet
Each fixture has a different part that typically causes the whistle.
Replacing a worn tap washer or loosening a seat screw
- Remove the handle and any cap or packing nut to reach the valve stem.
- Unscrew the stem and inspect the rubber washer at its base. Replace it with an identical size if it is flattened, cracked or grooved.
- If the brass seat screw inside the valve body is loose, tighten it with a screwdriver that fits the slot. If the slot is stripped, replace the screw.
- Reassemble, open the supply slowly and check for whistling and leaks.
Avoid overtightening the seat screw, since brass threads and seats can be damaged.
Replacing a worn shower diverter washer or cartridge
Diverter washers and cartridges are different parts, so identify which one you have before buying a replacement.
- Remove the handle and trim plate to expose the valve.
- Determine whether the valve uses a rubber washer or a single-piece cartridge.
- Replace the washer or the whole cartridge with a part matched to the brand and model. Bringing the old part to a hardware store helps confirm the match.
- Reassemble and run the shower on each setting to confirm the whistle has stopped.
Replacing a toilet fill valve that whistles while refilling
- Close the angle stop valve at the wall, then flush to empty the tank.
- Disconnect the supply line from the base of the tank.
- Unscrew the locknut under the tank and remove the old fill valve.
- Install a replacement sized for your tank, mounting it at the height the manufacturer specifies.
- Reconnect the supply line, reopen the angle stop valve and check the tank for leaks.
Check the manufacturer’s instructions before adjusting the float arm, since fill valve designs differ and bending the arm is not a universal fix.
Can mineral buildup make pipes whistle?
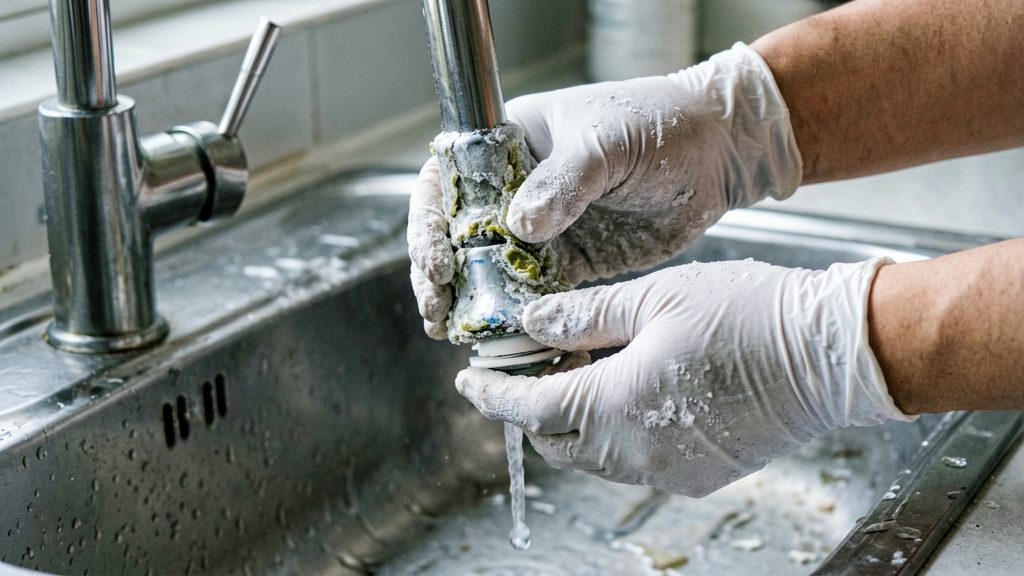
Yes. Mineral scale and debris can narrow the openings in faucets, aerators, strainers and showerheads. When the same volume of water passes through a smaller opening, it moves faster, and that increase in water velocity can produce a whistle or shriek. Scale that builds up over months or years can turn a faint noise into an obvious one.
Why a worsening whistle points to deposits
A whistle that gets louder over time usually means something inside the system is changing. According to InspectApedia (2026), a whistle that has worsened over time may come from mineral or debris deposits in the piping, a faucet or a strainer. Mineral or debris deposits are one possible cause of this gradual change, because they can build up slowly and narrow the opening over time.
Deposits sitting inside the pipes are harder to remove than those on a faucet. InspectApedia (2026) notes that flushing usually does not clear mineral deposits. If you suspect scale in the supply lines, a plumber is the right person to assess it, since they can assess the lines and replace affected valves or sections.
Descaling aerators and strainers
Aerators and strainers sit at the outlet of the faucet, where scale and grit collect first, so this is the first place to check.
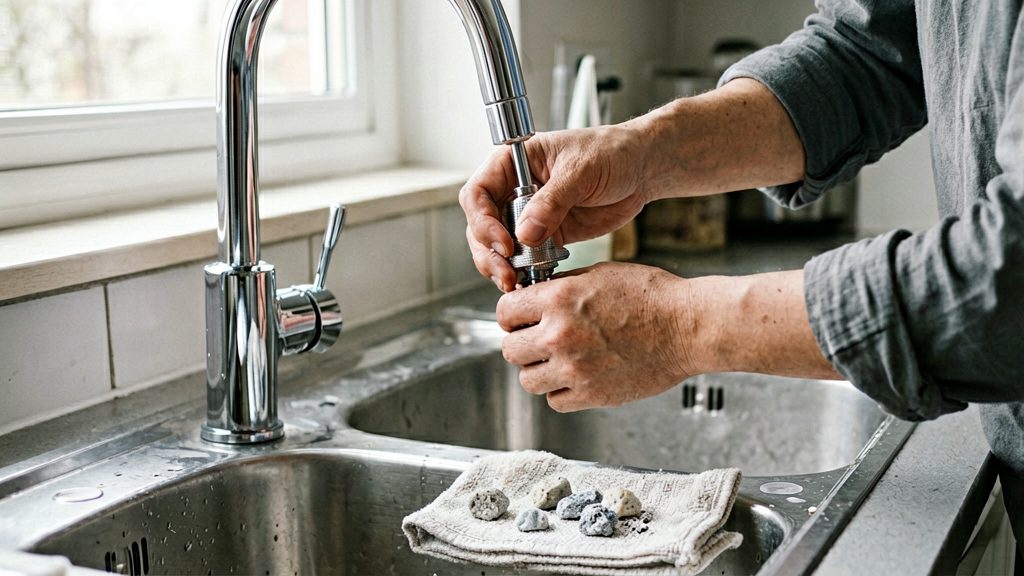
- Unscrew the aerator from the tip of the faucet by hand, or with a cloth-wrapped pair of pliers to protect the finish.
- Take it apart and note the order of the washers and screens.
- Rinse the screen under running water to clear loose debris, then scrape off hardened mineral deposits with a soft brush.
- Reassemble, screw it back on and run the tap to check the noise.
Descaling a showerhead flow restrictor
To clear a clogged showerhead or flow restrictor, remove the showerhead and soak it in warm white vinegar for a few hours. Then rinse it thoroughly, reattach it and test the flow. If the whistle continues, the cause may be a worn diverter washer or cartridge, which are covered in the section on replacing a worn shower diverter washer or cartridge above.
How to check water pressure at home
A threaded gauge screwed onto a faucet or hose bib gives a direct line pressure reading.
- Choose an outdoor hose bib or an indoor faucet with a threaded outlet that the gauge can fit.
- Screw the gauge onto the outlet by hand. Do not force it.
- Close every other outlet in the house before reading, including taps, showers and any fixture that could draw water.
- Read the gauge with no water flowing from the tested outlet.
- Write down the figure and repeat the test at another outlet if the first result is unclear.
Reading the result
Hunker (2026) suggests checking pressure when readings are above 70 psi (about 480 kPa), while Mr. Rooter Plumbing (Canada) (2026) uses 80 psi (about 550 kPa) as the threshold for calling a plumber. The two figures differ, and neither comes from an official Canadian code. Treat them as guides and confirm the local limit with a licensed plumber or your local building authority.
A reading below the threshold does not rule out the supply as the cause.
When to call a licensed plumber
Call a plumber when the whistle is throughout the house, when it survives the simple fixes, or when the noise comes from pipes you cannot reach. In these cases the cause usually sits in the supply system, not in a washer or aerator.
Whole-house whistling that persists
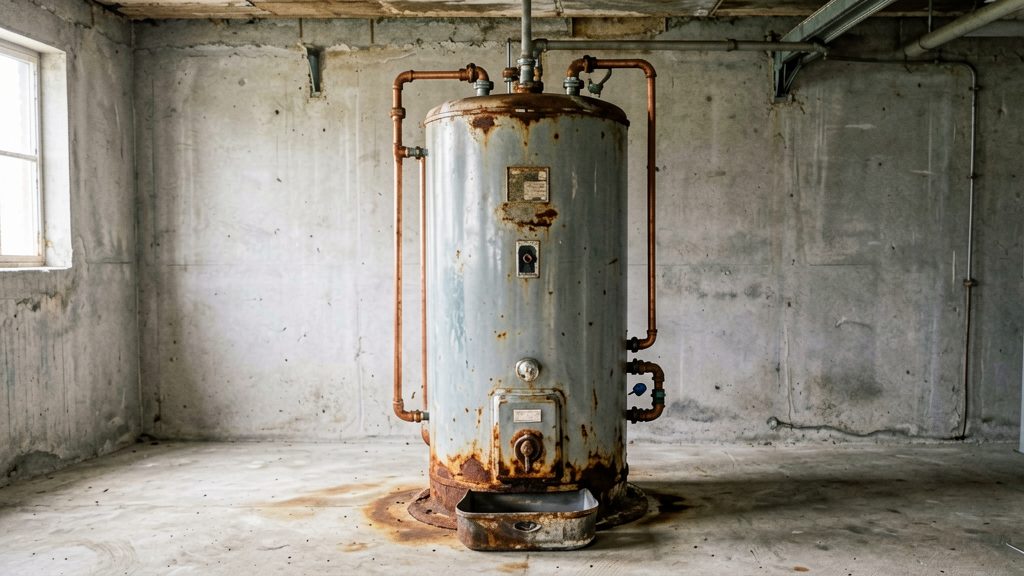
If one fixture is quiet after you have cleared it but the noise remains everywhere, the fault lies upstream of the fixtures. A plumber may need to replace a worn main supply valve or a faulty pressure regulator.
Regulator installation above the threshold
If readings taken on a faucet or hose bib stay above 80 psi (Mr. Rooter Plumbing (Canada), 2026), have a plumber install a regulator, and confirm the local limit with them.
Concealed pipe runs and supply-line noise
If the whistle seems to come from pipes inside walls, ceilings or under floors, you cannot easily trace or access it. A plumber can open the finishes, locate the run and work on it safely. Hunker notes that a plumber can replace valves, flush the lines or install an expansion tank when supply-line whistling resists DIY fixes (Hunker, 2026).