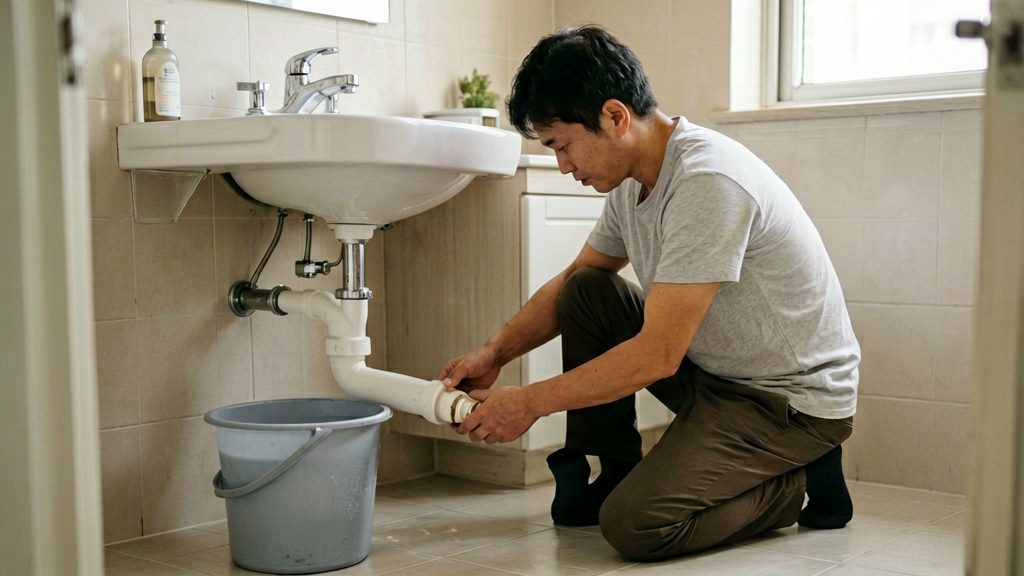
Is the P-Trap Actually Clogged?
A slow or blocked bathroom sink often has a simple cause near the top of the drain. According to This Old House (2026), hair tangled with soap residue is a common cause of slow or blocked bathroom sink drains. The P-trap holds water in its curved section to seal the drain against sewer gases, according to Oatey (2026), so a trap that still holds water is not necessarily clear. Use the checks below to narrow down where the blockage sits.
Check the Pop-Up Stopper First
Lift the stopper to its fully open position. It should rise sufficiently before you dismantle any part of the trap. Hair and soap scum can collect at the base of the stopper, so if it sticks or stops short of fully open, pull it out and clear the base before going further.
Recognise Hair and Soap Residue
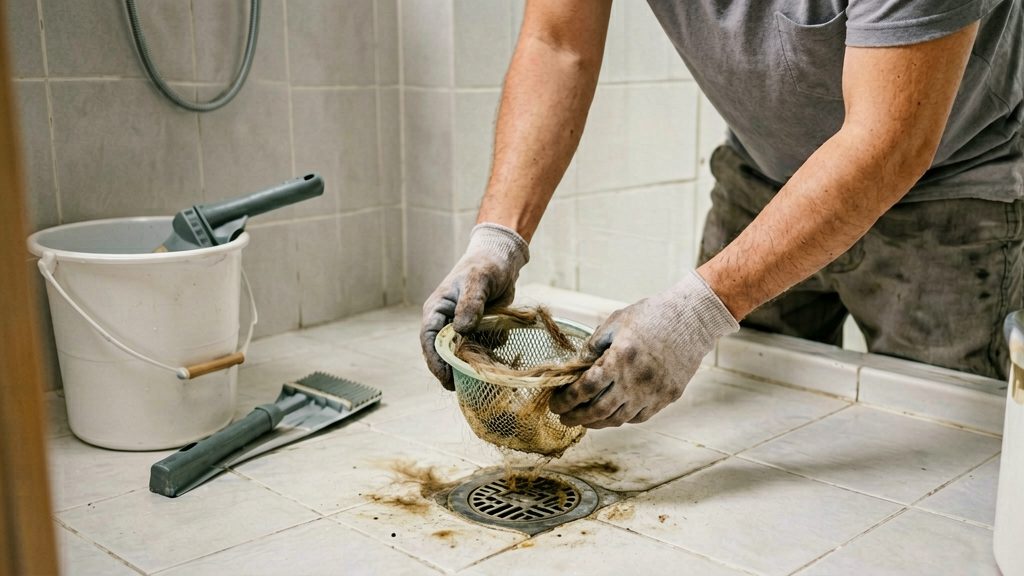
Hair that wraps around the stopper or catches on its linkage, combined with a film of soap, forms a mat that slows water and eventually blocks it. Look for this material on the stopper and just inside the drain opening before assuming the trap is at fault.
Distinguish Slow Drainage from a Full Blockage
- Slow drainage: Water drains, but the basin empties noticeably more slowly than usual. The stopper may be partly restricted, or the blockage may be building up.
- Full blockage: The water level stays put and does not drop when the drain is open. The obstruction is likely in the trap or further along the line.
If only one sink is affected and the stopper is clean, the trap or the drain line beyond it is the likely location.
The table below summarises the trap-clearing sequence and the precaution for each step.
| Step | Action | Precaution | Source |
|---|---|---|---|
| 1. Check the stopper | Confirm the pop-up stopper rises fully, then clean hair and soap scum from its base before dismantling the trap. | Hair tangled with soap residue is a common cause of slow or blocked bathroom sink drains. | This Old House (2026-05-28) |
| 2. Prepare to drain | Place a bucket under a removable slip-joint trap, loosen the slip nuts, and lower the trap so its water drains into the bucket. | Do not generalise this to glued traps or severely corroded assemblies. | Oatey (2026-06-04) |
| 3. Clear the trap | Remove debris from the detached P-trap and reassemble it. | Slip-joint connections generally seal with washers rather than plumber’s tape. | This Old House (2026-05-28); Oatey (2026-06-04) |
| 4. Tighten gently | Tighten the trap connections by hand until snug. | Overtightening can crack plastic fittings or strip threads, causing leaks. | Oatey (2026-06-04) |
| 5. Test for leaks | Run water for 30–60 seconds and inspect every connection for drips or moisture. | Recheck the connections if any moisture appears. | Oatey (2026-06-04) |
| 6. Look beyond the trap | If neither the stopper nor the trap holds the obstruction, the blockage may be in the drain line inside the wall. The open trap gives access for inspection or a small auger. | Do not use a plunger after a chemical drain opener, because cleaner may remain in the drain. | Fine Homebuilding; Drano (SC Johnson) |
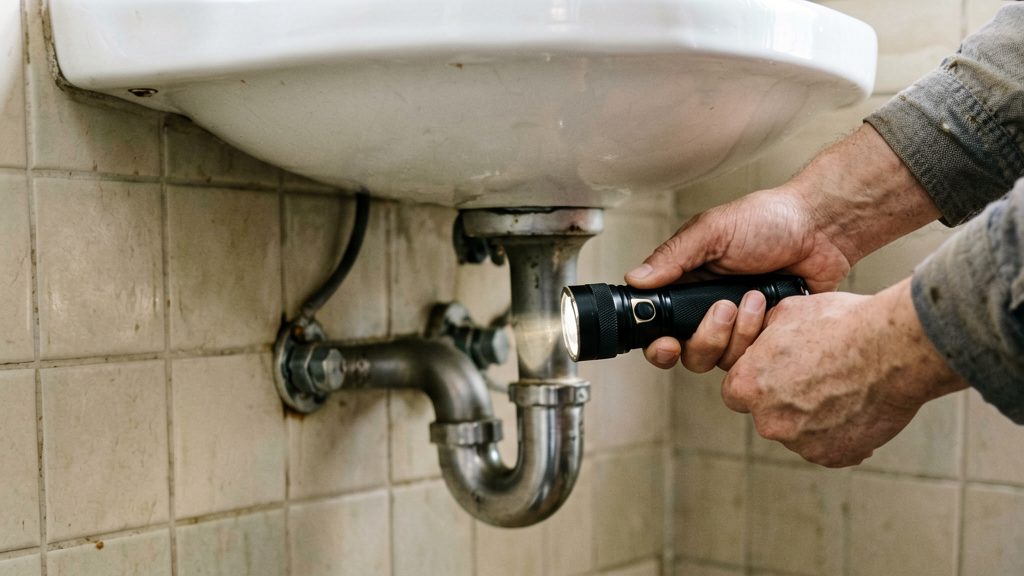
Tools and Safety Before You Start
Gather everything before you loosen any connection. Most bathroom sink P-traps are removable slip-joint assemblies, and the slip nuts that hold them are the first thing you will loosen. Having the right items within reach avoids stopping halfway through with water running into the cabinet.
- Bucket: Place it directly under the trap before you loosen anything. According to Oatey (2026), the trap’s water drains into a bucket placed underneath.
- Towels and gloves: Keep towels ready for spilled water and gloves for handling the trap. Expect the trap to contain wet debris.
- Adjustable or slip-joint pliers: Use them to turn the slip nuts. Hand tightness is often not enough for a nut that has been in place for a long time.
- Eye protection: Wear glasses or goggles, because water and debris can splash when the trap comes loose.
- Clear workspace: Empty the cabinet under the sink so you can reach the trap, set parts down, and see the connections. Move bottles and cleaning products out of the way.
Remove and Clean the P-Trap
Slip-joint trap is the removable U-shaped pipe under most bathroom sinks. Expect some water to spill when you open it.
Loosen the slip nuts by hand
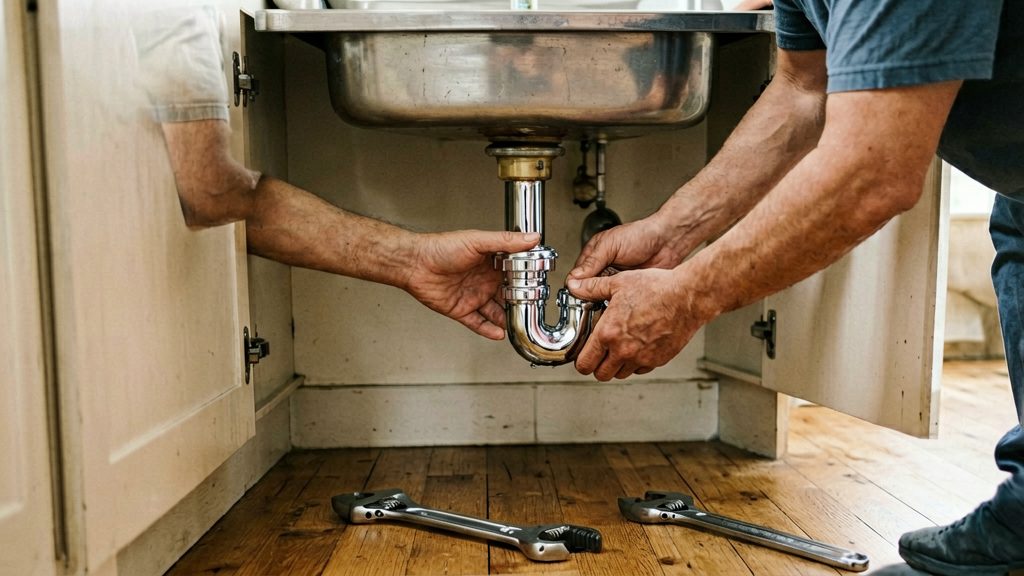
Place a bucket directly beneath the trap to catch the water. Then loosen the slip nuts on each side of the trap by turning them counterclockwise. Use your hands first.
Lower the trap to drain the water
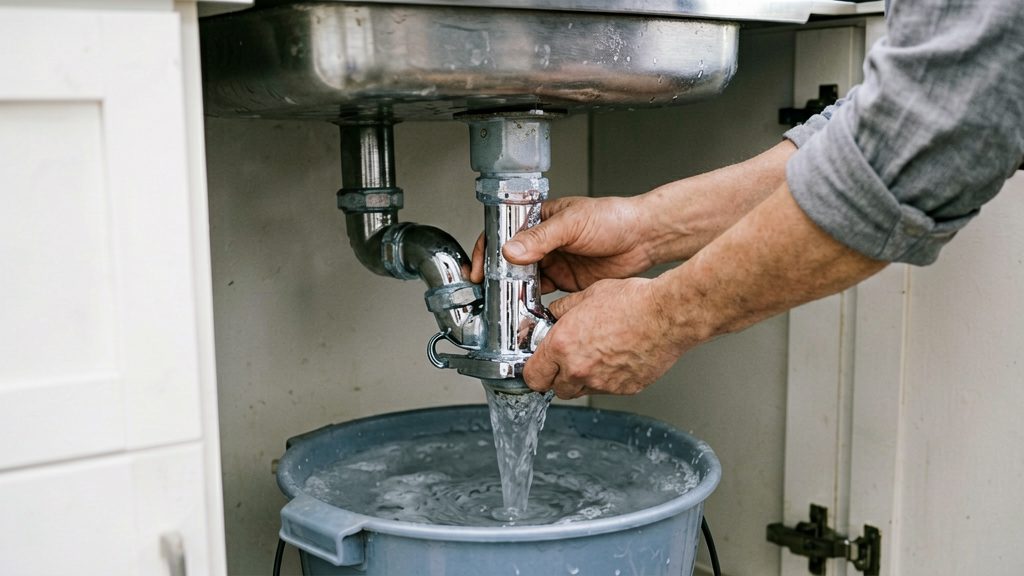
Once the nuts are loose, carefully lower the trap so its water drains into the bucket. Keep the trap angled downward as you pull it free, so the water does not spill across the cabinet floor.
Remove hair, soap scum and debris
Empty the trap into the bucket, then remove the debris from the curved section. Look for a dense, sticky plug. Scrape or pull out the material by hand, rinse the trap with clean water, and check that the inside is clear before reassembly.
Reassemble and Check for Leaks
A trap reassembled with a faulty seal can drain normally and still leak. Confirm that every joint is sealed before you consider the job finished.
Use washers, not plumber’s tape, on slip joints
Slip-joint connections generally seal with washers rather than plumber’s tape, according to Oatey (2026). Before tightening each slip nut, check that the washer sits inside the joint and is not pinched, cracked or displaced. Do not wrap plumber’s tape around these connections in place of a washer.
Avoid overtightening
Overtightening trap connections can crack plastic fittings or strip threads, causing leaks, according to Oatey (2026). Tighten each slip nut by hand until the joint is snug, then stop. If a joint still leaks after the water test, check the washer position before tightening further.
Run water and inspect every joint
Oatey recommends running water for 30–60 seconds after assembly and inspecting every connection for drips or moisture, according to Oatey (2026). Check these joints:
- The connection between the sink tailpiece and the trap
- The connection between the trap and the wall outlet
- Any other slip nut you loosened during removal
Dry each joint with a cloth before you run the water, then check it again after the water has drained. A slow drip can take a moment to appear.
What if the Sink Still Clogs?
If the stopper and P-trap are clear and water still drains slowly, the blockage is probably further along the drain line, the horizontal and vertical pipe that carries wastewater from the sink into the wall. With the trap assembly removed, you can probe that line with a small auger, a hand-operated drain snake, through the trap opening.
Feeding a small auger into the drain line
- Keep the bucket in place to catch water standing in the pipe.
- Insert the auger head into the open drain outlet, the pipe stub the trap was attached to.
- Turn the handle slowly and feed the cable forward until it meets resistance.
- Work the cable back and forth to break up the obstruction, then withdraw it and wipe off debris.
- Repeat until the cable passes freely. Then reassemble the trap and check the connections.
According to Fine Homebuilding, removing the trap assembly gives access to the drain line for inspection or a small auger. Use gentle turns. Forcing the cable can damage the pipe.
If chemical openers have been used, check the product label for guidance on handling the water before you open the trap. Do not use an auger into a drain that still holds cleaner until you have followed that guidance.
Recognising a blockage inside the wall
Stop and contact a licensed plumber if:
- the auger cannot get past the obstruction;
- you suspect the pipe runs inside a wall or floor you cannot open safely;
- the blockage returns quickly after clearing.
Tenants should check the lease and local rules before opening a wall or altering plumbing, since permission and repair responsibility depend on both.
When to Call a Licensed Plumber
Stop DIY repair and call a licensed plumber when the blockage is not confined to the sink’s stopper or P-trap. Three symptoms mark that point: a persistent clog that returns after cleaning and auger attempts, several drains blocking at the same time, and visible pipe damage or pooling water under the sink. According to This Old House (2026), each of these is a reason to call a licensed plumber.
Clogs that return after cleaning
If the sink drains slowly again soon after you have cleared the stopper, removed hair and soap residue, and reassembled the trap, the obstruction is probably further along the line. Removing the trap gives access for inspection, but a plumber has the tools and access to clear or inspect that section.
Several drains blocking at once
A clog in one fixture is usually local. When the bathroom sink, shower, or kitchen sink slow down together, the problem is more likely in a shared section of the drain system than in one trap. This is beyond the scope of a single-trap repair, so stop and call a plumber.
Visible pipe damage or pooling water
Stop if you see cracks in the pipe, staining or moisture on the cabinet floor, or water standing under the sink. Do not run water through a damaged or dripping trap to test it. Water damage can spread quickly under a vanity, and a plumber can assess whether the pipe or a joint needs repair or replacement.
If you rent, report the damage to your landlord before opening the plumbing. Your lease and local requirements determine who is responsible for repairs and whether you are allowed to dismantle fixtures.
Prevent Future Bathroom Sink Clogs
Most slow bathroom sink drains come from a buildup that starts small. These habits can help reduce buildup and prevent bathroom sink clogs.
- Fit a drain strainer. A hair catcher or drain cover sits over the drain opening and traps hair and debris before they reach the stopper or trap (This Old House, 2026). Empty it after each use, or whenever it collects visible hair.
- Clean the pop-up stopper regularly. Wipe it clean and pull out any hair wrapped around it. No universal cleaning interval has been established, so check it whenever the sink begins to drain more slowly.
- Flush with hot tap water after use. Running hot tap water down the drain after washing helps carry soap residue through the pipe rather than letting it cool and stick. Use hot tap water, not boiling water. A boiling-water method that is safe for all pipe materials has not been established.
To limit soap residue, avoid pouring unused liquid soap or shampoo directly into the sink. Residue that reaches the trap combines with hair and hardens into the blockage that these habits are meant to prevent.