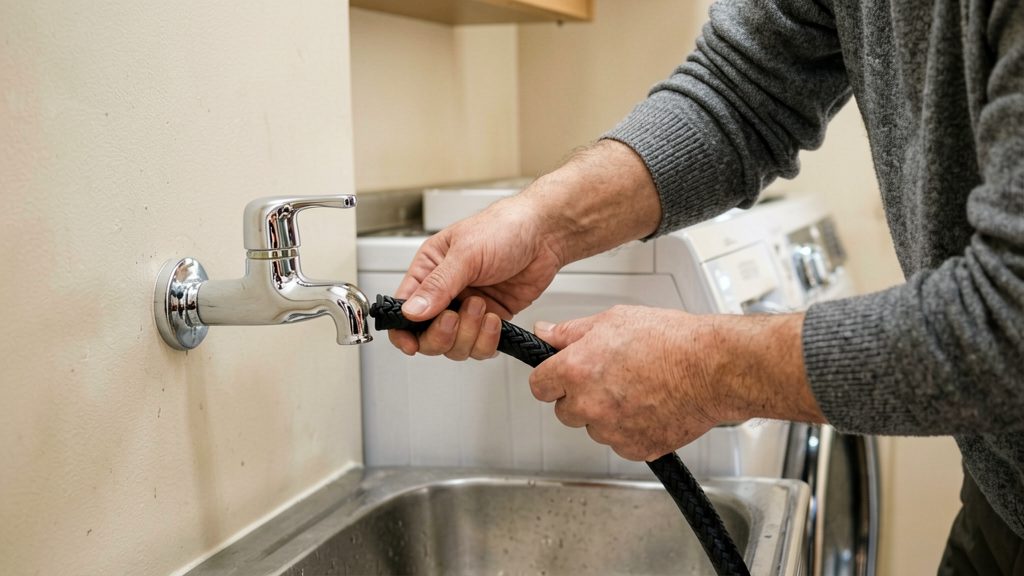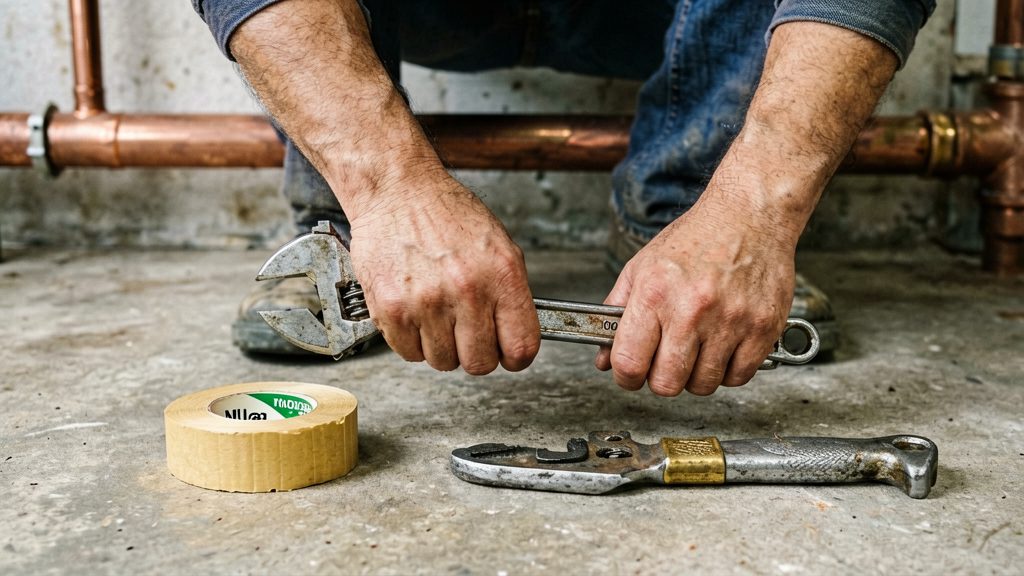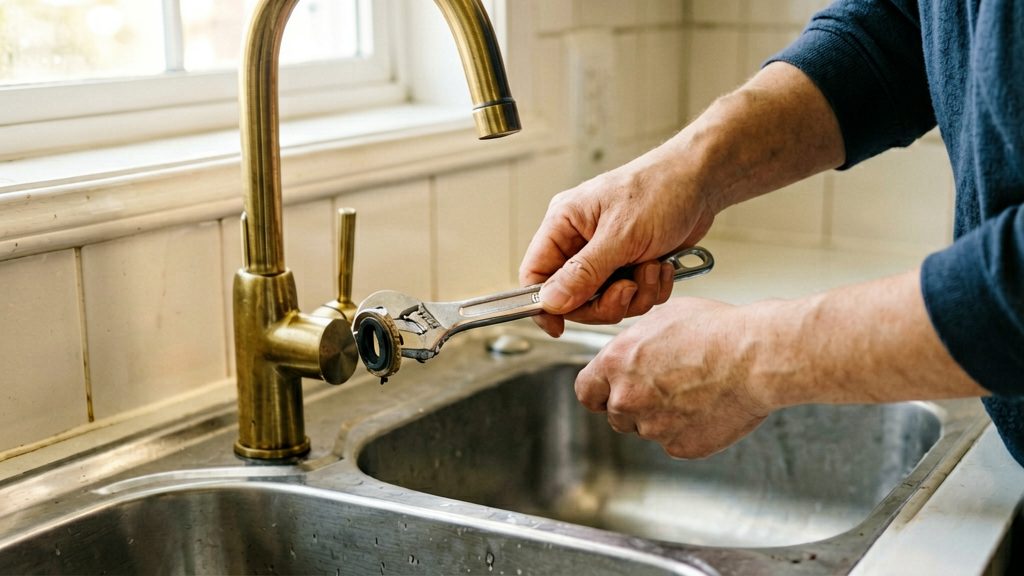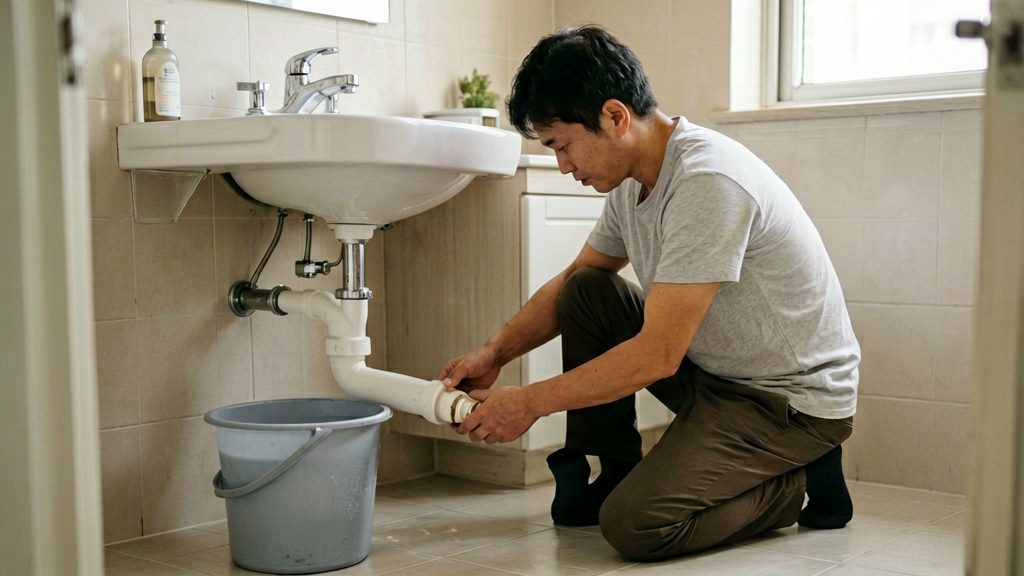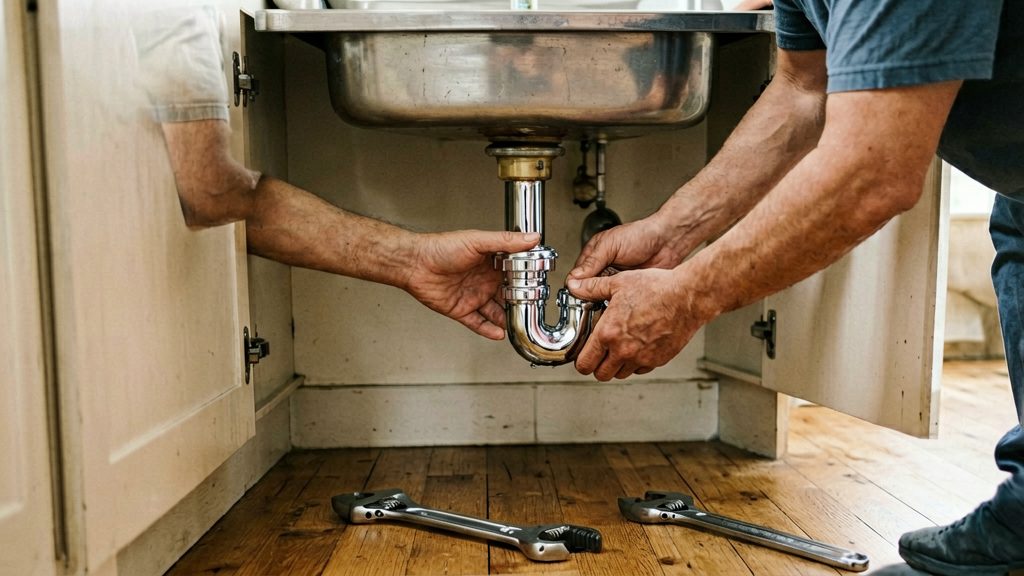
Before you open the drain, gather a few basic hand tools and the drain parts that match your sink. Gather an adjustable wrench, a bucket, towels, a screwdriver, a flashlight, a tape measure, a suitable pipe-cutting tool and a plastic scraper, along with a basket strainer, tailpiece, J-bend, wall tube, washers and the sealant specified for your sink and strainer.
Which tools do you need?
- Adjustable wrench: turns the slip nuts that hold the drain pieces together.
- Bucket: catches the water that drains from the trap when you loosen connections.
- Towels: wipe up spills and protect the cabinet floor.
- Screwdriver: handles any fasteners in the sink area.
- Flashlight: lights the space under the sink, where most of the work happens.

Which parts should you check?
- Basket strainer: sits in the sink outlet and holds the strainer basket.
- Tailpiece: the pipe that carries water from the strainer toward the trap. It attaches to the basket strainer with a gasket and slip nut (This Old House, 2024).
- J-bend: the curved section of the trap that holds water to block sewer gas.
- Wall tube: the pipe that runs from the trap to the wall waste connector. Its length has to suit your cabinet layout.
- Washers: seal the slip nut connections. Keep a few spares on hand in case one is damaged during fitting.
How do you match the kit to your sink?
Measure the sink’s outlet size and compare it with the dimensions listed on the drain kit or in the manufacturer’s instructions. No single drain diameter applies to every kit, and a kit sold for one sink may not fit another, so confirm the dimensions before you buy. Once the parts are in hand, lay them out and dry-fit them before applying any sealant or tightening the nuts, adjusting the lengths and alignment as needed (This Old House, 2024).
Should you use plumber’s putty or silicone?
Choose the strainer sealant from the sink and strainer material, not by habit. Oatey says to select the sealant according to the sink manufacturer’s recommendations, because ordinary plumber’s putty can stain porous sink materials. If the sink maker does not specify a sealant, check the product label or the manufacturer’s instructions before you buy.
For plastic basket strainers, Oatey specifies silicone, because plumber’s putty can cause fatigue failure in plastic parts. Oatey’s own plastic strainer kits therefore call for silicone, and you should follow the strainer packaging if it says the same.
| Situation | Sealant to check first | Reason |
|---|---|---|
| Porous sink material | Sink manufacturer’s recommendation | Ordinary putty can stain the surface |
| Plastic basket strainer | Silicone, per Oatey | Putty can cause fatigue failure in plastic |
| Stainless steel or other non-porous sink with no sealant stated | Compatible putty, per the strainer’s instructions | Putty is the sealant Oatey describes for this setup |
The two sealants also behave differently after installation. Plumber’s putty does not cure, so it stays soft and can be adjusted or reworked. Silicone must cure according to its product instructions before the sink is used, so do not run water or fill the basin until the cure time on the label has passed. Plumber’s putty is also not intended for pressurized connections, so do not rely on it for threaded joints.
Remove the old drain and clean
Start by putting a bucket and towels under the sink, then disconnect the trap and tailpiece, release the strainer’s mounting hardware from underneath, and lift the old strainer out from above. Removing the old components in order gives you a clear flange to clean before anything new goes in.
-
Disconnect the trap and tailpiece. Loosen the slip nuts at each end of the P-trap by hand or with channel-type pliers, and let the trapped water drain into the bucket. Then remove the J-bend, and separate the tailpiece from the strainer body. If a slip nut is stuck, avoid forcing it, because a cracked plastic nut is harder to replace than a stuck one is to free.
-
Loosen the old strainer from underneath. Hold the strainer from the sink’s upper side while you unscrew the locknut or mounting ring below. Plastic and metal strainers can differ in how they release, so check how the assembly is held before you apply force. Lift the strainer out from above once it is free.
-
Scrape away old putty and debris. Use a plastic scraper or a flexible putty knife to remove old putty from the flange and the underside of the sink. Work through any residue in the drain opening, and remove grit and loose debris.
-
Clean and dry the contact surfaces. Wipe the flange with a dry cloth, and let it air dry if it is still damp. According to Oatey, you should remove old putty and debris and clean and dry the contact surfaces before applying compatible plumber’s putty.
Choosing the sealant for the new strainer is covered in the sealant section. Note that Oatey specifies silicone for its plastic basket strainers, because plumber’s putty can cause fatigue failure in those parts. Check the sink and strainer manufacturer’s instructions before choosing a sealant.
Install the basket strainer and tailpiece
Seal the strainer flange, set it in the sink, and attach the tailpiece.
- If your sink and strainer instructions permit plumber’s putty, knead it into a putty rope about 1/2 inch thick and follow the putty steps below. If they specify silicone, skip the putty steps and apply the specified silicone according to those instructions.
- Press the rope into a continuous ring beneath the strainer flange so it forms an unbroken seal around the opening.
- Lower the strainer into the sink opening and secure it from below according to the fixture’s instructions, without overtightening (Oatey). Overtightening can crack the flange or squeeze out the putty unevenly.
- Wipe away the excess putty that squeezes out around the flange.
- Attach the tailpiece to the strainer’s outlet using a gasket and slip nut (This Old House (2024)).
Fit and connect the P-trap
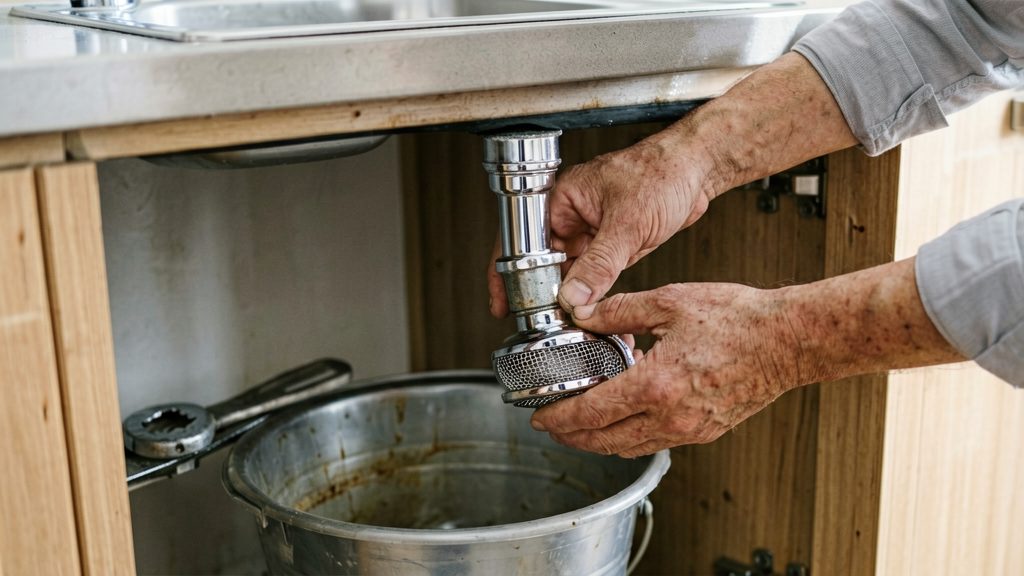
The P-trap links the sink’s tailpiece to the wall drainpipe. You join it in three stages: cut and connect the wall tube, dry-fit the tailpiece and J-bend, then assemble and tighten the nuts. Oatey’s instructions for its HDC9704B P-trap follow this order.
Cut and connect the wall tube
- Hold the wall tube against the wall outlet and mark the length needed to reach the waste connector without forcing a bend.
- Cut the tube square so both ends sit flat.
- Insert the wall tube into the waste connector at the wall drainpipe and secure the connection according to your kit’s instructions.
Dry-fit the tailpiece and J-bend
Before final tightening, assemble the loose parts without sealing them. Insert the tailpiece into the J-bend and check that the tailpiece is vertical and that the J-bend aligns with the wall tube without straining either connection. If the joint has to be pulled or angled to meet, shorten or reposition the parts and dry-fit again. Forcing a misaligned trap closed puts strain on the nuts and washers.
Assemble and tighten the nuts
- Place the slip nut and washer on the tailpiece, with the washer orientation matching your kit’s instructions.
- Insert the tailpiece into the J-bend and slide the nut onto the trap joint.
- Tighten the nuts so the joints seat fully. No single tightening value applies to every kit, so follow the instructions supplied with yours rather than tightening by feel alone.
Test the drain for leaks
Test the drain by filling the basin with water, letting it empty, and then running the tap at full flow while you check every joint under the sink. A leak at the strainer or trap often shows only when the drain carries water, so an empty sink is not a reliable test. According to This Old House (2024), the installation should be tested by running water and filling the sink while inspecting the drain connections for leaks.
Fill the basin and watch the trap connections
- Dry each joint under the sink and place a dry paper towel or cloth beneath the connections so any drip is easy to see.
- Close the drain and fill the basin with enough water to cover the strainer area.
- Open the drain and let the basin empty completely while you watch the joints as the water moves through them.
- Check the joints again once the basin is empty, since a slow seep may appear only after the water has stopped moving.
Run tap water and inspect the joints underneath
Run the tap at full flow for long enough that the trap fills and water passes through the whole drain run. Then check the places listed below while the water is still running and again after you shut the tap off.
| Location | Sign of a leak |
|---|---|
| Strainer flange, underside of the basin | Water beading or dripping from the ring around the strainer |
| Tailpiece and slip nut connection | Moisture or a drip at the nut where the tailpiece joins the strainer |
| P-trap joints | A wet spot or drip at each nut on the trap |
| Supply connections beneath the tap | Dampness at the fittings where the supply lines meet the faucet |
When should you call a plumber?
Some problems need a licensed plumber instead of another round of DIY repair. Call a licensed plumber if a leak persists after checking the affected connection according to its instructions, if the drain pipe is corroded, if a blockage returns soon after clearing the trap, or if replacing a damaged tailpiece or trap exceeds your skills or available tools. According to This Old House (2024), a licensed plumber is worth calling when the work requires significant plumbing modifications or goes beyond your skills or available tools.
Drips that persist after retightening
Follow your kit’s instructions for tightening each nut; use a tool only where those instructions call for one. Stop there. Overtightening can crack plastic nuts and washers, which creates a new leak.
If water still escapes once the joints are snug, the cause is usually a damaged washer, a worn gasket, or a cracked fitting, not a loose nut. A leak at a threaded or pressurized joint calls for a part replacement or professional assessment, not more putty.
Cracked tailpiece, damaged trap, or corroded drain pipe
Swapping a cracked tailpiece or trap is a routine repair when the new parts line up with the existing drain.
Call a plumber when:
- The drain pipe itself is corroded or perforated.
- The fix requires cutting into a wall or cabinet structure to reach the pipe.
- The replacement parts will not align without forcing the connection.
Recurring blockages after clearing the trap
If the sink drains slowly again soon after you have cleared the trap, the restriction is likely further along the drain line. A recurring blockage of this kind suggests a problem in the pipe beyond the trap, and a licensed plumber can locate and clear it with specialized equipment.