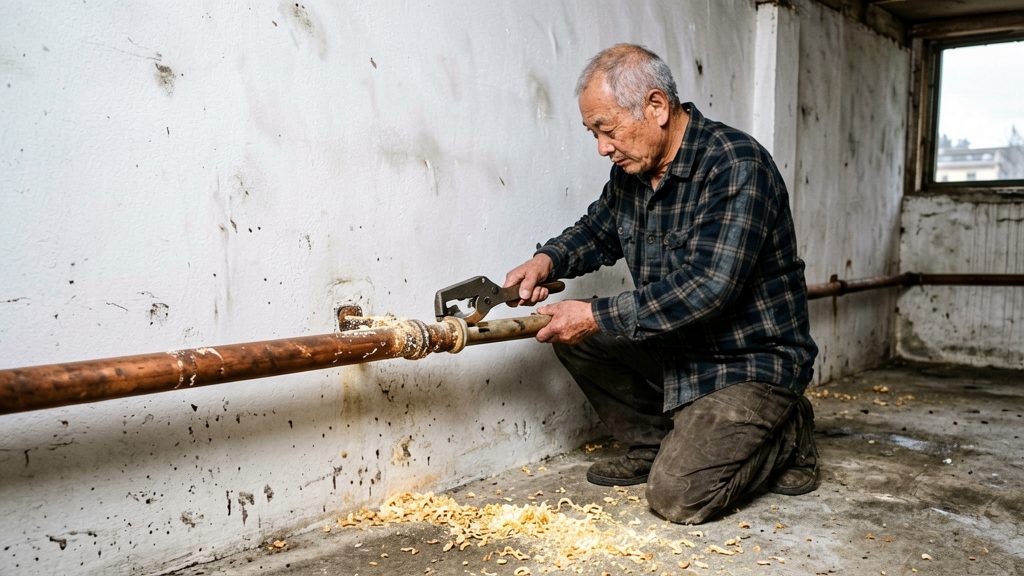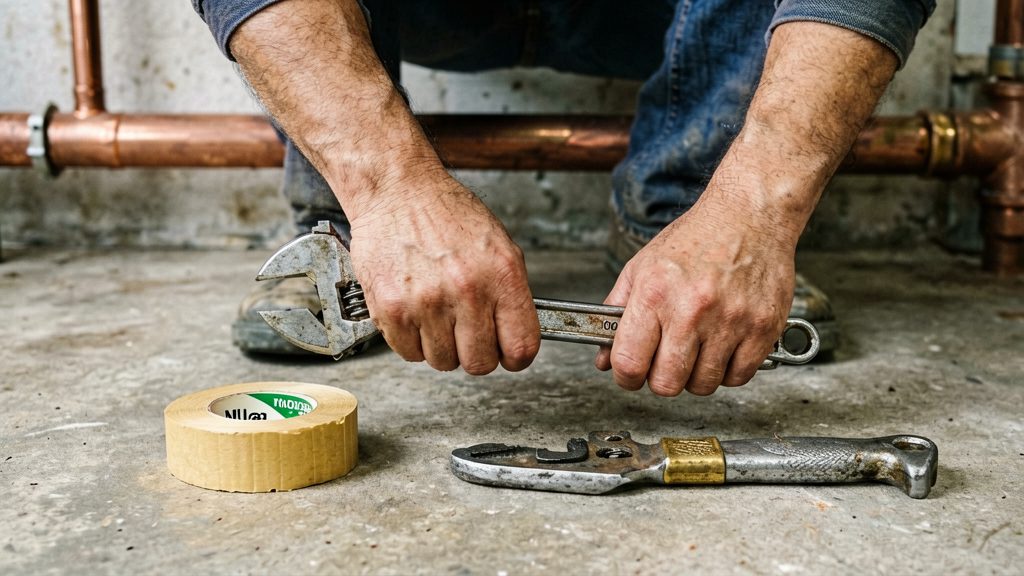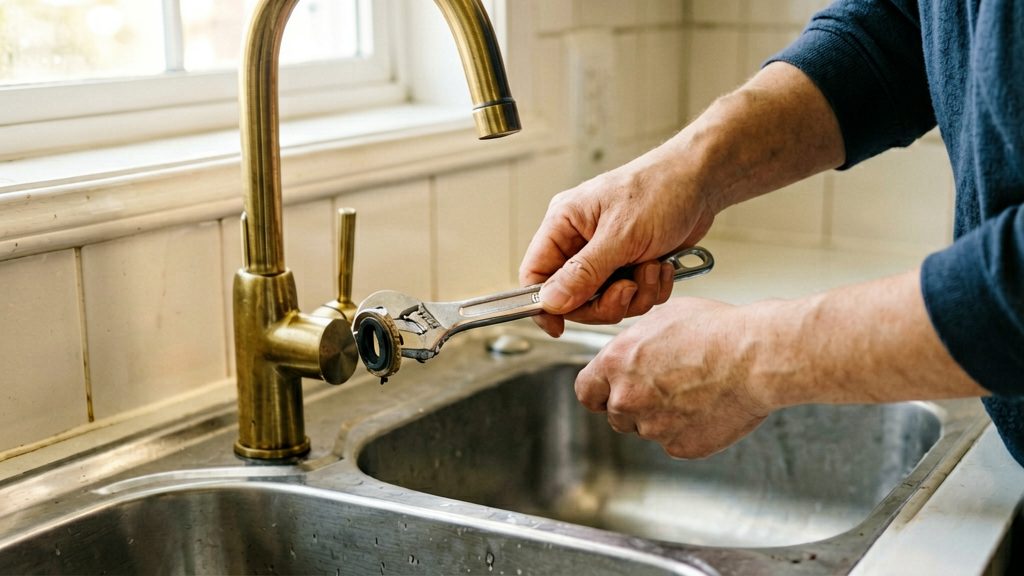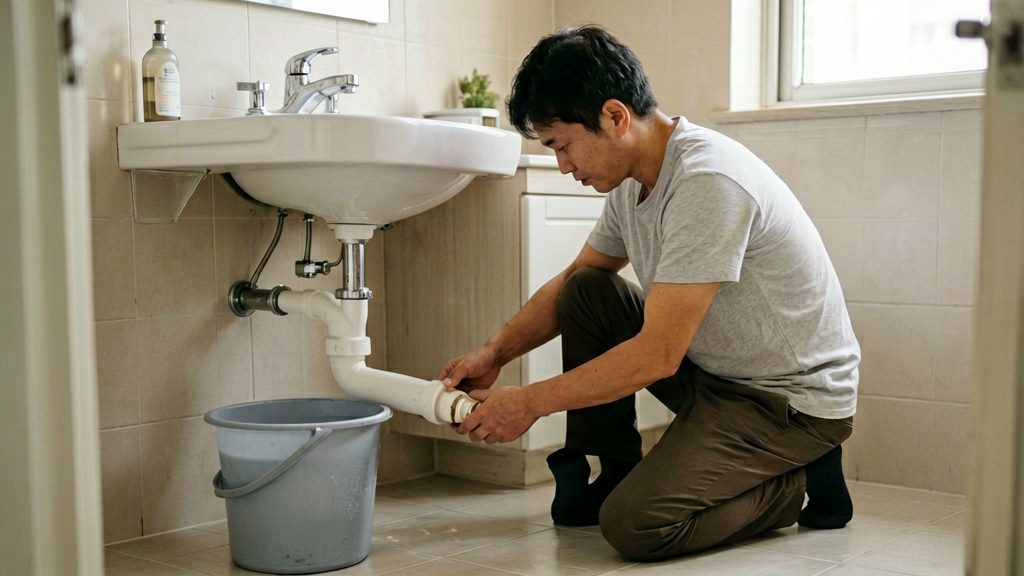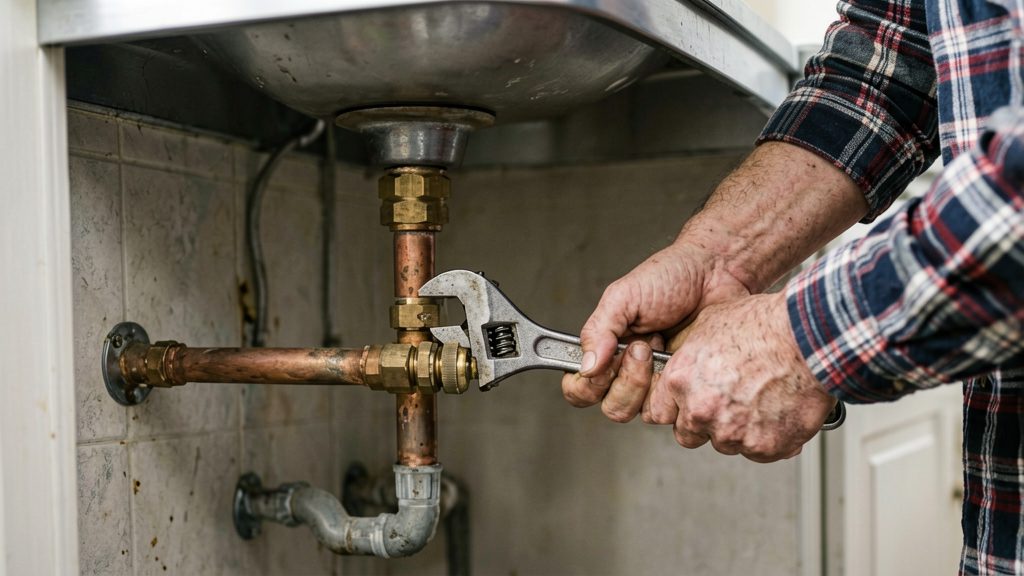
Yes. A solderless joint connects copper pipe with a mechanical fitting that grips the pipe and seals it, so no molten filler metal or open flame is needed. The three main families are push-to-connect, compression, and press fittings. Each suits different jobs, and the choice depends on whether you may need to take the joint apart later.
Can you join copper pipe without soldering?
Why solderless joints suit repairs and small installs
Solderless fittings are practical for repairs and small installs because they avoid the heat-and-flux process and the surface preparation that soldering demands. A repair often means working on a line that is already in service, and some push-to-connect fittings can be installed on wet lines once the water supply is shut off and a nearby faucet is opened to relieve pressure, according to SharkBite / RWC. Copper must still be round and free of scratches, cuts and gouges, and the pipe must be supported so side loads do not cause leaks.
Permanent versus reversible connections
A permanent connection is meant to stay in place. A reversible connection can be opened and reused. Most solderless fittings fall somewhere between these two, and the manufacturer’s instructions decide which applies.
SharkBite brass push fittings are intended as permanent connections. They can be removed with the manufacturer’s disconnect tools, but they are not designed for repeated connection and disconnection after installation, according to SharkBite / RWC. A compression connection can be disconnected by loosening the nut, but the compressed sleeve may remain attached to the tube. Follow the manufacturer’s instructions before reassembling or reusing any components.
The three solderless families
| Family | Example named in sources | How the joint is made |
|---|---|---|
| Push-to-connect | SharkBite Max | The pipe is pushed to its marked insertion depth; a stainless-steel grab ring holds it and an O-ring seals it, per SharkBite / RWC. |
| Compression | BrassCraft compression fittings | The nut and sleeve are slid onto the tube, the tube is fully inserted, and the nut is tightened over the sleeve, per BrassCraft (2020). |
| Press | Viega ProPress | A correctly selected press tool and attachment complete a full press cycle on the fitting, per Viega LLC. |
Compression fittings are not suitable for every pipe. BrassCraft’s instructions exclude thick-wall copper such as Type K, so check the tube type before buying. Press joints need the right press tool and attachment for the fitting, and a press that is not completed correctly will not seal.
Which solderless fitting should you choose?
For copper-to-copper joints, the main choice is between push-to-connect fittings, such as SharkBite, and compression fittings, such as those from BrassCraft. The right one depends on the tubing you have, the space you can reach, and whether the joint must stay permanent.
Push-to-connect versus compression
Push-to-connect fittings hold the pipe with a stainless-steel grab ring and seal it with an O-ring. The pipe must reach the tube stop inside the fitting. SharkBite states that its fittings can be installed on wet lines, provided you shut off the water supply and open a nearby faucet to relieve line pressure. Brass push fittings are meant as permanent connections. They can be removed with the manufacturer’s disconnect tools, but they are not designed for repeated connecting and disconnecting.
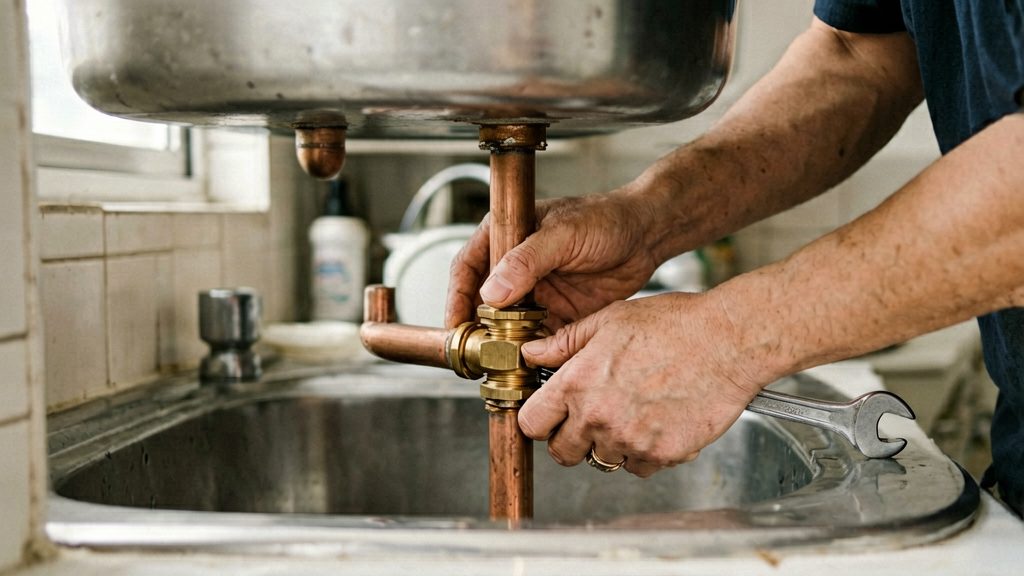
Compression fittings require you to slide the nut and sleeve onto the tube, insert the tube fully, hand-tighten the nut, then tighten it with two wrenches, one to hold the fitting and one to turn the nut. BrassCraft (2020) warns that overtightening can cause delayed failure and leaks, so the completed connection must be checked for leaks.
| Factor | Push-to-connect (SharkBite) | Compression (BrassCraft) |
|---|---|---|
| Copper requirement | Round, free of scratches, cuts and gouges | Thick-wall copper such as Type K is excluded |
| Access | Works where a second wrench cannot fit | Needs room for two wrenches |
| Wet-line work | Permitted after shutting off supply and relieving pressure | Follow the product instructions |
| Removal | Manufacturer’s disconnect tools only | Loosen the nut |
Push-to-connect usually fits better in tight spaces and when you want a joint without tightening torque to control. Compression suits work where you have room for two wrenches and the tubing matches the product’s listed types. Cost varies by product and retailer, so compare current prices before buying.
Mixed pipe connections
SharkBite Max push-to-connect fittings can join copper to compatible PEX, CPVC, PE-RT or HDPE pipe. Confirm the exact fitting model is rated for your pipe type, because compatibility is product-specific. Insertion depths also differ between SharkBite Max and first-generation SharkBite fittings, so use the chart for the fitting you actually have. Do not assume a fitting that works on copper will work on plastic.
Before installing any solderless fitting in a wall or underground, check the manufacturer’s instructions for concealed or buried use, since approval varies by product. If you rent, check your lease or local rules before changing supply lines.
Tools and checks before you start
Before cutting anything, confirm the supply is off and the line is depressurised. Then gather the tools and inspect the copper, because a solderless joint depends on a clean, round tube.
Tools to have ready
- Pipe cutter: a rotary tube cutter gives a square, clean end. A hacksaw leaves a ragged edge that is harder to seal.
- Deburring tool: removes the burr left on the inside and outside of the cut. Many tube cutters have a built-in reamer, but a dedicated deburring tool is more reliable.
- Square-cut check: a combination square or a simple gauge confirms the end sits at 90 degrees to the tube. An angled cut can stop the pipe reaching the fitting’s stop or seal unevenly.
- Wrenches: for compression fittings, two wrenches are needed, one to hold the fitting body and one to tighten the nut.
- Marker and rule: for marking the insertion depth on push-to-connect fittings.
- Clean cloth: to wipe debris and water from the tube before insertion.
Copper condition
Check the tube along the full length of the joint. It must be round, with no scratches, cuts or gouges. Damage on the sealing surface can create a leak path, and a dent or flattening will stop the tube seating properly. Replace any section that is damaged rather than trying to work around it.
Check the tube wall type as well. BrassCraft’s compression-fitting instructions exclude thick-wall copper such as Type K, so confirm the tube type and check the fitting’s compatibility with the tubing, fluid, pressure and temperature before buying.
Shutting off supply and relieving pressure
Turn off the water at the nearest shut-off valve. Then open a nearby faucet at a lower point in the system to drain the line and release pressure. Push-to-connect fittings can be installed on wet lines, but the pipe must still be depressurised before cutting, and the supply must be confirmed off before any compression or disconnect work.
How to install push-to-connect fittings
A SharkBite push-to-connect fitting holds copper with a stainless-steel grab ring and seals it with an O-ring. The job runs in order: shut off the water, cut the pipe square, remove burrs, mark the insertion depth, push to the tube stop, then restore water. Insertion depth varies by fitting, so the manufacturer’s chart for your exact model sets the mark.
Prepare the pipe
Shut off the water supply and open a nearby faucet to relieve line pressure. According to SharkBite, Max fittings can go on wet lines, but the relief step is still part of its sequence. Cut the copper square, then remove debris and burrs. The copper must be round and free of scratches, cuts and gouges, because surface damage can cause leaks.
SharkBite’s sources do not agree on deburring. One tutorial mentions emery cloth, while another warns against polishing copper the way you would for soldering. Follow the instructions for your fitting rather than sanding broadly.
Mark the insertion depth
Measure from the pipe end using the chart for your fitting, then mark the pipe with a marker. Max and first-generation SharkBite fittings have different insertion depths, so a mark taken from one chart is wrong for the other. Identify the fitting generation before you measure.
Push to the tube stop
Push the pipe straight into the fitting until the mark reaches the fitting body. The pipe must reach the tube stop. The grab ring holds the pipe, and the O-ring seals the joint. A pipe that stops short of the stop is not fully seated.
Support the piping on both sides of the fitting. According to SharkBite, unsupported piping can place side loads on the joint and cause leaks.
Reconnection rules
Removal requires the manufacturer’s disconnect tools. The fittings are not designed for repeated connection and disconnection. If a fitting was installed incorrectly, follow the manufacturer’s removal and reinstallation instructions, inspect the fitting for damage and debris, prepare the pipe correctly, and pressure-test the completed connection.
How to install compression fittings
A compression fitting seals copper when its nut is tightened and compresses a sleeve onto the tube. The order of assembly matters because the sleeve must go on before the tube is inserted. Confirm the tube type before you start: BrassCraft Manufacturing Company (2020) excludes thick-wall copper such as Type K from its compression-fitting instructions, so check the fitting’s compatibility with your tubing, fluid, pressure and temperature.
Slide the nut and sleeve on first
Before inserting the tube, slide the nut and then the sleeve over the end of the tube. The threaded end of the nut faces the open end of the tube, and the sleeve goes between the nut and the fitting body. Once the tube is pushed into the fitting, the sleeve can no longer be fitted, so this step must come first.
Insert, then hand-tighten
Push the tube fully into the fitting body, as BrassCraft Manufacturing Company (2020) specifies. Slide the sleeve up to the body, then thread the nut on by hand until it is snug. Do not use a wrench at this stage.
Final tightening with two wrenches
Use two-wrench tightening: one wrench holds the fitting body steady, and the other tightens the nut. Holding the body keeps the twisting force from transferring into the pipe or valve connected to it. Tighten the nut in small increments. No universal number of turns or torque value applies across products, so follow the instructions supplied with your fitting.
Recognising overtightening
BrassCraft Manufacturing Company (2020) warns that overtightening can cause delayed failure and leakage. BrassCraft does not provide a feel-based test for overtightening in these instructions. Follow the tightening instructions for the exact fitting rather than using resistance or grittiness as a tightening guide.
Because failure can be delayed, a connection that holds at first is not proof of correct tightening. If you suspect overtightening, check the manufacturer’s instructions for replacing components before you reconnect.
When press fittings make sense
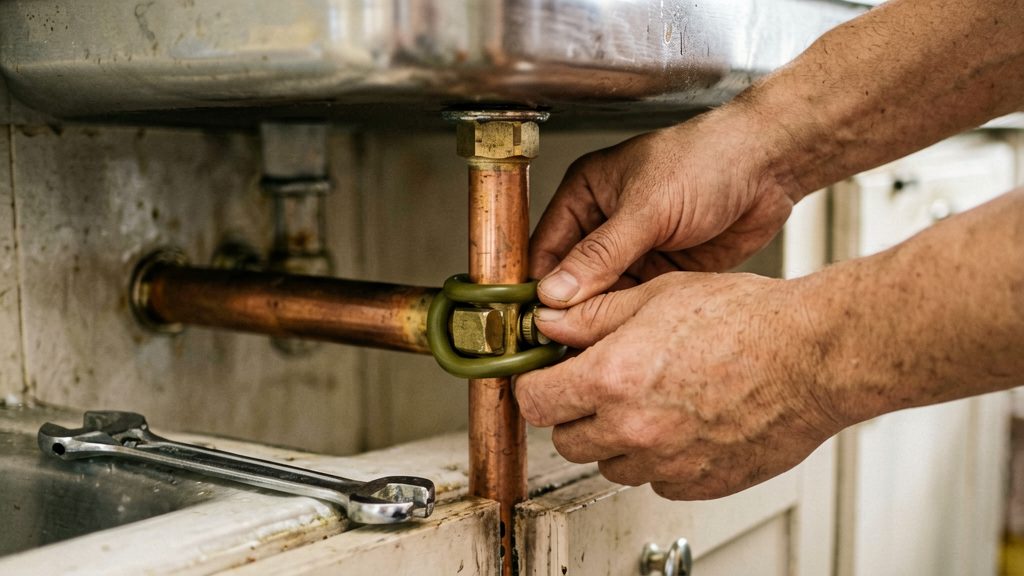
Press fittings join copper without solder or flame. A press tool squeezes a metal sleeve around the pipe and fitting, locking them together. Because the joint depends on the right tool and attachment, press work suits a homeowner project mainly when the tool is available and the job has several joints.
How the crimp makes the joint
The pipe must be cut square and deburred inside and outside. The fitting is then inspected, and its insertion depth is marked on the pipe. Use the depth specified for the exact fitting you are installing, because depths differ between products. Slide the fitting onto the tubing to the marked insertion depth, ensuring that the tube end reaches the stop. Position the specified press attachment as directed by the manufacturer, verify the insertion mark, and complete the full press cycle. According to Viega, its ProPress installation guide requires each of these steps, along with a correctly selected press tool and attachment.
Tool cost and why rentals or pros are common
A press tool and its matching attachments are a significant expense for a single job. Compression fittings need only wrenches, but BrassCraft’s compression instructions (2020) exclude thick-wall copper such as Type K and require checking the tubing, fluid, pressure and temperature ratings. Press fittings therefore trade a special tool for a more flexible choice of tubing. For a one-off repair, many homeowners rent the tool or hire a licensed plumber, and tenants should confirm with the landlord before altering any pipework.
Situations where press work suits a homeowner project
- Multiple joints on accessible copper runs, where the tool cost is spread across several connections.
- Locations where a flame is unsafe or impractical, such as near combustible materials or in tight spaces.
- Projects where you can borrow or rent the tool and have matching attachments.
Confirm the product’s approval for concealed or underground installation with the manufacturer, because approval varies by fitting type. Local rules on who may alter plumbing and whether an inspection is required also differ, so check with your local building authority before you start.
Check for leaks after installation
Test every new joint before closing walls or ceilings. According to SharkBite, you restore water to the line and check the connections. BrassCraft (2020) requires checking completed compression connections for leaks, and Viega requires testing all completed assemblies. A slow, methodical check catches most faults while the joint is still easy to reach.
Restore water slowly and watch each joint
Open the supply valve gradually rather than all at once, so the line fills without a sudden surge. Then watch every fitting you installed, not only the ones you suspect. Run a nearby faucet briefly to clear air and confirm that water reaches the new section. Keep watching for a few minutes, because some leaks appear only once the line is under steady pressure.
Dry paper towel test and visual inspection
Dry each joint completely with a clean cloth. Wrap a dry paper towel around the fitting and the tube where they meet, then check it after the line has been running. Any dampness on the towel shows a weeping joint, even when no drip is visible. Follow up with a visual inspection:
- Look for water beads or a thin film around the fitting body and the tube entry.
- Look for white or green mineral crust, which often marks a slow leak that has dried.
- Check for staining on nearby wood, drywall or insulation.
Side-load stress as a common cause of later leaks
A joint can pass the first check and fail days later. One possible cause is a side load: the weight or movement of the pipe bending the fitting instead of sitting straight in it. SharkBite states that piping must be supported to avoid side loads that could cause leaks. Add pipe straps or hangers close to each new fitting so the joint carries no weight and no bending force. Also check the copper itself. According to SharkBite, the tube must be round and free of scratches, cuts and gouges, since damage at the joint can open a leak path.
Support spacing and clamp requirements vary by product and local code. Follow the fitting manufacturer’s instructions and confirm local requirements with your building authority.
When should you call a plumber?
A solderless fitting is a reasonable repair only when the pipe is sound, its material is known, and the joint is fully accessible. When one of the conditions below applies, a licensed plumber should take over.
Joints that keep leaking after correct reinstallation
If a joint still drips after you have followed the manufacturer’s steps exactly, stop reworking it. For SharkBite push-to-connect fittings, the pipe must reach the tube stop and the copper must be round and free of scratches, cuts and gouges, according to SharkBite / RWC. A joint that still fails under those conditions points to a hidden defect in the pipe, the fitting or the support, and a professional should diagnose it.
For compression fittings, BrassCraft warns that overtightening can cause delayed failure and leakage (BrassCraft Manufacturing Company, 2020). Repeatedly tightening a weeping nut therefore risks making the joint worse, so a persistent leak at a compression nut is another reason to call a plumber.
Pipe damage, corrosion or unknown pipe material
Damage at the cut point is a common reason to stop. Dents, cuts or gouges prevent a proper seal, so the section may need to be relocated or replaced rather than fitted. Corrosion or pitting at the joint location calls for the same assessment.
Pipe identification matters just as much. SharkBite Max can connect copper to compatible PEX, CPVC, PE-RT or HDPE, but only compatible pipe is suitable. BrassCraft’s compression instructions exclude thick-wall copper such as Type K and require checking compatibility with the tubing, fluid, pressure and temperature. If you cannot identify the pipe material or wall thickness, you cannot confirm that a fitting is suitable, and a plumber should make that determination.
Concealed pipework inside walls or under slabs
Pipework inside walls, ceilings or under concrete slabs is a poor candidate for a solderless DIY repair. Pipe support is also critical: SharkBite requires supported piping to avoid side loads that can cause leaks, and that support cannot be checked once the pipe is hidden.
Local rules also apply. Nationwide permission for homeowners or tenants to alter plumbing, and universal permit or inspection requirements, have not been established. Contact your local building authority before opening walls or altering buried or hidden pipework, and have a licensed plumber carry out work that is concealed.