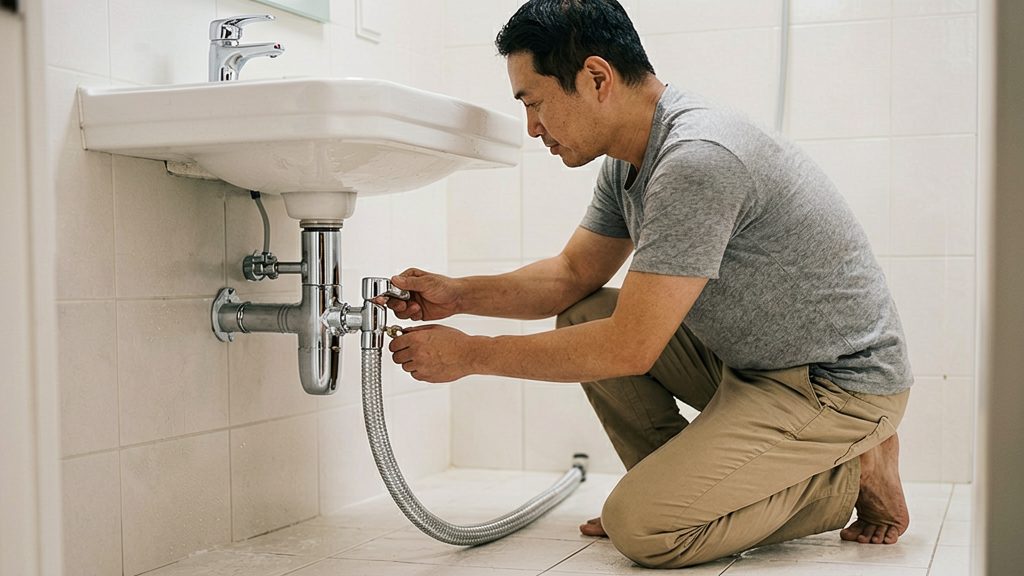
A working fixture shut-off valve can isolate a leaking fixture without shutting off water to the entire home, so it is worth locating before a leak happens. Each fixture has its own supply line, and its valve is typically where that line meets the wall or floor. The positions vary with the fixture and how the plumbing was installed, so the table below shows the usual locations, and the steps after it explain how to find a valve that is not where you expect.
Where is the fixture shut-off valve?
| Fixture | Typical valve location |
|---|---|
| Sink or faucet | Under the sink |
| Toilet | Near the floor, behind the toilet |
| Dishwasher | Under the sink or in a nearby cabinet |
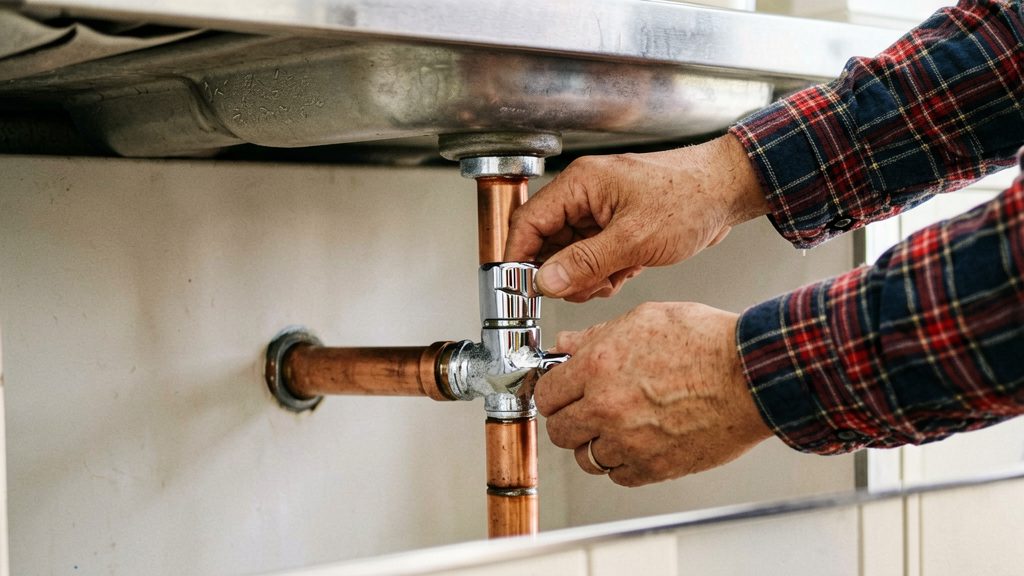
Tracing the supply line is the most reliable way to find a valve in an unexpected spot. Follow the flexible hose or pipe from the fixture’s inlet back toward the wall or floor. The valve sits on that line, usually where it emerges from the wall or floor. If the line runs into a cabinet, check inside the cabinet before looking elsewhere.
For a washing machine, the valves are at the point where the inlet hoses connect. Check the wall behind the appliance first. If no valve is visible, consult the manufacturer’s installation instructions or contact a plumber rather than guessing at the layout.
Tenants should confirm with the landlord before operating shared building valves or replacing a fixture stop, because the rules depend on the property and applicable regulations.
Identify your shut-off valve type
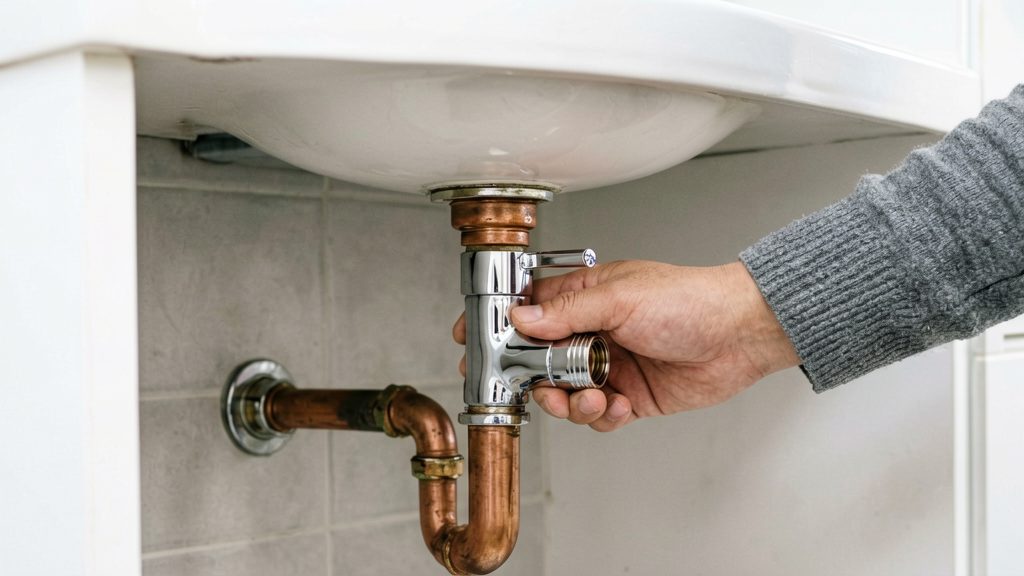
Fixture shut-off valves use one of two handle mechanisms, and body shape is a separate feature. Check both before you operate a valve.
Quarter-turn ball valves
A quarter-turn stop opens or closes through a 90-degree handle turn. Handle shapes and internal mechanisms vary, so identify the model from its markings and manufacturer’s instructions. According to BrassCraft, its G2 quarter-turn stops control water flow to a fixture or appliance with that 90-degree handle turn. Because the lever only moves a quarter turn, its position relative to the pipe tells you whether the valve is open or closed. Confirm which position means “off” against the product labelling or manufacturer’s instructions, because the handle-position rule is not universal across models.
Multi-turn compression stops
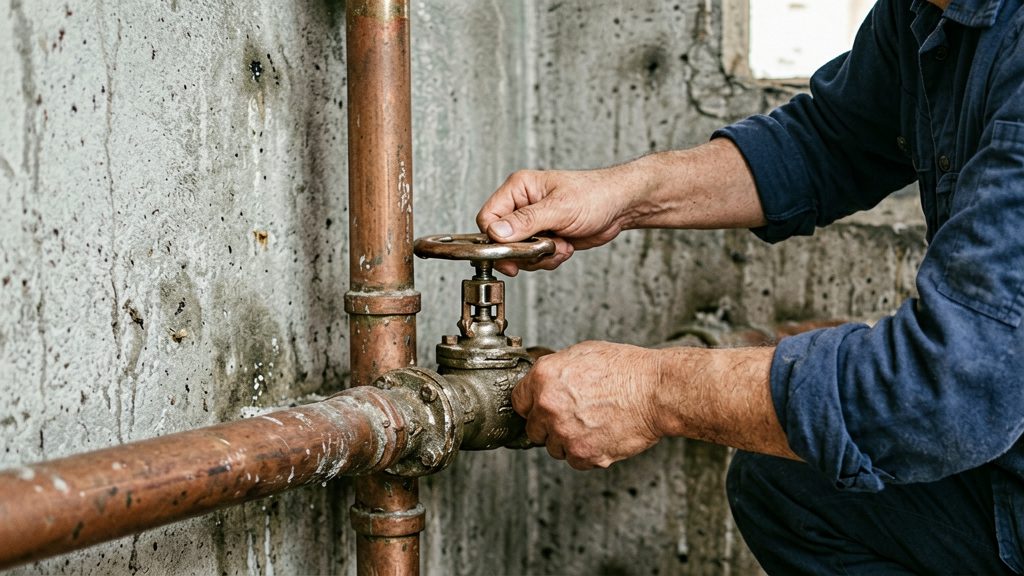
A multi-turn stop takes several handle turns to open or close; its handle may have different shapes, so confirm the operating instructions for the model. It takes several turns to move from fully open to fully closed. Turning the handle raises or lowers a stem, and a washer at the stem tip presses against a seat to stop the flow.
Angle stops and straight stops
An angle stop has its inlet and outlet at a right angle, so the supply pipe enters from the wall or floor and the outlet points toward the fixture. A straight stop has its inlet and outlet in a line. Identify the body shape where the supply line connects to the valve. Handle type and body shape are separate, so a valve should be identified by both.
| Feature | Quarter-turn ball valve | Multi-turn compression stop |
|---|---|---|
| Handle | Lever | Round knob |
| Movement | 90-degree turn | Several full turns |
| Closing action | Rotating ball blocks flow | Washer presses onto a seat |
Shut off water to a sink
You can isolate a basin faucet without shutting off the whole house. Each faucet has a hot and cold stop, and both must be closed before you work on the faucet.
Close the stops by hand
- Open the cabinet doors and find the two supply stops on the pipes feeding the faucet.
- Turn each stop clockwise by hand until it stops. Moen instructs users to close faucet shutoffs clockwise.
- Check the handle type. Confirm the direction and handle travel in the manufacturer’s instructions for your valve.
Catch drips with a bucket
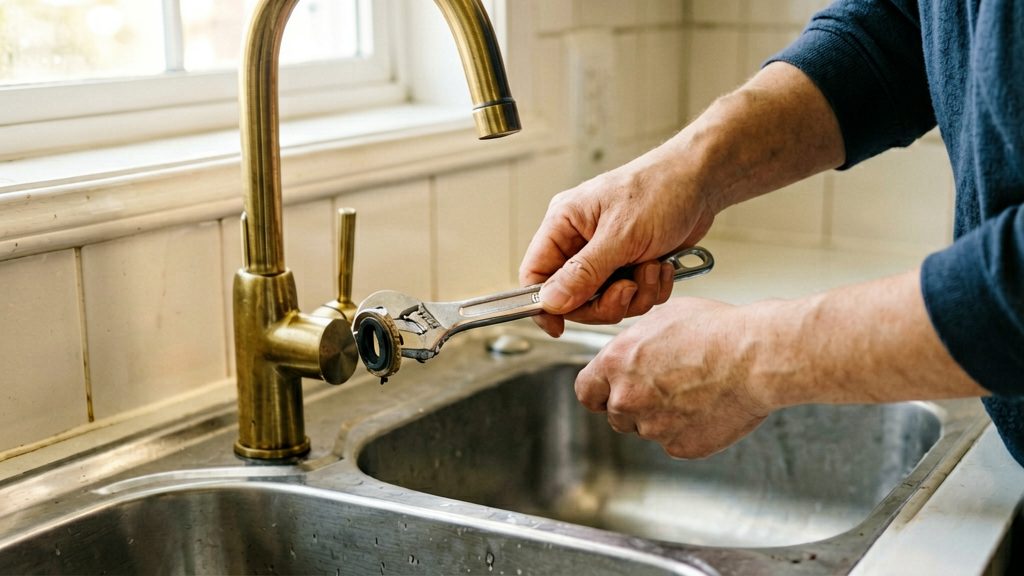
Place a bucket and a rag under the supply connections before you start turning. After closing both stops, open the faucet to drain residual water through the spout into the sink; keep the bucket beneath the supply connections to catch drips when they are disconnected. Moen advises this drain step before replacing a faucet.
Protect the cabinet floor
Lay a towel across the cabinet floor under the valves and connections. Clear out anything stored there first. Water that soaks into a cabinet base can stain or damage the wood, so keep the towel dry by wringing it out as needed.
Shut off water to a toilet
A toilet has its own supply stop, so you can cut water to it without touching the rest of the home. Start by locating that stop, close it, then empty the tank so the work area stays dry.
Locating the stop behind the toilet tank
Kneel or crouch behind the bowl and look at the base of the tank’s back wall. The stop is usually a small valve with a handle or a slotted head, and the supply line runs from it up into the tank.
If you cannot see the valve, check the wall or floor behind the toilet from the side, as some installations place the stop lower or further along the wall. Shutting off water to a fixture this way isolates only that fixture, so the rest of the house keeps running.
Flushing to empty the tank and bowl
Once the stop is closed, flush the toilet. This drains most of the water from the tank and bowl, which reduces the amount you have to clean up before inspecting or repairing the fill valve. Flush once and watch the tank: it should not refill while the supply stop is closed. If fresh water enters, stop work and arrange effective isolation before loosening any connection or removing the fill valve. If it keeps filling, the stop may not be fully closed.
Sponging remaining water from the tank base
Some water stays in the bottom of the tank and in the supply line after flushing. Use a sponge or cloth to soak up what remains at the base of the tank, then wring it into a bucket. Keep a towel on the floor around the base to catch drips.
Repeat the sponging until the tank base is dry before removing the fill valve or lid parts.
Can you isolate a shower or tub?
Yes, in many homes. Shower and tub valves do not always have their own stops, though, so the first step is finding out whether they exist and where they sit.
Where to look for shower and tub stops
Tub and shower shutoffs may be reached through a closet directly behind the shower, or through an access panel in the wall around the tub. If neither is present, some installations require shutting off the home’s main supply instead (Moen, 2026). Check the panel or closet first, since that is where isolating stops are most often installed.
Look for two supply lines, one hot and one cold, entering the valve body. If you find stops on both, you can close the hot and cold supplies separately, which keeps the rest of the water flow in the house intact.
Identifying hot and cold stops on shower valves
Hot and cold supply lines are usually marked, and the hot line is on the left when you face the valve from the front in most standard layouts. Confirm the labelling on your specific valve, since layouts vary by manufacturer.
Optional PosiTemp service stops
Some Moen PosiTemp shower valves include optional hot and cold service stops, while other versions lack them and need another way to isolate the supply (Moen, 2026). For the PosiTemp stops covered by Moen’s guide, a vertical slot indicates closed and a horizontal slot indicates open. Moen warns against removing the cartridge or the stop retaining clips, so do not pull these components out while adjusting the stops (Moen, 2026).
| Stop position | Slot orientation (PosiTemp, per Moen) |
|---|---|
| Closed | Vertical |
| Open | Horizontal |
Verify the water is off
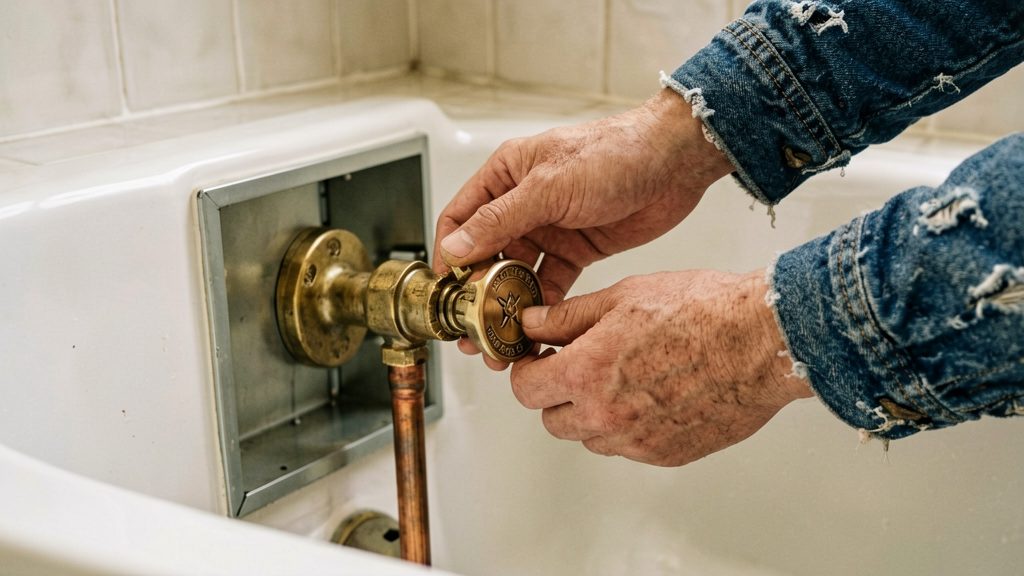
Once the valve is closed, confirm that the fixture is actually isolated before you start work. Open the faucet or shower handles and watch for flow. Moen instructs users to open the faucet or shower handles to verify that the water supply is completely off. Allow trapped water to drain through the open fixture. If flow continues instead of stopping, the supply is not fully isolated; stop work and confirm the correct valves are closed before continuing.
Keep the test short. Opening the handle is only a check, so leave it open while you verify, then move on to draining.
Draining the remaining water: Water trapped in the pipe between the valve and the fixture will keep flowing for a short time after the valve is closed. Leave the handle open so this residual water drains out through the fixture. Before replacing a kitchen or bathroom faucet, Moen advises closing both the hot and cold supply valves and then opening the faucet to drain what remains. For a toilet, flushing helps drain the remaining water before inspection, according to This Old House (2026).
Watching for drips: After the water has drained, watch the valve and the fixture for drips. Any water that continues to appear after the handle is open points to a valve that has not fully closed or a supply line that is still pressurised. Recheck the valve position before you touch any fittings.
What if the valve won’t close?
If a fixture stop is stiff, seized, or leaks around the handle, work through the steps below in order. Stop as soon as the water is isolated, or when you reach a step you are not comfortable doing.
Easing a stiff valve
Turn the handle slowly in the closing direction. Apply gentle, steady pressure and do not force it. Forcing a stuck valve can damage the valve body or its connection to the pipe. No safe force limit applies to every valve, so if the handle does not move with steady pressure, stop and move on to the main shut-off or a plumber.
Tightening a leaking stem packing nut
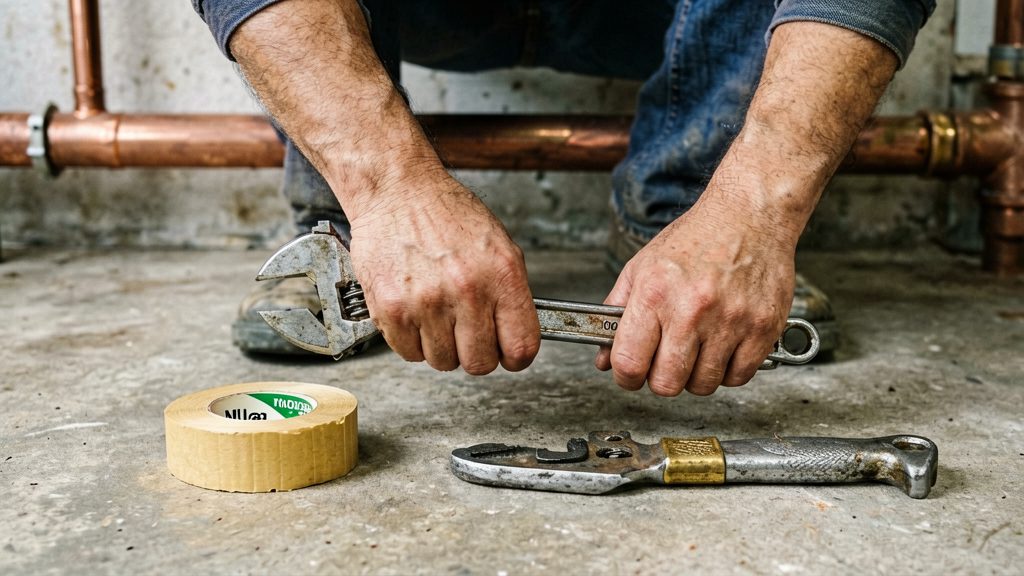
If water seeps from around the handle or stem, the packing nut under the handle may be loose. Check the valve manufacturer’s instructions to establish whether it has an adjustable packing nut and how it may be serviced. If the model or procedure is uncertain, have a licensed plumber handle the leaking stop. Stop as soon as the leak stops, because overtightening can make the handle hard to turn. Place a towel and a bucket below the valve first.
If the leak continues after the nut is snug, the internal packing or washer is probably worn. Replacing the valve or its internal parts is a job for a licensed plumber if the valve is hard to reach or the repair is beyond your experience.
Escalating to the home’s main shut-off valve
If the fixture valve cannot be closed, shut off water to the whole home at the main shut-off valve. According to Moen, some installations require shutting off the home’s main supply. Moen also requires shutting off the water supply before any faucet repair, because failing to do so can cause flooding or injury.
Tenants should confirm with the landlord or property manager before operating shared building valves or replacing fixture stops. Requirements depend on the property and applicable rules.
Restore water and check for leaks
Reopen the supply slowly. Once the shut-off is closed and the fixture is drained, turn the valve back on gradually rather than snapping it fully open. A fast opening sends water against closed fixture parts and can cause water hammer, the knocking noise produced when flow stops abruptly. Follow the stop and fixture manufacturers’ instructions for reopening the supply, including whether the faucet should be open during flushing, and check the connections for leaks as water returns.
Check the connections as soon as water returns. Look at the compression nuts and supply connections under the sink, behind the toilet, or at the dishwasher or washing machine valve, and watch for drips at each joint. Dry a connection with a paper towel, wait a few minutes, and check again. If a compression connection drips, shut off its water supply and relieve pressure before adjusting it according to the manufacturer’s instructions; overtightening can damage the connection.
Clear air from the faucet aerator after reopening. Air trapped in the supply line can make water spurt or sputter when the tap is first opened. Unscrew the aerator at the spout, run the tap for a short time with the screen removed, then refit the aerator. Running water through it clears the trapped air and any debris dislodged during the work.
If a connection continues to leak after a snug retightening, close the valve again and contact a licensed plumber.