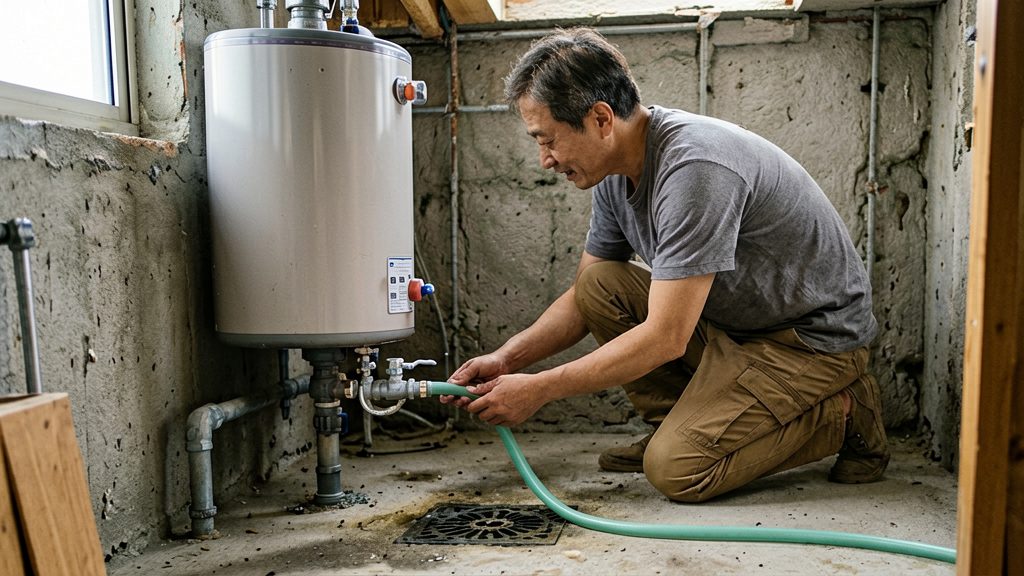
Sediment that builds up inside a water heater tank reduces heat transfer from the heat source to the water, so the tank heats less effectively. Draining and flushing the tank removes these deposits and helps restore that heat transfer. The section below explains how the buildup forms and why periodic draining helps.
Why drain your water heater tank?
Over time, sediment accumulates at the bottom of the tank.
How sediment reduces heating efficiency
Heat transfer is the movement of heat from the heat source into the water around it. A layer of sediment slows that movement, so the water receives less of the heat the unit produces. The effect applies to standard storage tanks, where water is heated and held inside the tank itself.
Why periodic draining helps
Draining and flushing remove the deposits that have collected in the tank. GE Appliances recommends draining and flushing annually to remove these deposits. Treat one year as a general guide only. The owner’s manual and the sediment conditions in your water supply determine the right interval for your unit.
Heavy sediment can also block the drain valve.
The table below sets out the draining sequence in the order given by the cited manufacturers and research body.
| Step | What to do | Source |
|---|---|---|
| 1. Cut power | Electric heaters: switch off at the circuit breaker before draining, since running elements without water can damage them. Gas heaters: set the control as the manufacturer’s instructions specify, as procedures vary by model. | GE Appliances; PNNL Building America |
| 2. Cool the water | After shutting off the heat source, run a hot-water faucet until the water is cool. | A. O. Smith |
| 3. Gather supplies | A garden hose, rags, and a flathead screwdriver if the drain valve requires one. | PNNL Building America |
| 4. Shut the cold supply | Close the cold-water supply, then open a hot-water faucet to admit air as the tank drains. | GE Appliances |
| 5. Drain | Attach the hose to the drain valve near the tank bottom and run it to a spot lower than the tank bottom. | PNNL Building America |
| 6. Flush | With the hose connected and drain valve open, reopen the cold supply, then repeat flushing and draining until the water runs clear. | GE Appliances |
| 7. Refill | Close the drain valve, open the cold inlet, and keep a hot-water faucet open until the flow is smooth. Restore heat only after the tank is full. | PNNL Building America |
| 8. Blocked valve | If sediment stops the tank from draining, contact a plumber or service technician. | A. O. Smith |
How often should you drain it?
No single date suits every tank. GE Appliances recommends draining and flushing annually to remove deposits, while the reviewed A. O. Smith manual calls for an initial drain and flush after six months, then at least annual maintenance, with more frequent flushing when water conditions require it. Use the annual figure as a baseline. Your model’s owner’s manual sets the interval for that unit, and your water supply and usage determine whether you need to go sooner.
Water hardness and mineral content
Sediment builds up as minerals in the water settle inside the tank. Hard water carries more dissolved minerals, so tanks on hard supplies usually accumulate sediment faster and need checking more often than the annual baseline. If you know your water is hard, inspect the tank earlier in the cycle.
Heavy daily hot-water use
Drawing large volumes of hot water every day brings fresh, mineral-carrying water into the tank more often, which speeds up sediment accumulation. Follow your model’s maintenance instructions and adjust the flushing interval according to water conditions and the amount of sediment found during maintenance.
Warning signs that call for an early drain
- Rumbling noises from the tank during heating, which can indicate sediment disturbed by the heat source.
- Hot water running out sooner than usual or arriving lukewarm.
- Discoloured or gritty water at a hot tap.
Tools and safety checks
Draining a tank needs only a few basic supplies. According to Pacific Northwest National Laboratory, Building America Solution Center (2025), a garden hose, rags, and a flathead screwdriver, if the drain valve requires one, cover the basics for draining and flushing. Check the hose end against the drain valve before you start, so you are not improvising a connection while water is in the tank.
Keep rags within reach to wipe drips and dry the valve area. Use the screwdriver only if the drain valve needs one. Many valves are operated by hand, so check the manufacturer’s instructions for your model before you reach for a tool.
Checking the drain valve
Before you release any water, confirm the drain valve works. Close it, then turn it gently in both directions by hand or with the screwdriver. It should turn freely without catching or grinding, and it should close fully and stop leaking when closed. If the valve feels stiff or drips when shut, do not start draining.
Clearing the work area
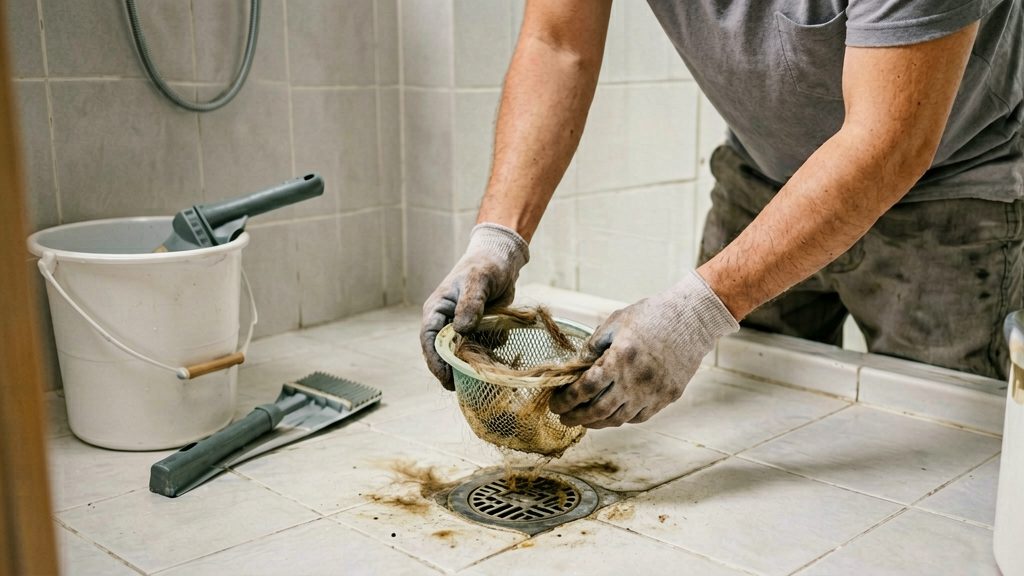
Choose a work area with a floor that drains easily and that is clear of anything you could knock over or soak. Route the hose so it runs from the valve to its discharge point without kinks. Place a bucket directly under the drain valve to catch the first water and any loose debris, and keep the bucket within reach of your hose outlet so you can see the flow.
Shut off heat and cool the water
Before draining, cut the power or gas supply to the heater. Once the heat source is off, the water inside the tank still stays very hot, so wait for it to cool before you open any valve.
Electric water heaters
Switch off the electric water heater at its circuit breaker before draining. Operating the electric heating elements without water covering them can damage them, so the breaker must be off before the tank empties. Confirm the breaker is off at the water heater itself, as a labelled panel can be misleading.
Gas water heaters
Cooling the water
Run a hot-water faucet, such as a kitchen or bathroom tap, until the water feels cool. This reduces the risk of scalding when you open the drain valve. The tank is not empty at this point, so do not treat this step as a substitute for the cold-water shut-off described later in the drain procedure.
When to call a professional
If the drain valve will not open or water does not flow out, sediment may be blocking it.
How to drain a water heater tank
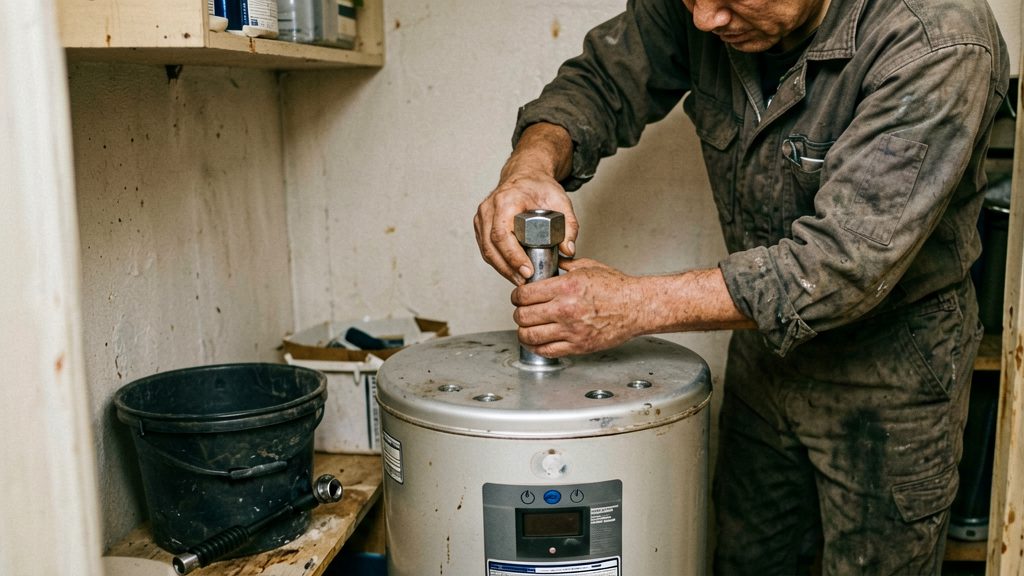
Draining a storage tank by gravity means connecting a hose to the drain valve, closing the cold supply, and letting water flow out to a point lower than the tank bottom while air enters through an open hot tap. Work on the tank only after the heat source is off, and follow the manufacturer’s instructions for your model.
Prepare the tank
Before you open anything, shut off the heat source.
Next, run a hot-water faucet until the water is cool, which reduces the risk of scalding. Then close the cold-water supply valve at the top of the tank. Closing this valve first stops fresh water from entering while the tank empties.
Connect the hose
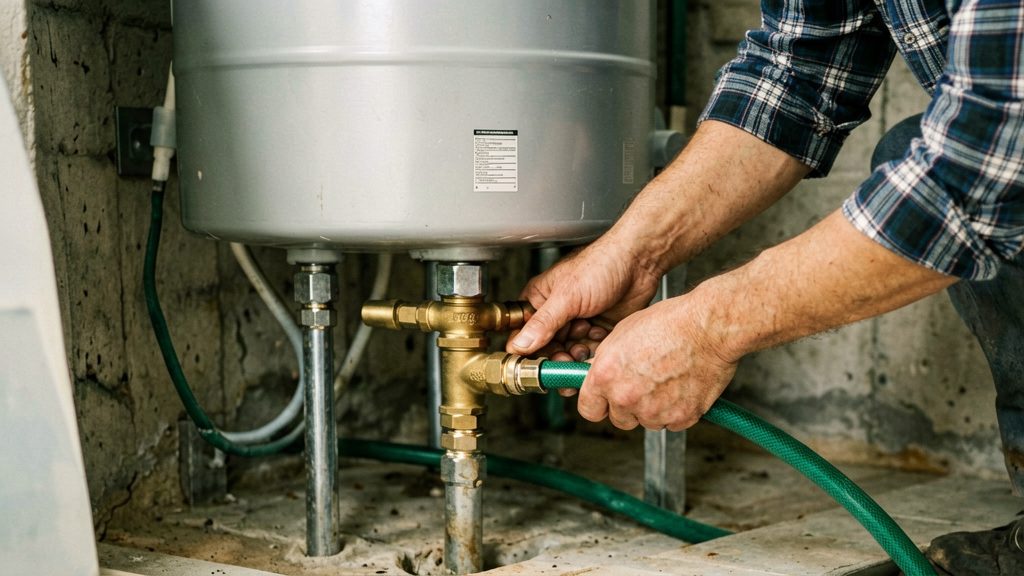
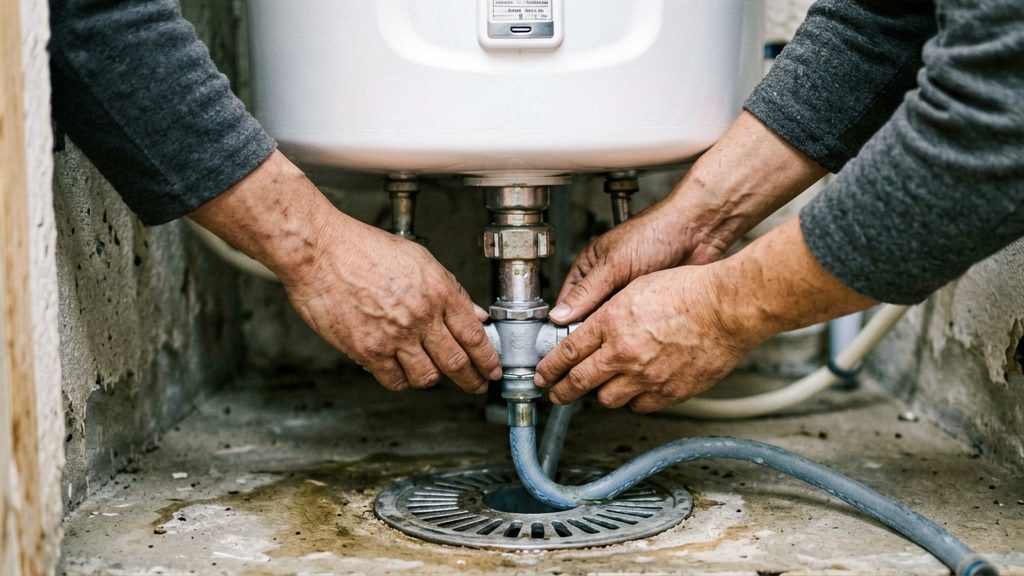
Attach the hose to the drain valve near the bottom of the tank. Route the other end to a suitable location lower than the bottom of the tank, such as a floor drain or outdoor spot, so gravity carries the water out.
Open the hot tap and drain
Open a hot-water faucet somewhere in the house. This lets air enter the tank as the water drains, which prevents a vacuum that slows or stops the flow. Then open the drain valve by hand or with the screwdriver.
Water will flow for a while, and the time depends on the tank size and how much sediment is present. No fixed duration applies to every model, so watch the hose until the flow slows to a trickle.
Flush sediment and refill safely
Once the tank is empty, sediment remains on the bottom. Flushing removes that residue, and refilling must follow a specific order so the tank does not overheat.
Flush the remaining sediment
GE distinguishes draining from flushing. After the tank is emptied, reopen the cold-water supply while the hose stays connected and the drain valve stays open. Water entering the tank stirs up deposits, which then leave through the hose (GE Appliances). Repeat this flush-and-drain cycle until the discharged water runs clear (GE Appliances).
No fixed duration applies to this step, so judge by the water’s appearance rather than by a timer.
Refill with the hot tap open
Before refilling, close the drain valve. Open the cold-water inlet, then open a hot-water faucet in the house and leave it running until the flow is smooth (Pacific Northwest National Laboratory, Building America Solution Center, 2025). The open faucet lets trapped air escape, so the tank fills without air pockets.
Restore heat only when full
Restore heat only after the tank is full (Pacific Northwest National Laboratory, Building America Solution Center, 2025). For an electric unit, switch the circuit breaker back on (GE Appliances).
What if the tank will not drain?
If water stops flowing before the tank is empty, check that the hot-water faucet is open to admit air and that the discharge hose is unobstructed and routed to a suitable location below the tank bottom. If the tank still will not drain, contact a plumber or service technician. Work through these three checks in order, starting with the simplest, before you assume the tank is faulty.
Sediment clogging the drain valve opening
The same deposits can also settle around the drain valve opening and block it. A partly blocked valve usually produces a weak trickle or stops after a few seconds.
To clear it, gently open the drain valve and watch the flow. If water comes out in spurts with grit, let it run until it clears. If nothing comes out, try the next check before forcing anything.
Hose kinks or restricted discharge flow
A kinked or pinched hose stops flow even when the valve is fully open. Check that the hose runs in a smooth, downward path from the drain valve to the discharge point. A hose that rises or bends sharply will hold water back.
Also check the far end. A hose resting in standing water, or one with its outlet below a clogged floor drain, can back up and slow the tank to a trickle. Straighten the hose, remove any debris from its outlet, and confirm the cold-water supply is closed.
Seized drain valve that will not open fully
A drain valve can seize from mineral buildup, especially if it has not been operated for a long time. Turn it slowly, and stop if it resists heavily instead of forcing it.
If the valve still does not open fully or does not reseal, stop operating it and contact a plumber or service technician to assess the valve and any possible blockage.
When to call a plumber
Call a licensed plumber, or the manufacturer’s service technician, if draining reveals an electrical fault, a drain valve that cannot be repaired, or a leak from the tank or its connections. Any of these means the job has moved beyond a routine drain and flush.
Burning smell, scorched wiring or electrical faults
Stop immediately if you notice a burning smell, discoloured or scorched wiring, or a breaker that keeps tripping. For an electric water heater, switch it off at its circuit breaker and leave it off. A licensed electrician or the manufacturer’s service technician should inspect any damaged wiring before the unit is used again.
Damaged, leaking or unrepairable drain valve
If the drain valve is cracked, drips when closed, has stripped threads or cannot be fully shut, stop draining. Sediment can also block the valve. A. O. Smith recommends contacting a plumber or service technician when the tank will not drain. A plumber can judge whether the valve can be repaired or needs replacing.
Leaks from the tank body or connections after draining
Water seeping from the tank shell, or from the inlet, outlet or fittings after the tank has been drained or refilled, needs a professional assessment. Close the drain valve and the cold-water inlet, and keep the heat off. If you smell gas, leave the area and contact the gas emergency service.
Tenants
Check your lease and get the landlord’s written approval before draining, repairing or replacing any part of the unit.