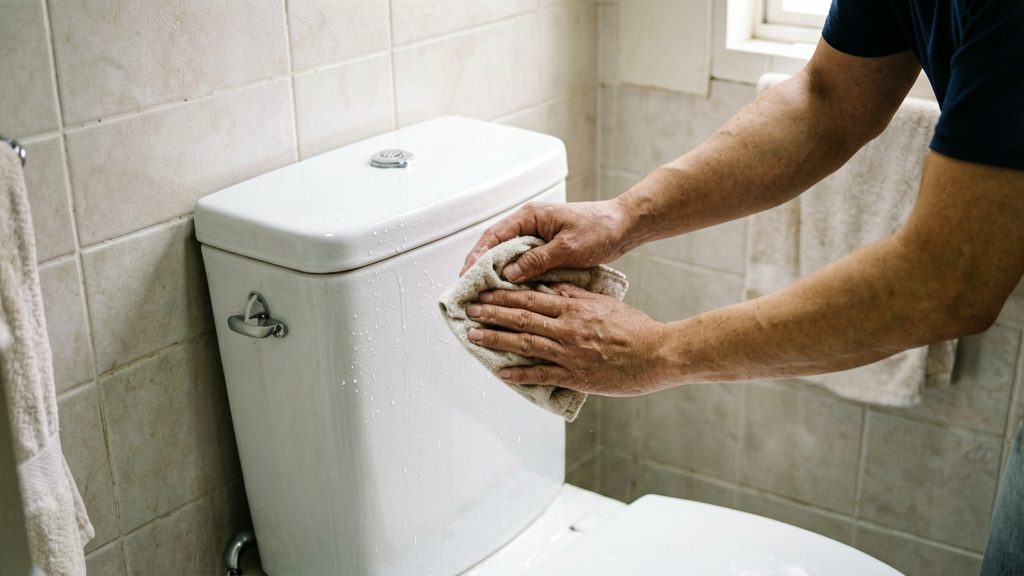
A toilet tank sweats when warm, humid air condenses on its cold outer surface. The tank holds cold water from the supply line, so its exterior can drop below the temperature of a warm, moist bathroom. Water vapour in the air then turns to liquid droplets on the porcelain, according to This Old House (2026). The droplets do not harm the toilet itself, but they run down the tank and can collect on the floor.
Why is my toilet tank sweating?
Condensation forms wherever moist air meets a surface colder than the air’s dew point. Warm air holds more water vapour than cool air. When it touches a surface below its dew point, the vapour settles as water. The tank exterior often becomes the coldest surface in the room, which is why droplets gather on the tank while the walls around it stay dry.
Why sweat matters
Persistent tank condensation can damage flooring and the subfloor and encourage mold growth, according to This Old House (2026). Water that drips off the tank and pools at the base of the toilet can soak into the floor over time, so repeated sweating deserves attention even when each episode looks minor.
How tank temperature relates to room air
Sweating depends on the gap between the dew point of the room air and the surface temperature of the tank. The dew point rises as room air becomes more humid. A bathroom that is steamy after a shower can therefore produce condensation on a tank that stays dry in drier air. Cold water entering the tank lowers its surface temperature, which can push the tank below the dew point while the rest of the room remains above it.
The table compares the main approaches to a sweating toilet tank and the conditions that limit each one.
| Approach | What it does | Conditions and limits |
|---|---|---|
| Check for a running toilet or leak first | A continuously running toilet adds fresh cold water to the tank, which can worsen sweating (This Old House, 2026) | Confirm there is no actual leak before treating the moisture as condensation (This Old House, 2026) |
| Bathroom exhaust fan vented outdoors | Removes humid air during and after showers (U.S. Environmental Protection Agency, 2026) | Outdoor air can add moisture in warm, humid climates (U.S. Environmental Protection Agency, 2026) |
| Opening a window | Ventilates the bathroom when outdoor conditions allow (U.S. Environmental Protection Agency, 2026) | Same outdoor-humidity limit as above; unsuitable in humid weather (U.S. Environmental Protection Agency, 2026) |
| Air conditioning or dehumidifier | Lowers bathroom humidity, reducing the moisture that condenses on the tank (This Old House, 2026) | Effect depends on room conditions; EPA’s 30%–50% indoor relative humidity range is general guidance, not a guarantee of a condensation-free tank (U.S. Environmental Protection Agency, 2026) |
| Adjustable anti-sweat valve | Mixes some hot water into the cold supply to warm the tank water and reduce condensation (This Old House, 2026) | Hot-water contribution can be shut off when unnecessary (This Old House, 2026). Orientation and temperature settings were not confirmed from a manufacturer manual; follow the product label |
| Insulated tank lining | Reduces condensation on the tank exterior; must fit around flushing components without interfering with the float (This Old House, 2026) | Effectiveness of aftermarket liners is inconsistently reported. KOHLER describes its Tellieur K-4401-U Insuliner lining as designed to prevent condensation (KOHLER) |
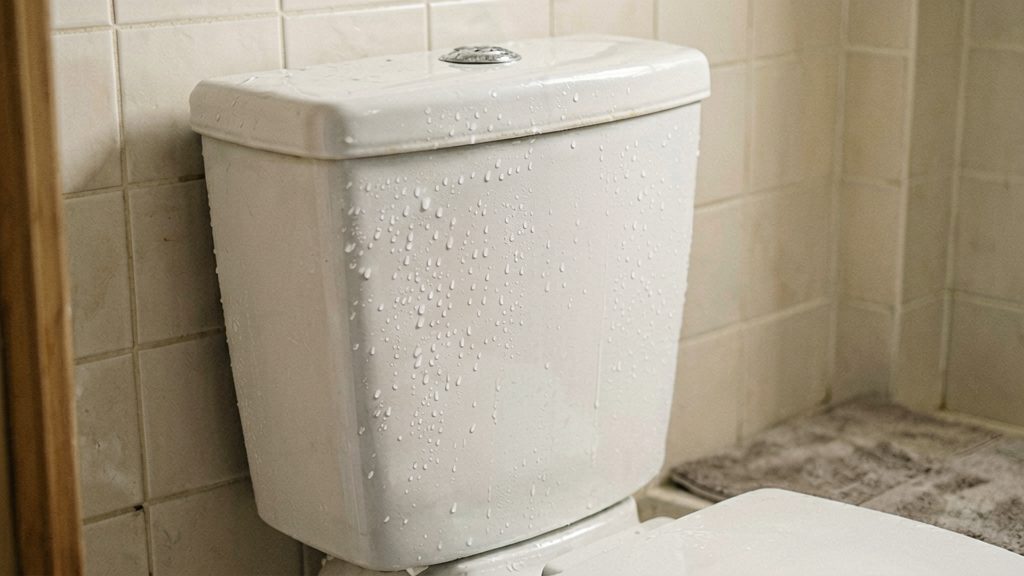
Is it condensation or a leak?
Water escaping from a connection can look almost the same, so check for an actual leak before treating the moisture as condensation. A leak keeps wetting the same area, while condensation usually appears across the tank surface.
Dry paper towel test on the tank exterior
- Dry the outside of the tank, the lid, and the area around the base with a towel.
- Wait until the surface is dry to the touch.
- Press a dry paper towel against the sides, the top rim, and the base of the tank.
If the towel comes away damp in several places across the tank, condensation is the likelier cause. If the dampness is confined to one spot, trace it to the nearest joint or fitting, since that suggests a leak.
Checking the supply line and tank bolt connections
- Close the shut-off valve behind the toilet.
- Dry the flexible supply line at both ends, where it meets the shut-off valve and the tank inlet.
- Dry the nuts on the tank bolts, the bolts that pass through the tank base and secure it to the bowl.
- Reopen the shut-off valve and wait a few minutes, then check each connection for moisture.
Water that appears at a connection after the valve is reopened points to a leak at that fitting. Follow the manufacturer’s tightening instructions for the specific fitting. Some supply-line nuts at the tank inlet must be tightened only by hand. If the connection still leaks, shut off the water and inspect the connector and seal rather than continuing to tighten it. Overtightened tank bolts can crack porcelain.
Inspecting the base seal and floor for wet spots
The base seal, usually a wax ring or gasket, sits between the bottom of the toilet and the drain flange. A leak here shows up at the base of the bowl rather than on the tank, so inspect the entire perimeter of the toilet base, and check the floor directly beside it.
Look for damp areas, discoloration, or standing water around the base. Dampness that returns at the base while the tank is dry may indicate a leaking base seal, but it does not confirm the cause. Check for cracks and trace moisture from the supply connections before replacing the seal; contact a licensed plumber if the source is unclear. If you find moisture here, stop troubleshooting the tank and address the seal, or contact a licensed plumber if you are unsure how to proceed.
Fix a constantly running toilet first
A toilet that keeps refilling pulls fresh cold water into the tank, and according to This Old House (May 2026), this can worsen sweating. Checking for a continuous refill is an early troubleshooting step, and stopping it is the first fix to try.
Why a continuous refill makes sweating worse
When the flapper at the bottom of the tank does not seal, water drains into the bowl, the float drops, and the fill valve opens again. Each cycle adds cold supply water to the tank, which keeps the tank walls cold and sustains condensation. A tank that refills constantly never settles, so the moisture problem continues.
Confirm flapper leakage with a dye test
A dye test shows whether water is escaping past the flapper:
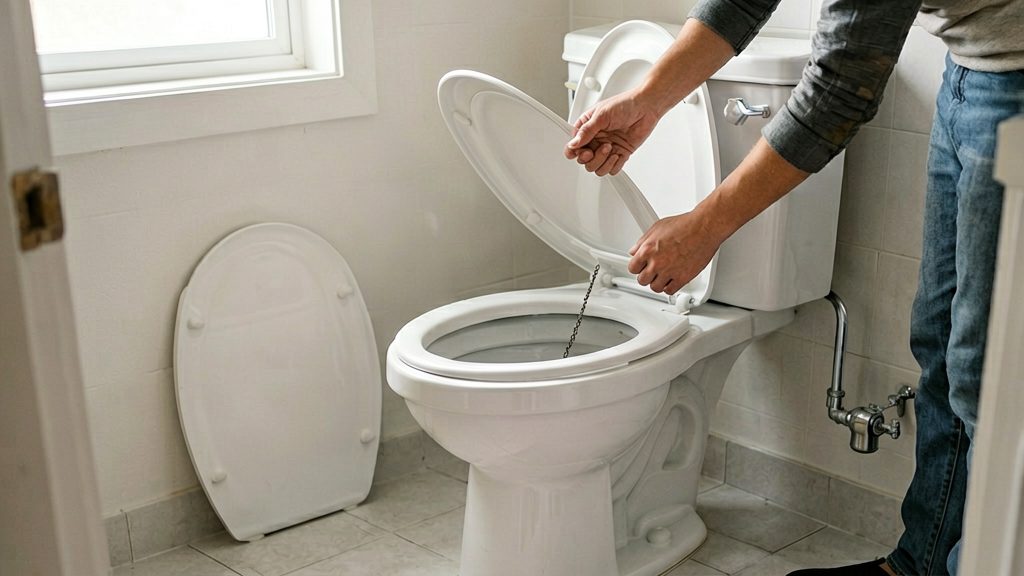
- Lift the tank lid and set it down carefully.
- Add a few drops of food coloring to the tank water.
- Leave the tank undisturbed without flushing for the observation period specified in the leak-test instructions, then check the bowl and flush afterward to help prevent staining.
- Check the bowl. Colored water in the bowl confirms that water is passing from the tank into the bowl without flushing. Check whether water is entering the overflow tube, then inspect the flapper or other flush-valve seals before deciding which part needs repair.
If no color reaches the bowl, the flapper is probably not the cause of the refilling.
Replace a worn flapper or fill valve
Flapper replacement:
- Turn off the water supply valve behind the toilet, then flush to empty the tank.
- Unhook the chain from the flush lever arm and unclip the flapper from its posts.
- Buy a replacement that matches your toilet’s model. Confirm the fit using the label or the manufacturer’s instructions.
- Clip the new flapper onto its posts and attach the chain with a little slack.
- Turn the water back on, let the tank fill, and flush once to test.
Fill valve replacement:
- Shut off the supply valve and drain the tank.
- Disconnect the supply line, then loosen the locknut under the tank that holds the fill valve. Lift the old valve out.
- Install a replacement that matches your tank, following the manufacturer’s instructions for setting the float height.
- Reconnect the supply line, restore water, and watch the tank fill and shut off.
Reduce bathroom humidity and improve ventilation
Tank sweating depends on moisture in the air as much as on the water temperature inside the tank. According to the U.S. Environmental Protection Agency (2026), indoor relative humidity should stay below 60 percent, ideally between 30 and 50 percent. These are general moisture-control targets, not a guarantee that a particular tank will stay dry.
Run the bathroom exhaust fan during showers and keep it running for a while after you finish, since steam lingers in the room. The fan should vent outdoors. To confirm it works, hold a tissue near the grille while the fan runs: a strong pull means air is moving, while a weak pull suggests a clogged grille or a failing fan that needs cleaning or replacing.
Open a window when outdoor conditions allow. In warm, humid climates, outdoor air can add moisture, so opening a window may not lower indoor humidity. The EPA recommends a specific dehumidification approach when indoor humidity stays above 60 percent, so check its current guidance for the details.
Use a dehumidifier or air conditioning when humidity stays high even with the fan running. This Old House (2026) notes that either can reduce bathroom humidity as a way to control toilet condensation.
Will a tank insulation kit help?
A foam tank liner can reduce sweating, but only partly. A liner works as a passive barrier: it keeps the tank wall warmer, so the outside cools more slowly toward the temperature of the water inside. It does not remove moisture from the room. Reviews of aftermarket liners are mixed. One This Old House article describes insulation as potentially helpful, while another says most tank insulators do not work very well.
Some manufacturers build insulation into the tank. KOHLER describes its Tellieur K-4401-U tank as having an Insuliner insulated lining designed to prevent condensation (KOHLER). That is a factory design, so its performance is the manufacturer’s claim, not something you can verify for an add-on kit.
Checking kit fit against your tank shape
Before buying or fitting a liner, confirm it suits your tank:
- Match the model. Check that the kit is listed for your tank’s make and model. A liner cut for a different shape may leave gaps or press on parts.
- Compare the shape. Remove the lid and check the inner walls, back, and base against the liner’s profile.
- Clear the flushing components. Interior insulation must fit around the flushing parts without interfering with the float mechanism (This Old House). Make sure the liner does not sit on the flush valve, the float arm, or the overflow tube.
- Check the lid. The lid should still seat flat once the liner is in place.
Following manufacturer instructions for installation and cleaning
Follow the kit’s instructions in order. They should state whether the tank must be emptied first, how the liner is fixed, how to clean the inner surface beforehand, and which cleaning products are safe to use afterwards. Do not substitute your own method for these steps, because a poorly prepared surface can stop the liner from seating properly. If the instructions are missing or unclear, contact the manufacturer before you start.
A liner does not fix a leak. Check for an actual leak before treating moisture around the toilet as condensation, and check whether the toilet keeps running. A continuously running toilet adds fresh cold water to the tank and can worsen sweating, which a liner cannot offset.
Consider an adjustable anti-sweat valve
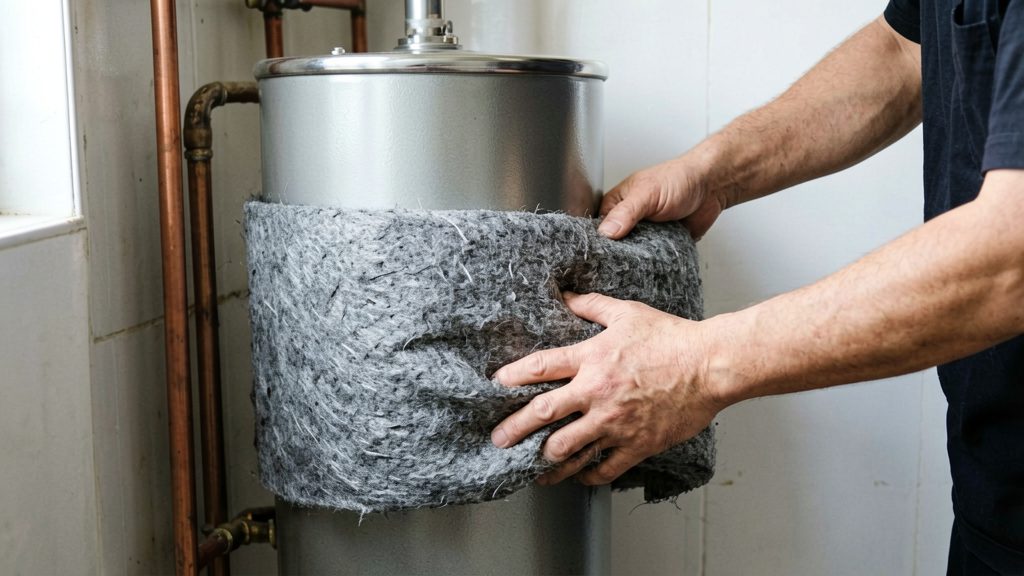
An anti-sweat valve is a fill-valve accessory that changes the temperature of the water entering the tank. According to This Old House (2026), it mixes some hot water into the toilet’s cold-water supply to raise the tank water temperature and reduce condensation.
How hot-water mixing raises tank temperature
Each time the tank refills, the valve blends warm water into the cold supply. The water that fills the tank is therefore warmer than cold water alone would be. The tank walls take on more of that warmth, so the outer surface is less likely to cool enough for moisture in room air to condense on it. The effect is gradual, and it depends on how often the tank refills.
Adjusting the dial to control hot contribution
Adjustable valves allow the hot-water contribution to be changed or shut off. This Old House (2026) notes that the adjustment is useful when the extra warmth is unnecessary, for example when the room is not humid and no sweating occurs. Turn the hot contribution down or off in those conditions to avoid drawing hot water without benefit. No universal water-temperature setting or adjustment procedure has been verified, so follow the dial markings and the manufacturer’s instructions for the specific valve.
Checking hot-water access before buying
The valve draws from the hot supply, so the toilet must have a hot-water line close enough to connect. Before buying:
- Confirm that a hot-water supply line runs to the toilet area.
- Check the product label for the supply connection size and type that the valve requires.
- Check the manufacturer’s orientation instructions. The vertical mounting shown by This Old House (2026) applies to the valve that was demonstrated, not to every model.
When to contact your landlord or plumber
Sweating that persists can damage the flooring and subfloor and encourage mold, according to This Old House (2026). When the floor itself is affected, the problem has moved beyond the tank surface. These signs call for a landlord or a licensed plumber:
- Spongy floor around the toilet base, which suggests moisture has reached the subfloor.
- Soft spots or rot near the base or along the mounting area, which points to damage that surface drying will not fix.
- Visible discoloration, staining, or a musty smell spreading from the base of the toilet.
If you rent, report these signs to your landlord in writing before arranging any work. A dated email or message with photos gives you a record of when the problem was raised and what it looked like. Describe the location of the soft area and how far it extends.
Work on the cold-water supply should be done by a licensed plumber. An anti-sweat valve mixes some hot water into the toilet’s cold-water supply to raise the tank temperature, so installing one means working on the supply lines. Ask the plumber to install it according to the manufacturer’s instructions and to confirm that the hot-water contribution can be adjusted or shut off when it is not needed, as This Old House (2026) notes for adjustable valves.