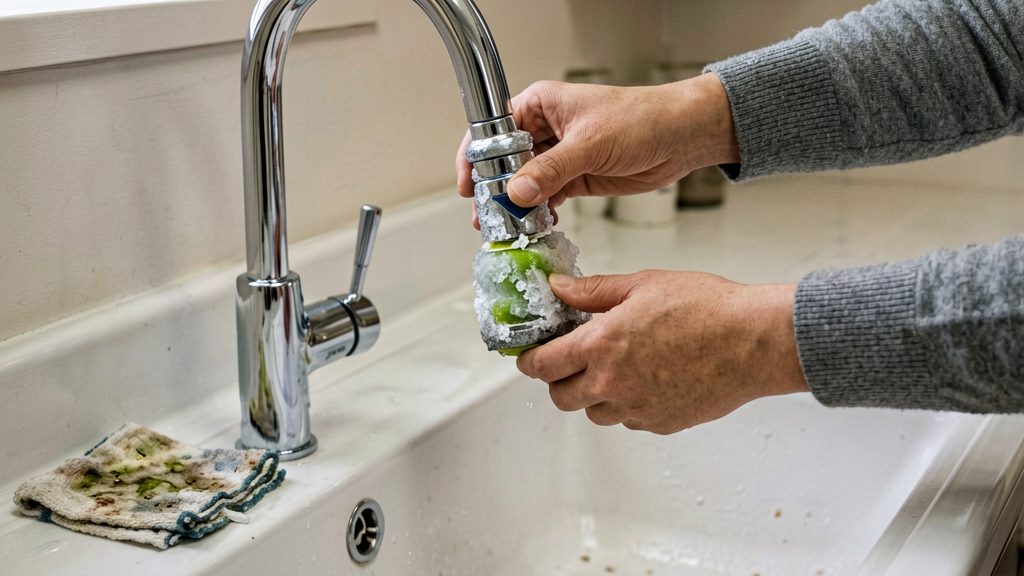
Mineral deposits and debris can build up inside a faucet’s aerator, the small screened fitting at the spout tip, and reduce flow or distort the spray pattern, according to Moen. The usual symptoms are weak flow, sputtering, and an uneven spray. Before you take anything apart, confirm the symptoms point to the aerator and not to a wider supply problem.
Is mineral buildup restricting your faucet flow?
Signs of a clogged aerator
| Symptom | What you see | What it suggests |
|---|---|---|
| Weak flow | Water comes out thin even with the handle fully open | Mineral deposits narrowing the outlet openings |
| Sputtering | Water spurts or runs in irregular bursts | Debris partly blocking the flow path |
| Distorted spray pattern | The stream splays off-center or spreads unevenly | Deposits blocking some outlet openings, according to Moen |
Check whether only one tap is affected
Test the other taps in the home. If only one fixture is weak, the aerator on that tap is a likely cause. If every tap is low at once, the problem is more likely upstream, in the supply or pressure, and cleaning an aerator will not fix it. Cleaning an aerator does not resolve every cause of persistent low flow, so further diagnosis depends on the faucet and the plumbing system.
Mineral deposits and debris as the usual cause
Mineral deposits and debris from the supply line can clog an aerator and restrict flow. Denver Water notes that debris can enter after construction or water-service work, and recommends cleaning aerators about every six months and after such work.
Identify your aerator and gather your tools
Before you unscrew anything, confirm what kind of aerator you have. The steps differ depending on whether the aerator is visible or hidden, so check that first.
Exposed or recessed?
An exposed aerator sits at the very tip of the spout and can be seen and gripped directly. A recessed aerator is set inside the spout opening, so only a small hole or a flat rim shows at the tip. Recessed or hidden aerators typically require an aerator key for removal (Denver Water). If you cannot grip the aerator, check the faucet’s documentation to identify its design and removal method before using tools.
Tools for each type
For an exposed aerator, you need:
- A soft towel or rag, to wrap around the aerator before using pliers so the finish is not scratched (Denver Water)
- Adjustable pliers or a wrench
- A small brush, such as an old toothbrush
- A bowl
- White vinegar
For a recessed aerator, you also need an aerator key, which is a specialised tool made to fit the inside of the spout. Check that the key matches your faucet before buying it. Manufacturer instructions or the faucet’s model number will show the correct fitting.
Remove the aerator without damaging the finish
Removing an aerator without marking the spout depends on protecting the finish and applying steady, moderate force. Exposed aerators can usually be loosened by hand or with pliers or a wrench.
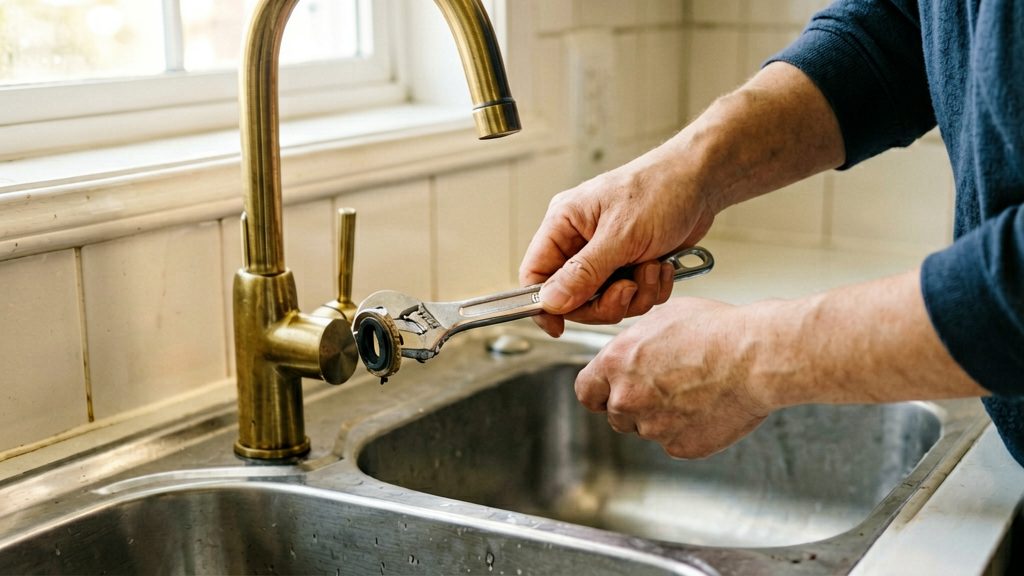
If you need tools, wrap a towel or rag around the aerator before gripping it to protect the faucet finish, as Denver Water advises. Padding the jaws of pliers or a wrench with a towel also prevents the metal from scratching the spout. Work slowly and keep the grip firm rather than forcing the aerator with sudden jerks.
Avoid applying excess force. Delta Faucet notes that excessive pressure during removal can deform an aerator and make replacement necessary. If the aerator does not move with moderate effort, stop and check whether it is recessed or uses a different release method rather than increasing the force. The turning direction also varies by model, so confirm it in the manufacturer’s instructions.
Before separating the parts, lay them out in the order you remove them on a clean towel. During disassembly, Delta Faucet advises checking for a gasket that may remain stuck to the spout. Remove any stuck gasket carefully, since a damaged gasket can affect how the aerator seals when reassembled.
Soak, brush, and rinse away mineral deposits
Once the aerator is out and its parts are separated, the core cleaning method combines a vinegar and water solution, a soft brush and a thorough flush. Mineral scale is the white or chalky crust that builds up in the screen and inner passages, and it is what narrows the water path and distorts the spray.
Vinegar and water solution is the usual agent for dissolving mineral scale. For touchless bathroom faucets covered by Kohler installation guide 1124217-2-E, the manual specifies equal parts vinegar and water, applied only to the plastic aerator insert and not to the other components. Check the manual for your own faucet before using this ratio on other parts, because the guidance is model dependent.
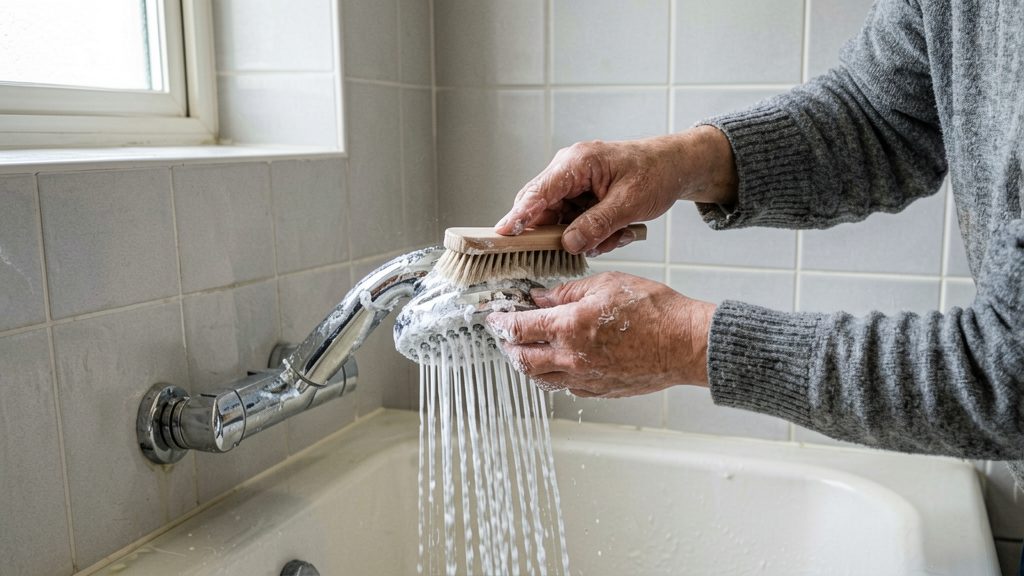
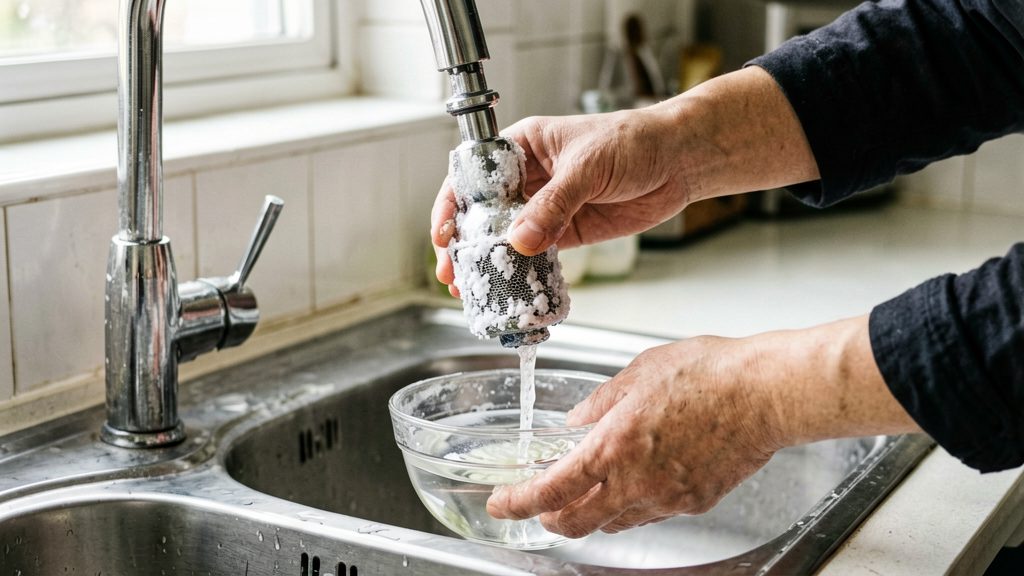
Brushing stubborn deposits works best after soaking. Use a soft toothbrush to scrub the screen, the mesh and the threads, and avoid metal tools that can scratch the parts. Denver Water recommends scrubbing the disassembled parts with a small brush.
Flushing with clean running water removes loosened scale and vinegar residue. Rinse each component under running water, pushing water through the mesh in the reverse direction of normal flow so that particles exit the way they came in. Confirm that the screen is clear and that no grit remains before reassembly.
How long should you soak an aerator?
Soak time depends on how heavy the scale is and on the faucet model. Denver Water recommends a five-minute vinegar soak for the disassembled aerator, followed by scrubbing with a small brush. For heavier buildup, Delta suggests an overnight soak in vinegar. Start with the shorter soak, check the result, and repeat or extend only if deposits remain.
No single duration suits every aerator. Denver Water recommends five minutes, while Delta’s FAQ recommends overnight; follow your faucet manufacturer’s instructions for the soaking duration and compatible components. Check the manufacturer’s instructions for your faucet before choosing a method, particularly if the finish is decorative or the aerator has plastic parts.
These recommendations do not cover soaking an entire faucet head inside an attached bag or using commercial descalers. For those approaches, follow the manufacturer’s written instructions.

Reassemble the aerator and check the flow
Reassembly is the reverse of disassembly, and the order of the parts matters. Lay the components out in the sequence you removed them, then put them back in that same order so each piece sits where it was. Keep the gasket in its original position. Delta advises reinstalling the gasket and then tightening the aerator by hand, so the gasket is the part to check first before threading anything back onto the spout.
Seat the gasket and the internal parts in their original orientation, then start the aerator body onto the spout by hand. Turn it slowly and make sure it engages the threads straight. Cross-threading can damage the threads on the spout or the aerator, so if the piece resists or sits at an angle, back it out and try again rather than forcing it.
Once the aerator is snug, tighten it by hand only. Avoid pliers or a wrench at this stage. If the aerator wobbles or does not seat fully after hand-tightening, the threads or a part may be damaged, and replacing that component is the next step.
Test the flow and spray pattern
Turn the water on slowly, with the aerator still attached, and watch the outlet. Check three things:
- Flow rate: the water should come out at a steady, full stream rather than a weak trickle.
- Spray pattern: the stream should be even, without a skewed or split jet. A distorted pattern often points to debris still inside or a part that is not seated correctly.
- Leaks: look for water seeping at the base of the aerator or the joint between the aerator and the spout.
When should you replace the aerator?
Replace the aerator when a physical defect is present or when cleaning no longer restores normal flow and spray. Cleaning cannot repair damaged parts.
Deformed, cracked, or broken components
Inspect the parts once the aerator is disassembled, before soaking them. Look for bent or flattened housings, cracked plastic, and torn or missing screen components. Delta Faucet advises that damaged or broken aerator parts may require replacement. Straightening a deformed part by hand is not a reliable repair, so a damaged aerator should be replaced rather than reused.
Deposits that return after thorough cleaning
If flow or spray remains poor after cleaning, inspect the aerator for damage and follow the faucet manufacturer’s troubleshooting instructions. Rapidly recurring deposits alone do not establish that the aerator is worn out. Replacement is the practical next step in that case.
Choosing a replacement with matching thread size
A replacement must match the thread size and type of the spout, or it will not screw on properly. Before buying:
- Measure or identify the old aerator. Take it to the store, or compare its markings with the replacement’s packaging.
- Check the faucet model. The manufacturer’s installation documentation or product label states the compatible aerator type.
- Note the aerator style. If the old aerator is recessed, the replacement will also need an aerator key to remove later.
Keep your faucet aerator clean
A preventive routine keeps the aerator from clogging in the first place. The aim here is a schedule and a habit, not a reaction to a sudden drop in flow.
Clean on a regular schedule
Denver Water recommends cleaning aerators about every six months (Denver Water, 2025). Set a reminder, such as a change of season, so the task happens before deposits build up. Use the same steps each time: unscrew the aerator, soak and brush it, rinse it, and reinstall it.
Clean after construction or water-service work
Denver Water also recommends cleaning aerators after construction or water-service work that can introduce debris (Denver Water, 2025). Sediment and fragments loosened in the supply line can lodge in the aerator screen, so check each faucet in the building after such work, including taps you rarely use.
Keep a simple maintenance log
Record the date of each cleaning and the faucet it concerns, such as “kitchen sink, cleaned” or “bathroom basin, cleaned after works.” Over time the log shows how often a given faucet needs attention, which helps you decide whether the interval should be shorter for a particular tap.