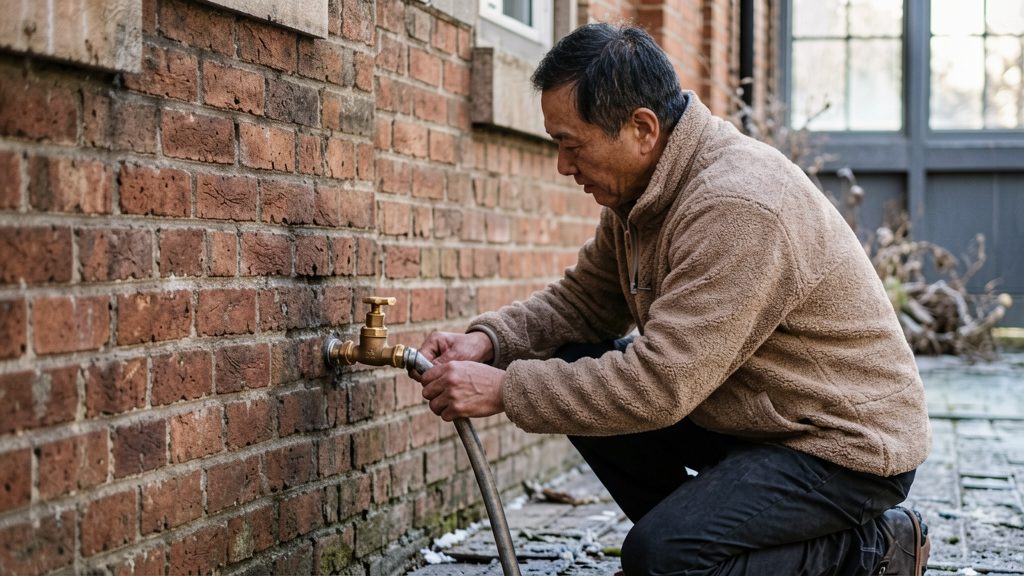
Outdoor hose bibs freeze when water left in the exposed supply line reaches freezing temperatures. The bib is a valve on the outside wall, and the pipe feeding it sits outside the heated part of the building, so it cools quickly. Once water inside that section freezes, the ice can split the pipe, often with damage that stays hidden until the thaw.
Why do outdoor hose bibs freeze?
Freezing water expands inside a closed pipe
Water expands as it turns to ice. When it freezes in a section of pipe that has no open outlet, the pressure has nowhere to go, and the pipe or fitting can crack. The leak usually appears only after the water thaws.
Snow cover and wind chill lower the threshold
According to Benjamin Franklin Plumbing (2017), bibs should be drained before the temperature drops below 20°F, and most emergency frozen-pipe calls occur at 20°F and below. That figure comes from a single company’s blog, not a verified limit. The same source notes that snow cover and wind chill can make bibs freeze at higher temperatures, so treat 20°F as a rough guide.
A dripping faucet can crack the supply line
A drip leaves water at the valve and in the supply pipe, where it can freeze. According to Roto-Rooter (2026), a drip can freeze and crack the supply pipe, which is why a leaking bib should be checked before winter.
Steps for draining an outdoor hose bib before winter, with the source for each point:
| Step | Action | Source |
|---|---|---|
| 1. Check for drips | Look for a dripping faucet, since a drip can freeze and crack the supply pipe. Plan to cover each faucet with an insulated cover or foam kit only after it has been drained (see the covers section). | Roto-Rooter (2026) |
| 2. Close the indoor valve | Find the interior shut-off valve that feeds the outdoor faucet and close it. Each bib has its own valve, so close all of them. | Roto-Rooter (2026); Len The Plumber (2020-11-20) |
| 3. Remove attachments | Disconnect hoses, splitters and other attachments so the faucet can drain. | Roto-Rooter (2026) |
| 4. Open the outdoor faucet | Open each outdoor faucet fully and let it drain. Leave the faucets open over winter. | Roto-Rooter (2026); Len The Plumber (2020-11-20) |
| 5. Open the bleeder valve | If the indoor valve has a bleeder, open it to release the last drops into a bowl. Not every bib has one. | Benjamin Franklin Plumbing (2017) |
| 6. Store hoses | Drain hoses and store them in a garage or basement. Len The Plumber specifies a heated space such as a garage or basement, so an unheated shed or garage offers less protection. | Benjamin Franklin Plumbing (2017); Len The Plumber (2020-11-20) |
| Timing | Drain before the first freeze each winter. The 20°F figure comes from one plumbing company blog, not a verified threshold, so drain earlier if frost is forecast. | Roto-Rooter (2026); Benjamin Franklin Plumbing (2017) |
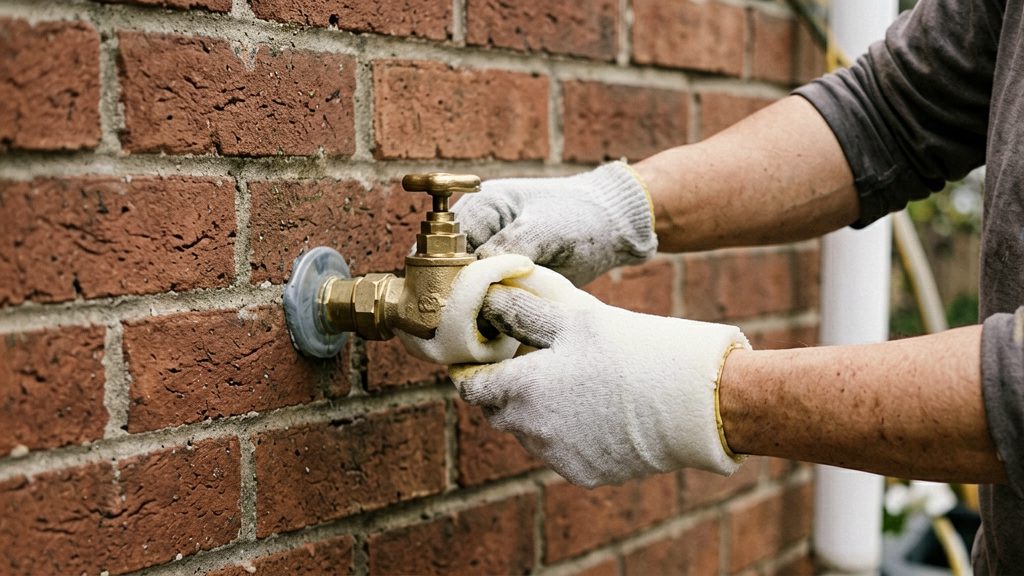
What you need before you start
Gather these items and find the indoor valve before you shut off any water. Once the supply is closed, you want to be able to drain the faucet without searching for parts or tools.
- Bucket or bowl: Some water stays in the faucet and pipe after the supply is closed, so keep one ready under the faucet.
- Adjustable wrench: Use it on a hose splitter or other attachment that won’t come off by hand. Turn it gently to avoid damaging the faucet threads.
- Rags or towels: Keep them within reach to catch drips at the connections and to wipe up small spills.
- Hose and attachments: Have them accessible for removal.
Locating the indoor shut-off valve
Find the valve before you start. Roto-Rooter (2026) describes it as the interior valve that feeds the outside faucet. Look along the supply pipe where it enters the house, usually in a basement, crawl space, utility room or near an exterior wall. Label each valve so you can match it to its faucet later.
How to drain an outdoor hose bib step by step
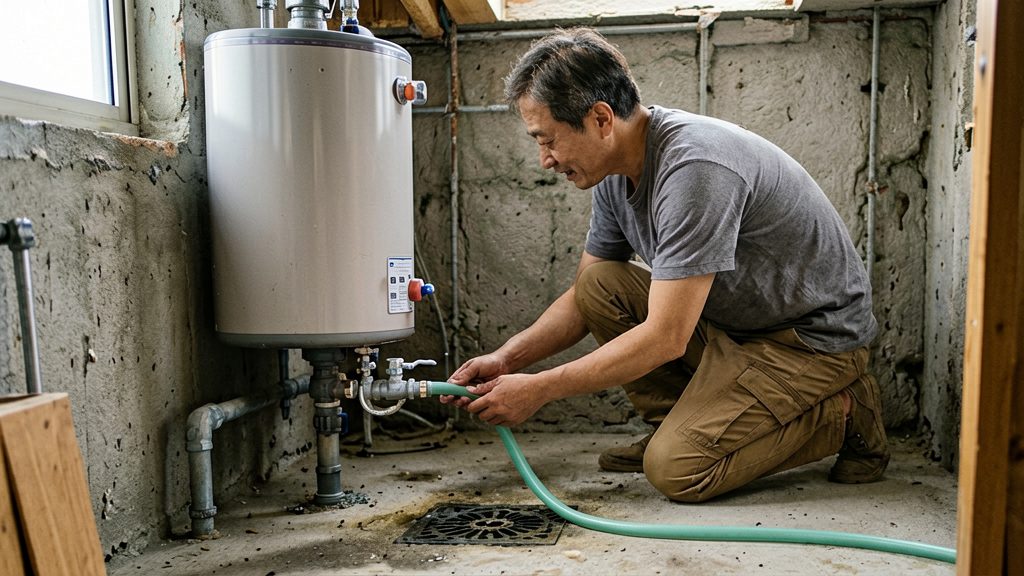
Start indoors. Find the interior shut-off valve that feeds the outside faucet and close it. Repeat for each outdoor faucet. Then work through the outdoor side in this order:
- Remove hoses and attachments. Take off hoses, splitters and other attachments before draining. Roto-Rooter (2026) says they must come off so the faucet can drain properly.
- Open the faucet fully. With the indoor valve closed and attachments removed, open the outdoor faucet all the way and let the water run out (according to Roto-Rooter, 2026).
- Bleed the remaining water. Once the faucet has drained, open the indoor bleeder valve to release the last drops. Hold a bowl under the outlet to catch them (according to Benjamin Franklin Plumbing, 2017). Not every installation has a bleeder valve. If yours has none, skip this step and rely on the open faucet.
- Drain and store the hose. Disconnect the hose, drain any water still inside it and coil it. Len The Plumber (2020) recommends storing drained hoses in a heated space such as a garage or basement. Benjamin Franklin Plumbing (2017) also lists a shed, which is less protected from cold.
- Leave the outdoor faucet open. Keep each outdoor faucet open through the winter, as Len The Plumber (2020) advises, so any water that remains has room to expand if it freezes.
Do frost-free hose bibs need draining?
A frost-free hose bib still benefits from winter draining, but its design lowers the risk. According to Roto-Rooter (2026), it is a replacement faucet that extends several inches into the house and has its own shut-off valve. Len The Plumber (2020) adds that it is installed with a slight downward slope, so water does not sit in the pipe and freeze.
The internal shut-off valve sits inside the heated space, past the wall. Closing it cuts the supply to the bib, and opening the outdoor faucet lets the water left in the body drain out. Roto-Rooter (2026) describes the same sequence for hose bibs generally: close the interior valve and open the faucet fully.
Some plumbing guides say a frost-free bib drains on its own once the hose is removed. Treat this as unconfirmed. The reliable routine is still to close the interior valve, open the faucet, and remove the hose.
If you need to replace a bib, note that installation can involve soldering and caulking. Roto-Rooter (2026) recommends a professional for that work.
When should you drain hose bibs?
Drain each outdoor hose bib before the first freeze of the season. Roto-Rooter (2026) gives this as the timing each winter, so the job belongs on the autumn checklist, and you should drain sooner if frost is forecast.
Why a single temperature threshold is unreliable
Benjamin Franklin Plumbing (2017) advises draining bibs before temperatures drop below 20°F and notes that most emergency frozen-pipe calls occur at 20°F and below. That figure comes from one plumbing company’s blog, not from a standard, and it is not a conservative cutoff. A bib can freeze at temperatures above 20°F, so a thermometer reading alone is not a safe trigger.
How snow cover and wind chill change the timing
Snow cover and wind chill can make a bib freeze at higher air temperatures (Benjamin Franklin Plumbing, 2017). A bib on an exposed wall, or one with snow piled against it, can be colder than the nearest weather station reading. If a bib sits in either situation, drain it earlier than a sheltered bib in the same area.
In practice, drain every bib before the first freeze, and drain exposed or snowed-in bibs before the weather turns cold enough to need it.
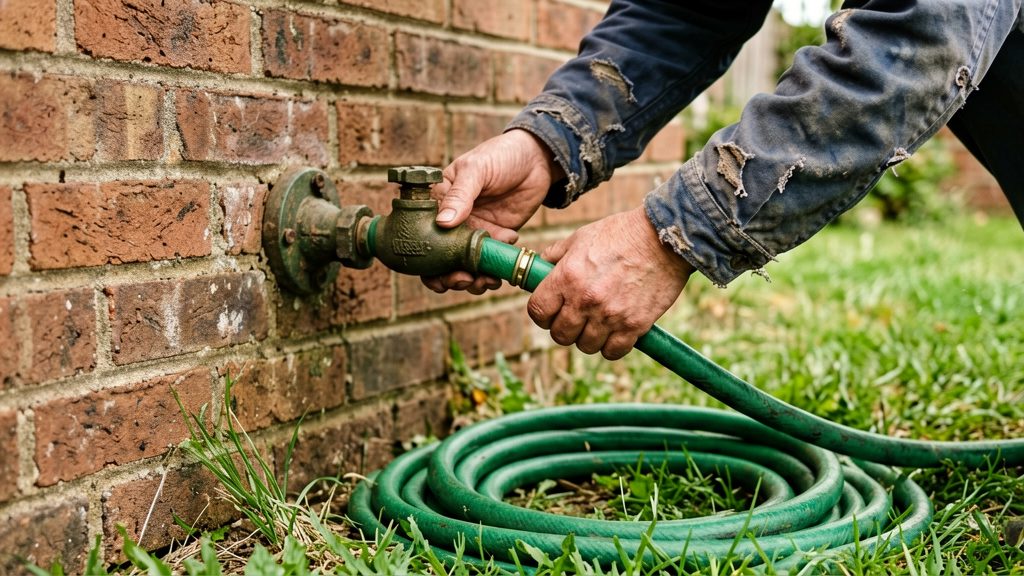
Should you leave the faucet open or closed?
Leave the outdoor faucet open for the winter, once the line has been drained. Len The Plumber (2020) recommends this approach, which keeps the outlet clear so no water is left sealed inside the faucet body.
A closed faucet traps water. Any water remaining in the valve or the pipe behind it has no exit, so it can freeze in place. Ice expands, and with nowhere for the water to go, the pressure stays inside the pipe.
Frost-free bibs follow the same logic through their design. According to Len The Plumber (2020), they are installed with a slight downward slope, and their shut-off valve sits several inches inside the home, so water does not sit in the pipe and freeze.
Insulated covers and other extra protection
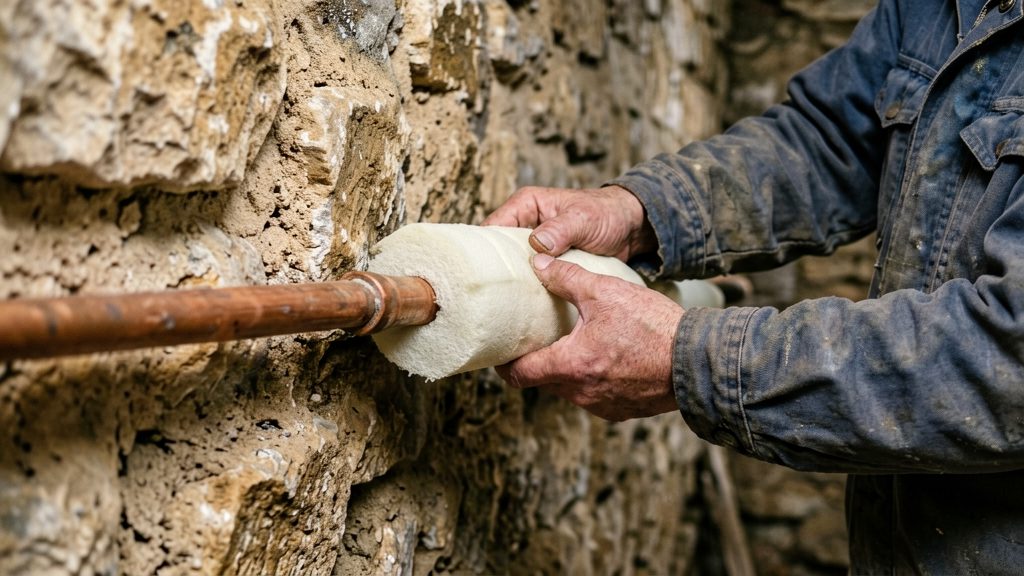
Roto-Rooter (2026) recommends covering each outdoor faucet with an insulated cover or foam kit.
Insulated foam covers for each faucet
Cover every outdoor faucet separately, since a cover on one faucet does not protect another. Fit the cover only after the faucet has been drained and any hose has been removed, so no water is sealed inside. Then follow the manufacturer’s instructions for the specific kit to fit it over the faucet body and handle, and secure it so wind cannot lift it off.
Heat tape and pipe insulation for exposed sections
Pipe insulation sleeves and heat tape address exposed supply pipe rather than the faucet itself. Heat tape is an electric product, so use it only as its label describes. Check the label for the pipe types it is rated for, how it attaches to the pipe, and how it must be powered. If you are unsure about the outlet or wiring, ask a licensed professional before plugging it in.
Checking covers for cracks and gaps
Inspect covers before each cold period. Foam can crack, tear, or pull away from the faucet over time, and a gap lets cold air reach the faucet body. Look for:
- Cracks, tears or crumbling foam
- Gaps at the wall or around the handle
- A cover that has shifted or no longer sits snugly
Replace a damaged cover rather than relying on it. Where a cover can be repaired, follow the repair method in the product’s instructions.
When to call a licensed plumber
Stop the drain-down routine and call a licensed plumber when the problem is in the pipe or the shut-off valve rather than in the faucet.
Call a plumber in these three situations:
- Burst or cracked supply pipe after a freeze. If water escapes from the pipe, a joint, or the bib after a cold spell, close the indoor valve if you can reach it and call a plumber. Repairing a cracked line usually means cutting out the damaged section and joining new pipe, which goes beyond a typical homeowner repair.
- Persistent leak after closing the valve. If the faucet still drips or runs after you have closed the correct valve and opened the faucet, the water is coming from behind the valve or the valve itself is not sealing. Confirm you closed the valve that feeds that specific bib, then call a plumber, because an unresolved leak can freeze.
- Valve that will not close or seizes. A valve that cannot be fully closed cannot isolate the bib, so the line cannot be drained safely. A plumber can repair or replace the valve.