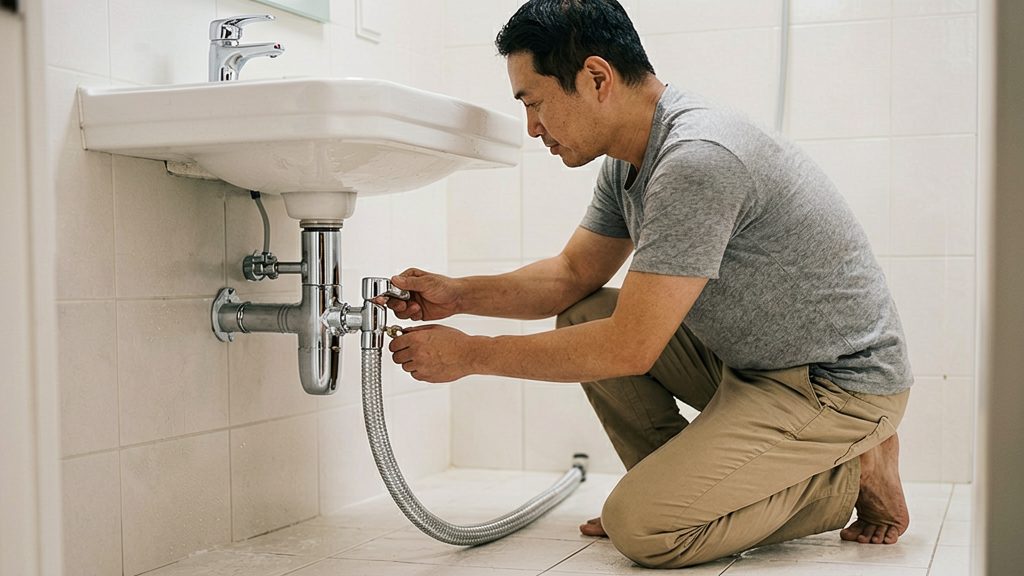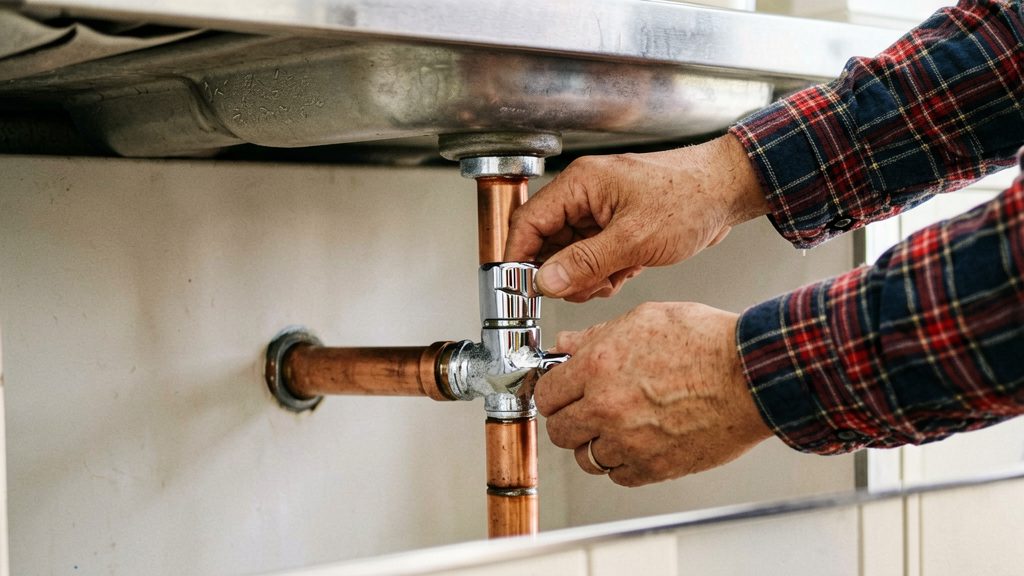
A compression valve under a sink is a multi-turn stop valve on the water supply to a faucet or appliance. Its handle turns a stem that lowers a washer onto a seat inside the body, and a packing seal around the stem keeps water from escaping upward. Under the sink, the inlet and outlet usually join the pipes through compression fittings, which use a nut and a ferrule. Knowing these parts helps you identify which component is sticking or leaking before you work on the valve.
What is a compression valve under the sink?
Parts of the valve
| Part | Location | Role |
|---|---|---|
| Handle | Top of the valve | Turns the stem |
| Bonnet (packing) nut | Under the handle, around the stem | Compresses the packing that seals the stem |
| Stem | Runs from the handle down into the body | Carries the washer down onto the seat |
| Washer | Bottom of the stem | Presses onto the seat to stop flow |
| Body | Main housing | Holds the seat and directs water from inlet to outlet |
| Inlet and outlet | Connections on either side | Take the supply pipe in and feed the faucet or appliance out |
How the seal works
The valve seals at three points. When the handle is closed, the washer presses onto the seat and blocks flow. The packing around the stem, compressed by the bonnet nut, blocks leaks along the stem.
At the connections, the ferrule (compression sleeve) grips the pipe when the nut is tightened. Leaks at the nut usually come from over- or under-tightening, and overtightening can deform the ferrule and make the leak worse, according to This Old House (2026).
Telling it apart from ball and quarter-turn valves
| Feature | Compression valve | Ball or quarter-turn valve |
|---|---|---|
| Handle movement | Several turns to open or close | A quarter turn (90 degrees) |
| How flow stops | Washer pressed onto a seat by the stem | A ball with a bore rotated across the flow |
| Visible open/closed position | None: the handle spins through several turns | Handle along the pipe means open, across the pipe means closed |
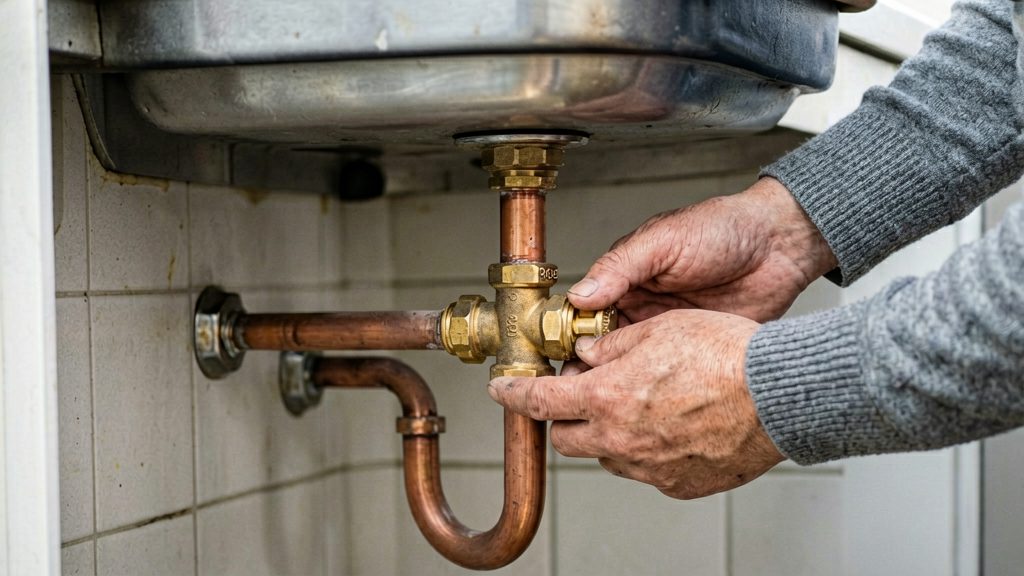
Why does a sink shut-off valve stick?
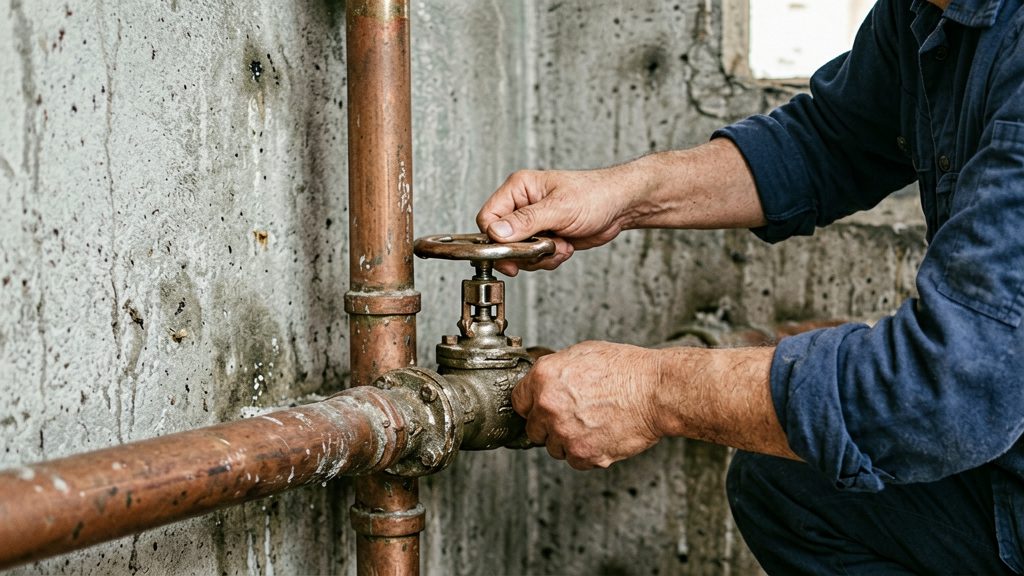
A stiff sink shut-off valve usually has one of two causes: mineral deposits on the moving parts, or parts that have dried out or corroded from long periods without use. Hard-water mineral buildup is a common reason a valve stops turning freely, because deposits form on the stem and around the packing, the seal that wraps the stem. Over time, mineral deposits left on the stem can make it harder to turn.
Disuse causes a different problem. A valve that stays closed for years can have its packing and rubber seat harden or dry out. Corrosion can also affect the threads and the metal around the stem.
Cleaning mineral scale from the stem
Hard-water scale can often be removed without replacing the valve. Blue Frog Plumbing recommends a vinegar and water mixture for this job. Work in this order:
- Wipe away loose grit and dust from the stem and the area around the handle.
- Dampen a cloth or brush with the vinegar and water mixture and work it over the scale on the stem and the bonnet. Let it sit briefly, then scrub gently with a soft brush.
- Wipe the area dry and turn the handle slowly to check whether it moves more freely.
Test the mixture on a small, hidden area first and check the manufacturer’s instructions for the valve’s finish. Do not force the handle while the scale is still in place.
How do you free a stuck valve safely?
Shut off the water before touching a stuck valve. Then free it gradually, using penetrating oil, gentle heat and small, controlled movements, rather than force. “Sticky valve” can mean two different problems: a stop-valve handle that won’t turn, or a compression nut and ferrule that won’t loosen. The method is similar for both, but the second needs extra care around the pipe.
Step 1: Soak the stem
Apply penetrating oil to the stem where it enters the valve body, then leave it to soak. The oil works into the threads and the packing around the stem, which often causes the sticking. Blue Frog Plumbing also suggests tapping the valve body lightly after applying the oil.
Step 2: Warm the valve body
Blue Frog Plumbing suggests gently warming the valve body with a hair dryer before loosening it. This tip comes from a single plumbing-company source and has no manufacturer confirmation, so treat it as optional. Keep the heat gentle and away from any plastic parts. It may not free the valve, so check the handle after each attempt and stop if nothing moves.
Step 3: Loosen the packing nut, then work the handle
For a stuck stop valve, loosen the packing nut (bonnet nut) under the handle, turning it in small increments. Once it moves, work the handle back and forth gently until it turns freely. Stop as soon as the handle moves, since the amount of turn needed varies between valves.
For a stuck compression nut, loosen it in the same small steps, keeping the pipe supported so it does not twist.
When to stop and call a plumber
Stop if the handle still won’t move, or if you suspect stripped or corroded threads or a dried-out rubber seat. According to Blue Frog Plumbing, professional help may be needed in those cases. Old T-handled saddle valves are especially prone to leaks, and according to Roto-Rooter they should be replaced with regular shutoff valves as soon as possible.
How do you fix a leaking packing nut or compression nut?
A drip at a compression nut usually means the nut is too loose or too tight. According to This Old House (2026), the usual fix is to tighten the nut a little more with two wrenches, without overdoing it.
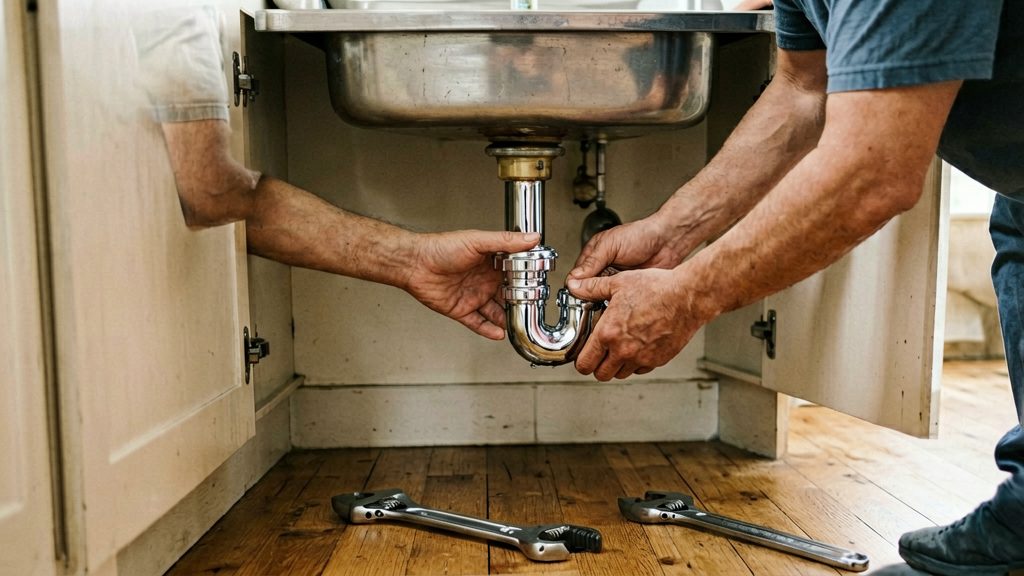
Tighten the compression nut with two wrenches
- Hold the valve body with one wrench so the valve does not turn, and turn the compression nut with the other.
- Add a small amount of tightening, then restore the water and check for drips.
Adjust the packing nut after restoring water
After the water supply is back on, the packing nut under the handle may need a quarter turn to reseal, according to Blue Frog Plumbing. Turn it in small steps and recheck after each one. Larger turns are not established as safe for this valve, so if a quarter turn does not stop the drip, check the valve manufacturer’s instructions before adjusting further.
Cycle the valve after a long closure
If a valve drips after sitting closed for a long time, tighten the packing nut slightly, then turn the valve off and on a few times to cycle it. This is the method described by Roto-Rooter. If the valve still drips after this, shut off the main supply, as Roto-Rooter advises, because the valve itself needs replacing rather than further adjustment.
When should you replace the valve?
Green or blue oxidation on a valve body signals a slow leak. Cleaning and repacking the bonnet is possible, but replacing the whole valve is often the smarter choice, according to This Old House (2026).
| Situation | Usual choice |
|---|---|
| Green or blue oxidation with a slow leak | Clean and repack the bonnet, or replace the whole valve, which is often the better option |
| Old T-handled saddle valve | Replace with a regular shutoff valve as soon as possible (Roto-Rooter) |
Replacement is often the simpler route because the part is inexpensive. According to This Old House (2026), a standard compression stop valve costs about $7 at big-box stores. Prices vary by region and change over time, so check the current price before buying.
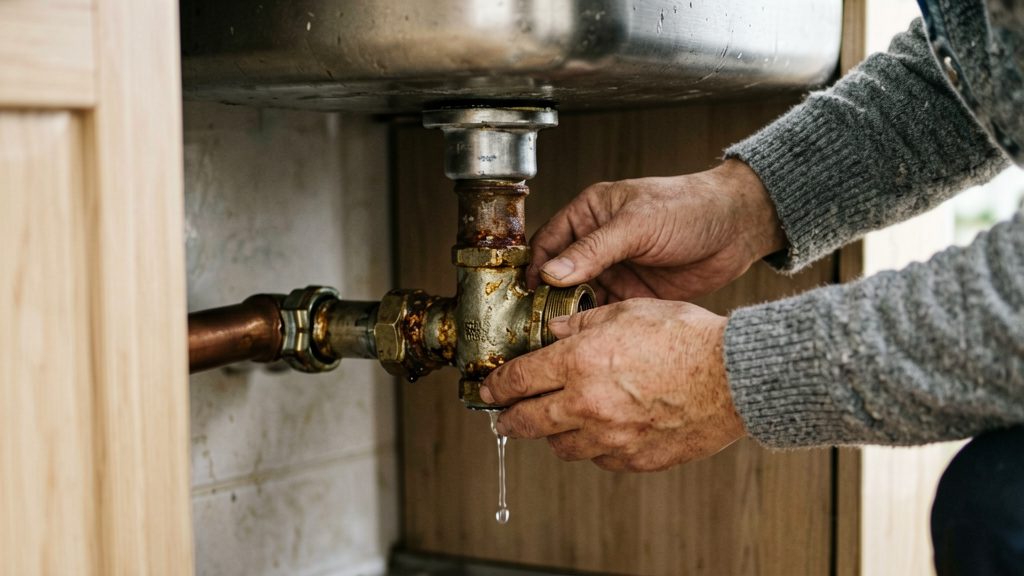
Removing a stuck ferrule
A crushed or stuck ferrule (compression sleeve) usually has to be pulled out, not reused. According to This Old House (2026), a ferrule puller may be needed to remove it, and a new ferrule is then installed. Shut off the water and drain the line first, then loosen the compression nut until it slides freely along the pipe.
Pulling out the old ferrule
- Remove the compression nut from the fitting body and slide it off the pipe. Note which way it faces so you can reassemble it correctly.
- Fit a ferrule puller behind the ferrule, following the tool’s instructions for your pipe diameter.
- Pull the ferrule straight off the pipe, applying steady, even pressure. A tilted pull can scar the pipe or damage the seat in the fitting body.
Avoid prying the ferrule off with a screwdriver or pliers. These tools can gouge the pipe, which makes sealing harder.
Checking the pipe before refitting
Once the ferrule is off, inspect the section of pipe where the new ferrule will seal. Run a fingertip along it and look for scratches, gouges, dents, or raised burrs. Any of these can stop the ferrule from gripping evenly and cause a leak.
- Minor scratches: lightly sand or polish the surface so the new ferrule sits on a smooth area.
- Deep damage: move the fitting to a sound section of pipe, or cut the damaged section back and use a clean, square cut.
Fitting the new ferrule
Slide the compression nut onto the pipe before anything else. Then fit the new ferrule and check the manufacturer’s instructions for its orientation. Push it into the fitting body so it sits square against the seat. Once it is in place, snug the nut by hand before finishing with wrenches.
When to call a licensed plumber
Stop and call for help when a main shutoff will not move, or when a valve keeps leaking after you have repacked or replaced it. A stuck stop valve under the sink can often be freed as a DIY job with the gentle steps above. If the handle still won’t move with gentle effort, stop and call a plumber. Never force a stuck main shutoff valve. Call a licensed plumber or the water department instead.
If a stop valve drips after sitting closed for a long time, tighten the packing nut and cycle the valve off and on a few times. If it still drips, shut off the main and replace the valve, according to Roto-Rooter.
Call a professional if the leak continues after these steps.