What you need before you start
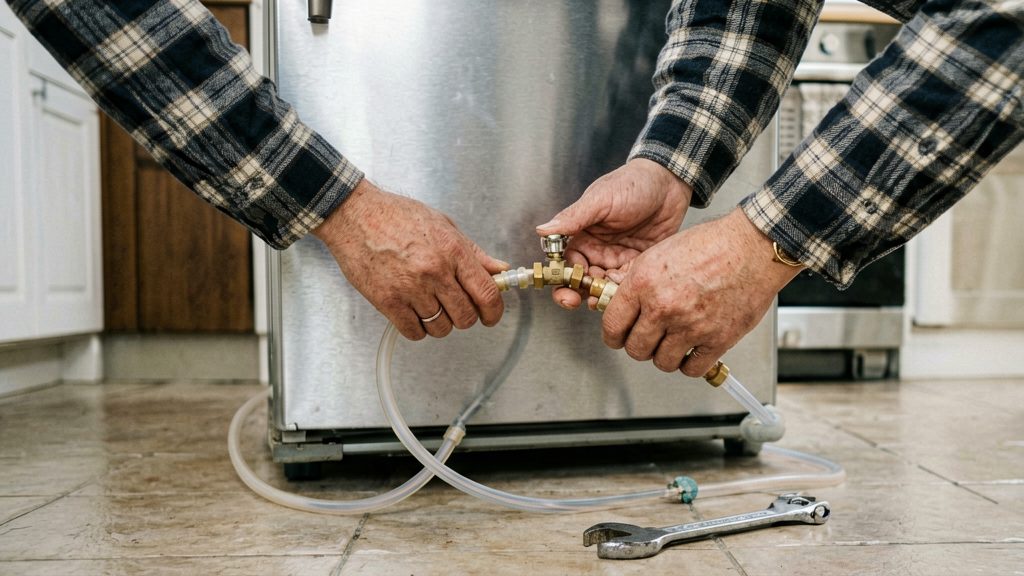
Tubing and fittings
KitchenAid (Whirlpool) (2026) specifies 1/4-inch OD copper tubing, or its approved braided stainless kit, with a brass compression fitting at the cold water shutoff valve. It advises against generic plastic, PVC or vinyl tubing. LG Electronics USA (2026) limits copper tubing to locations where temperatures stay above 32 °F (0 °C). Requirements differ between brands, so check the manual for your model before buying parts.
| Item | Role |
|---|---|
| 1/4-inch OD copper tubing, or KitchenAid’s approved braided stainless kit | Carries water from the shutoff valve to the refrigerator |
| Brass compression nut and ferrule | Connects the tubing at the valve |
| Saddle tee valve or push-on fitting with hookup kit | Taps an existing pipe without cutting or soldering, and includes flexible 1/4-inch tubing (Fine Homebuilding, 2026) |
| Bucket or container | Catches water while you flush the line before the final connection (KitchenAid (Whirlpool), 2026; LG Electronics USA, 2026) |
| Long 1/2-inch drill bit | Drills the hole needed to run tubing through the floor (Fine Homebuilding, 2026) |
| Adjustable wrench | Tightens the compression nut |
Power down first
Before you handle any water line, unplug the refrigerator (LG Electronics USA, 2026). Set the ice maker to OFF as well. LG advises this if the fridge will be used before water is connected, so the ice maker does not run dry.
LG notes that water line installation is not covered by the refrigerator warranty, so check your warranty terms before starting.
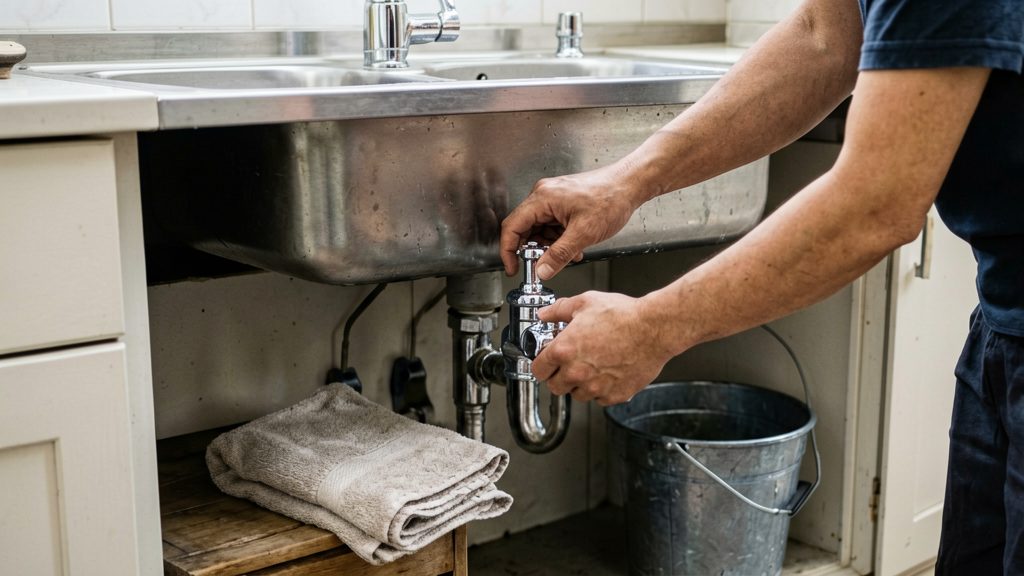
Is there already a water valve behind the fridge?
A valve behind the fridge does not settle the question by itself. Three conditions decide whether the existing line can feed an ice maker: the water must be potable cold water, the pressure must fall within the manufacturer’s range, and the location must stay above freezing.
Potable cold water only. KitchenAid (Whirlpool) (2026) says to connect the ice maker only to a potable cold water line, because hot water damages the inlet valve. If the valve is unlabelled or you cannot trace its supply back to the cold side, treat the line as unconfirmed until you can.
Pressure within range. For the ice maker, KitchenAid (Whirlpool) (2026) specifies 20 to 120 psi (138 to 827 kPa). To estimate the pressure, read a pressure gauge fitted to a nearby hose bib on the same supply. If the reading is close to either limit, ask a licensed plumber to measure it before you connect anything.
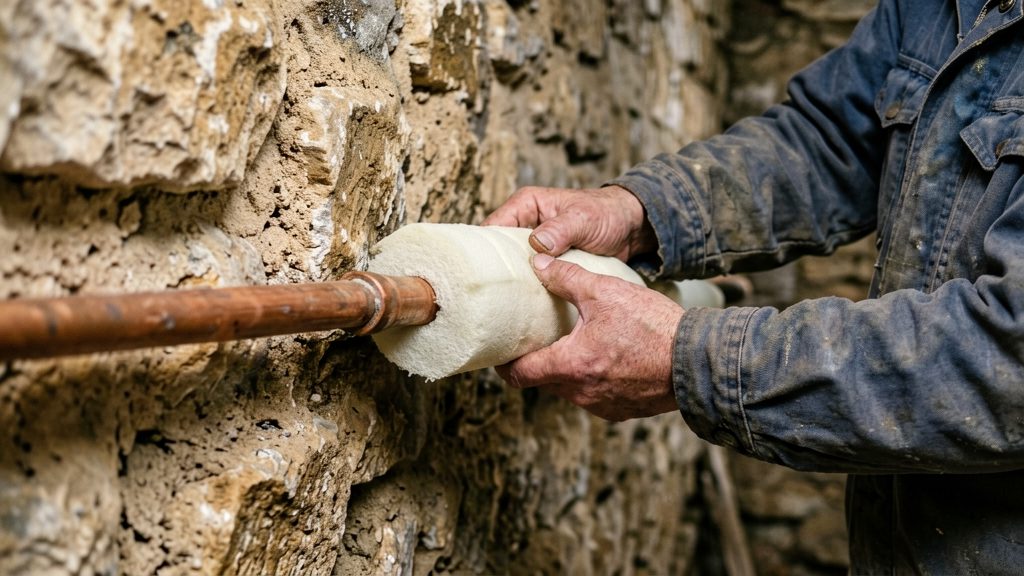
Location above freezing. LG Electronics USA (2026) says copper tubing should be used only where temperatures stay above 32 °F (0 °C). A valve on an exterior wall or in an unheated space carries the same freezing risk for any tubing you run from it.
How do you tap into the cold water line?
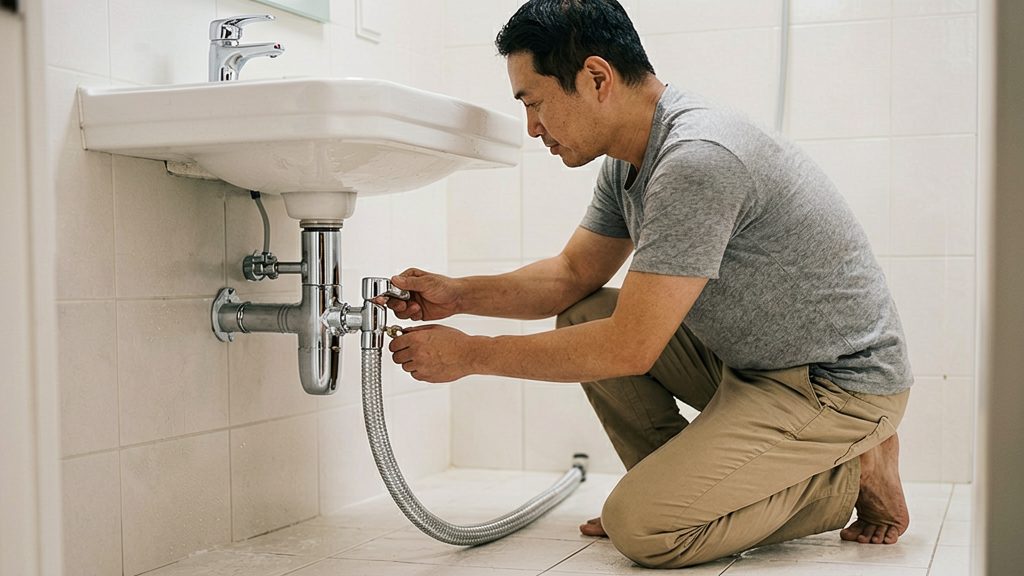
The usual connection is a cold shutoff valve with a brass compression fitting on its outlet. According to KitchenAid (Whirlpool) (2026), the tubing for this connection should be 1/4-inch OD copper or the manufacturer’s approved braided stainless kit, not generic plastic, PVC or vinyl tubing.
Attach the brass compression fitting to the cold shutoff valve
Fit the brass compression fitting onto the outlet of the cold shutoff valve, then attach the ice maker’s line to it.
Confirm the valve is fully open
The shutoff valve must be fully open before you make the final connection. KitchenAid (Whirlpool) (2026) notes that a partly closed valve restricts flow, so a valve that looks open but is only partly turned can starve the ice maker. Turn the handle until it stops in the open position.
Tap an existing pipe when no valve is available
If the cold line has no suitable valve, a saddle tee valve or a push-on fitting can tap an existing pipe without cutting or soldering. According to Fine Homebuilding (2026), both are sold in hookup kits that include flexible 1/4-inch tubing. Some manufacturers and local codes discourage self-piercing saddle valves, so check your local code before using one.
Connecting the tubing to the fridge
Making the connection takes four steps and involves a compression nut and a ferrule, the brass ring that seals the tube against the fitting. Both parts go onto the tube before it is inserted, so the order matters. LG Electronics USA (2026) directs installers to slide the compression nut and ferrule onto the 1/4-inch line first.
- Slide the compression nut, then the ferrule, onto the end of the line.
- Push the line fully into the refrigerator’s rear connection, so it bottoms out in the fitting.
- Hand-tighten the nut until it is snug.
-
- Tighten with a wrench as your manual directs. KitchenAid (Whirlpool, 2026) gives 1/2 to 3/4 turn past hand-tight for the brass nut on its inlet valve, so check your model’s manual for the figure.
How do you flush the line and check for leaks?
Flushing clears debris, such as scale and bits of pipe or compression ferrule, before the line reaches the refrigerator. Leak checking confirms that every joint holds once water pressure is applied. The steps below follow the sequence in the KitchenAid and LG instructions. Flush the line before the final connection to the inlet valve or the rear fitting. Check for leaks once the line is connected and the supply is open.
Flush the line into a bucket
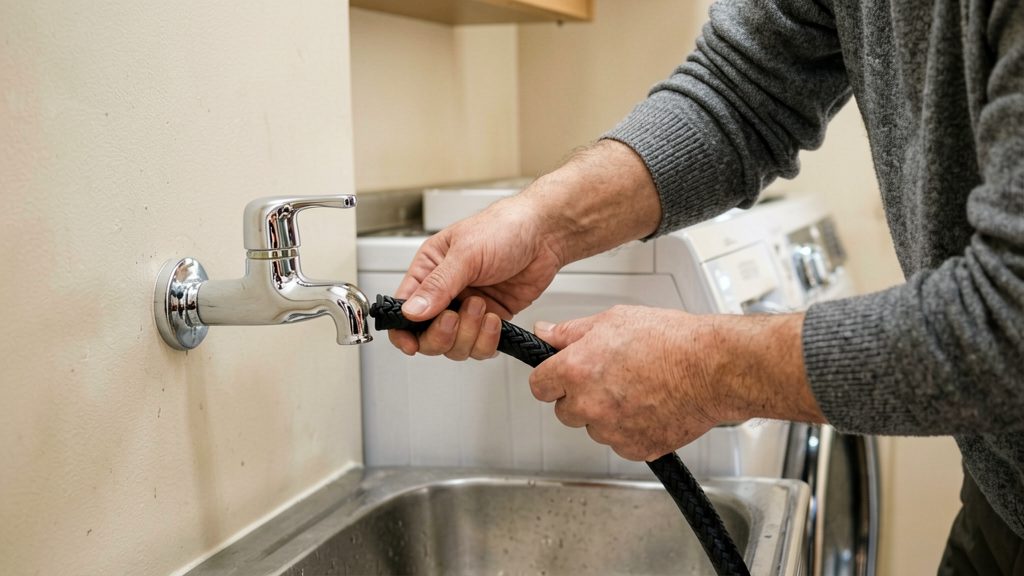
Keep the free end of the supply tubing pointed into a bucket or container, then open the cold shutoff valve briefly. Let water run for about 30 to 60 seconds (KitchenAid), and keep it running until it comes out clear (LG).
Open the supply and check every joint
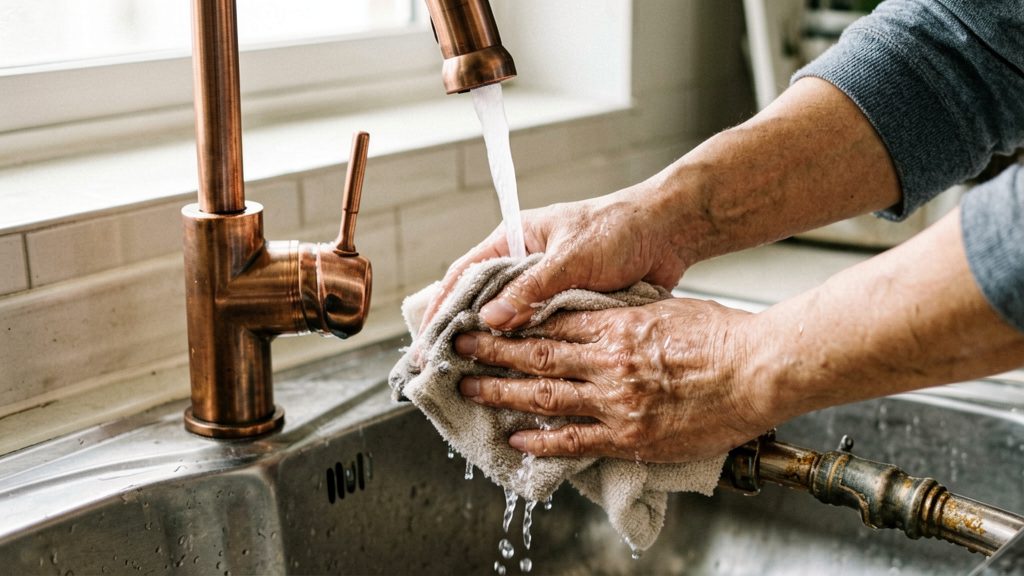
Once the line is connected, open the supply valve fully and look closely at each joint: the compression nut at the shutoff valve, the ferrule at the tubing end, and the connection at the refrigerator’s inlet valve or rear fitting. Dry the joints first with a towel so that any new drip is easy to spot. A slow drip at a fitting usually means the nut needs a small additional turn, so tighten in small steps and recheck (KitchenAid (Whirlpool), 2026; LG Electronics USA, 2026).
Leave the supply open and watch the joints for several minutes before moving on. Check again after the first refrigerator cycles, because a joint that holds under static pressure can still weep when the valve opens.
Complete the water purge after plugging in
Plug the refrigerator back in, then dispense at least 2 gallons of water through the dispenser to flush the system. This clears air and remaining debris from the water circuit (LG Electronics USA, 2026).
If a leak appears at any point during or after the purge, unplug the refrigerator, close the shutoff valve, and check the connection before restarting.
Common mistakes to avoid
The errors below cause leaks, failed ice production, or a false sense of success after installation. Each one can look fine until the fridge has been running for a while.
Old, reused or crimped ferrules
The seal depends on the compression nut and ferrule gripping the 1/4-inch line. Common errors at this step:
- Reusing a ferrule that was distorted by an earlier connection. Check your model’s manufacturer instructions before reusing any ferrule, and replace one that is cracked, flattened, or out of round.
- Using a crimped ferrule or one that does not suit 1/4-inch tubing. A mismatched or pre-deformed ferrule can stop the nut from sealing.
- Stopping short of full insertion. A line that sits only partway into the connection has less of its length gripped by the ferrule, which raises the chance of a leak.
Kinked or pinched tubing behind the fridge
Tubing runs in the tight space behind a refrigerator, where it is easy to damage when the unit is pushed back against the wall. A kink or pinch narrows the bore, which restricts flow to the ice maker, and damaged tubing may leak.
Before pushing the fridge back, trace the full length of the tubing. Leave a loop of slack, and keep the line clear of the rear feet, the wall, and any floor edge.
Expecting ice before the 24-hour window
LG Electronics USA (2026) states that the ice maker may take up to 24 hours to start producing ice. Changing parts too early is a common error: disconnecting or replacing the line during the first hours can create new leak points without fixing anything.
Dispensing water after the flush shows that the line delivers water. It does not confirm that the ice maker is working, so judge the installation after the full 24-hour window has passed.
When should you call a plumber?
Call a licensed plumber when the job changes the home’s water supply, not just when you attach an ice maker to a cold line that already exists. LG Electronics USA (2026) advises calling a qualified plumber for changes to the home’s water supply and says local plumbing codes must be followed. If finishing the connection means cutting, rerouting or altering a supply pipe, stop and get a professional to do that part. Tapping with a kit is only appropriate where local code allows it.
Other situations also call for a plumber:
- Tapping an existing pipe. Local codes may restrict which tap fittings are allowed, so confirm before buying a kit.
- Routing through the floor. If a drilled hole runs into solid material deeper than about 1.5 inches, it is probably a joist, and Fine Homebuilding (2026) advises moving the hole. If the run cannot be moved clear of the joist, have a plumber route it.
- Unidentified water source. If you cannot confirm which pipe is cold and potable, have a plumber identify it.
- Pressure outside the range. If the supply measures outside the manufacturer’s 20 to 120 psi range for the ice maker, a plumber should check the home’s pressure.
Leaks that remain after rechecking
If a leak persists after you have rechecked the connection, shut off the supply valve and call a plumber.