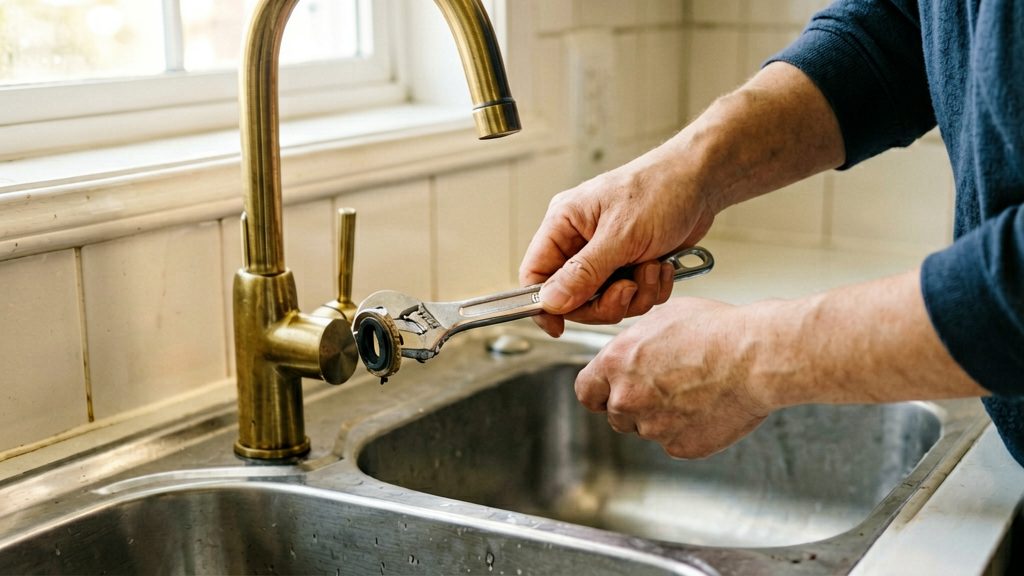
Most faucets that use a washer are compression faucets. In this design, the washer is the part that wears and needs replacing. Before you buy a washer, confirm that the faucet is a compression type, because cartridge, ball and disc faucets seal in different ways and need different replacement parts. The checks below show how to tell the difference.
Does Your Faucet Use a Washer?
How a Compression Washer Seals
In a compression faucet, turning the handle lowers a stem onto the valve seat. A small washer at the bottom of the stem presses against that seat and blocks the flow. According to New Mexico State University, Cooperative Extension, the washer is held by a screw at the bottom of the stem.
Recognising a Compression Faucet
Look under the handle before you take anything apart. According to This Old House (2026), a compression faucet has a decorative cap and a handle screw, and the handle lifts off once the cap and screw are removed. Below the handle, a packing nut surrounds the stem. These parts are clues, but they do not confirm the faucet type because cartridge faucets can have similar handle fittings. Check the manufacturer’s model-specific instructions to confirm that the faucet uses a compression stem with a seat washer before following this procedure.
Spout style alone does not settle the question, so use the handle check as your main test.
Cartridge, Ball and Disc Designs
If the faucet does not match the compression pattern, it probably uses a cartridge, ball or disc mechanism. Moen identifies damaged cartridges, O-rings and grommets as common causes of leaks and advises following the model-specific instructions for the replacement cartridge. For ball and disc faucets, follow the manufacturer’s instructions for the specific model, since their internal parts are not a washer-and-stem assembly.
Tools and Replacement Washers
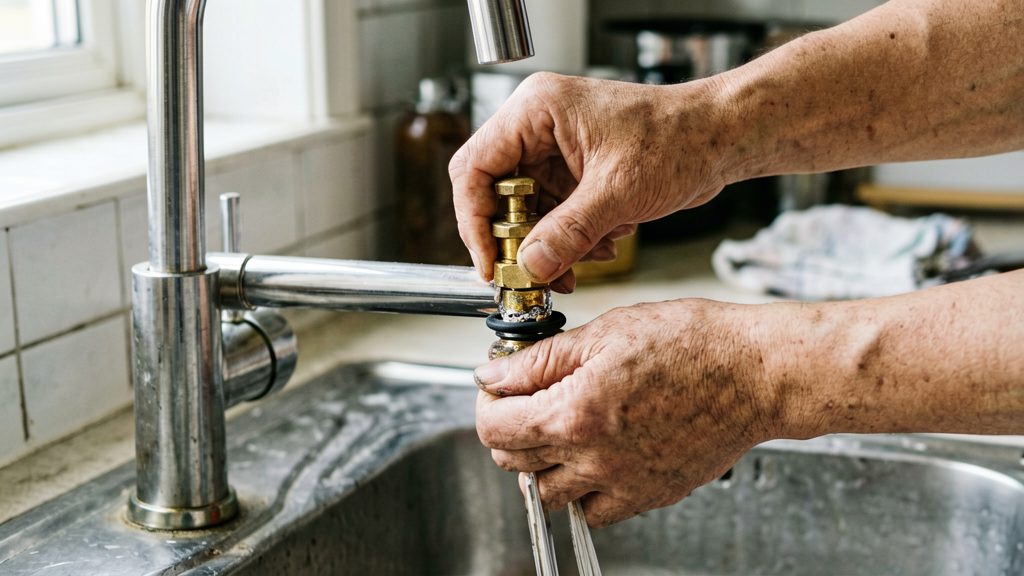
For a compression faucet, the basic kit is a screwdriver, a smooth-jawed adjustable wrench, and a replacement washer of the correct size and type. According to New Mexico State University Cooperative Extension, these are the essentials. A smooth-jawed wrench matters because serrated jaws can mark the chrome finish on the faucet body and packing nut.
Measuring the Old Washer
No universal washer size exists, so the old washer is the best reference. Remove it and check two dimensions:
- Diameter: the outside width of the washer, measured across its widest point with a ruler or caliper.
- Thickness: the depth of the washer, measured with a caliper if you have one.
Bring the old washer to the store, or compare it against the packaging of the replacement, so the new part matches both measurements. A washer that is slightly too thick may not seat against the valve seat. One that is too thin may not stop the flow. Also check the shape of the washer’s edge and centre hole, since a washer of the right size can still fit poorly if its type differs.
Choosing a Washer by Brand and Model
Washers are not always sold by faucet brand, so the model is the reliable identifier. Moen says its model number may appear on the packaging, the instruction sheet, the receipt, or a tag on the supply line under the sink. Keep that number when buying parts.
Shut Off Water and Prepare
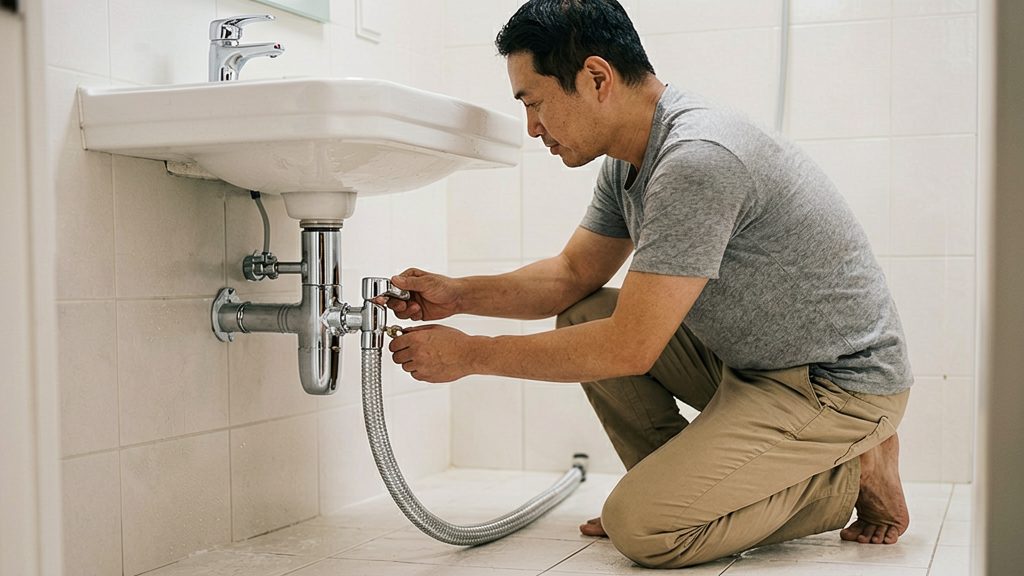
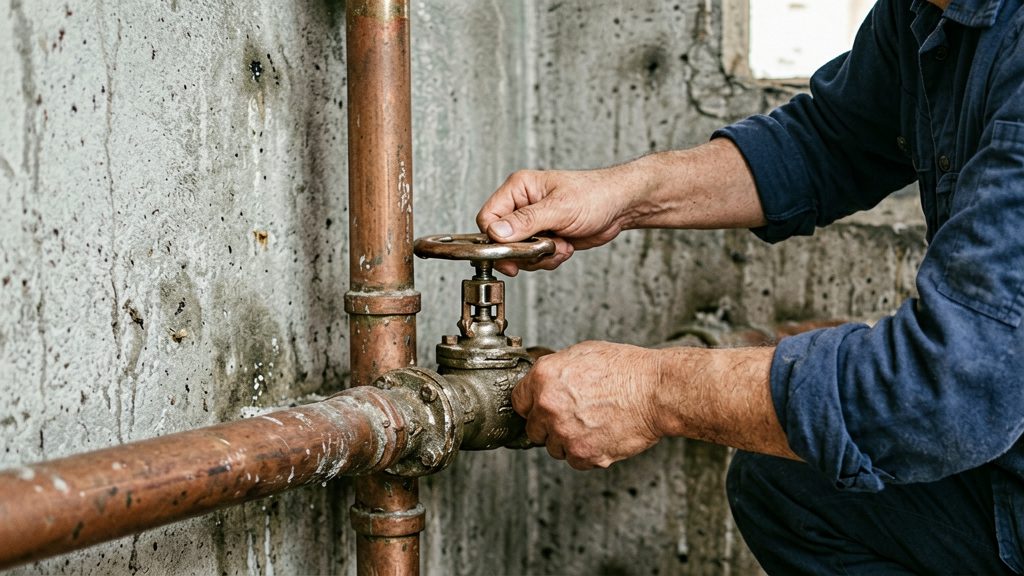
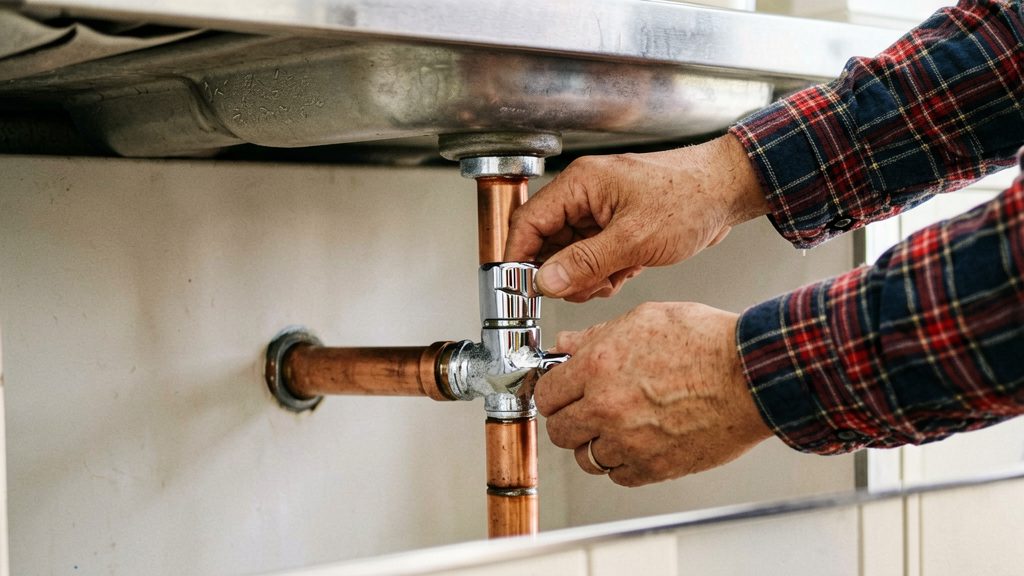
Stop the water at the source before you loosen anything. According to New Mexico State University Cooperative Extension, the washer replacement starts by closing the nearest shutoff valve and then opening the faucet until water stops flowing.
- Close the shutoff valve. Find the valve on the supply line under the sink, the one nearest the faucet, and turn it until it stops.
- Open the faucet. Leave the tap open until water stops coming from the spout. This drains the water remaining in the line, so you won’t have a spill when parts come loose.
- Cover the drain. Place a drain stopper or a rag over the sink drain. This Old House (2026) advises this step before disassembly, because it keeps small parts from falling into the drain.
Remove the Handle and Stem
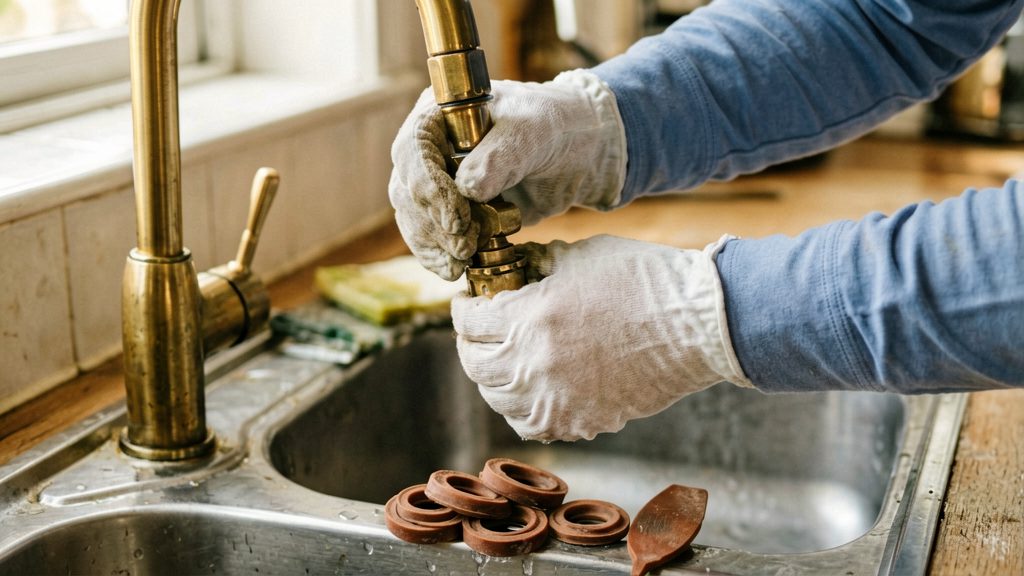
On a compression faucet, the handle comes off in a fixed order: decorative cap, handle screw, handle, then the packing nut, which frees the stem. Working in that sequence and keeping the parts together prevents damage and lost pieces.
- Remove the decorative cap and handle screw. Take off the decorative cap on top of the handle, then unscrew the handle screw underneath it with a screwdriver. According to This Old House (2026), this is the first step on the compression faucet it describes.
- Lift off the handle. With the screw out, lift the handle straight up off the stem.
- Loosen the packing nut. Turn the packing nut counterclockwise with a smooth-jawed adjustable wrench, the tool named for this job. Remove the packing nut, then loosen and unscrew the stem from the faucet body as directed for your model; do not assume it will pull straight out.
- Arrange the parts in order. Lay the cap, screw, handle, packing nut and stem on a towel in the order you removed them. Reinstalling in reverse order is then straightforward.
How to Replace a Faucet Washer
Replacing a washer means swapping the small rubber or synthetic disc on the stem. The job is done by removing the handle and stem, unscrewing the screw that holds the washer at the stem base, and fitting a new washer.
Preparing the Work Area
Lay the removed parts out in the order you take them apart. This keeps track of which piece goes where when you reassemble.
Removing the Handle and Stem
Work slowly, because the stem holds the washer and the parts can be stiff after years of mineral buildup.
Unscrewing the Washer Screw
Once the stem is out, locate the screw that secures the washer at the bottom of the stem. Turn it counterclockwise with a screwdriver. Use a smooth-jawed adjustable wrench only to steady the stem.
Comparing the Old and New Washers
Hold the worn washer beside the replacement. Check that the diameter, thickness, and shape match. A worn washer often shows flattening, cracks, or a dished center. Remove the old washer from the stem and clean away any residue on the stem seat.
Fitting the New Washer
Seat the new washer in the stem base, then fasten it with the screw. Tighten the screw until the washer sits flat, without overtightening. Once the washer is secure, the stem can be reinstalled as described in the reassembly step of this guide.
Reassemble and Check for Leaks
Once the old washer is out and the new one is in place, the stem goes back into the body. Set the stem in the same position it came out, then turn it by hand until the threads engage. Threads that resist or sit at an angle mean the stem is cross-threaded, so back it out and start again.
Snug the packing nut with the adjustable wrench, tightening only until the nut stops turning freely. Avoid overtightening the packing nut, which can damage the packing and make the handle hard to turn. Refit the handle, secure its screw, and replace the decorative cap before restoring the water supply.
Restore the Water Supply
Open the shutoff valve slowly. The replacement washer must already be secured by its screw before you restore the water supply; it seals against the valve seat when you close the faucet. Turn the valve in small increments and let the line refill gradually.
Keep the faucet open while the supply returns. Air pushed through the line will spit and sputter; this clears within a few seconds once the lines are full.
Test for Drips and Stem Leakage
Close the faucet fully and watch the spout for several minutes.
Check the area around the stem and handle as well.
Why Is the Faucet Still Dripping?
If a compression faucet keeps dripping after a new washer is fitted, the washer is probably not the only worn part. A drip that persists after replacement can indicate a worn valve seat, according to New Mexico State University Cooperative Extension.
Leakage around the handle stem points to a different cause. The stem is held in place by a packing nut, which This Old House (2026) describes as one of the parts to loosen when working on a compression faucet. Leakage at the stem can indicate worn packing or a worn O-ring, according to the same New Mexico State University guide.
| Symptom | Likely cause | What to check |
|---|---|---|
| Drip from the spout after a new washer is fitted | Worn valve seat | Seat surface for roughness or pitting |
| Water seeping around the handle | Worn packing or O-ring on the stem | Condition of the O-ring and the packing around the stem |
Cartridge and Grommet Leaks
Many faucets do not use a washer and stem at all. They use a cartridge, a sealed unit that controls the flow. If the cartridge is the problem, match the replacement to your faucet.
When Should You Call a Plumber?
A washer swap fixes a drip only when the washer is the worn part. Stop and call a licensed plumber if the stem will not come out, the valve seat or body is damaged, or you cannot identify the faucet well enough to find matching parts. A new washer cannot repair a damaged valve seat.
| Condition | What it indicates | Next step |
|---|---|---|
| Cracks, deep pitting, or corrosion on the seat or body | Damage beyond what a washer can fix | Have a plumber assess whether the faucet body or the seat can be repaired |
| Stem is seized or corroded and will not lift out | The washer cannot be reached without removing the stem | Stop and call a plumber |
Unidentified or obsolete faucets need a model match before any parts are bought. If you cannot find a model number, take the old washer or stem to a plumbing supplier for comparison, or ask a licensed plumber to identify the faucet, rather than guessing at a part.