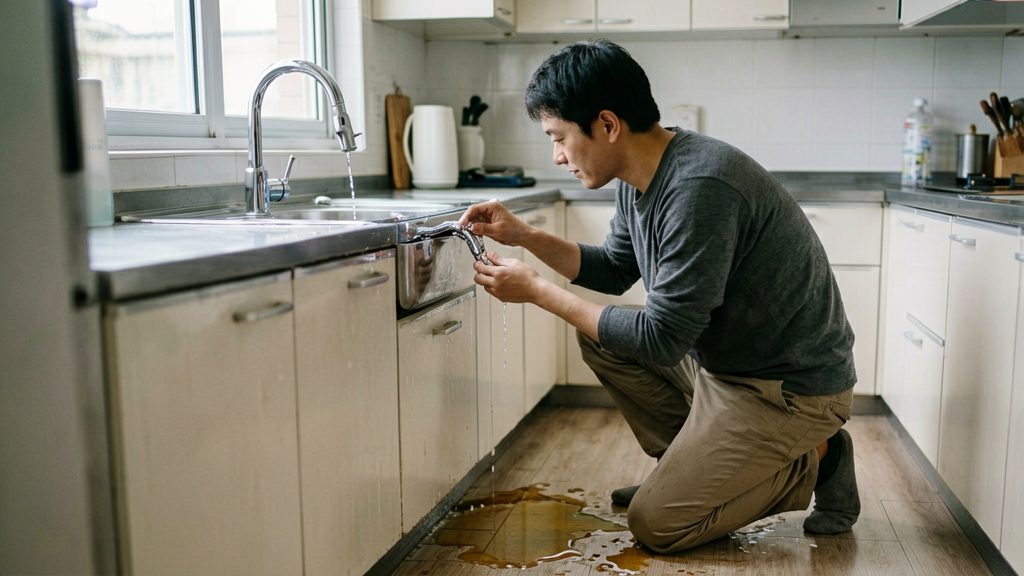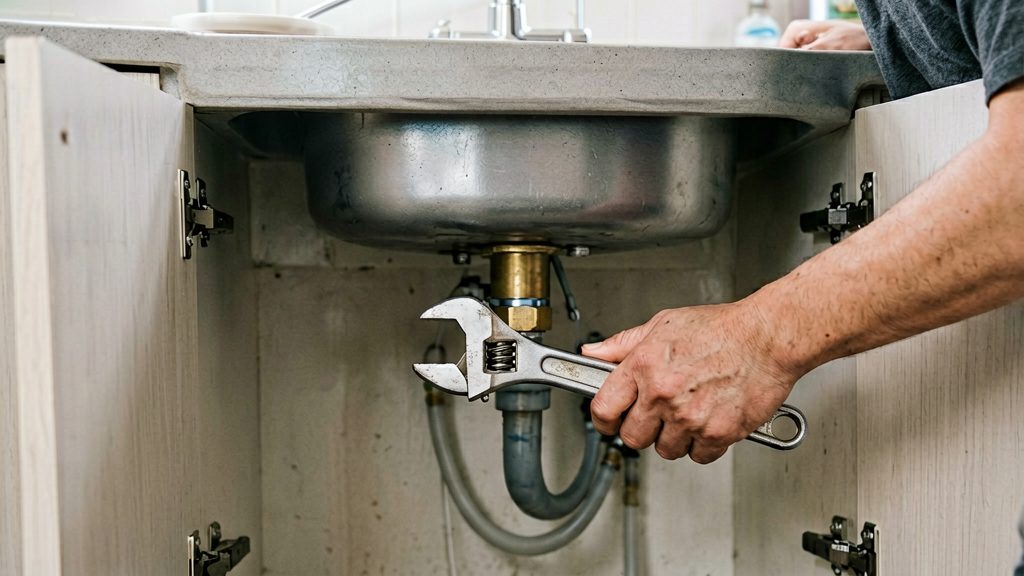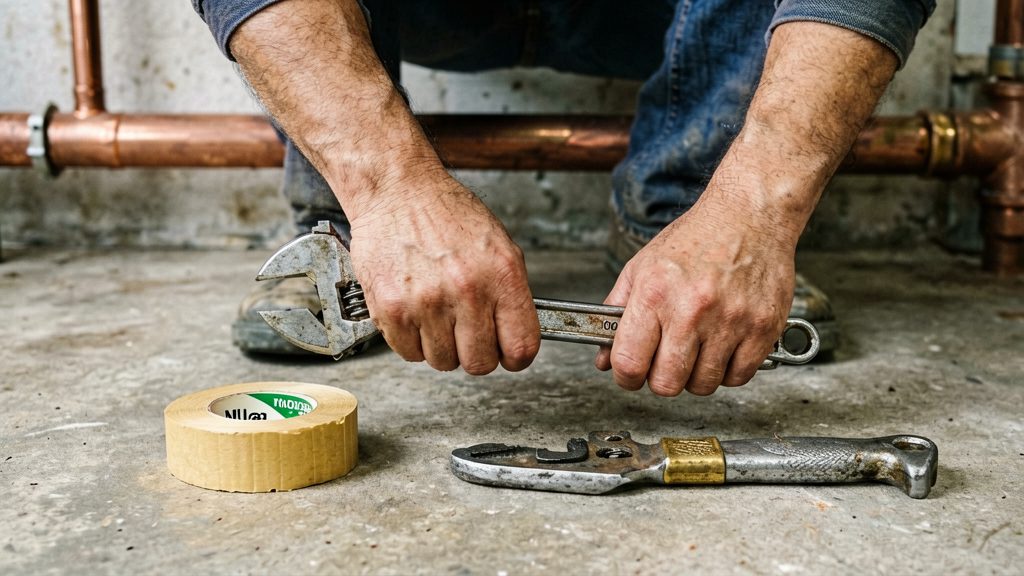
According to This Old House (2026), a homeowner should first know where the main water shutoff valve is, and should turn off the water supply before starting any repair. The core kit covers that step plus the hand tools for the most common jobs: an adjustable wrench, a basin wrench, tongue-and-groove pliers, and a strap wrench. A tubing cutter is useful if the home has copper pipe. Gather these items in one labelled place so they can be found during a leak.
Baseline Toolkit for Common Household Repairs
| Tool | Main use in a basic repair | Source |
|---|---|---|
| Adjustable wrench | Small jobs such as replacing faucets and showerheads | Oatey (2022) |
| Basin wrench | Reaching faucet mounting nuts behind a sink, thanks to its long shaft | Oatey (2022) |
| Tongue-and-groove pliers | Working on pipe connections in tight spaces, using angled jaws | This Old House (2026) |
| Strap wrench | Gripping chrome fixtures without the tooth marks that pliers or a pipe wrench leave | This Old House (2026) |
| Tubing cutter | Cutting copper, aluminum and brass tubing; compact versions suit confined spaces | Oatey (2022) |
| Bucket and towels | Catching unexpected water during a repair | This Old House (2026) |
Thread tape is a common supply for threaded connections, but guides do not establish that it fits every connection. Check the product label and the manufacturer’s instructions before using it.
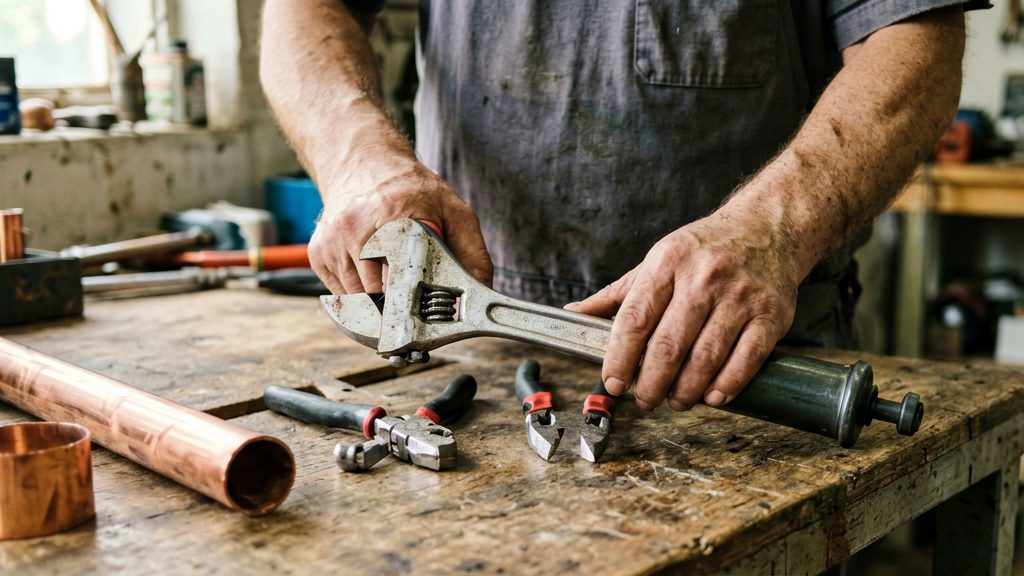
Locating and Labelling the Main Shutoff Valve
- Find the main shutoff valve before a leak happens, and note which room or pipe it serves.
- Label the valve with a durable tag so anyone in the household can identify it quickly during a leak.
- Check that it turns while the system is not under emergency pressure, and note whether it needs a wrench to operate.
- Shut off the supply at the main valve, or at a local valve if the repair affects only one fixture.
Keeping a Basic Kit in One Place
Store the tools in a single container, such as a labelled bin, close to the main shutoff valve or in another spot every household member knows. A single known location shortens the time needed to find a tool and the water supply control during an emergency.
Adjustable Wrenches and Plumbing Pliers
Adjustable wrenches and tongue-and-groove pliers cover most gripping tasks on faucets, showerheads and supply connections. The main risk is not the tool itself but the force applied, so the goal is a firm, controlled grip rather than maximum torque.
Adjustable Wrench Sizing
An adjustable wrench suits small plumbing jobs such as replacing a faucet or a showerhead, according to Oatey (2022). Choose a jaw opening that matches the nut or fitting closely:
- Check the fit first. A loose jaw rounds off nut corners and makes the wrench slip.
- Keep the jaws parallel to the flats. Angling the wrench spreads the load onto the nut’s corners.
- Pull toward the open side of the jaw when possible, so the wrench does not slip back onto your knuckles.
Chrome finishes show scratches easily. The strap wrench listed in the Baseline Toolkit for Common Household Repairs section grips chrome without the tooth marks that pliers or a pipe wrench can leave, according to This Old House (2026).
Tongue-and-Groove Pliers in Tight Spaces
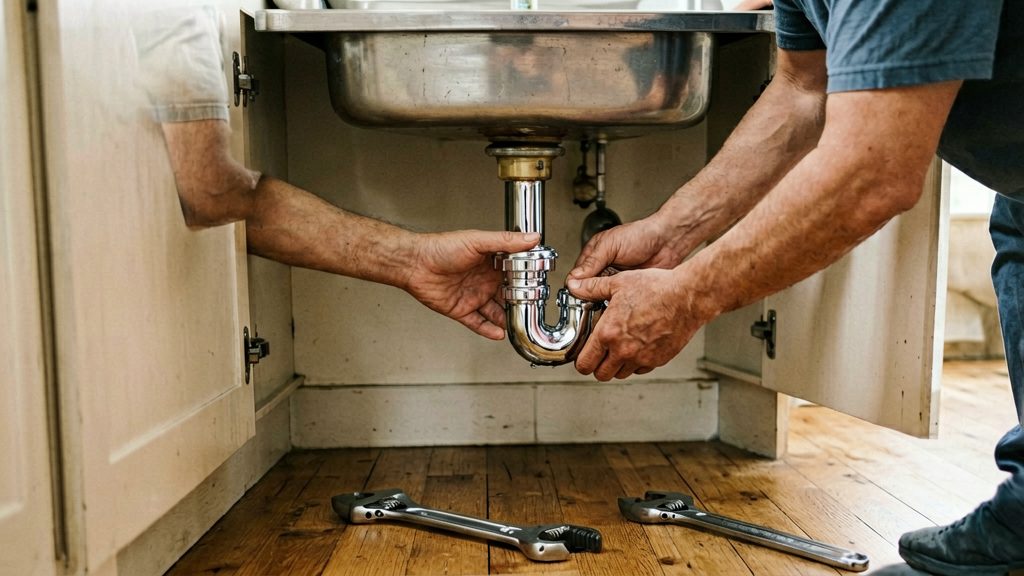
Tongue-and-groove pliers have angled jaws that help work on pipe connections in tight spaces, according to This Old House (2026). Angled jaws reach fittings where a straight-jawed tool cannot open or turn. Use them on a connection that is already accessible but blocked by nearby pipework or cabinet walls, and grip the nut’s flats rather than its edges.
Why Overtightening Causes Leaks
Overtightening plumbing fittings can cause damage or leaks, according to This Old House (2026). The correct tightening varies by connection. The Fluidmaster installation instructions for a toilet fill valve call for hand-tightening the supply connector and warn that overtightening can damage components and cause flooding. Before applying a wrench to any connection, check the manufacturer’s instructions for that specific fitting.
Which Plunger Should You Use?
Plungers work by pushing and pulling water to create pressure changes in a drain, but only when the rubber head forms a tight seal around the opening. Choosing the right head shape matters more than pumping harder. Cup plungers suit sinks, tubs and showers, while flange plungers are built for toilet bowls. Using the wrong type leaves gaps where air escapes, so the pressure never reaches the clog.
Cup Plungers for Sinks, Tubs and Showers
A cup plunger has a bell-shaped rubber head with a flat rim. Oatey (2022) states that cup plungers are intended for sinks, tubs and showers. The flat rim sits over the flat surface around the drain opening, so the seal depends on the rim and the cup covering the drain fully.
- Use it on sink, tub and shower drains only.
- Choose a cup large enough to cover the drain opening completely.
- Keep the head fully submerged in water when pumping, so the drain stays filled and the pressure transfers to the clog.
Flange Plungers for Toilet Bowls
A flange plunger has an extended rubber flap that folds out from the cup. According to Oatey (2022), this flap is designed to seal against a toilet bowl. The flap fills the bowl’s trap opening, which a flat cup cannot cover, so the seal and pressure stay concentrated where the clog sits.
Creating an Airtight Seal Before the Pumping Stroke
Before plunging, check whether a chemical drain cleaner has been used. If the drain remains blocked after chemical treatment, do not plunge, insert a snake, or dismantle the trap; contact a plumber and explain which product was used. Otherwise, establish a tight seal and follow these steps:
- Fill the basin or bowl with enough water to cover the rubber head completely. Pressure needs water to push against.
- For a sink or tub, block the overflow opening with a wet cloth, and block any connected adjacent basin drain and overflow, so the plunger’s force goes toward the blockage. Then seat the plunger firmly over the drain opening.
- Push down slowly first to expel air, then start the pumping stroke.
- Pull up sharply to build suction, then push down. Repeat for several strokes before checking the drain.
| Plunger type | Intended surface | Seal method |
|---|---|---|
| Cup plunger | Sinks, tubs, showers | Flat rim covers the drain opening |
| Flange plunger | Toilet bowl | Extended flap seals the bowl’s trap opening |
If the plunger slips or the water level drops during pumping, lift the head, add water, and reseat it before trying again.
Drain Snakes for Stubborn Clogs
A small manual drain snake is the right tool for hair and light obstructions in tub, shower and drain lines. Oatey notes that such a snake can retrieve hair and other obstructions from these drains (Oatey, 2022-07-21). The method is to feed the cable slowly, engage the debris, and withdraw it, rather than pushing hard against a blockage.
Small Manual Snake for Tub and Shower Hair
A compact hand-crank snake fits the drain openings in bathtubs and showers, where hair is the most common obstruction. Use it on the tub or shower drain, not on the toilet.
- For a shower, remove the drain strainer to access the drain. For a bathtub, follow the tool and fixture instructions; access commonly requires removing the overflow plate and internal stopper mechanism, then feeding the cable through the overflow opening.
- Insert the tip into the drain and turn the handle slowly.
- Hair usually wraps around the tip; feeding the cable a short distance at a time helps it catch.
Feeding the Cable and Withdrawing Debris
Feed slowly using the feed mechanism and cranking procedure specified in the tool manufacturer’s instructions. Do not force the cable against resistance. Forcing the cable can kink it or push the clog further down the line.
- Advance the cable a short distance at a time while turning the handle.
- When resistance increases, stop feeding and turn the handle to hook the debris.
- Withdraw the cable slowly so the captured material does not drop back into the pipe.
- Pull the cable out, clean it with a rag, and run hot water to check flow.
Retrieving Hair and Obstructions from Drain Lines
Once the cable has passed the first bend in the trap, debris can be retrieved from the drain line itself.
| Step | Action | Purpose |
|---|---|---|
| Remove | Drain cover or stopper | Access the opening |
| Feed | Cable advanced slowly | Reach the obstruction |
| Hook | Turn the handle at resistance | Catch hair or debris |
| Withdraw | Pull cable steadily | Bring material out |
| Verify | Run water | Confirm flow |
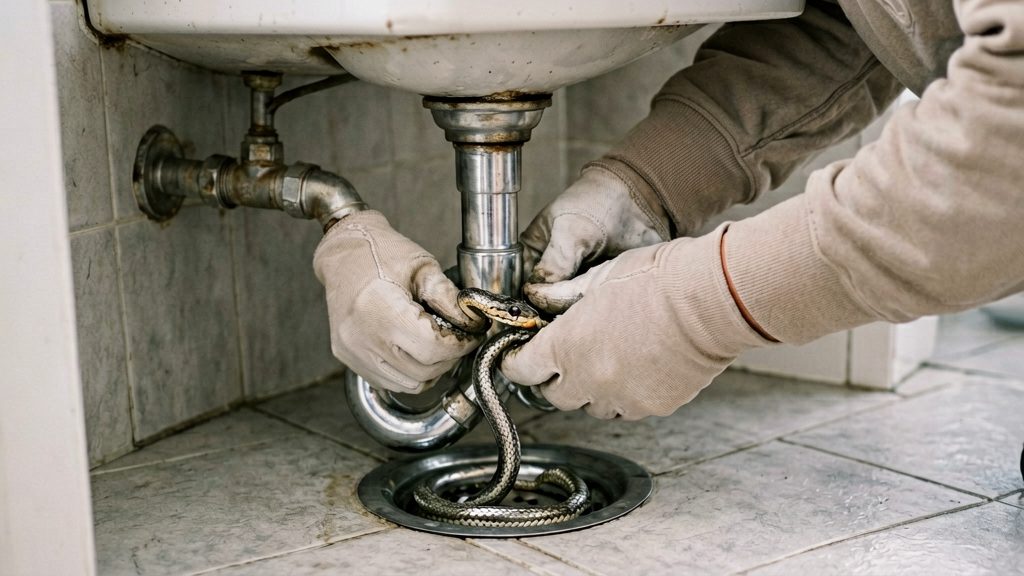
Basin Wrenches for Faucet Repairs
A basin wrench has a long shaft that lets you reach the faucet mounting nuts located behind a sink, where a standard wrench cannot fit. The jaws sit at one end of the shaft, and on a conventional basin wrench the operating handle sits at the opposite end, according to RIDGID. Appropriately sized models also fit supply-line nuts, according to The Home Depot plumbing wrench specifications.
Reaching Mounting Nuts Behind the Sink
- Insert the jaw end up past the supply lines and drain pipe, then seat the jaws on the mounting nut.
- With the jaws seated on the nut, turn the handle at the end opposite the jaws to tighten or loosen it. The handle end stays near the cabinet opening while the jaws act on the nut.
- Hold the faucet body from above while you turn, so the entire assembly does not rotate with the nut.
- Use the basin wrench only on nuts its jaws fit securely. Check the tool’s size range against the nut before use, and follow the tool and fitting manufacturers’ instructions.
Working in Cramped Space Under the Sink
The space under a sink is narrow and usually poorly lit, so set up before you start:
- Clear the cabinet of cleaning products and other items that could block your arms or tip over.
- Wear gloves and eye protection, since you will be working overhead and near metal edges and drips.
- Tighten the mounting nut only until it holds the faucet firmly.
Safety Gear and Cleanup Supplies
Protecting against water damage starts before the first fitting is loosened. This Old House (May 2026) recommends turning off the water supply before starting any plumbing repair, and keeping a bucket and towels nearby to catch unexpected water. Oatey (July 2022) includes gloves and eye protection among the protective equipment homeowners should keep available for plumbing work. Together, these three items cover the water shutoff, the cleanup, and the personal protection needed for most small repairs.
Shutting off the water supply
Turn the water off before loosening any connection. After closing the valve, open the faucet the repair involves and confirm that the flow has stopped before you disconnect anything. If the water does not stop, the valve is not closing fully, and the job needs a different shutoff point.
Bucket and towels
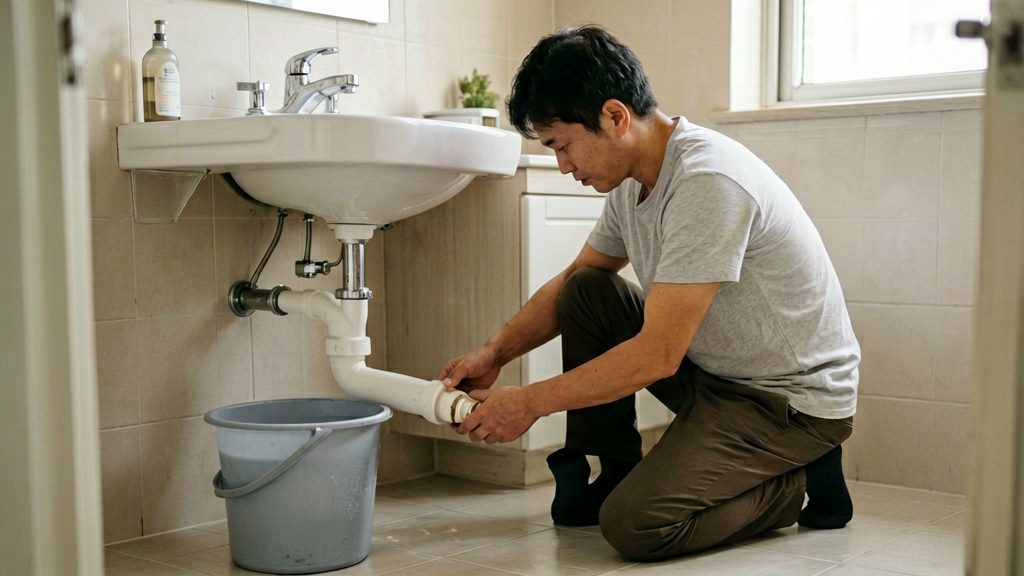
Place the bucket under the connection before you open it, because water left in the pipe or fixture can drain out when a fitting is removed. Keep towels within reach to wipe up small spills and to protect nearby surfaces and cabinet floors while you work.
Gloves and eye protection
Wear gloves when you handle drain debris, old seals, or residue, and wear eye protection when you work overhead or when a fitting may release water or debris as it comes apart. Keep both items with your other repair supplies so they are ready before you start.
Specialty Tools to Buy as Needed
The core kit covers most repairs. Specialty tools are narrower options you buy only when one specific job cannot be done cleanly with the core tools. The main example here is a compact tubing cutter for copper, aluminum or brass pipe in tight spaces.
| Tool | Job it suits | Source |
|---|---|---|
| Compact tubing cutter | Cutting copper, aluminum and brass tubing in confined spaces | Oatey (2022) |
Compact Tubing Cutters for Metal Pipe
Tubing cutters handle copper, aluminum and brass tubing. Oatey (2022) notes that compact versions are available for confined spaces. A compact model is the practical choice when the cut sits behind a cabinet or under a sink where a full-size cutter cannot swing around the tube. Rotate the cutter around the tube and advance the cutting wheel gradually between turns, rather than tightening it in one pass, to keep the cut square.
Deciding Which Specialty Tools Justify a Purchase
Use these checks before buying a single-purpose tool:
- Match the tool to the material. Tubing cutters are listed for copper, aluminum and brass. Confirm your pipe material before you buy.
- Check the access space. If a standard tool cannot reach the joint, a compact version may be the only option. If the space allows a standard tool, the compact model adds little.
- Count the likely uses. A tool needed for one repair may be worth borrowing rather than owning. Owning it makes sense if you expect similar repairs.
When Should You Call a Plumber?
A licensed plumber is the safer choice when a leak or clog does not respond to basic homeowner methods, or when the problem lies beyond the reach of hand tools. Oatey advises professional help once a drain-snaking task becomes complicated (Oatey, 2022), and This Old House recommends professional assistance for persistent or complex plumbing problems (This Old House, 2026). The situations below mark where that threshold is usually reached.
Clogs Beyond a Manual Snake’s Reach
A small drain snake can clear obstructions in tub, shower and drain lines, but its length is limited. If the blockage does not clear after the snake is fully inserted, the obstruction may sit further down the line than a homeowner tool can reach. If several fixtures back up at the same time, the blockage may be in the shared drain line rather than the trap under one sink. This Old House lists sewer line issues among the problems it recommends leaving to professionals (This Old House, 2026).
Leaks That Continue After the Main Shutoff Is Closed
If water still flows after the main shutoff is closed, check the valve and the fixture first. Confirm that the valve is fully closed and that the faucet you opened has stopped flowing. Water remaining in pipes can drain after shutoff, and this alone does not establish a fault in hidden or inaccessible pipework. If flow does not stop once that residual water has drained, leave the connection intact and call a plumber.
Problems That Return After Basic Fixes
Repeated retightening is a common homeowner reflex. A connection that drips again after each tightening may be damaged by the tightening itself, so further force makes the problem worse. A clog that returns after repeated plunging or snaking points to a cause that basic methods do not reach.
Check local licensing requirements through your local authority before hiring, as rules vary by location.