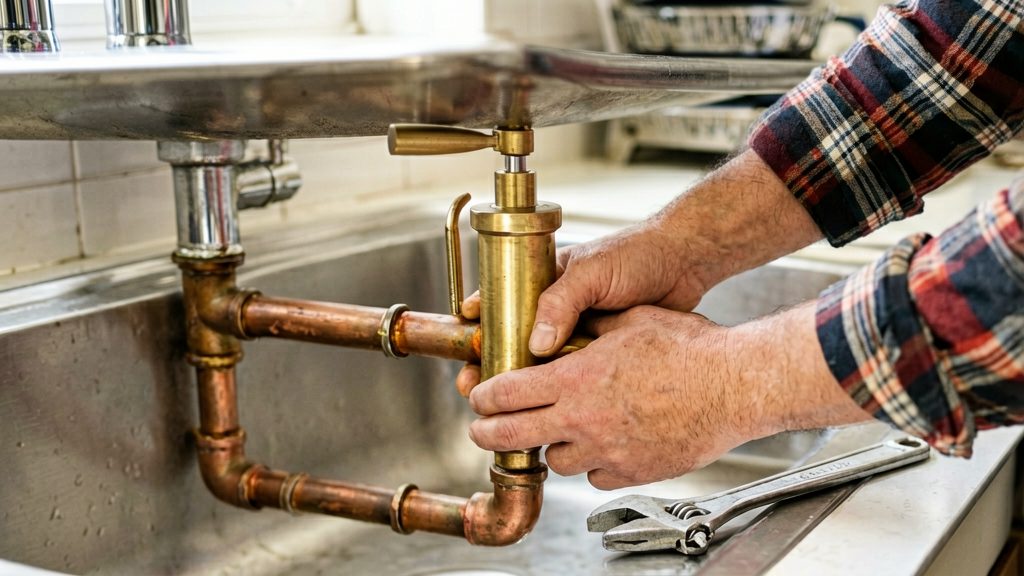
Water hammer is the shock wave that forms when flowing water is stopped or redirected suddenly. Moving water has momentum, and when a valve closes faster than the water can slow down, that momentum turns into a short, sharp rise in pressure. The pressure spike travels back through the pipe and strikes the walls and fittings, which is why it is heard as a bang, knock or thud. The most common home triggers are quick-closing appliance valves, trapped air and high static pressure.
What is water hammer and why does it happen?
Water hammer is a pressure surge in a plumbing line. It starts when water that is moving through a pipe is forced to stop or change direction in a fraction of a second. The water column keeps pushing against the closed point, and its energy converts into a pressure spike that bounces through the pipe until it dissipates.
How a sudden stop creates a pressure spike
The faster the water is moving and the quicker it is halted, the larger the pressure spike tends to be. A slow, gradual closing gives the water time to decelerate, while an abrupt closing does not. This is the basic physics behind the noise you hear after a tap or appliance valve shuts.
Triggers behind the shock
| Trigger | How it produces shock |
|---|---|
| Quick-closing solenoid valves in washing machines and dishwashers | These valves shut off the supply within a very short time, stopping fast-moving water abruptly. Family Handyman (2026) identifies fast-closing solenoid valves as the most common cause of banging pipes. |
| Air pockets | Trapped air disrupts the smooth flow of water, so pressure builds unevenly when flow stops. This Old House (2026) lists air pockets among the causes of water hammer. |
| High static water pressure | Higher pressure drives water faster through the line, so each stop is more forceful. Mr. Rooter Plumbing (2026) says hammer problems are more common when water pressure is above roughly 60–80 PSI. This is an observation about frequency, not a safe pressure limit. |
Why appliance valves are a frequent source
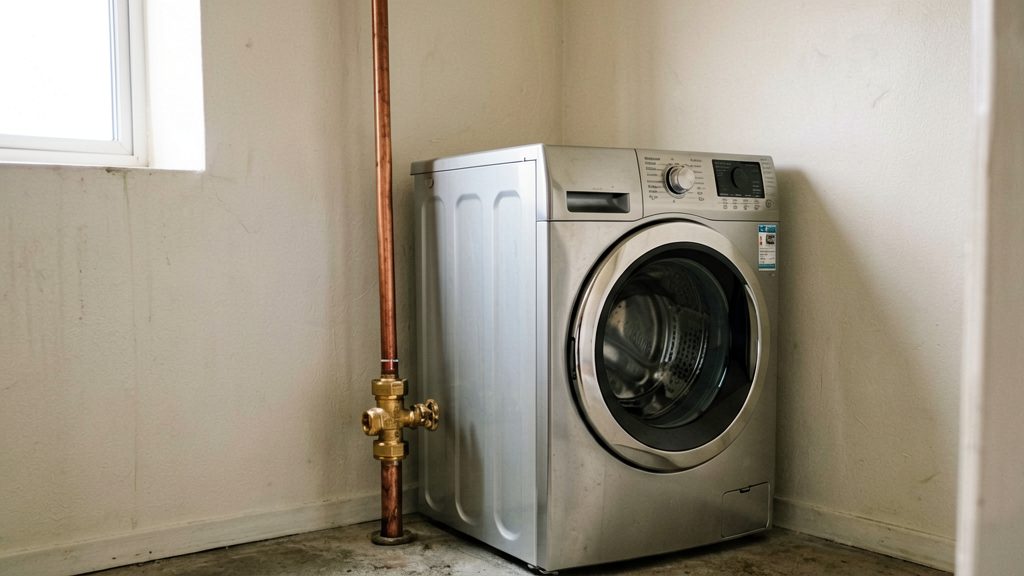
Washing machines and dishwashers use solenoid valves that open and close repeatedly during a cycle. Each closing event can send a pressure spike back through the supply line, so the noise often recurs at the same point in a wash or rinse. Because these valves are fitted to the appliance itself, the hammer is usually linked to the appliance’s cycle timing rather than to a tap.
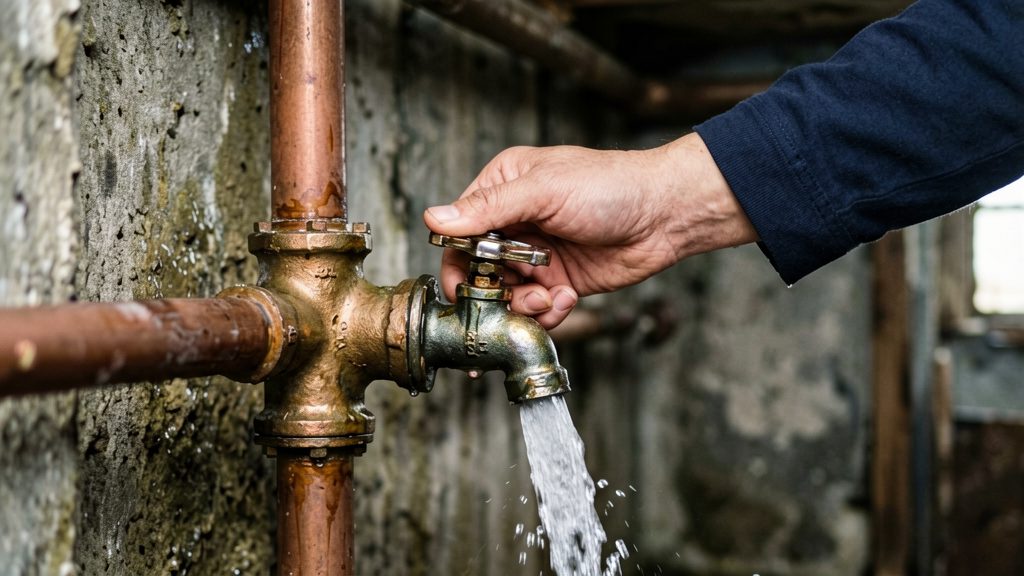
Where should a water hammer arrestor go?
Install the arrestor as close as possible to the valve or appliance where the flow stops suddenly, because that is where the pressure shock starts. Oatey (2026) names three common spots: under sinks, behind toilets and near washing machines.
Under sinks
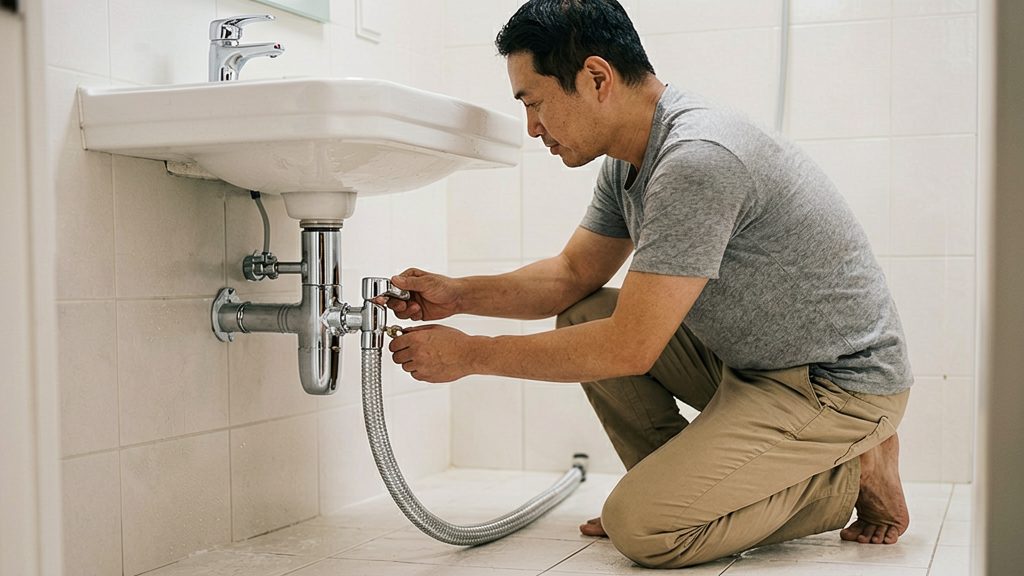
Mount the arrestor on the supply line near the stop valve that feeds the faucet, so the shock is absorbed close to where the flow is cut off.
Behind toilets
Place the arrestor on the supply line feeding the toilet, near the wall shut-off valve.
Beside washing machines and dishwashers
Mr. Rooter (2026) distinguishes two types by location:
- An inline arrestor sits in the supply line and can protect several fixtures.
- A mini end stop attaches at the end of a run, to the washing machine or dishwasher hose.
Use an inline arrestor when one device should cover several fixtures. A mini end stop suits a single appliance hose.
Mounting orientation
Oatey (2026) states that an arrestor can be mounted vertically, horizontally or at an angle.
Tools and materials you need
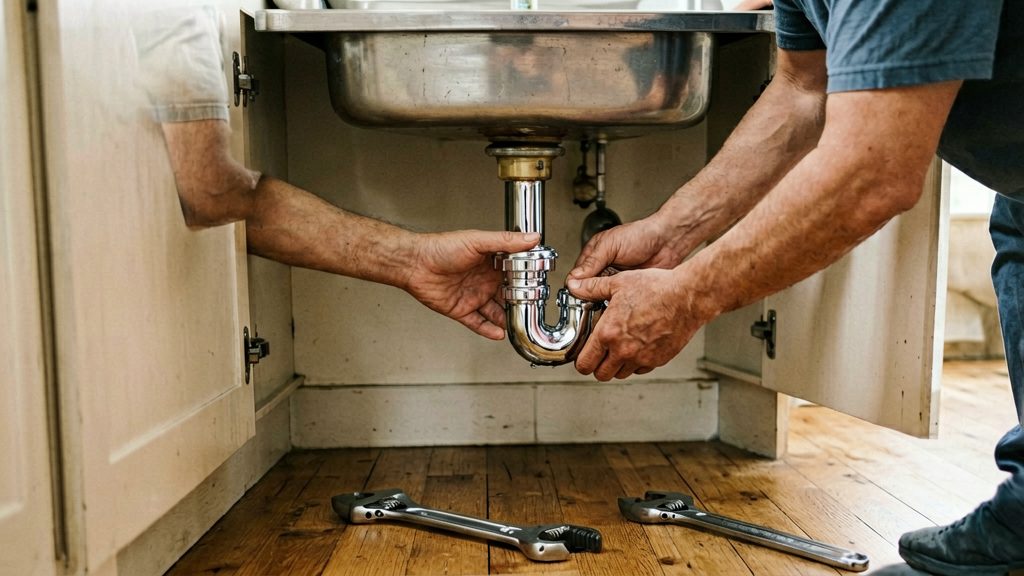
A standard arrestor installation needs only a few hand tools, plus the fittings that match your pipe material. For a surface-mounted arrestor under a sink, the basic kit is an adjustable wrench, a bucket, and towels. Oatey’s steps call for the bucket to catch the water released when you disconnect the supply line, and for a wrench to snug the fittings (Oatey, 2026).
For a threaded arrestor connection, wrap the male threads with Teflon tape before you hand-tighten the arrestor onto the stop valve or a tee. Wrap the tape clockwise when looking at the end of the male threads, so it does not unwind as you tighten.
For a hidden copper run, where the arrestor is fitted into the pipe rather than at a valve, the list grows. This Old House’s method uses:
- A tubing cutter to cut the copper pipe cleanly
- T-fittings to splice the arrestor into the line
- Lead-free solder and flux to join the copper fittings
- Teflon tape for the arrestor’s threaded ends (This Old House, 2026)
Check that the fittings and pipe clips match your pipe size and material before you start.
How to install one under a sink or at an appliance
The job takes a few steps, and the water needs to be off before any fitting is loosened.
- Shut off the supply valve, then disconnect the supply line and catch the water in a bucket.
- Hand-tighten the arrestor onto the stop valve, or onto a tee if the layout uses one.
- Reconnect the supply line to the arrestor and to the fixture.
- Snug all fittings with a wrench, without over-tightening them.
- Turn the water on, check every joint for leaks, and run the fixture to test the connection (Oatey, 2026).
Arrestors can be mounted vertically, horizontally or at an angle (Oatey, 2026), so choose the orientation that fits the space under the sink.
At a washing machine or dishwasher
Family Handyman recommends an arrester with a lubricated internal piston, installed as close to the solenoid valves as possible (Family Handyman, 2026). A traditional capped-pipe air chamber works only temporarily, because the water absorbs the air (Family Handyman, 2026).
If the space at the valve is limited, a mini end stop is an alternative.
How to add an arrestor to a hidden copper line
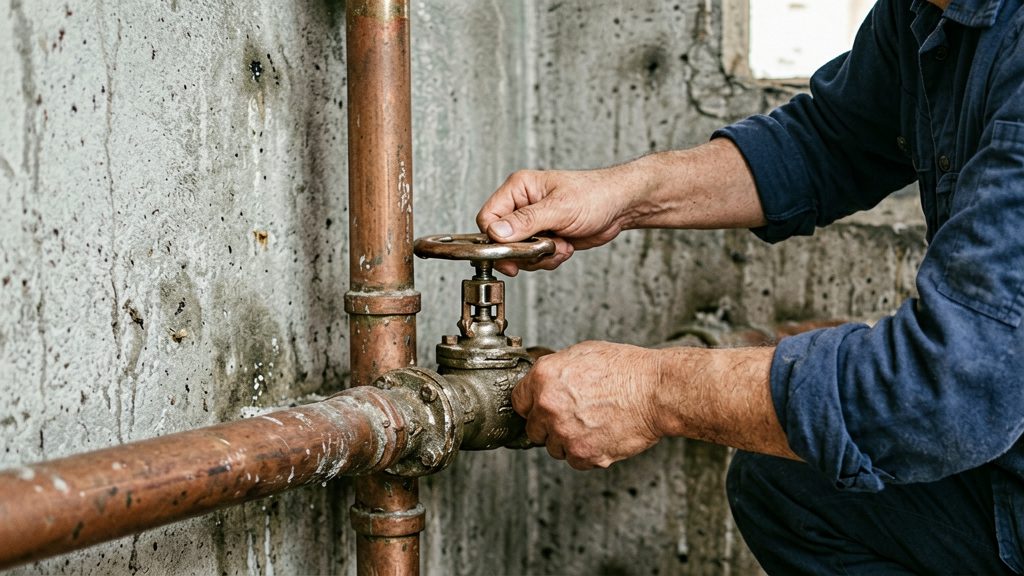
Retrofitting a concealed copper line means draining it, cutting it open and soldering in tees, so the work is done in three stages. According to This Old House (2026), the usual method is to shut off the water, drain the pipes through the lower faucets, cut in T-fittings, solder them with lead-free solder, and then thread the arrestor into the tees. The steps below follow that sequence.
Drain the line
- Shut off the water supply to the section you are working on.
- Open the lower faucets first, then the higher ones, so water drains downward and the line empties.
- Leave the faucets open until the flow stops and the pipe is empty.
Cut in the T-fittings and solder
- Mark the cut points on the copper pipe, leaving room for each fitting.
- Cut the pipe with a tubing cutter. It leaves a square end that seats properly in a fitting.
- Position a T-fitting at each cut, with the branch outlet facing where the arrestor will mount.
- Clean the pipe ends and fitting interiors, apply flux, and join them with lead-free solder. Heat the fitting rather than the solder, so the solder flows into the joint.
- Let the joints cool before handling them.
Thread the arrestor and clip the pipe
- Wrap the arrestor’s male threads with Teflon tape, working clockwise when viewed from the end of the fitting.
- Thread the arrestor into the T outlet by hand, then snug it with a wrench.
- Use pipe clips to secure any loose sections.
- Turn the water on slowly, check each new joint for leaks, and run a nearby fixture to test the result.
Local plumbing codes and permit rules for cutting into supply lines may vary by area; check with your local building department before starting.
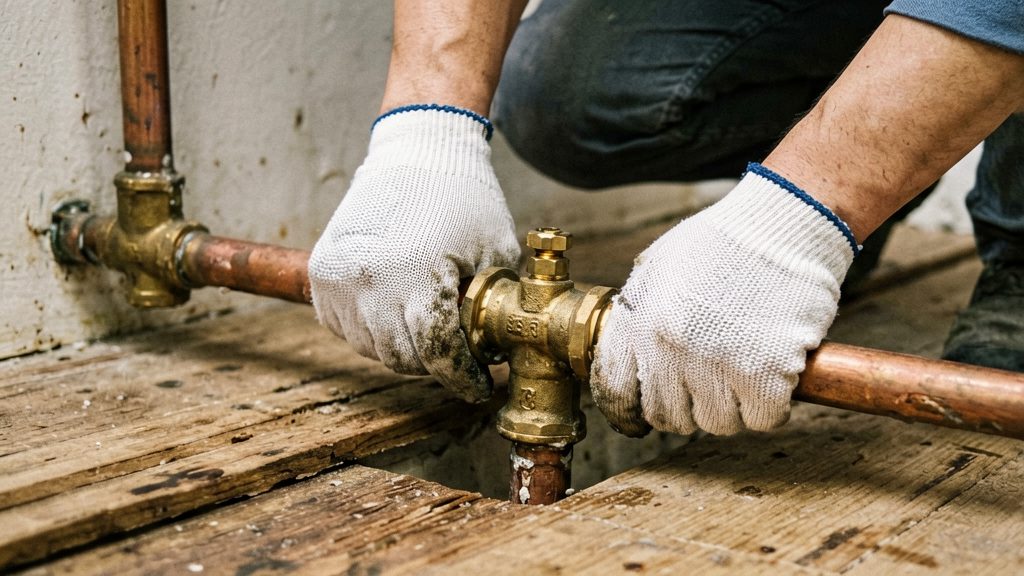
Why is the banging still there?
If banging continues after an arrestor is installed, the usual causes are loose pipes, an arrestor placed too far from the source of the shock, or a failed arrestor. Oatey (2026) lists loose pipes, wrong placement and inadequate pipe support as the likely remaining causes. Check each of these before assuming the arrestor itself is wrong.
Loose pipes and missing support
Pipes that are not fixed to the framing can move and strike the wall or joists when the valve closes. Run the fixture, then feel and listen along the exposed pipe to find the section that vibrates. Secure loose sections with pipe clips, as This Old House (2026) does for hidden copper lines. Check support at the arrestor itself, since a loose arrestor body can rattle even when the pipe is clipped.
Arrestor placement
If the arrestor sits far from the valve or appliance where the flow stops, it may not absorb the shock effectively, so Oatey (2026) lists wrong placement as a possible cause of continued banging. If the banging starts when a washing machine or dishwasher fills, add a device close to that appliance. If banging persists in other areas, This Old House (2026) suggests adding arrestors in those areas.
Failed or leaking arrestors
A damaged or leaking arrestor needs replacement, according to Oatey (2026). Look for drips at the threads and joints, and for water staining below the device. If the banging returns after a period of quiet and you have a capped-pipe air chamber, replace it with a piston-type arrestor (Family Handyman, 2026).
Yearly checks of fittings
Check arrestor fittings for leaks and wear about once a year, as Oatey (2026) advises. Look at the threads, the connections to the stop valve or tee, and the appliance hose ends. Replace any worn or leaking part rather than repeatedly tightening it.
When to call a plumber
Mr. Rooter Plumbing (2026) suggests calling a plumber for help when hammer persists. If your water pressure is high, This Old House (2026) suggests considering a pressure-reducing valve; a plumber can test the pressure and advise. Mr. Rooter (2026) reports hammer is more common above roughly 60–80 PSI, which is not a safe pressure limit.
When should you call a licensed plumber?
Install an arrestor yourself when it goes on an exposed under-sink, washing machine or dishwasher line that you can reach and drain. Call a licensed plumber when the arrestor must be cut into a hidden copper retrofit and you have not soldered copper before, when water damage or leaks are already present, or when banging continues after you have worked through the troubleshooting checks above.
Hidden copper retrofits
Retrofitting an arrestor onto hidden copper pipe means cutting into the line and soldering new fittings. This Old House (2026) estimates the DIY job at about 90 minutes, rates it 3 out of 5 for skill, and puts the cost at $75–$185. The estimated time and materials cost are modest, but the skill level and the risk of a faulty joint inside a wall are reasons to hire out the work if you have not soldered copper before.
Signs that need a professional
- Leaks or water damage: Staining, damp cabinets, soft flooring or a leak that returns after tightening the fittings points to a problem beyond a simple install. Oatey (2026) advises replacing a damaged or leaking arrestor, so a failed fitting should not be left in service.
- Persistent banging: Mr. Rooter Plumbing (2026) suggests calling a plumber when hammer is ignored or recurs.
- High water pressure: This Old House (2026) suggests considering a pressure-reducing valve in that case, and a plumber can test your pressure before you buy one.