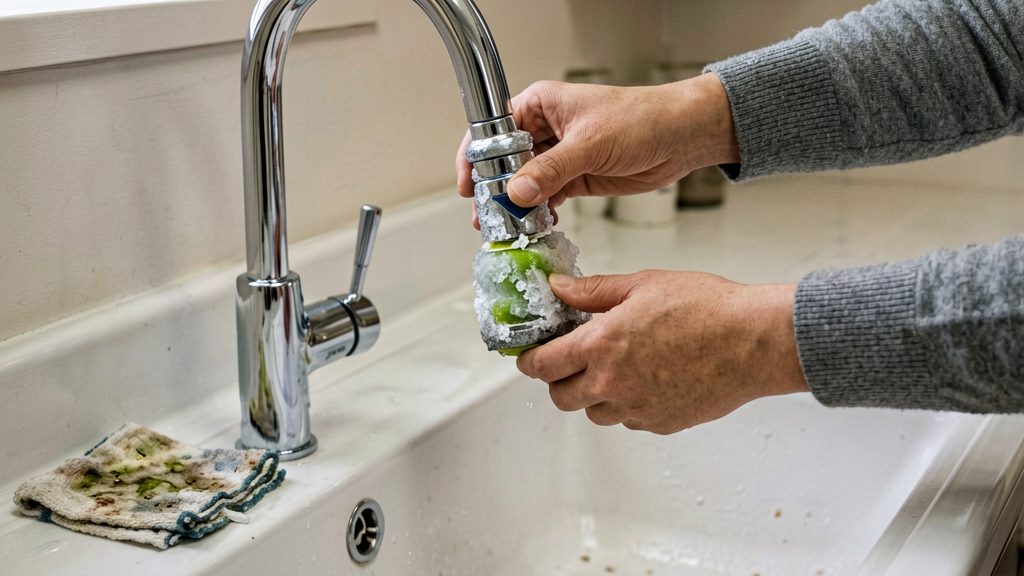
Limescale forms when hard water, which carries dissolved calcium and magnesium, dries on a showerhead. As each droplet evaporates, it leaves its mineral content behind, so deposits build up with every shower. How quickly this happens depends mainly on the hardness of your local water and on how long water sits on the head between uses.
Why does limescale build up?
Evaporation leaves minerals behind. According to Delta Faucet, mineral deposits form as water evaporates from the showerhead surface. The water leaves as vapour, but the dissolved minerals stay, forming a hard white or chalky crust on the face of the head and around its outlets.
Spray holes clog first. The nozzles are the smallest openings on the head, so even a thin layer of deposit around one narrows it and reduces flow. This can be the first visible sign of buildup, before the surface looks dirty.
Local hardness changes the rate. Mineral content varies by region and by water supply, so two identical showerheads can scale at very different speeds. To find out what your supply contains, check the water quality information published by your local water supplier or ask them directly.
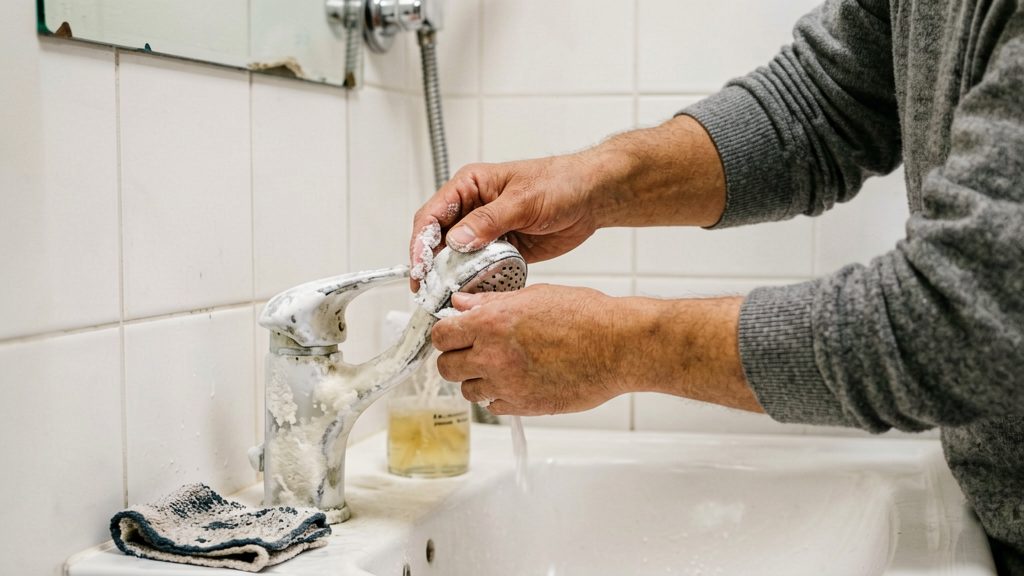
Check your showerhead’s cleaning instructions
Look up the manufacturer’s cleaning guidance for your exact model before choosing a cleaner. The CDC recommends cleaning showerheads whenever visible buildup appears and following the manufacturer’s cleaning instructions (Centers for Disease Control and Prevention, 2024-03-15). Model names and finishes vary between brands, so guidance for one product line may not apply to another. Find the model name on the packaging, the label, or the installation manual, then search the brand’s support pages for that name. Delta and Moen both publish showerhead-specific guidance.
The table below shows what the manufacturer sources say about common cleaners.
| Cleaner | What the manufacturer guidance says |
|---|---|
| Mild soap and warm water | Moen recommends it for Nebia by Moen showerheads, followed by a warm-water rinse and drying with a soft cloth (Moen). |
| Distilled white vinegar and water | Moen permits it for Nebia by Moen showerheads (Moen). Delta recommends a diluted vinegar soak for detached Delta showerheads (Delta Faucet). |
| Abrasive cleaners, ammonia, chlorine, bleach, other harsh chemicals | Moen warns they can damage the finish of Nebia by Moen showerheads (Moen). |
Finish-safe cleaning means using the mildest method the manual allows. For a plain wipe, Delta suggests a nonabrasive damp sponge, followed by drying (Delta Faucet).
Confirm that vinegar is allowed
Do not assume vinegar is safe for your showerhead. The sources confirm vinegar only for specific products. They do not establish that vinegar is safe for every showerhead material, finish, or internal component. If your manual does not mention vinegar, check with the manufacturer before using it.
Two other points need the same check:
- Vinegar bags on installed showerheads: The sources do not establish that a vinegar-filled bag attached to an installed showerhead is effective or safe for the finish. Confirm this with the manufacturer first.
- Substitute products: The sources do not establish that baking soda, lemon juice, or commercial descalers can replace a manufacturer-approved vinegar solution. Use the product the manual names.
Gather supplies and wipe the nozzles
Before any soaking, collect a few simple items: a soft cloth, an old toothbrush, and distilled white vinegar. Mix equal parts distilled white vinegar and water in a small container only if you plan to soak the head later. For the wipe itself, the cloth and toothbrush are enough.
Delta recommends cleaning the spray face gently with a soft cloth or toothbrush, which is the approach to use here. A soft cloth is less likely to leave marks on the finish than a scouring pad, and it lifts the loose white film left by evaporated water.
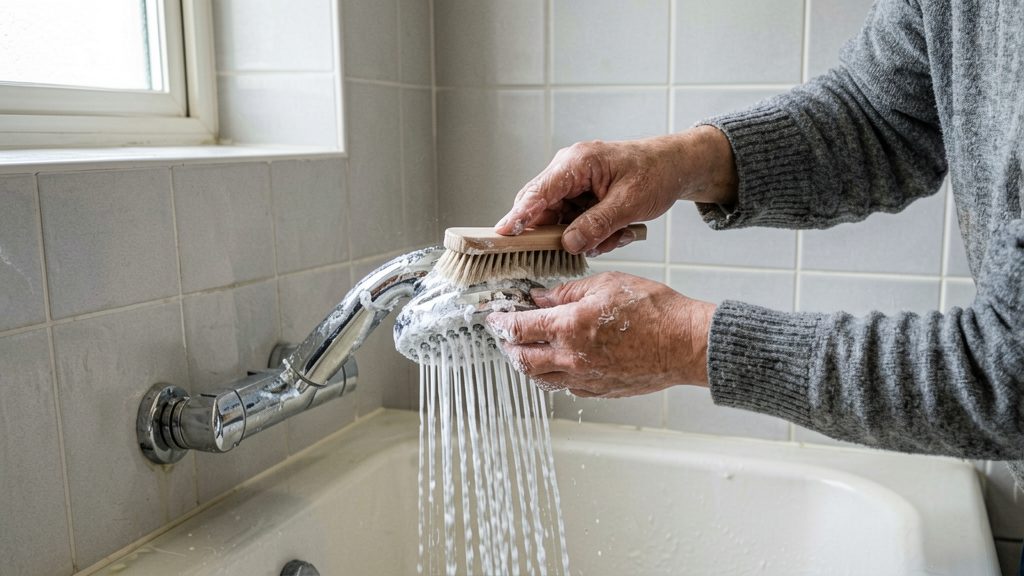
Start by wiping the nozzle face with a damp cloth. Wipe gently with a soft, damp cloth, avoiding abrasive materials and forceful scrubbing. Work the toothbrush bristles gently across the spray holes to dislodge deposits that the cloth cannot reach.
For Delta Touch-Clean showerheads, wiping the spray holes can loosen and remove mineral deposits. This quick wipe is worth doing before any soak, since it removes surface residue and makes the later soak more effective.
Remove and soak the showerhead
If deposits remain after wiping and your manufacturer’s instructions allow the detached soaking method, remove the showerhead from the arm before soaking. Work slowly and keep the connection under control, because a loose or twisted arm can strain the joint you are about to reuse.
Start by covering the drain. A small dropped nut or washer can fall into the drain and be hard to recover, so place a cloth or a rag over the opening before you begin. This also protects the drain from debris that comes loose during cleaning.
Hold the shower arm steady with one hand, close to the wall. Delta advises holding the arm still so it cannot twist loose inside the wall fitting. With your other hand, turn the showerhead counterclockwise to unscrew it. Turning the showerhead without holding the arm steady can allow the arm to twist loose at the wall connection.
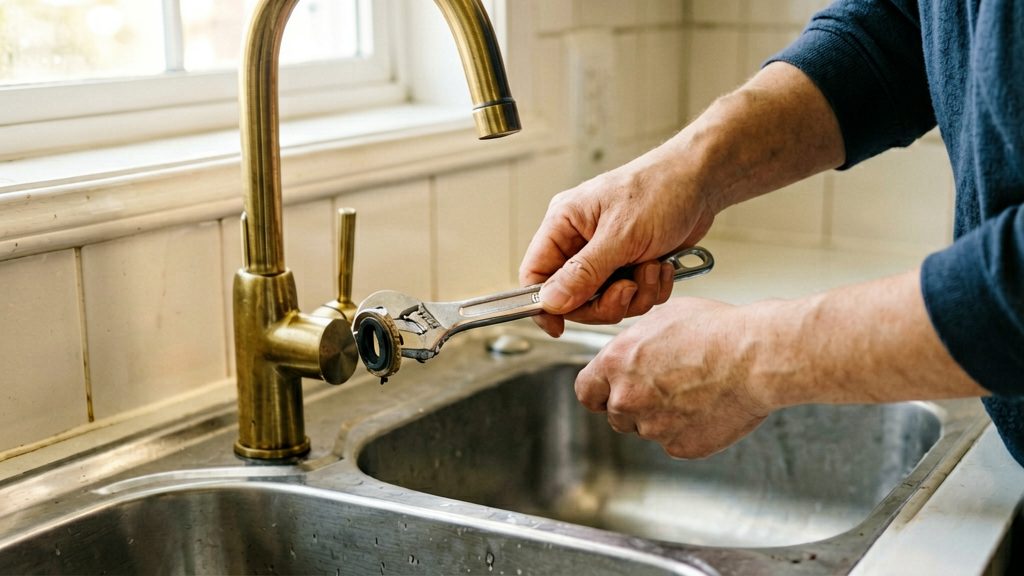
If the head is stiff, use a wrench, but wrap the connection in a cloth first. Place the cloth around the flat or the nut you are gripping, then tighten the wrench gently over it. The cloth protects the finish from scratches and spreads the grip so the metal does not crack or mark the surface. Do not use a wrench directly on a plastic showerhead body.
Once the head is free, set it on a towel. Then place the showerhead in a container of diluted vinegar as described in the soaking step.
How long should you soak it?
Delta recommends soaking a detached showerhead in a solution of equal parts distilled white vinegar and water for 30 minutes (according to Delta Faucet). That duration applies to Delta’s own procedure. Other manufacturers may specify different times.
Mix the solution in a container deep enough to submerge the spray face. Keep the showerhead fully covered by the liquid for the full soak. Once the time is up, remove it and gently clean the spray face with a soft cloth or a toothbrush. Concentrate on the nozzles, where mineral deposits collect.
If deposits remain after the first soak, Delta advises repeating the process as needed. Repeating the soak is a reasonable step for stubborn buildup, but avoid scrubbing hard enough to damage the finish.
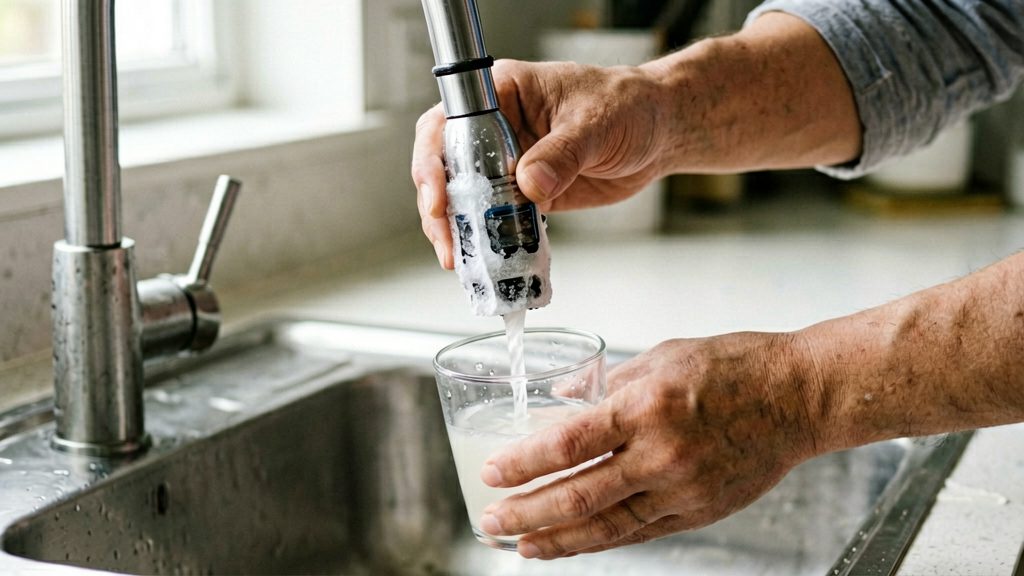
Rinse, reinstall, and check for leaks
Rinse the head under warm running water to clear loosened deposits and cleaning solution. Dry the head fully before reinstalling so the threads and seal start clean.
Keep the gasket and debris screen in place
Before threading the head back on, check that the gasket (the ring at the connection) and the debris screen (the small mesh filter at the inlet) are seated in their positions. Delta advises keeping both in place when reinstalling its showerheads. A gasket that sits off-center can prevent a watertight seal, so press it flat before you connect the head.
Hand-tighten the connection
Thread the showerhead onto the shower arm by hand until it is snug. Delta advises tightening by hand rather than with a tool. Forcing the connection can damage the nut and the threads.
Decide whether to use plumber’s tape
Plumber’s tape is not required for most Delta showerheads. On a metal-to-plastic connection, excessive tape can crack the showerhead nut. Check the manufacturer’s instructions for your model. If they call for tape, apply a light layer only, and keep it out of the seal area around the gasket.
Check for leaks
Turn the water on at the supply valve and run the shower at normal pressure. While water flows, inspect the joint between the arm and the showerhead for drips, and feel for moisture around the connection. If the joint weeps, shut off the water, confirm the gasket and debris screen are seated, and tighten by hand only slightly before testing again.
Keep mineral buildup from returning
The most effective habit is removing the water before it dries. Delta explains that wiping away droplets after use, or cleaning regularly with a nonabrasive damp sponge and then drying the head, can help reduce buildup between full descaling sessions. Drying is a quick step that takes a few seconds once you step out of the shower.
Drying after each shower is the simplest routine. Wipe the face of the head with a soft cloth, paying attention to the rubber nozzles where water pools. Doing this consistently can help reduce the thin white crust that forms when droplets evaporate repeatedly on the same spot.
Cleaning as soon as buildup appears matters more than cleaning on a fixed calendar. The CDC recommends cleaning showerheads whenever visible buildup appears and following the manufacturer’s cleaning instructions. Small deposits are easier to remove with a damp sponge than the hardened scale that forms after weeks of neglect.
Hard water sites need more frequent checks. Inspect the spray face more often and wipe it dry sooner than in homes with softer supply.
Frequently asked questions
Will descaling fix weak shower pressure?
Not reliably. Mineral deposits can narrow the spray holes and reduce flow, so cleaning may help if they are the cause, but the sources do not establish descaling as a guaranteed fix for persistent low pressure. If the flow stays weak after cleaning, the cause may be elsewhere in the supply, and a licensed plumber can check it.
Can I leave the showerhead soaking overnight?
Not on the basis of the available guidance. Delta’s detailed procedure specifies a 30-minute soak in a diluted vinegar solution, and other manufacturers may give different times. Follow the time in your model’s manual, and repeat a short soak instead of extending it.
What if the showerhead will not unscrew?
Do not keep forcing it. Confirm you are holding the shower arm steady, wrap the connection in a cloth before using a wrench, and avoid gripping a plastic body directly. If it still does not turn, check the manufacturer’s instructions for your model or ask a licensed plumber to remove it, since a twisted arm can damage the wall connection.