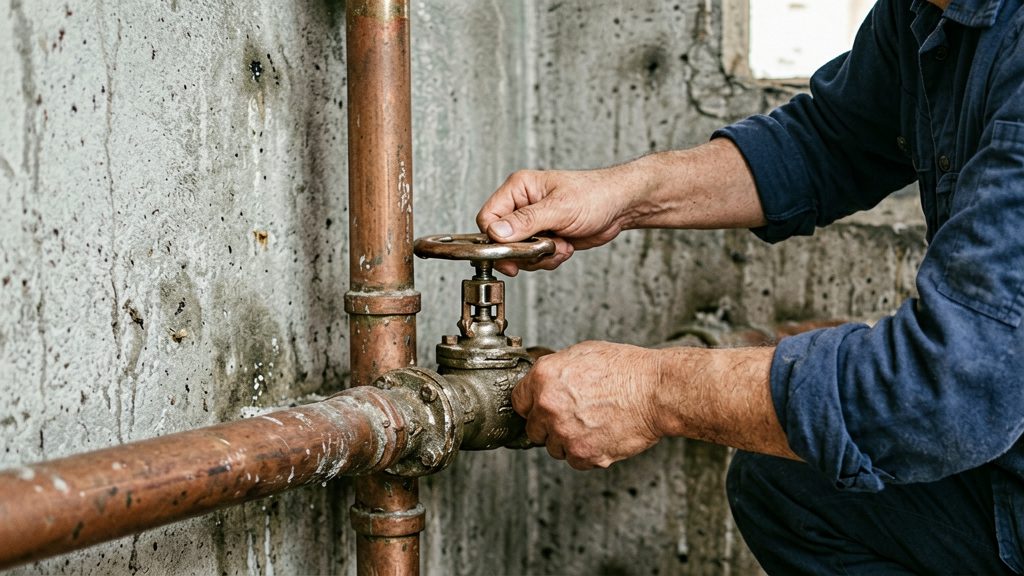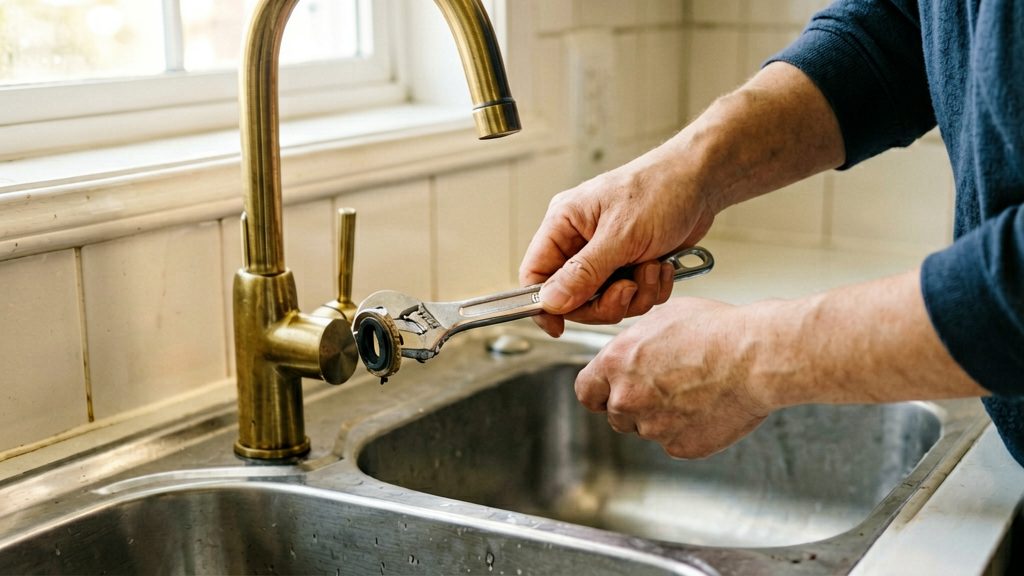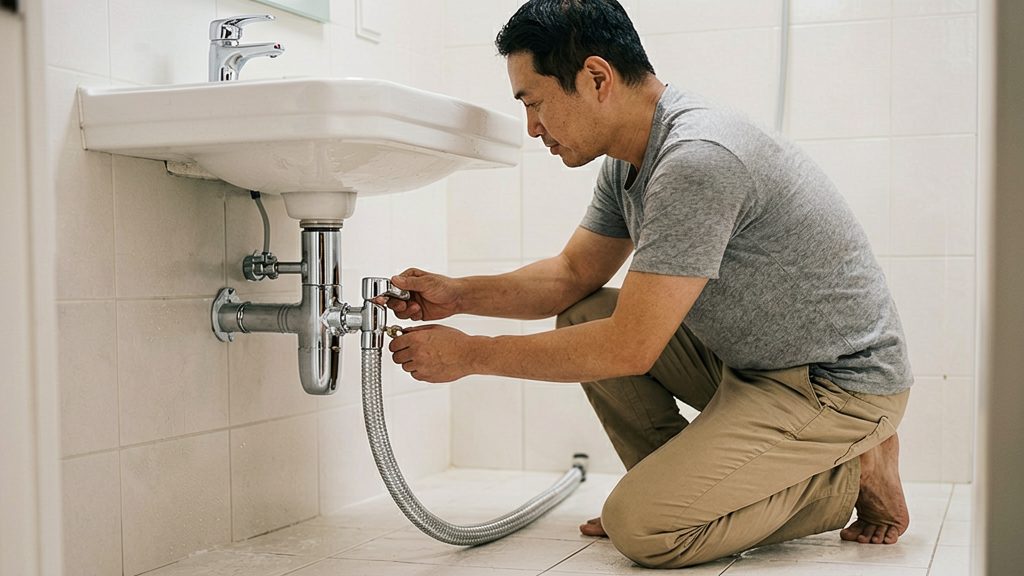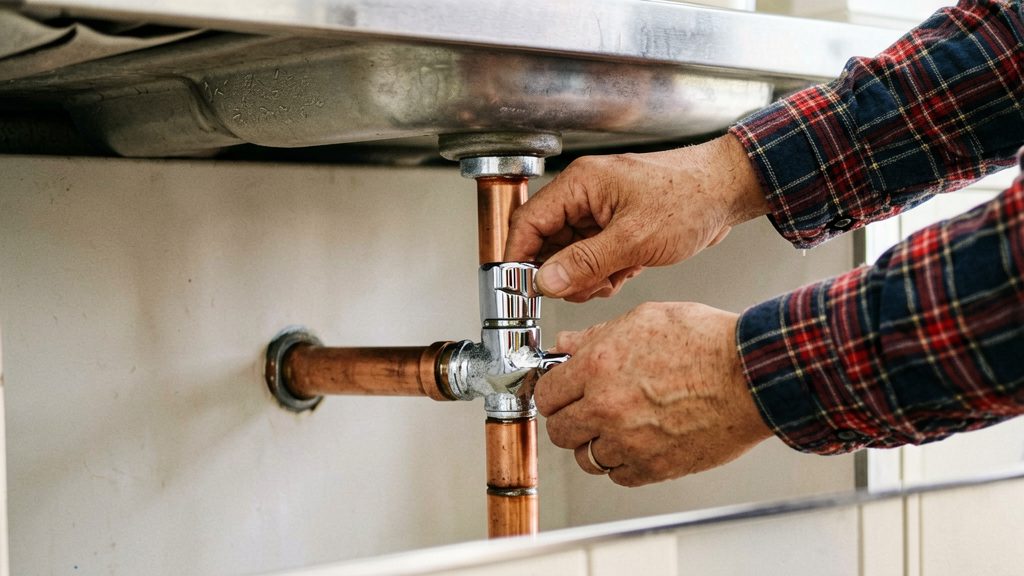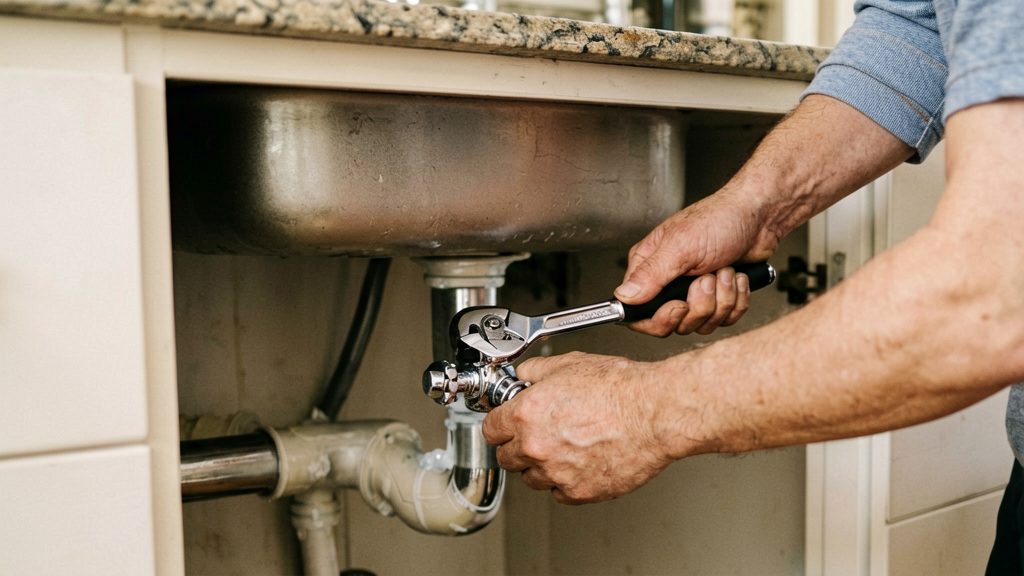
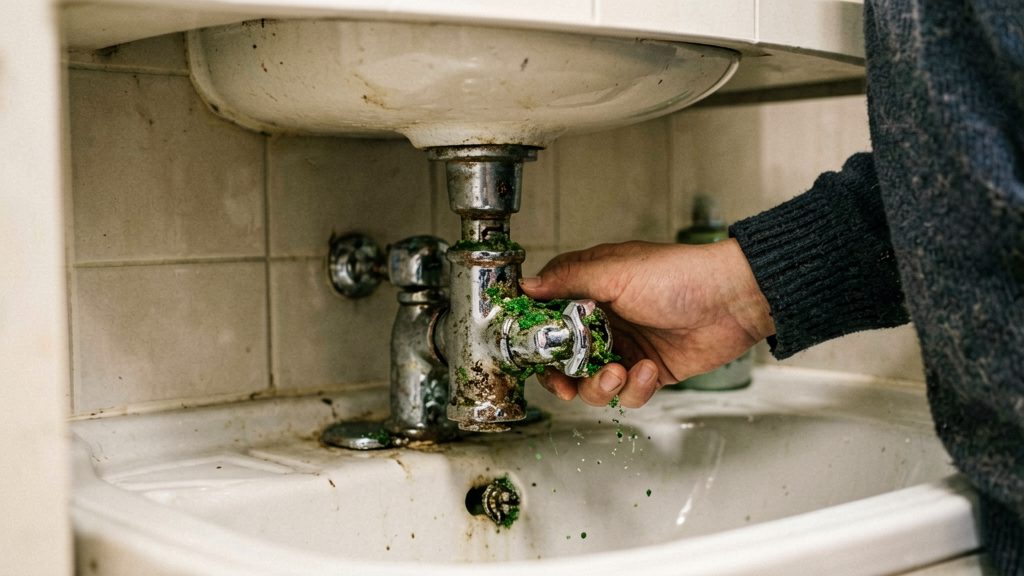
A shut-off valve should be replaced rather than repaired when its handle is stiff or seized, it leaks from the stem or body, or it shows green or white buildup on copper or brass. This Old House lists these as signs that a shutoff valve is failing, along with incomplete shutoff. Any one of these symptoms is a reason to check the valve closely, and several together usually mean replacement is the better option.
Signs your shut-off valve needs replacing
Stiff, hard-to-turn or seized handle
A stiff handle that needs noticeably more effort than before is an early warning. This Old House names difficulty turning as a sign of failure. If the handle is fully seized, it will not close the line, so the valve cannot be relied on to stop water during a repair.
Stem or body leaks and drips
Water at the stem, where the handle connects to the valve, or along the body of the valve means the valve is no longer sealing. This Old House lists leaks at the stem or body among the signs of failure. A slow drip counts as well, because it shows the valve is no longer sealing properly even when the leak is small.
Green or white buildup on copper or brass
Green or white crust on copper or brass fittings is a mineral or corrosion deposit that marks a failing valve, according to This Old House. Deposits form where water has been escaping, so inspect the valve body and the joints around the stem for slow seepage. If the deposit is present but the valve is dry and turns freely, treat it as a reason to inspect the valve closely. Replace it if you also find stiffness, leaks or incomplete shutoff.
Quarter-turn ball valve or old multi-turn valve?
To tell the valve types apart, turn the handle fully open and then fully closed. A quarter-turn ball valve closes with a 90° move and stops, while a multi-turn valve needs several turns. According to This Old House, a ball valve is the recommended replacement for older shutoffs.
Identifying ball and multi-turn valves by handle
Check the valve type by how the handle moves:
| Valve type | What you see when you turn the handle | What to do |
|---|---|---|
| Quarter-turn ball valve | The handle moves 90° between open and closed, then stops against a fixed limit. | Keep it if it works. It is the preferred type. |
| Multi-turn valve | The handle needs several full turns to close, and it has a stem that rises or lowers as you turn. | Plan a replacement with a quarter-turn ball valve. |
| Worn gate valve (a type of multi-turn valve) | The handle keeps spinning without a firm stop, or water keeps flowing when it is closed. | Replace it. |
Why a 90° ball valve lasts longer
According to This Old House, a ball valve turns a quarter turn (90°) and has fewer moving parts than older valves, which is why it lasts longer. Fewer internal parts means fewer components that can wear, seize or lose their seal over time.
Gate valves that spin without stopping flow
According to This Old House, older gate valves can wear out and spin without fully stopping the flow. If the handle turns freely with no firm stop, or water keeps flowing when the valve is closed, the internal gate is probably worn and the valve cannot isolate the line. Shut off the supply at a different point, if possible, and replace the valve rather than relying on it to stop water during a repair.
Tools and materials you will need
Gather the tools and the replacement valve before you start, because the valve must match the pipe it joins. The connection method depends on the pipe type. Oatey lists PEX crimp, copper or PEX compression, female iron pipe thread, copper sweat (solder), CPVC solvent cement, cold-expansion PEX and push-connect as the options (Oatey). Check the pipe material and the valve’s connection type and size before you buy, and confirm the fit against the manufacturer’s instructions.
- Replacement valve: A quarter-turn ball valve matching your pipe connection and size.
- Tubing cutter: For soldered copper or PEX connections, cut the old valve off completely (Oatey); a tubing cutter is typically used.
- Deburring tool: Clean the end before fitting the new valve.
- Two wrenches: Needed for threaded iron pipe, so the pipe is not twisted.
- Towels and a bucket: Use them to catch the water left in the line and any drips when the old valve comes off.
- Soldering kit (sweat valves only): Flux, solder and a torch (This Old House).
How do you shut off the water before starting?
Before you unscrew anything, you need to stop the water flowing into the valve and empty the pipe that is left. The order matters: isolate the supply first, then open a faucet to release the pressure, then catch the water that drains out. Skipping any of these steps risks water spraying when the connection is released.
Close the main or the local isolating valve
Look for the valve that controls the supply to the fixture you are working on. If the work involves the main valve, the water utility must close the street shutoff first, so call them or a licensed plumber. Do not operate the street valve yourself. For a local job, such as a single sink or toilet, turn the local isolating valve clockwise until it stops. If it is a quarter-turn ball valve, a 90° turn of the handle closes it.
If you suspect a worn valve, do not rely on it alone; confirm that the water has stopped at the fixture before going further.
Open a faucet to relieve pressure
Once the valve is closed, open the nearest faucet on the line you are working on, such as a kitchen tap or a bathroom basin. Leave it open. This lets trapped pressure escape and allows the pipe to drain, which makes the valve easier and safer to remove.
Do this before you loosen any nut or cut any pipe. If water keeps coming out after the valve is closed, the valve is not fully isolating the supply: close the home’s main shutoff instead, and call a licensed plumber if the flow does not stop.
Catch the water left in the pipes
Place a bucket and towels under the work area before you open or cut anything. Some water will remain in the pipe even after the faucet has drained, and it will drip when the fitting loosens. Keep the faucet open until the flow has stopped completely.
Choosing the right connection for your pipe
The valve’s connection must match the pipe it joins, because each connection method seals in a different way. Identify your pipe material before buying, then choose a valve with a matching connection. Oatey lists the methods below for quarter-turn angle stop valves (Oatey).
| Pipe material | Matching connection methods | Key condition |
|---|---|---|
| Copper | Copper sweat (solder), or copper compression | Sweat: solder joint; compression: no compound or tape (Oatey) |
| PEX | PEX crimp, PEX compression, or cold-expansion PEX | Use the connection your PEX fitting system is designed for (Oatey) |
| CPVC | CPVC solvent cement | Glued joint, not threaded or compressed (Oatey) |
| Threaded iron pipe | Female iron pipe thread | Threaded joint |
Push-connect valves are a separate option. For a push-connect valve, mark the pipe 3/4 inch from its end, then push the valve on until the collar reaches the mark (Oatey). Once installed under water pressure, do not twist or adjust the valve (Oatey).
Compression connections seal through the compression ferrule, so Oatey warns against adding compound or tape.
How do you replace a quarter-turn valve step by step?
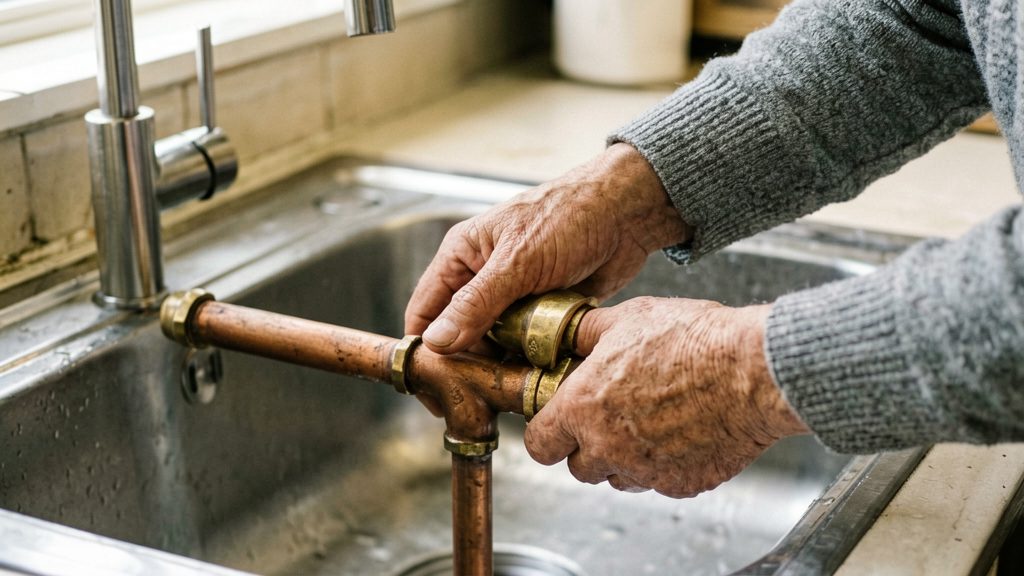
According to Oatey, replacing a 1/4-turn angle stop valve is an intermediate job that takes under 2 hours. The work runs in a fixed order: remove the old valve and its fittings, prepare the stub-out pipe, then connect a new ball valve.
- Remove the old valve. Take off the valve along with any old nuts, ferrules and stiffeners. On soldered copper or PEX connections, cut the old valve off completely.
- Cut the stub-out. Cut the pipe to the length the new valve requires.
- Deburr the pipe end. The end must be round and free of burrs, grooves and scars. Oatey requires the end to be round and free of burrs, grooves and scars.
- Flush the line. Clear debris from the pipe before connecting anything.
- Connect the new valve using the method that matches the pipe, as shown below.
| Connection | Key step |
|---|---|
| Copper sweat (solder) | Keep the valve still until the solder has hardened. Soldering requires a tubing cutter, flux, solder and a torch (This Old House). |
| Female iron pipe thread | Use two wrenches (Oatey). |
| Copper or PEX compression | Do not use pipe joint compound or thread sealant tape (Oatey). |
| Push-connect | Mark 3/4 inch from the pipe end and push the valve on until the collar reaches the mark (Oatey). |
Other methods on the list (PEX crimp, CPVC solvent cement and cold-expansion PEX) depend on the tools and fittings of the valve maker, so follow the manufacturer’s instructions for those.
Testing for leaks and maintenance
Reopening the supply slowly
After the new valve is connected, open it gradually rather than all at once. This Old House advises opening the new valve slowly and checking for leaks, so watch every connection while water pressure builds. If you see moisture at a connection as the line fills, close the valve and recheck the joint before reopening it.
Checking each joint
Once the line is full, inspect the valve body, both connections, and the stem. A dry paper towel held against each joint can help reveal seepage that is hard to spot by eye. Check again after the water has been running for a while, since a slow weep may take some time to appear.
Annual inspection and exercising the valve
Oatey recommends inspecting the valve annually. Check the valve body and both connections for drips, staining, or mineral crust. Mark the inspection on your calendar so it is not forgotten.
Between inspections, exercising the valve keeps it from seizing. Turn it fully closed and then fully open. A quarter-turn ball valve moves through a 90° arc, so this takes only a moment. Some plumbers suggest turning the valve closed and open occasionally, for example during the annual inspection, to help keep it from seizing.
When should you call a plumber?
Stop the DIY job and call a licensed plumber if the valve or pipe fails during removal, if the pipe beyond the stub-out is corroded or brittle, or if the work touches the main supply or a building-wide shutoff. Each of these turns a single valve swap into a repair of the pipe system.
If the valve or pipe breaks during removal
Oatey’s method for soldered copper or PEX is to cut the old valve off completely. If the pipe cracks, splits, or the threads strip, the stub-out is no longer a clean connection point. Stop, shut off the supply at the next valve you trust, and have a plumber assess the run.
A damaged pipe end also blocks the new valve. A plumber can cut the pipe back and re-form the end.
If the pipe is corroded or brittle beyond the stub-out
The stub-out is the short length you cut to fit the new valve. If the pipe shows corrosion, flexes, crumbles or cracks when you touch it further back, a new valve will not seal reliably. This Old House lists green or white buildup on copper or brass as a sign of failing shutoff equipment. When that buildup or weakness continues along the pipe, the problem is the pipe, not the valve.
Brittle pipe is also likely to fail when you cut or clamp it. Let a plumber decide whether to replace the section.
If the work involves the main supply or a building-wide shutoff
Replacing a main valve is a bigger job than swapping a fixture stop, and we recommend a licensed plumber. The This Old House main-valve guide says the municipality (your local water utility) must close the street shutoff first and the faucets must be opened to drain the lines.
If you cannot identify which valve controls the whole building, or the work requires closing the street supply, call a licensed plumber rather than attempting it.