An adjustable wrench can turn accessible kitchen faucet nuts with suitable flat faces; hard-to-reach or specially shaped mounting nuts may require a basin wrench or the tool specified for the faucet. No single wrench size fits every faucet. The sources behind this section do not establish one universal opening for all kitchen faucet nuts, so the right size depends on the specific nut and faucet model. Measure the nut, then set the adjustable wrench to that width.
What Size Wrench Fits Kitchen Faucet Nuts?
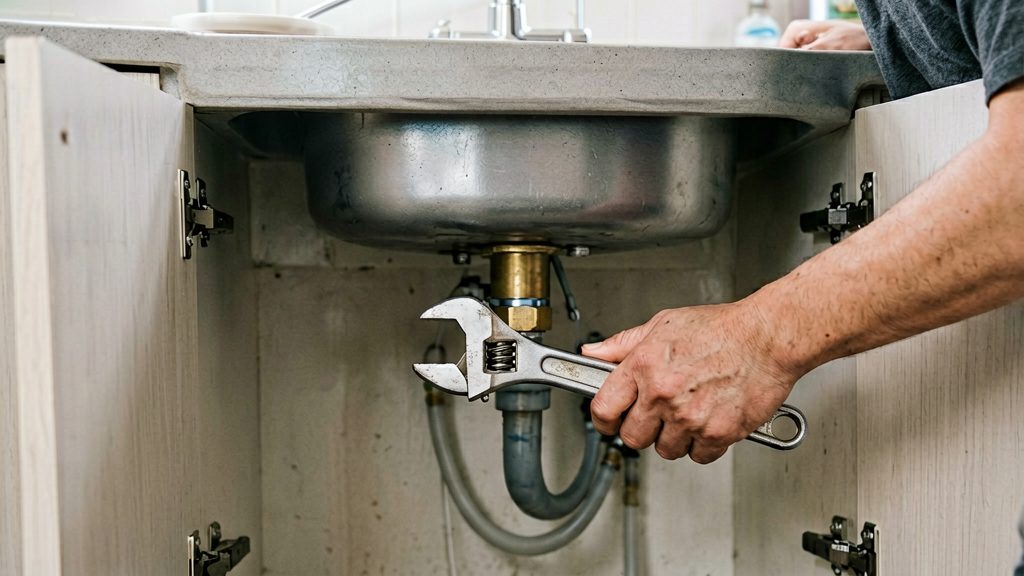
Moen recommends an adjustable wrench for faucet installation or repair and directs users to their model’s installation instructions, which is the first place to check for the correct tool. An adjustable wrench suits this job because its jaw can be set to the nut’s width, so one tool can handle different nut sizes.
Measuring the Nut Across the Flats
Faucet nuts are typically hexagonal or similar multi-sided shapes. The wrench must grip across two opposite flats, not across the corners. Measure the distance between two parallel flats with a ruler or caliper, then open the adjustable wrench to that width. If you cannot measure, set the jaw so it sits snugly over the nut without wobbling. A loose fit is more likely to slip and round the nut’s edges.
Protecting the Chrome Finish
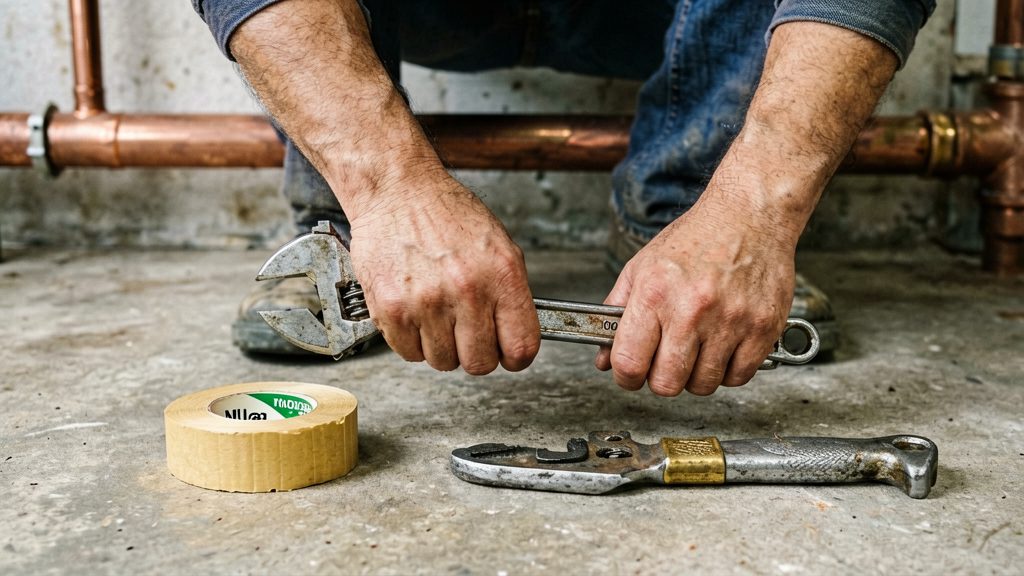
Chrome-plated nuts and faucet bodies scratch easily, and a slipping wrench can leave marks. Wrap the jaws in masking tape or use a wrench with padded jaws. Keep the jaws square to the nut so they do not ride up onto the finish.
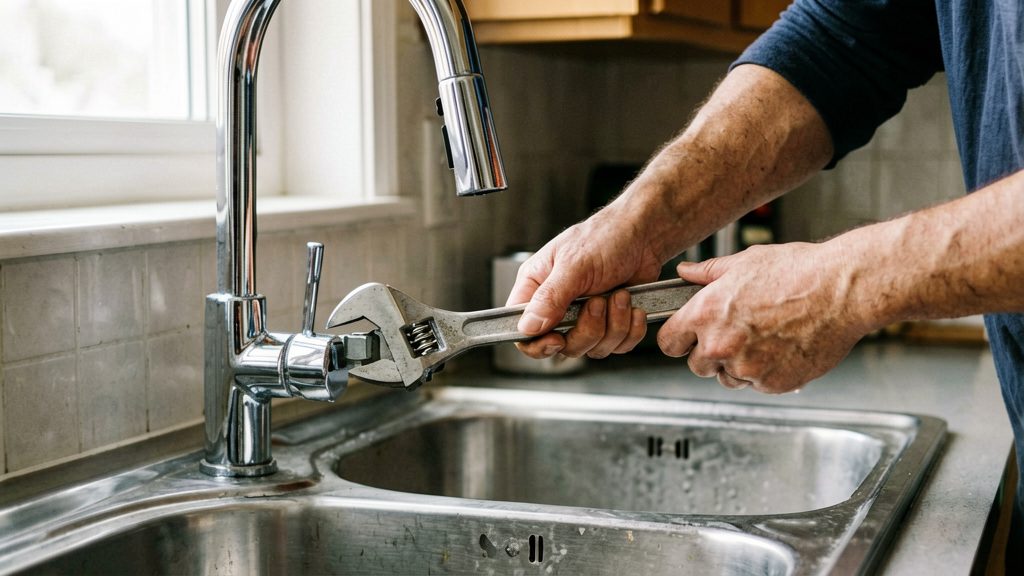
Identify Mounting Nuts and Supply Connections
Before choosing a tool, identify the nut you are facing and what it connects to. The mounting nuts hold the faucet body to the sink deck. Each one is threaded onto a shank that passes down through a sink hole, and you reach it from the cabinet below. Supply lines connect the faucet to the water shut-off valves, and their nuts are a separate set of connection points.
Locate the Mounting Nuts Under the Sink Deck
Open the cabinet and look up at the underside of the sink deck. Each faucet shank rises through a hole, and its mounting nut threads onto the shank against the deck. Follow each shank downward to find its nut.
Space under the sink is often tight, so expect to work by feel and with a light.
Recognise the Supply Line Connection Points
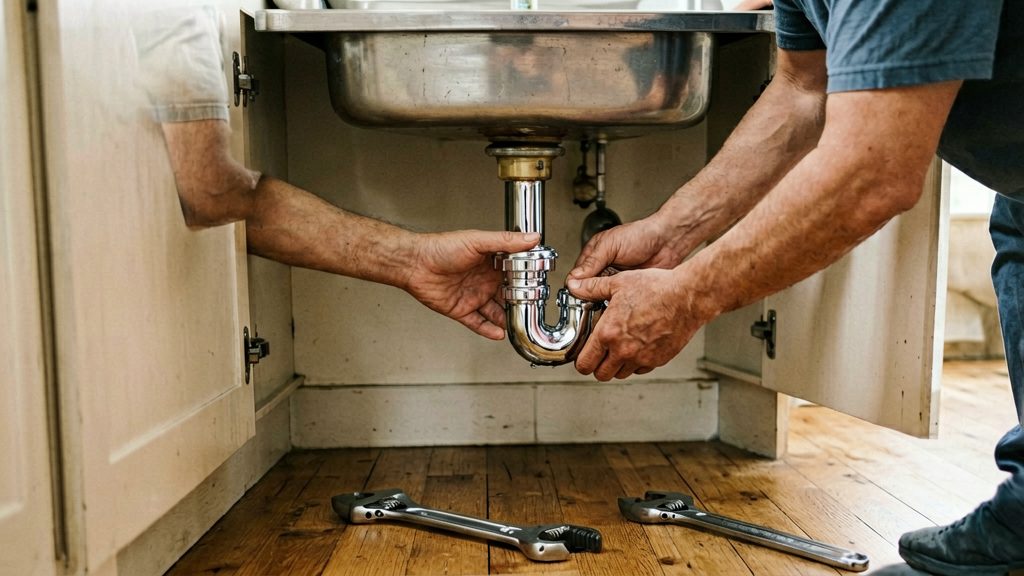
A flexible supply line runs from each shut-off valve to the faucet’s inlet tail. Each line can have a nut at both ends, so you may find up to two connection points per line: one at the valve and one at the faucet.
Tell 3/8-Inch Compression from 1/2-Inch IPS
Moen states that its faucets typically use flexible supply lines with 3/8-inch compression fittings or 1/2-inch IPS connections. Compare the fitting you see with these two types:
- Compression connection: a nut and ferrule can seal onto smooth tubing, but a flexible supply line with a compression-size inlet may instead have a captive nut and sealing washer that connect directly to the valve’s threaded outlet. Check the connector’s instructions to identify its sealing method.
- IPS connection: the supply line’s nut threads onto a threaded pipe outlet, so the threads are on the valve or tail rather than a smooth tube.
The type name does not tell you which wrench to use. Fit the wrench directly onto the nut’s flats to confirm the opening.
When Do You Need a Basin Wrench?
A basin wrench is the tool for faucet nuts you cannot reach with an adjustable wrench, typically because they sit deep inside a cramped cabinet behind the sink. The jaws sit at the end of a long shaft, and the head pivots so the nut can be gripped and turned without seeing it directly.
Nuts Hidden Deep in a Cabinet
Mounting nuts on the underside of a sink are often wedged against the cabinet back, the drain assembly or other supply lines. When there is no room to swing an adjustable wrench, a basin wrench reaches the nut along its shaft. According to This Old House, a basin wrench is the recommended choice for connections that are difficult to reach behind the sink, while an adjustable wrench handles the supply-line nuts at the shut-off valves.
Telescoping Reach from 10 to 17 Inches
Length matters when the cabinet is deep. RIDGID states that its model 1017 and model 1019 basin wrenches telescope from 10 to 17 inches long. This reach figure describes how far the tool extends, not the size of nut it grips, so check the jaw capacity separately before buying.
Pivoting Head for Nuts Out of Sight
The head pivots so the jaws can engage a nut at an angle, which helps when the nut is partly blocked by pipes. Work by feel: seat the jaws squarely on the nut, then turn the handle slowly. Keep your other hand on the shaft so the head does not slip off.
Common Wrench Sizes and Tool Capacities
No single wrench size fits every kitchen faucet nut. The size a tool opens depends on its model, so check the capacity printed on the tool or in its documentation before buying or using it.
Basin Wrench Capacities
The basin wrench is built for nuts that are hard to reach under the sink. Its jaw capacity sets the range of nut diameters it can grip:
| Tool | Nut sizes it opens |
|---|---|
| Danco 88451 | 3/8 inch to 1-1/4 inch |
| RIDGID 1017 | 3/8 inch to 1-1/4 inch |
| RIDGID 1019 | 1-1/4 inch to 2-1/2 inch |
According to Danco, the 88451 is designed for faucet mounting nuts in confined spaces beneath a sink. According to RIDGID, the 1019 is the larger option, covering nuts above the 1-1/4-inch limit of the 1017. Both RIDGID models overlap at 1-1/4 inch, so a nut of that size can be gripped by either.
RIDGID EZ Change Faucet Tool Openings
The RIDGID EZ Change Faucet Tool uses fixed openings rather than adjustable jaws. According to RIDGID, it includes wrench openings of 5/8 inch, 3/4 inch, 7/8 inch and 1 inch for supply-line and clamp nuts.
RIDGID also describes the tool’s 5/8-inch deep socket as suitable for many single-hole faucet mountings. Confirm that it fits your specific faucet before relying on it, because the sources do not establish fit across all models.
Tightening Limits
No universal tightening torque or additional-turn rule applies to all mounting nuts and supply connections. Use the wrench size that matches the nut you are actually turning.
Choosing Tools for Plastic Mounting Nuts
A plastic mounting nut is best gripped by a tool whose contact surface matches the nut’s shape, turned with steady rather than forceful pressure. Start by counting the tabs. The RIDGID EZ Change Faucet Tool includes an insert for faucet mounting nuts with two, three, four or six tabs (RIDGID), so the tab count tells you whether that insert applies.
Match the Tool to the Nut Shape
Look at the nut before you choose a tool. Note whether it has projecting tabs, flat faces or a rounded edge. A tool that cannot seat fully on those features tends to slip, and a slipping jaw is the most common way to chew up a plastic edge.
Why Metal Jaws Can Damage Plastic Edges
Metal jaws concentrate force on a few points. On a thin tab or edge, that concentrated load can crack the plastic, especially when the nut is stuck and you keep increasing pressure. Apply moderate, steady turning force, and stop if the nut resists sharply. Some installers find it useful to add a small amount of penetrating lubricant to a stuck nut and wait before trying again.
Try Hand Loosening First
Some plastic faucet mounting nuts can be turned counterclockwise by hand. If they will not move, This Old House recommends a basin wrench.
| Tool or method | Use with plastic mounting nuts |
|---|---|
| Hand loosening | Some plastic nuts turn counterclockwise by hand (This Old House) |
| RIDGID EZ Change insert | Faucet mounting nuts with two, three, four or six tabs (RIDGID) |
| Basin wrench | Recommended for connections hard to reach beneath the sink (This Old House) |
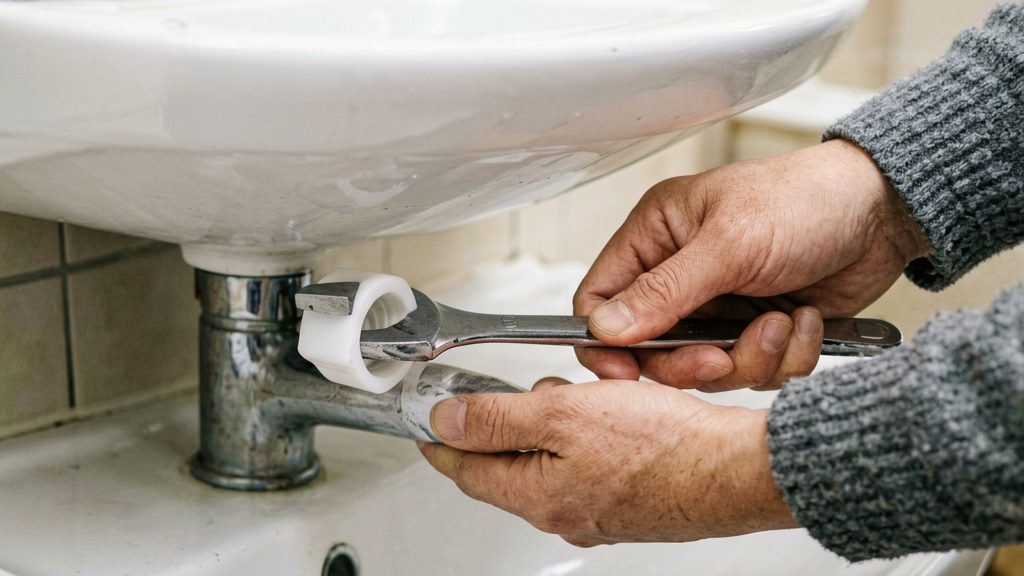
Shut Off Water Before Disconnecting Lines
Before loosening any nut on a kitchen faucet, close every supply valve that feeds it. Under a typical kitchen sink there may be two valves, one for hot water and one for cold. This Old House advises that if separate hot and cold shut-off valves are present, both must be closed before removing the faucet (This Old House). Closing only one leaves the other line live and can send water onto the cabinet floor.
Shut-off valves are usually small quarter-turn or multi-turn handles on the supply lines just below the sink. Turn each one clockwise until it stops. Do not force a stiff valve; if it will not close fully, leave it and plan to shut off the main supply to the house instead.
Relieving pressure comes next. With both valves closed, open the faucet, hot and cold handles, and let the remaining water drain out of the lines. Wait for the remaining water to drain and the flow to stop completely before loosening any supply-line nut. If water continues running, even at a trickle, shut off the main water supply and have the faulty shut-off valve repaired or replaced before proceeding.
Keep the work area dry before you start:
- Lay a towel over the cabinet floor and beneath the supply connections.
- Place a bucket under the connections to catch the water still held in the supply lines and the faucet body.
- Keep the towel and bucket in place until the lines are reconnected and checked for leaks.
What If the Nut Will Not Budge?
A seized nut is usually held by corrosion, mineral buildup or old sealant on the threads. The goal is to loosen it without letting the faucet, the supply line or the shut-off valve turn with it.
Apply Penetrating Lubricant and Wait
Spray a penetrating lubricant onto the threads where the nut meets the bolt or shank, then leave it to soak before trying again. Several light applications with waiting time between them usually work better than one forceful attempt. Check the lubricant’s label to confirm it is suitable for metal fittings and that it is safe near drinking-water lines.
When you retry, fit the wrench squarely on the flats of the nut.
Stop Force That Could Twist the Supply Line
Apply steady, even pressure in the loosening direction. Jerking the wrench or adding a cheater bar can twist the supply line, strain the valve connection or turn the faucet body in its mounting hole.
If the nut turns but the supply line or valve body rotates with it, stop. Do not keep forcing it.
When to Call a Licensed Plumber
Stop and call a licensed plumber if:
- The nut stays seized after lubrication and careful retries.
- The supply line or valve body turns with the nut and you cannot hold it still.
- The threads, the faucet body or the valve show visible damage, or water leaks once the connection is disturbed.
- You cannot reach the connection safely, or you are unsure which part is moving.