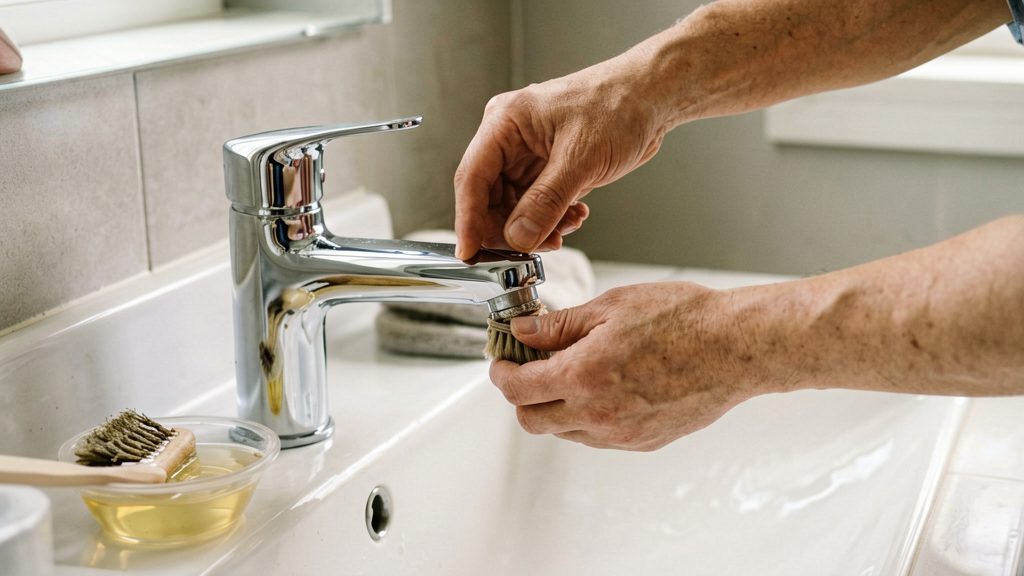
How to clean a clogged bathroom tap aerator
Mineral scale and debris are the two main causes of a clogged tap aerator. Both collect on the fine screen and in the small outlet holes, which reduces the water that can pass through and makes the spray uneven. Mineral buildup or debris can cause low flow and an erratic spray, and removing and cleaning the aerator usually restores normal flow, according to Bob Vila (2026). In most cases the cause is what the water carries into the tap, although worn or damaged aerator parts can also reduce flow.
What causes a clogged tap aerator?
Mineral scale from hard water
Water with a high mineral content leaves deposits as it passes through the aerator. These mineral scale deposits build up on the screen and inside the outlet holes, narrowing each opening over time. The rate of buildup depends on how hard your water supply is, which varies by region. If you are unsure about your local supply, your water utility can tell you how hard it is.
Debris carried through the supply pipes
Sediment and small fragments can travel through the supply pipes and reach the tap. The aerator screen catches this debris, so particles gather at the outlet and block flow. Debris may cause a sudden change in spray, while scale tends to build up gradually, though either can affect flow.
Cleaning at least twice a year
Check and clean aerators at least twice a year to prevent buildup from restricting flow, according to Bob Vila (2026). Regular cleaning removes scale and debris before they block the aerator screen enough to change the spray.
What tools do you need?
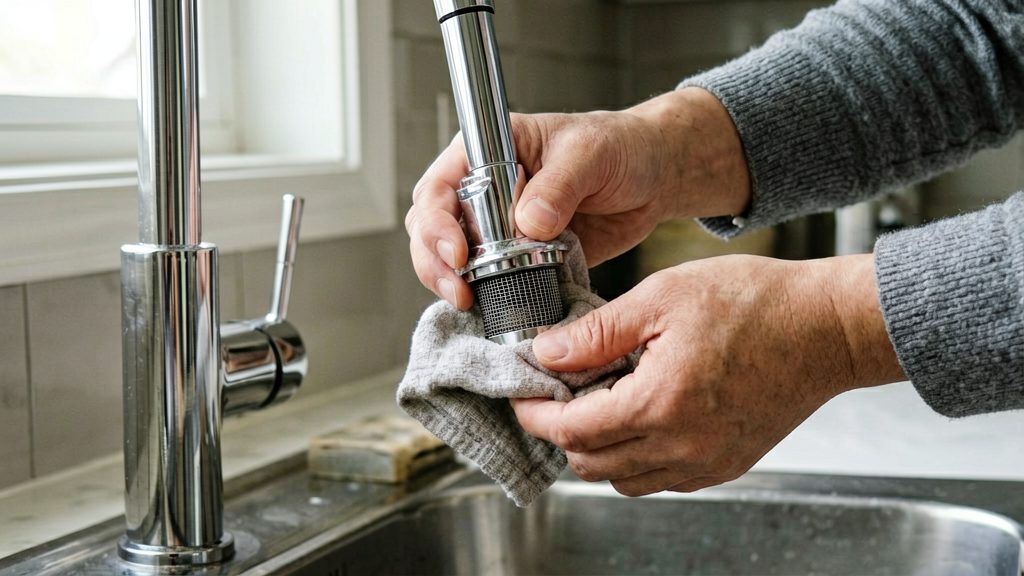
Most of what you need is already in a household toolbox. Gather everything before you start so you aren’t searching for an item with the aerator half-removed.
| Item | Role |
|---|---|
| Masking tape | Protects the aerator’s finish if you need to grip it with pliers. |
| Adjustable pliers | Backup grip for an aerator that won’t turn by hand. |
| Plug or cover for the sink drain | Stops small parts from falling into the drain. |
| White vinegar | Softens mineral deposits on the disassembled parts. |
| Old toothbrush | Used later to scrub the parts. Keep one aside for this job. |
| Toothpick | Used later to clear the screen holes. |
Before you touch the aerator, cover or plug the sink drain. Small washers and screen parts are easy to lose, and a drain cover keeps them out of the pipe.
How do you remove a stuck aerator?
Start by turning the aerator by hand, counterclockwise, which is the usual removal direction. Use tools only if it won’t budge. If it won’t budge by hand, use the steps below.
If the aerator stays put, work through these steps in order:
- Protect the finish. Wrap masking tape around the aerator body. Bob Vila (2026) advises this because pliers’ teeth can scratch the finish. Take photos of the aerator before you take it apart (see step 4).
- Grip with pliers over the tape. Close the pliers on the tape layer, not the bare metal, and turn slowly. Stop if the aerator doesn’t move with steady pressure.
- Add grip with a rubber jar opener. Press the rubber jar opener onto the aerator and turn. This Old House (2026) notes that a rubber jar opener can help loosen a stuck aerator.
- Photograph the parts before disassembly. Take clear photos of the aerator from several angles. Bob Vila (2026) recommends this step, and the photos show how the washer and screen sit so you can reassemble them correctly.
How long should you soak it in vinegar?
The soak time depends on how much mineral scale has built up. Sources disagree on the duration, so treat the figures below as a range and adjust them to the condition of the part.
For disassembled parts, Bob Vila (2026) recommends soaking them in white vinegar for 20 to 30 minutes. This suits light deposits. Check the parts after that period, and if the scale still resists a toothbrush, soak them for longer.
For heavy buildup, the East Bay Municipal Utility District (2026) advises soaking the parts overnight in vinegar. This Old House (2026) describes soaking for several hours. Adjust the duration to how heavy the scale is. Use the longer soak when the screen is visibly crusted or the flow has been poor for a long time.
For a seized aerator that will not turn by hand, the method differs: For a seized aerator that will not turn by hand, tie a bag of vinegar around the spout end so the aerator sits in the liquid, and let it soak first (Bob Vila, 2026). The source gives no duration, so check after a while whether the deposits have softened. Then remove the aerator, wrapping masking tape around it before using pliers to avoid scratching the finish.
Cleaning and reassembling the parts
Soak the disassembled parts in white vinegar to dissolve mineral scale.
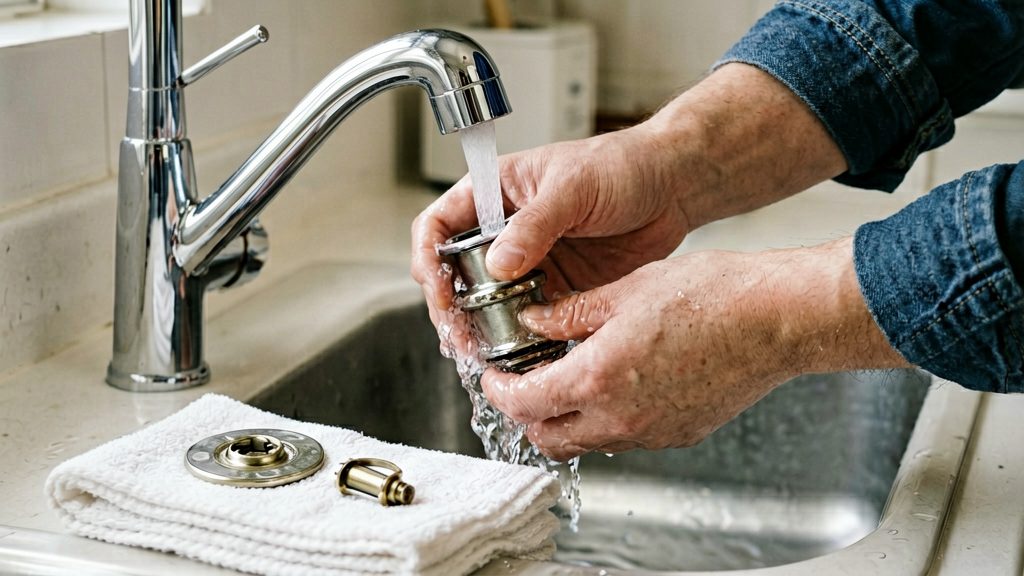
Once the parts are soaked, scrub them with an old toothbrush to remove loosened deposits from the body and the screen. Rinse them under running water.
Next, clear the screen holes with a toothpick. Push debris out of each hole, one at a time, until none is blocked.
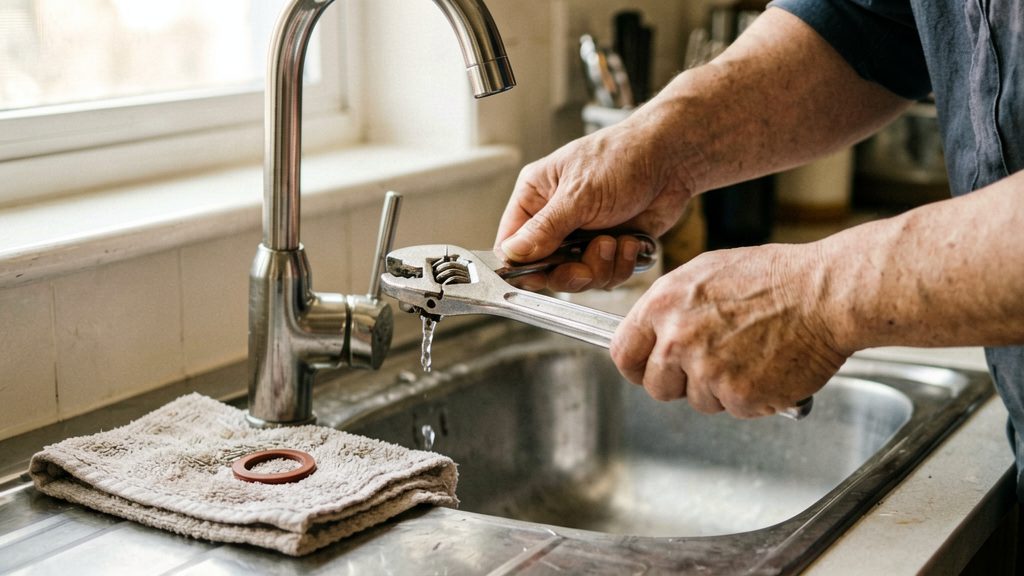
To reassemble, put the parts back in the order they came off. Thread the aerator onto the spout by hand first, so it doesn’t cross-thread. Turn on the tap and check the flow. Tighten the aerator slightly with a wrench or pliers (over masking tape to protect the finish) only if water sprays from the side. If the water flows straight and steady, leave it as it is.
When should you replace the aerator?
Cleaning fixes most aerator problems, but some damage cannot be cleaned away. If the screen is torn or the rubber washer is cracked, the aerator should be replaced rather than reassembled. Bob Vila (2026) and This Old House (2026) both list these two faults as reasons to replace it, and This Old House adds that a clean-up that fails to restore flow is also a reason to do so.
Replace the whole aerator if any internal part is broken. The East Bay Municipal Utility District (2026) recommends this approach: when a part breaks, install a complete new aerator and take the old one to the store so the replacement matches the thread and size. Do not try to glue, bend or fit a single loose piece back into the housing.
Signs that cleaning has failed
Clean the parts before judging the aerator. Soak them in white vinegar, then scrub and clear the screen holes as described in the cleaning steps. If the spray is still weak or erratic after reassembly, the internal parts are likely worn or damaged, and a new aerator is the next step. A weak flow that persists after a thorough clean points to wear rather than deposits.
Thread sizes vary between fixtures, so check the label on the new aerator or the manufacturer’s instructions before you buy.
When to call a plumber
Cleaning an aerator fixes most flow problems at the tap itself. When the flow stays weak, or water escapes somewhere other than the spout, the cause is probably outside the aerator, and further DIY work on the tap head will not solve it.
Corroded or leaking shutoff valves under the sink
The shutoff valves under the basin control the hot and cold supply to the tap. If the valve body shows corrosion, if the valve drips when closed, or if its handle is seized and will not turn, the valve needs replacing. Do not force a seized valve, because a broken valve can leave you without a way to isolate the supply. Ask a licensed plumber to replace it, particularly if the water main has to be shut off at the street or building level to do the work. If you rent or live in a condo, tell your landlord or building manager first, as you may need their permission.
Low flow persisting with a new aerator installed
If the flow is still weak after the aerator has been cleaned or replaced, check the rest of the tap. Test the other taps and nearby fixtures to see whether the problem is shared. If several outlets are weak, the restriction is more likely in the supply pipe or the building’s pressure, which needs a plumber to diagnose with the right gauges and access.
Leaks inside walls or behind the basin
Water that appears inside a wall, behind the basin, or under the cabinet, or that leaves a damp patch or stain away from the tap, is coming from a pipe or a fitting hidden from view. Stop using the affected supply, shut its valve if one exists, and call a licensed plumber. Opening wall finishes to find the leak is outside the scope of a simple tap repair.
Frequently asked questions
Should I turn the tap off before unscrewing the aerator?
Yes, close the tap before you unscrew the aerator. Once the aerator comes loose, water can spurt out of the spout, and a running tap makes that spray harder to control.
Can I use a metal tool to clear the screen?
Avoid screwdrivers, pins, or wire brushes on the screen, since metal can bend or tear the fine mesh. Stick to a wooden toothpick or a soft brush for clearing the holes.
Will vinegar damage my tap’s finish?
Check the manufacturer’s care instructions before soaking a tap with a coated or decorative finish. Finishes vary in how they react to acidic cleaners, so finish compatibility matters more than the cleaner’s strength.