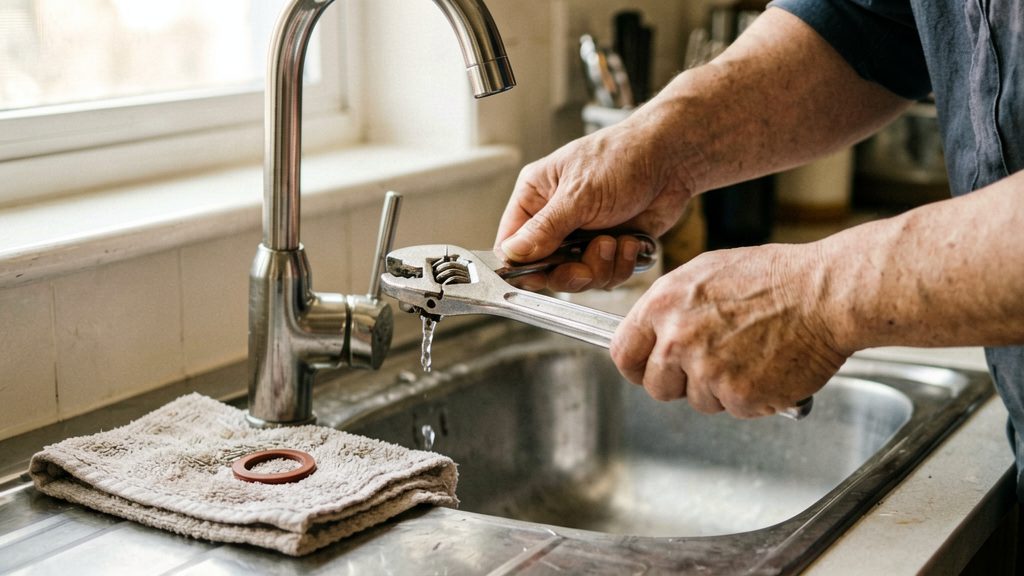
Most dripping taps come down to one worn rubber part. In a traditional compression tap, the washer that seals the valve wears out over time, and that is the usual cause of a drip. The location of the water tells you which part has failed: a drip from the spout points to the washer, while a leak at the handle points to a failing O-ring. Checking how the tap closes also shows whether it uses a washer at all, which determines where to look first.
Why is my tap dripping?
Drip from the spout: worn washer
When the washer is worn, the tap no longer shuts off fully, so water keeps escaping through the spout even when the handle is closed. According to Real Homes, this is the most common reason traditional taps leak. If the drip continues from the spout after the handle is turned off, the washer is the first component to inspect.
Leak at the handle: failing O-ring
Water that seeps around the handle rather than out of the spout points to the O-ring, a small rubber seal near the top of the valve. Real Homes identifies this as the typical cause of a handle leak. The O-ring is a separate part from the washer, so a handle leak can occur independently of a spout drip.
Identifying the tap type by its turns
The number of turns needed to close the tap shows which internal part is likely fitted. According to B&Q (DIY.com):
- Full turn or more: the tap usually has a rubber washer, so a spout drip is most likely a washer fault.
- Half turn or quarter turn: the tap usually has a ceramic cartridge instead, so replacing a washer is unlikely to stop the drip.
Use this table to match a symptom or tap type to the part most likely at fault.
| Symptom or tap type | Likely faulty part | Source |
|---|---|---|
| Drip from the spout | Worn rubber washer | Real Homes |
| Leak at the handle | Worn O-ring | Real Homes |
| Closes with a full turn or more | Washer | B&Q |
| Closes with a half or quarter turn | Ceramic cartridge | B&Q |
| Still drips after fitting a new washer | Damaged valve seat | B&Q |
Tools and parts you need
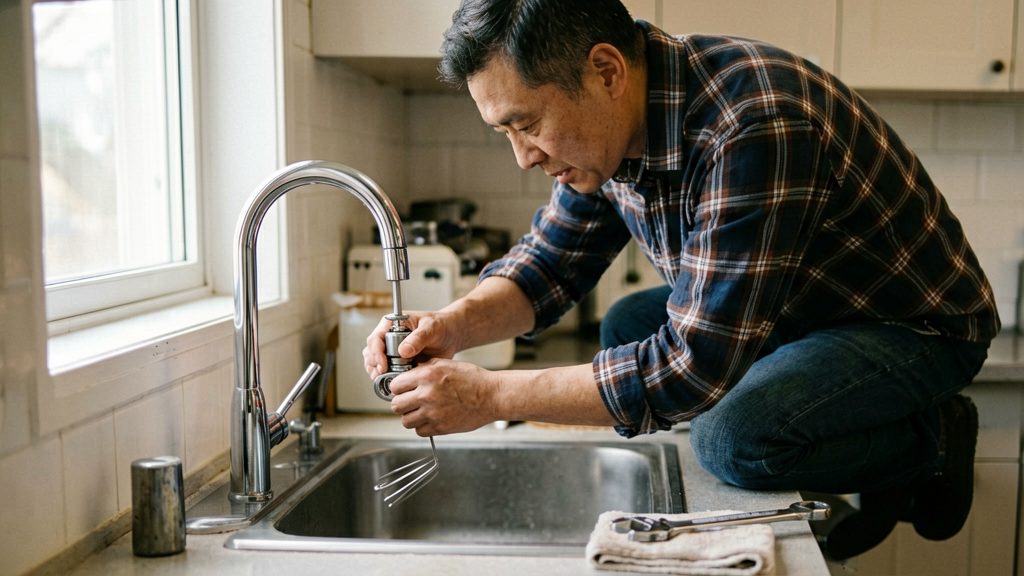
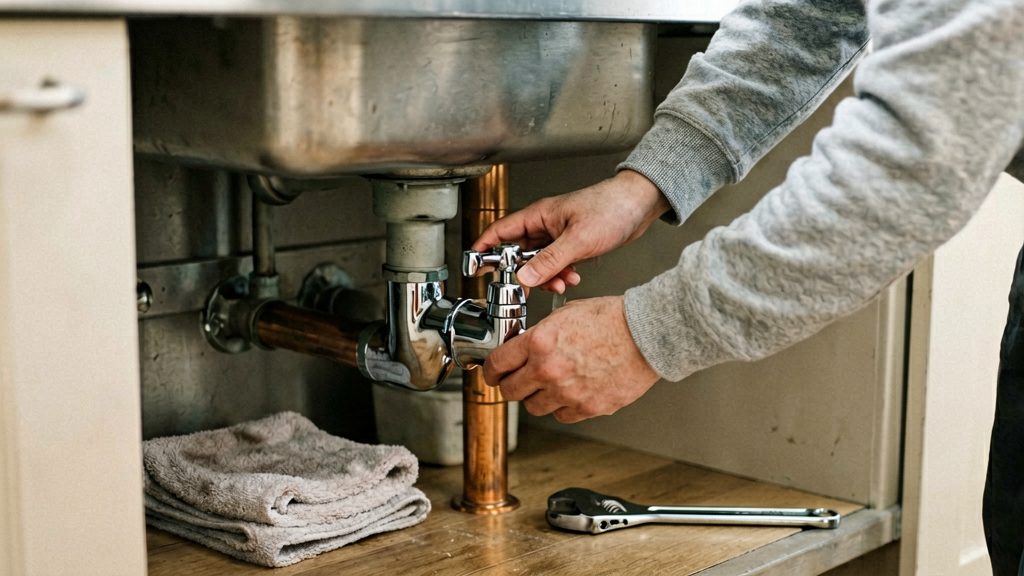
Gather the tools before you start. You need an adjustable wrench (called a spanner in the UK) or pipe grips to loosen the valve nut, a screwdriver to remove the faucet handle screw, and a rag. Steady the tap body with pliers over the rag so the pliers don’t mark it. According to Real Homes, these tools cover most washer repairs.
A washer must match the size of the one you removed. Take the old washer to a hardware store, or check the manufacturer’s instructions for the correct part.
How do I shut off the water to a tap?
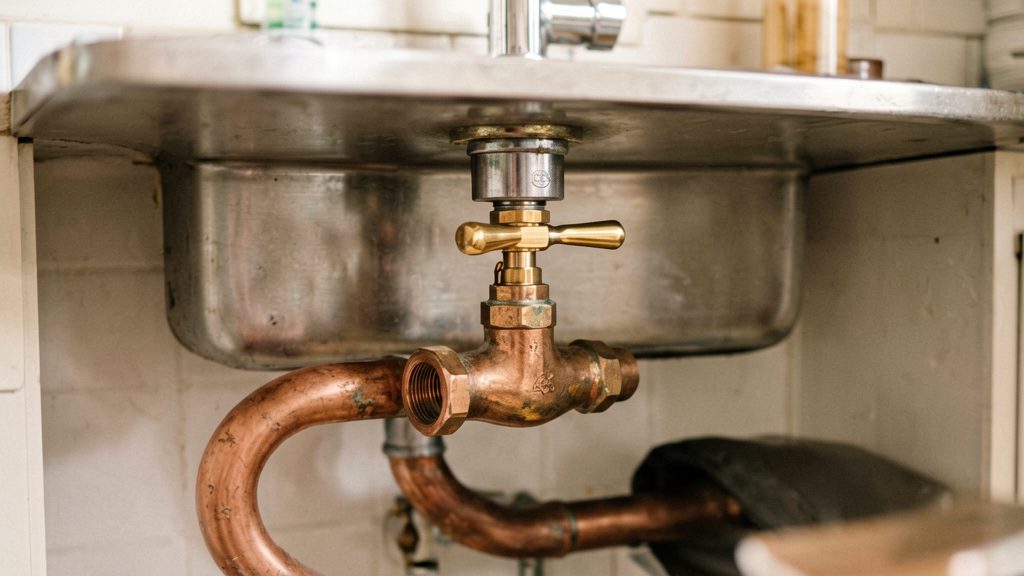
Before you touch the washer, cut the supply to the tap. Under the sink, close the fixture shut-off valves (isolation valves) on the hot and cold supply lines, then open the faucet to drain the water still held in the lines. If there are no fixture valves, close the home’s main shut-off valve. Shutting off the water at the valves stops it flowing during dismantling, and running the taps releases the residual pressure that would otherwise push water out as soon as the valve nut is loosened.
Closing the hot and cold isolation valves
Locate the two small valves under the sink, one on the hot supply and one on the cold supply. Turn each one clockwise until it stops (quarter-turn valves stop after a quarter turn), then confirm the water is off by opening the faucet. Close both, not just one, so that neither line can feed the tap while you work.
Running the taps to release pressure
With both valves closed, open the hot and cold taps at the basin and leave them running until the flow stops. Water left in the pipe between the valve and the tap can still spill when you loosen the valve nut, so this step clears it. Keep the taps open while you work, and close them again before you reconnect the supply.
Plugging the sink drain
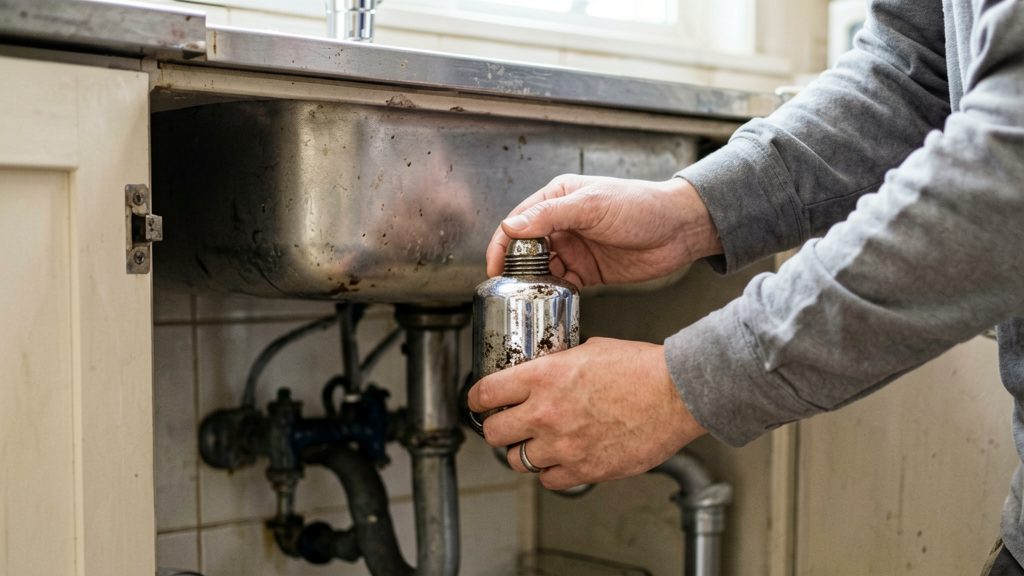
Put a plug or a rag in the sink drain before you start. Small parts such as washers, screws and the valve seat can fall down the drain if you drop them, and retrieving them from a trap is much harder than picking them up from a sink basin.
Replacing the washer step by step
Replacing the washer means taking the tap apart in a fixed order, swapping one small part, and rebuilding it in reverse. Keep each part in the order it comes off, because the washer sits at the bottom of the valve and its position matters when you reassemble.
Removing the cap, screw and tap head
- Prise off the decorative cap on top of the handle with a flat-blade screwdriver.
- Remove the screw underneath the cap, then lift the tap head off the stem.
Loosening the valve nut and removing the old washer
- Steady the tap body with pliers wrapped in a rag, so the finish is not scratched.
- Loosen the valve nut with an adjustable spanner (adjustable wrench) by turning it anticlockwise, then unscrew the valve assembly from the body.
- Remove any screw or retainer holding the washer at the bottom of the valve, then take the old washer out.
Fitting the new washer
- Compare the old washer with the replacement. The new washer must be the same size.
- Seat the new washer in the same position as the old one, refit any retaining screw, and tighten it snugly. Excess force can split the washer or strip the thread.
Reassembling and testing
- Reassemble in reverse order: valve assembly, valve nut, tap head, screw, then cap.
- Turn the water back on, then open the tap slowly. Check the spout for a drip once the tap is closed.
If the tap still drips with the correct washer fitted, see the valve seat section below. If you are unsure, ask a licensed plumber before replacing the tap.
What if the tap still drips after a new washer?
If a traditional tap still drips from the spout after you fit a new washer of the correct size, the likely cause is a damaged valve seat, the surface at the bottom of the valve that the washer presses against to stop the flow. The washer needs a clean surface to seal against, so a damaged seat can let water through even with a new washer in place. B&Q (DIY.com) gives this as the most likely explanation.
Confirm where the leak is coming from before you assume the seat is at fault.
Check the seat surface:
- With the valve open and the old washer removed, look at the seat for grooves, pitting, or uneven wear.
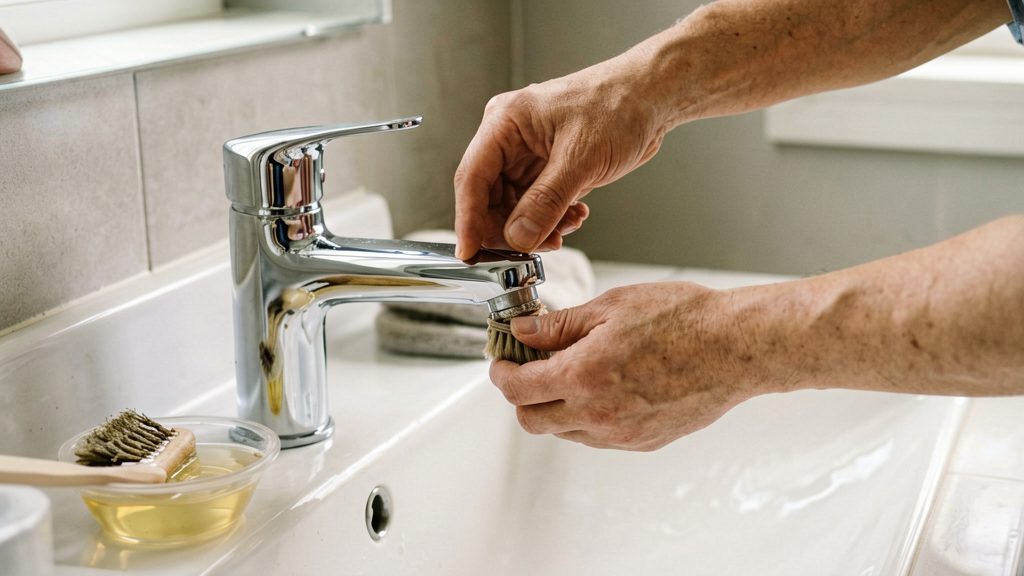
- Wipe the seat with a clean rag to remove grit and mineral deposits.
- Look again. If the surface is still rough, scored, or uneven, the seat is probably damaged.
If the seat is damaged, B&Q (DIY.com) suggests fitting a new tap as the remedy. Replacing the whole tap is the route the source recommends, so it is the one to take if cleaning does not restore a sealing surface.
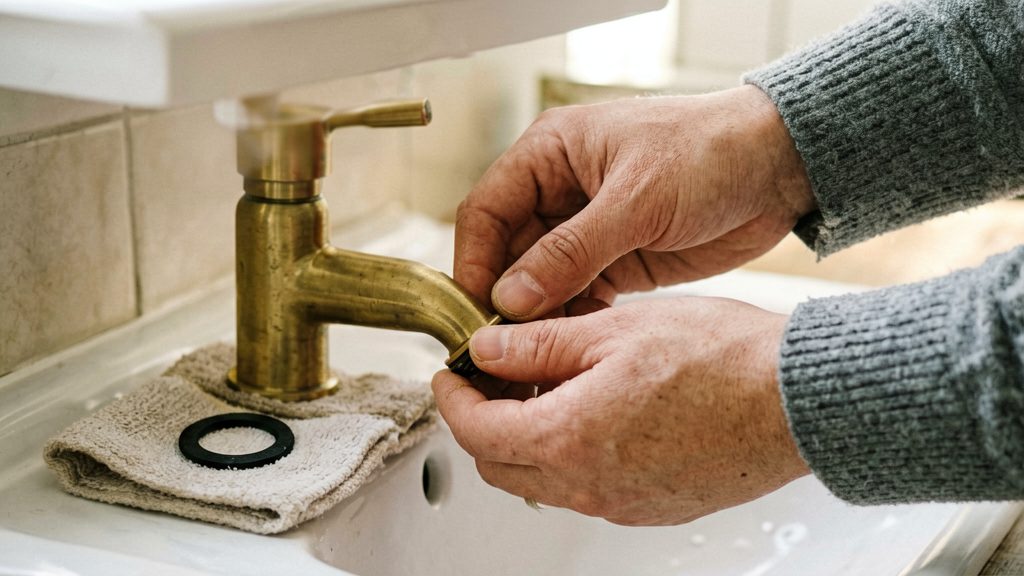
Compression tap or cartridge: which do you have?
Turn counting is a rule of thumb, not a guarantee. If the count is unclear, or the handle feels different from the description above, remove the handle and look at the valve before ordering anything.
Knowing the type first determines the repair path, so you buy the right part (washer, O-ring or ceramic cartridge) only once.
When to call a licensed plumber
Replacing a washer or cartridge is a small job, but some faults start outside the tap. When the problem is in the water supply or the pipework, a licensed plumber should take over.
High water pressure forcing water out at taps
If water escapes from spouts and handles even when the tap is closed, the high water pressure in the supply may be forcing water past the seals. Real Homes advises that a plumber should deal with this. A new washer will likely keep leaking under that pressure, so replacing parts won’t solve the cause.
Isolation valve that will not close
Closing the isolation valves under the sink before you start is the first step of any tap repair. If one of these valves is stiff, won’t seal, or keeps passing water once turned off, don’t force it. Use the main shut-off valve for the home if you can reach it, and have a plumber repair or replace the faulty isolation valve.
Repairs beyond the tap, such as pipework
Some leaks come from pipework rather than the tap. Signs include a damp wall, water pooling under a cabinet, or drips from a joint in the supply line instead of from the spout or handle. Tap repair tools such as a wrench, screwdriver and rag don’t cover cutting, joining or rerouting pipe. Work on copper, PEX or multilayer pipe runs should go to a licensed plumber. Rules on who may carry out plumbing work vary by region, so check your local requirements before doing any pipe work yourself.