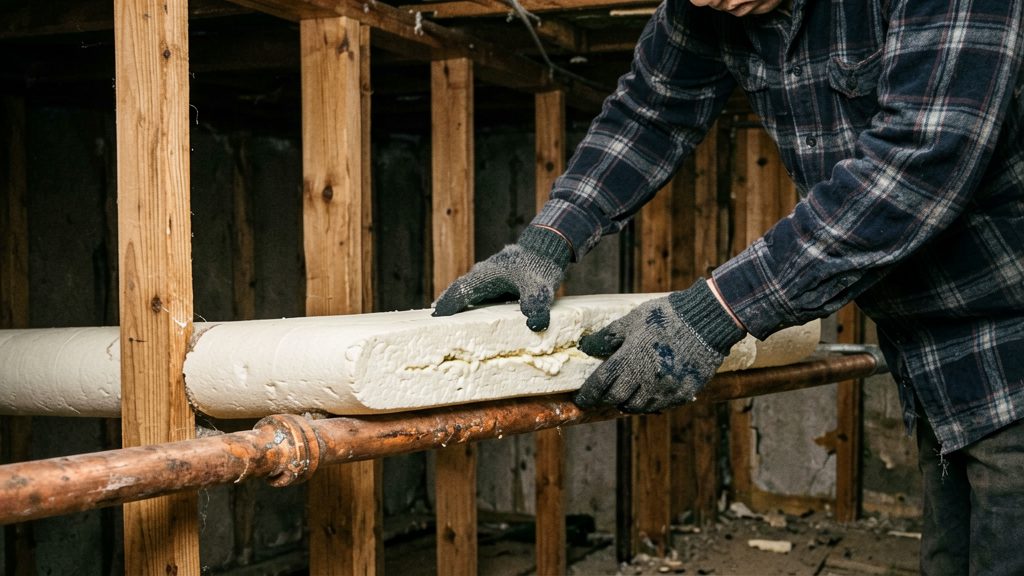
Basement pipes freeze when three things combine: cold air reaches the pipe surface through gaps, heat escapes through the uninsulated walls and floor around the pipe, and the water inside cools until it turns to ice. As the ice forms, it expands, and that pressure can split the pipe.
Why do basement pipes freeze?
Cold air infiltration is the first cause. Outdoor air enters through small openings around baseboards, windows, doors and electrical outlets. Canadian Tire notes that in harsh cold, even a small opening can let in enough air to freeze a pipe (Canadian Tire, 2026). City of Winnipeg advises sealing these gaps (City of Winnipeg, 2026).
Heat loss through walls and floors is the second cause. Exterior walls and floors without insulation let heat from the room escape, which cools the water in nearby pipes. Chubb Canada recommends extra insulation or spray foam on exterior walls that contain plumbing (Chubb Canada, 2026).
Expansion when water freezes is the third cause, and it is what actually breaks pipes. Water grows in volume as it becomes ice. If a blockage forms and water is trapped between it and a closed faucet or valve, the expanding ice pushes against the pipe wall from inside, and the pipe can split. The damage may not show until the water thaws and flows again.
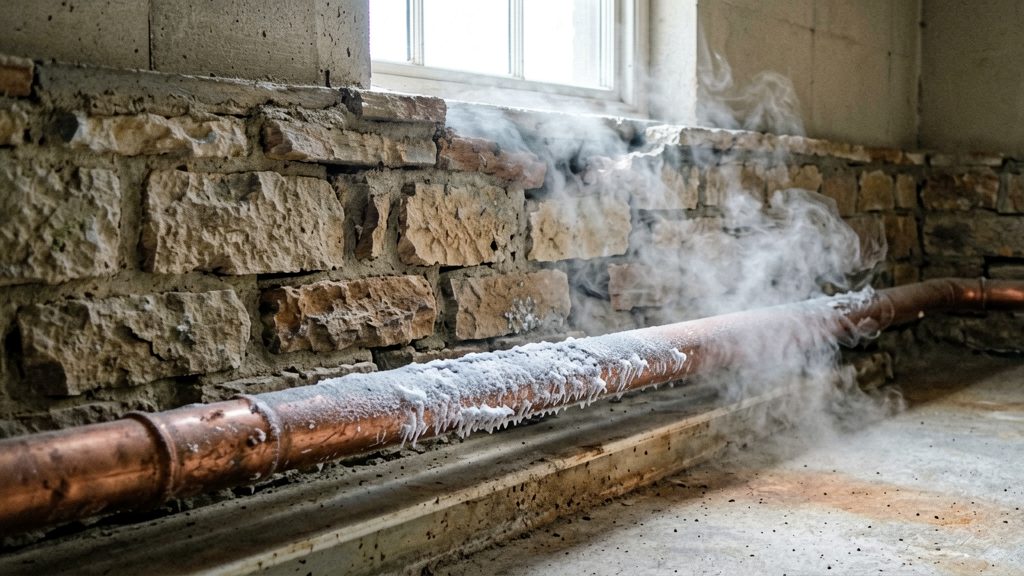
Which pipes should you insulate first?
Rank basement pipes by how close they sit to outside air, and insulate the most exposed runs first. Supply lines feeding outdoor hose bibs and exterior taps, runs against exterior foundation walls and corners, lines near basement windows and vents, and pipes along garage walls carry the highest freezing risk. Canadian Tire advises focusing on high-risk pipes in spaces such as crawl spaces, garages, attics and along outside walls (Canadian Tire, 2026).
| Priority | Pipe run | Why it ranks here |
|---|---|---|
| 1 | Supply lines feeding outdoor hose bibs and exterior taps | The water is closest to the outdoors, and a freeze here can split the pipe. |
| 2 | Runs along exterior foundation walls and corners | They sit directly against the cold foundation, and corners are often the coldest spot. |
| 3 | Lines near basement windows and vents | Cold air enters through openings. |
| 4 | Pipes along garage walls | Garages are unheated spaces, which Winnipeg lists among areas to insulate (City of Winnipeg, 2026). |
Start at priority 1 and work down the list. Use foam pipe covers sold at home improvement stores, which City of Winnipeg recommends for these spaces (City of Winnipeg, 2026). For outdoor hose bibs, check the manufacturer’s instructions for winter preparation, because the fitting itself may need protection beyond the supply line.
Recommended minimum temperatures differ by source. City of Winnipeg advises keeping the thermostat at 12°C (55°F) at night and when away (City of Winnipeg, 2026). Canadian Tire advises keeping surrounding spaces above 8°C (Canadian Tire, 2026). Chubb Canada gives 12.8°C for outbuildings and second homes (Chubb Canada, 2026). Because no single figure applies everywhere, check guidance from your local municipality or utility.
What pipe insulation should you buy?
Choose a foam pipe cover by matching its inside diameter to the outside diameter of the pipe, then choose between a slit sleeve and a fitted tube based on whether the line can be disconnected.
Matching the inside diameter
Measure the outside diameter of each pipe with a tape measure or caliper, then buy a sleeve labelled for that size. The same method applies to copper, PEX and PVC, because the sleeve must fit the pipe’s outside surface regardless of material. A sleeve that is too large leaves gaps that reduce its effect, and one that is too small will not fit.
Wall thickness for basement conditions
Thicker foam generally insulates more. Compare the thickness and R-value printed on each product, and follow the manufacturer’s instructions or local guidance for unheated spaces.
Thickness helps, but sealing air leaks and keeping the space warm matter too.
Slit sleeves versus fitted tubes
| Design | How it goes on | Suits |
|---|---|---|
| Slit sleeve | Opened along a lengthwise slit and pressed over the pipe; Chubb Canada (2026) recommends snap-on insulation for unheated spaces | Pipes already installed that cannot easily be disconnected |
| Fitted tube | Closed tube that slides over the pipe end | Pipes whose end is accessible or that can be disconnected |
Slit sleeves are the practical choice for existing runs in a basement, because they install without disconnecting the line. Fitted tubes suit new work or open pipe ends. Check the product label or manufacturer’s instructions for the sleeve’s diameter range and wall thickness before purchase.
How to install foam pipe covers
Foam pipe covers are split tubes that snap or slide onto a pipe. The job is to fit each sleeve over a straight run, close the seams, and cover every bend and fitting so the pipe has no exposed sections. Chubb Canada recommends snap-on pipe insulation for unheated spaces (Chubb Canada, 2026).
Measuring and cutting
- Measure each straight run from one fitting to the next, and cut one sleeve per run.
- Cut the ends square so adjacent sections meet flush against each other.
- Use a sharp utility knife for foam. Cut slowly to avoid tearing the sleeve.
- Cut separate pieces for elbows, valves and tees rather than forcing a straight sleeve around them.
Sliding sleeves onto the pipe
Open the slit along the sleeve’s length and press it over the pipe. Where the pipe runs to a fixed fitting at both ends, open the slit fully, place the sleeve around the pipe, and close the slit so the foam sits snugly against the pipe wall. If a pipe has a free end, slide the sleeve on from that end before connecting it.
Closing seams and gaps
Butt each section tightly against the next, then tape the slit and the joint between sections. Use the tape type recommended on the product label. Look for any gap where two sections do not meet, and close it with tape or a small cut piece of sleeve. Treat small gaps as seriously as large ones.
Covering elbows, valves and fittings
Cut short pieces of sleeve to fill each bend, valve body or tee, then tape the joins.
| Fitting | Method |
|---|---|
| Straight run | One full-length sleeve, slit taped closed |
| Elbow | Cut piece or angled segments to fill the bend, then tape |
| Valve body | Cut piece shaped around the body, with the valve handle and stem left free to turn |
| Tee or joint | Cut piece covering the fitting, with ends taped to the adjoining sleeves |
Seal air leaks and keep the basement warm
The City of Winnipeg (2026) advises sealing air leaks around baseboards, windows, doors and electrical outlets. Canadian Tire (2026) recommends closing openings with caulking or insulation.
Where to look for leaks
- Baseboards: the joint where the wall meets the floor.
- Windows and doors: the gaps between the frame and the wall.
- Electrical outlets: the boxes on exterior walls, which often let cold air through.
Check these spots on a windy day by feeling for moving air with your hand, and look for visible gaps or daylight.
Keep warm air around the pipes
Heat must reach the plumbing, not just the room. Keep the surrounding space warm enough that the pipes stay in a safe range.
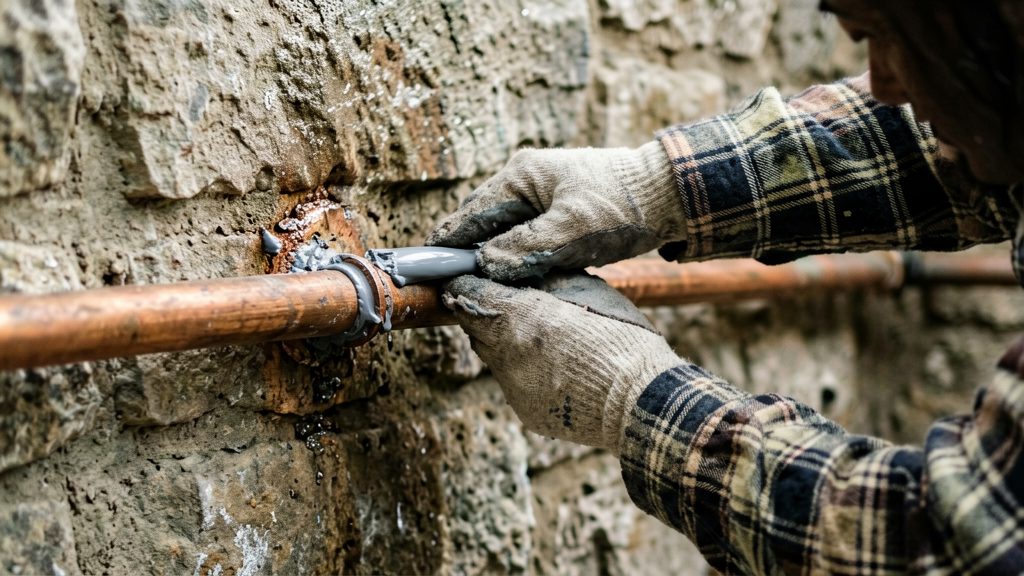
Is heat tape worth it?
Heat tape adds heat directly to a pipe, while passive insulation slows heat loss from a pipe that is already warm. Passive insulation is the simpler first step in most basements. Heat tape is worth considering when a pipe stays cold enough to freeze even after it is insulated.
Thermostatic heat tape
Chubb Canada (2026) describes heated plumbing tape or cable that switches on automatically near freezing. This removes the need to remember to turn it on, which matters for pipes that run along a cold exterior wall in an unheated basement. Before buying, check the manufacturer’s documentation for the temperature at which the tape switches on and whether it has its own thermostat or relies on a plug-in controller.
Electrical safety and plug-in use
Heat tape is an electrical appliance that runs along plumbing, so follow the manufacturer’s instructions for installation, plug-in use, and any limits on length or overlap. Do not damage, splice or modify the cord or plug unless the manufacturer’s instructions explicitly allow it. If the instructions specify an outlet type or protective device, use exactly that. A hard-wired installation should be done by a licensed electrician.
When passive insulation is enough
Passive insulation is usually sufficient when the space around the pipe stays warm.
If the basement stays above the recommended minimum and the high-risk pipes are already insulated, passive measures may be enough. If a pipe runs along an exterior wall in a space that can drop below the recommended minimum, heat tape is worth evaluating.
What if a pipe freezes anyway?
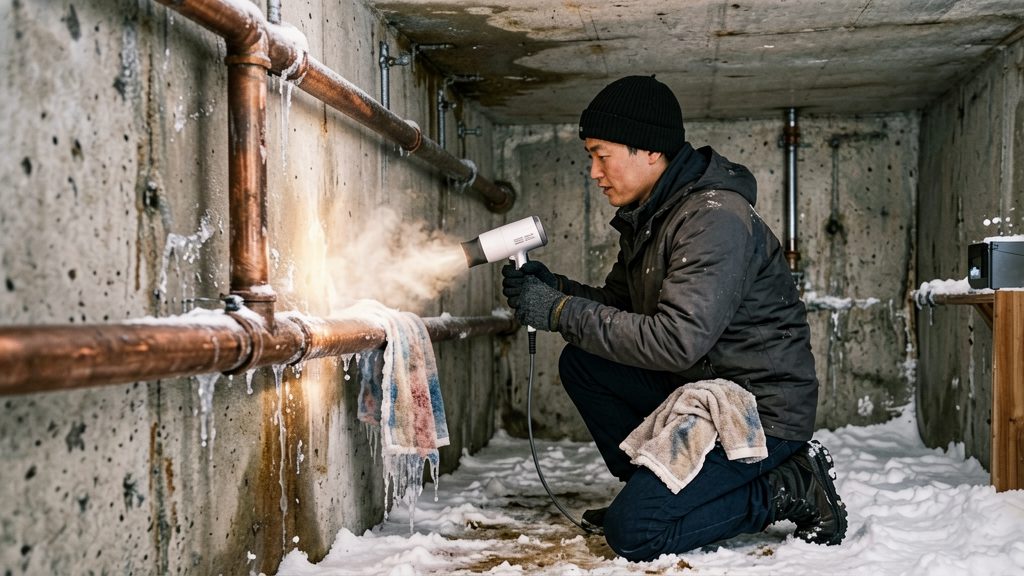
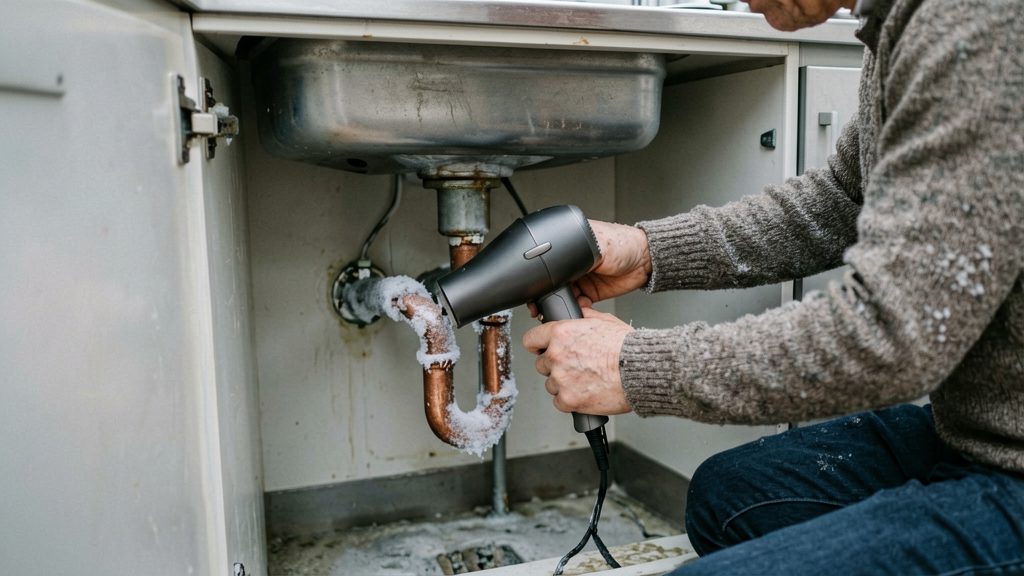
A frozen pipe usually shows up as a tap that delivers little or no water while others still work. Keep the affected faucet open, thaw the frozen section gently with warm air, and if the pipe splits, shut off the main valve before doing anything else.
Signs of a frozen line
| Sign | What it usually means |
|---|---|
| No flow from one tap while other taps work | Ice is blocking that branch |
| Frost or ice on an exposed pipe | The pipe is freezing in that section |
| Bulging, cracking or active leaking | The pipe has split as the water inside expanded, so treat it as a burst |
If no tap in the house produces water, check that the main valve is fully open, then contact your local water utility, since the problem may lie outside the house.
Thawing a frozen pipe gently
- Open the faucet served by the frozen line. Water can only move once the ice melts, and the open faucet gives the meltwater a path to drain.
- Locate the frozen section, which is usually where the pipe is exposed or runs along an outside wall.
- Aim warm air at the pipe with a hair dryer or a small electric heater set at a safe distance, starting near the open faucet and working back toward the blockage.
- Check the faucet regularly. Once water flows steadily, stop heating and leave the faucet open for a short time so any remaining ice clears.
- If the tap still delivers nothing after sustained heating, stop and call a licensed plumber.
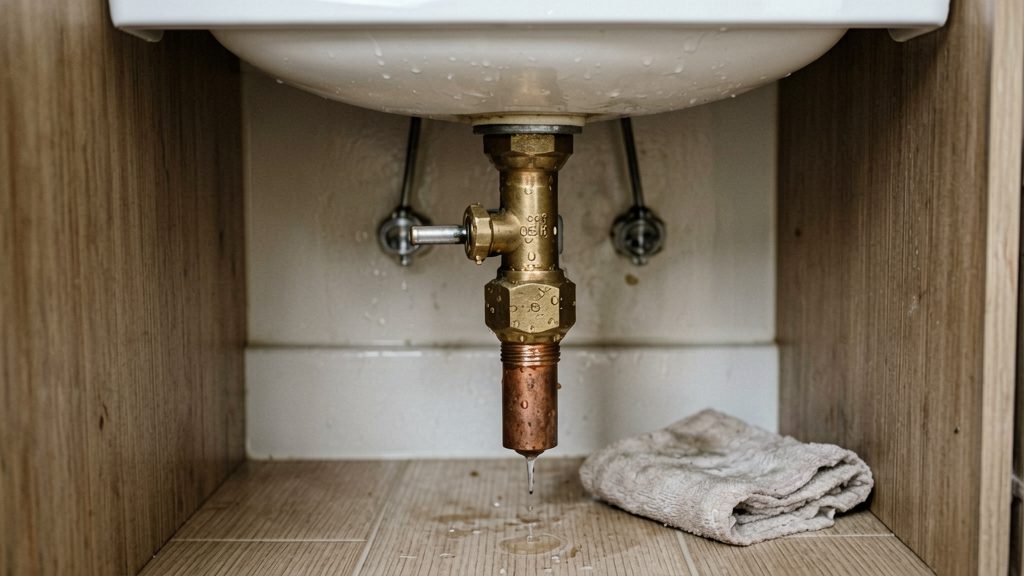
If a pipe bursts
- Shut off the main valve, which supplies the whole house. Turn the main valve to closed. A wheel-style gate valve closes clockwise. A lever-style ball valve closes with a quarter turn, to the position where the handle sits across the pipe. If water is reaching the electrical panel or outlets, stay away from them and call an electrician.
- Open the lowest tap in the house to drain the remaining water from the pipes.
- If the burst line feeds a water heater or boiler, follow the manufacturer’s instructions for shutting that appliance down. Gas-fired units also carry their own safety warnings.
- Photograph the damage, then call a licensed plumber to repair the split section.