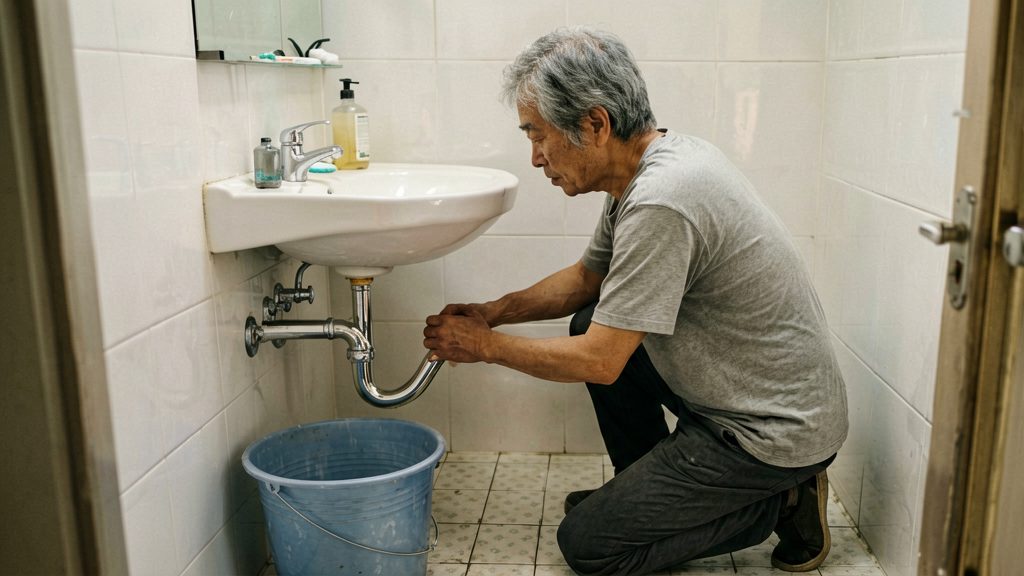
What is a P-trap and why does it clog?
The P-trap is the curved section of pipe directly beneath a bathroom sink. Its P or U shape holds a small amount of standing water, and that water forms a seal that blocks sewer gases from rising into the room. According to Green Building Canada (2026), the trap’s job is to hold water so that gases stay in the drain system. Because the bend is the lowest point of the drain, it is also where material is most likely to stop and accumulate.
How the water seal works
Water remains in the bottom of the bend after each use. This water acts as a barrier between the room and the sewer or drain line. When the seal is intact, odours stay out of the bathroom. When the seal is lost, for example after a long period without use or after the trap has been emptied during cleaning, sewer smells can return. Odours or gurgling from the drain are also among the signs listed by This Old House (2026) that the problem may need professional attention if they persist.
Where hair, grease and soap collect
Debris settles in the curved section because it is the lowest point of the drain, so material tends to stop and accumulate there. Three materials are the usual culprits:
- Hair wraps around the sides of the bend and catches other debris, forming a mat.
- Grease and soap coat the inside walls of the pipe and bind hair and particles together into a dense plug.
- Heavier solids that pass through the sink settle at the bottom of the curve, where they are easiest to remove by hand.
Because these materials build up gradually inside the bend, a sink may drain slowly for some time before it stops completely. Once the trap is removed, the debris can be cleared by hand, as described in the trap removal steps later in this guide.
The table compares the three approaches the sources describe for a clogged bathroom sink P-trap, with the amounts and limits each one gives, according to This Old House and Green Building Canada.
| Method | Steps and amounts | Limits and cautions |
|---|---|---|
| Baking soda and vinegar | Pour in 1 cup of baking soda, then 1 cup of vinegar. Wait a few minutes, then flush with 2 cups of hot water. Repeat up to three tries. | Presented as effective by one source only; this is not independently confirmed. If the drain is still blocked after three tries, move to another method. |
| Chemical drain cleaner | Use cautiously and not often. | Can damage pipes over time. Richard Trethewey of This Old House says these products rarely clear a stoppage and only make a small hole in it. |
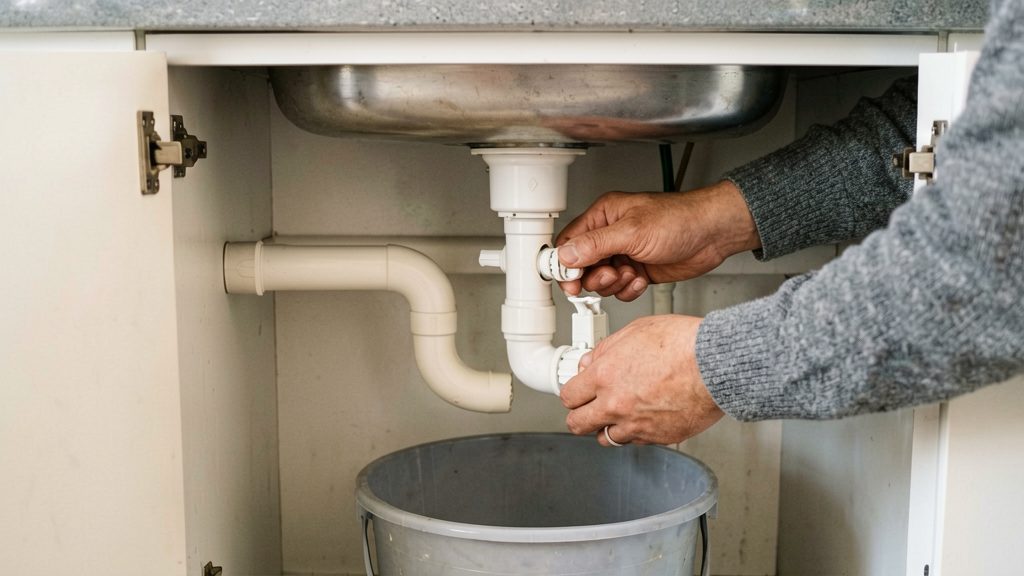
| Trap removal | Place a bucket underneath. Loosen the slip nuts by hand or with a wrench and empty the trap. Clean the trap and drain pipe with a wire hanger or Zip-it tool. When reinstalling, tighten the slip nuts by hand, then finish with a wrench. | Use this when a drain auger runs its full length without meeting a clog, as the blockage may lie past the trap. |
Tools and prep before you start
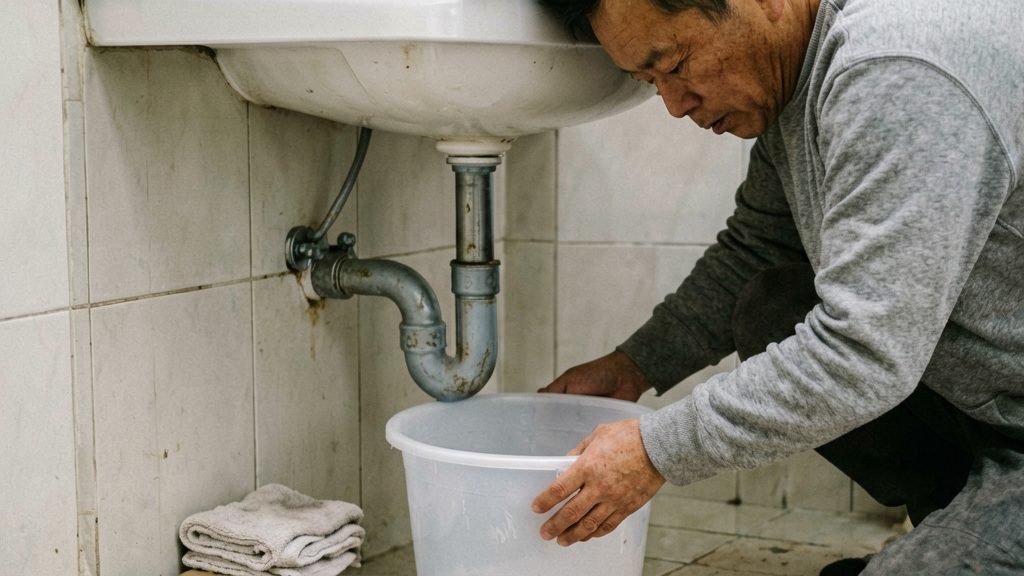
Gather everything before you touch the trap. You need a bucket, rags, gloves, a flashlight, an adjustable wrench, and pliers.
- Bucket: Set it directly under the P-trap before loosening anything. According to Green Building Canada (2026), the trap holds water, so the bucket catches that water and any debris when the connections open.
- Rags: Keep a few within reach to wipe the pipe ends and clean up drips.
- Gloves: Protect your hands from the grime and debris inside the drain.
- Flashlight: The connections sit in a tight, dim space under the sink, and a light makes them easier to see and reach.
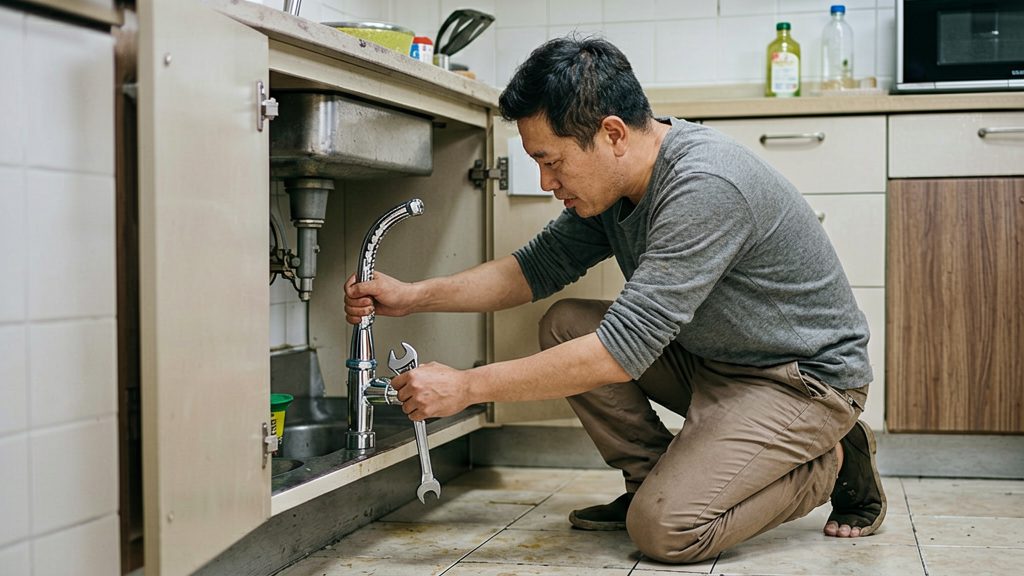
- Adjustable wrench and pliers: The slip nuts at each end of the trap can be loosened by hand or with a wrench, so have both on hand in case the nuts are stiff.
Next, prepare the cabinet. Empty the space under the sink, including cleaning products, buckets, and bags, so you can reach the trap and move your arms freely. Then lay towels on the cabinet floor under the work area. They soak up spills that the bucket misses and protect the cabinet base from water damage.
How do you remove and clean a bathroom sink P-trap?
Removing the P-trap takes three steps: loosen the slip nuts at both ends, empty the trap into a bucket, and clean the trap and the drain pipe. According to Green Building Canada (2026), the slip nuts can be loosened by hand or with a wrench, and the trap can be cleaned with a wire hanger or a Zip-it tool.
Loosening the slip nuts
The trap has a slip nut at each end: one where it joins the sink’s tailpiece and one where it joins the wall drain arm. Start with both nuts by hand, turning them counterclockwise. If a nut is stiff, use an adjustable wrench on the nut, and hold the pipe steady with your other hand so the connection does not twist. Work slowly, because a plastic nut can crack if forced.
Emptying the trap
Once both nuts are free, lower the trap into the bucket and tilt it to drain the water and sludge. Expect standing water and debris, and keep the bucket upright until it has finished draining.
Cleaning the trap and drain pipe
Clean the trap by hand over the bucket, removing hair, grease and solids. Then clean the drain pipe with a wire hanger straightened into a hook, or with a Zip-it tool, pushing it into the drain arm toward the wall and into the tailpiece. Pull the debris back out, then rinse the trap with water and check that it is clear before you reassemble it.
Reassembling and testing for leaks
Reconnect the trap in the reverse order of removal, so the trap arm meets the wall drain and the bend sits where it was. The slip nuts make up the joints, and their washers seal each one. According to Green Building Canada (2026), tighten the slip nuts by hand when reinstalling, then finish with a wrench.
Hand-tightening the slip nuts
Start each slip nut by hand on its threaded connection. Hand-threading first lets you feel whether the thread is catching squarely, which prevents cross-threading. Snug each nut until it stops turning freely, but don’t use a tool yet.
Finishing with a wrench
Once every nut is hand-tight, tighten each one a little further with a wrench, such as an adjustable wrench or slip-joint pliers. Stop when the nut feels firm and the washer no longer shifts. Avoid forcing the nut, because excess force can damage the threads or the washer and cause the leak you are trying to prevent.
Running water and checking each joint
Dry each joint with a paper towel first so that any new moisture is easy to spot. Run the tap to fill the basin, then let it drain through the trap. Check every joint while the water is moving, since a joint can stay dry at rest and drip only under flow.
Inspect both ends of the trap: the connection to the sink tailpiece and the connection to the wall drain. If a joint drips, tighten that nut slightly with the wrench, dry the joint, and run the water again.
Once the joints stay dry while the water runs, the trap is reassembled correctly and holds water in the bend. Check the joints again after the next few uses, and look under the sink for new drips before you treat the repair as finished.
Can you use a drain snake or chemical cleaner instead?
A drain auger (snake) and a chemical cleaner are both alternatives to pulling the trap, but they suit different situations. Each has limits, and the auger tells you whether the trap needs to come off.
Drain auger: Feed the auger into the drain. If it runs its full length without meeting a clog, the blockage may be past the P-trap. In that case, remove the trap to reach the drain pipe (Green Building Canada, 2026).
Chemical cleaners: Use them cautiously and not often, because they can damage pipes over time. Richard Trethewey of This Old House (2026) says they rarely clear a stoppage and usually only make a small hole in it. Follow the product label and the manufacturer’s instructions before use. If a chemical cleaner has been used, treat the water in the trap as caustic when you remove it. Wear gloves and eye protection, and never mix it with other products.
Baking soda and vinegar: Pour in 1 cup of baking soda, then 1 cup of vinegar. Wait a few minutes, then flush with 2 cups of hot water (Green Building Canada, 2026). Repeat up to three times. If the drain is still blocked after three tries, move to another method. The results of this method are not independently verified, so test the flow after each attempt rather than assuming the clog has cleared.
Preventing clogs in a bathroom sink
Most bathroom sink blockages build up gradually from hair, soap residue and grease. Stopping these materials before they reach the trap helps reduce buildup, and a few small habits can help.
Fit a hair catcher or strainer
A hair catcher or strainer placed over the basin’s drain opening catches hair and debris before they enter the pipe. Lift it out after each use and discard what has collected. Hair removed at this stage is much easier to deal with than hair that has already tangled around the bends of the trap.
Keep styling products and oils out of the basin
Hair gels, styling products, oils and greasy residue can cling to pipe walls and combine with hair and soap to form a deposit. Wipe excess product off the sink with a paper towel and put the towel in the bin rather than rinsing it down the drain. Avoid pouring oils or grease into the sink.
Clean the pop-up stopper and its assembly
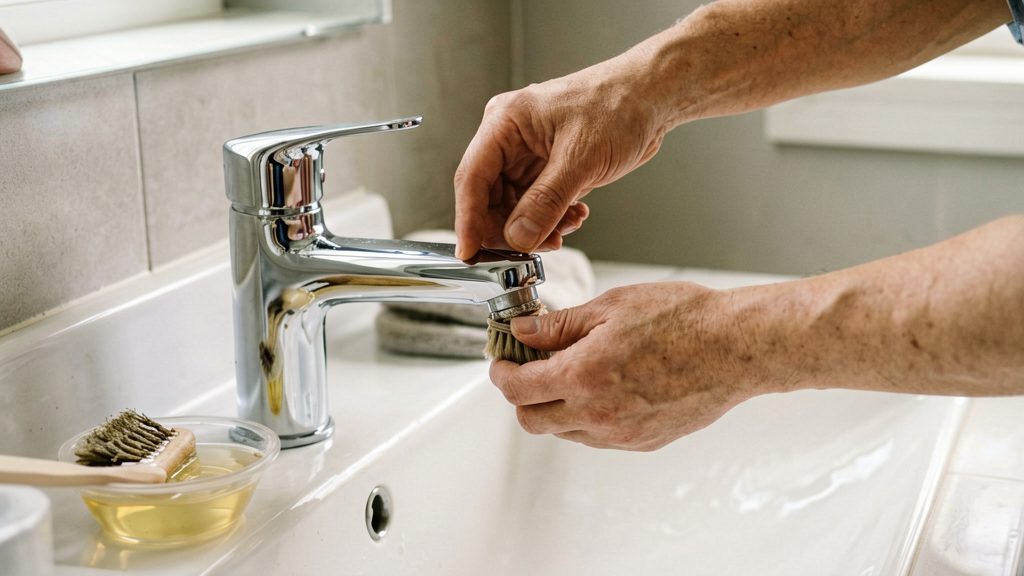
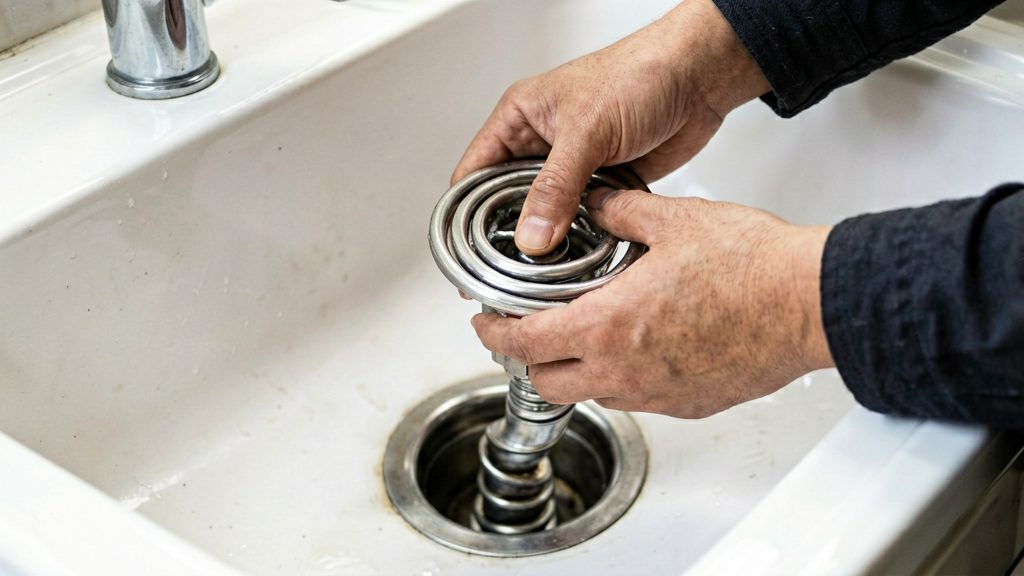
Many bathroom sinks use a pop-up stopper linked to a rod and pivot under the basin. Hair often wraps around the stopper and its linkage, which slows drainage even when the pipe below is clear. Check the manufacturer’s instructions for how the stopper releases, then lift it out, wipe off the buildup and clear hair from the pivot before refitting it.
When to call a licensed plumber
Some drain problems are simple to fix with the P-trap removed and cleared. Others point to a bigger fault in the drain line, and continuing to pour products into the sink or running a snake will not solve them. The signs below mean it is time to stop and call a licensed plumber.
Foul odours or gurgling from the drain are one warning sign. When the sink smells or gurgles, it may point to a problem further down the drain line rather than a simple clog in the trap. Gurgling that continues after the trap is clean is a reason to call someone.
Several drains clogging at the same time is another sign. Persistent clogs that resist home remedies also call for a licensed plumber. A single slow sink usually has a local cause, such as hair or soap residue in the trap. When the bathroom sink, shower and toilet, or the kitchen sink, back up together, the blockage is more likely in the shared main drain. According to This Old House (2026), several drains clogging at once is a standard signal to call a plumber.
Visible damage to pipes or fixtures also requires a professional. Look for water pooling on the floor under the sink, stains or soft patches on cabinet panels, corroded or cracked trap sections, and loose or dripping connections that do not stop after the slip nuts are tightened. This Old House (2026) lists visible damage to pipes or fixtures among the signs that a plumber is needed.