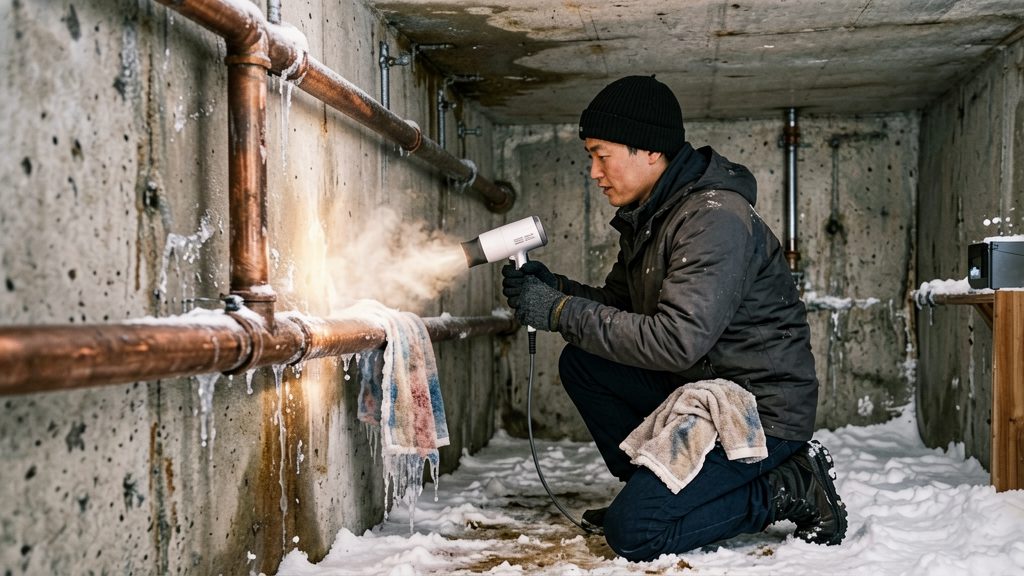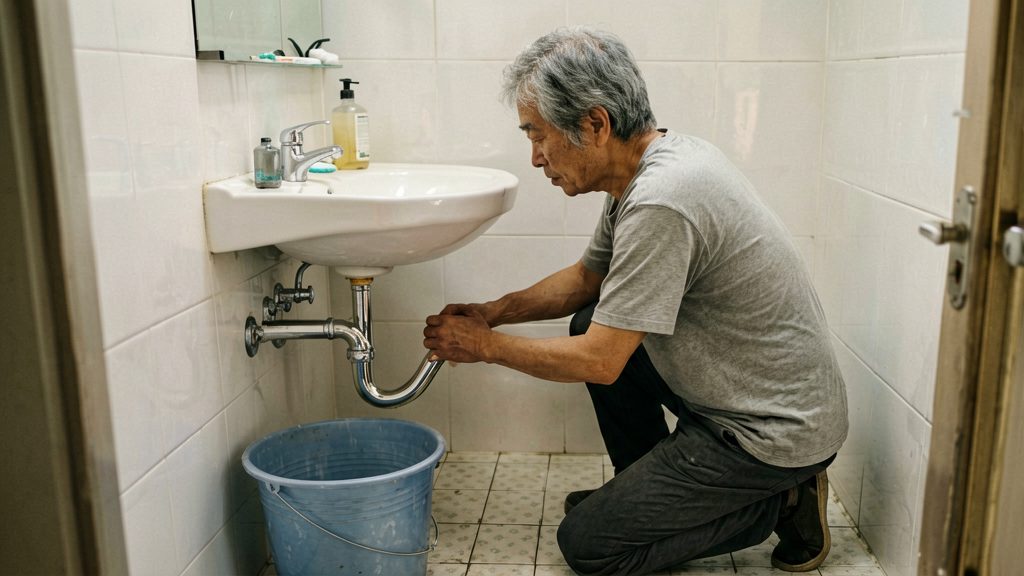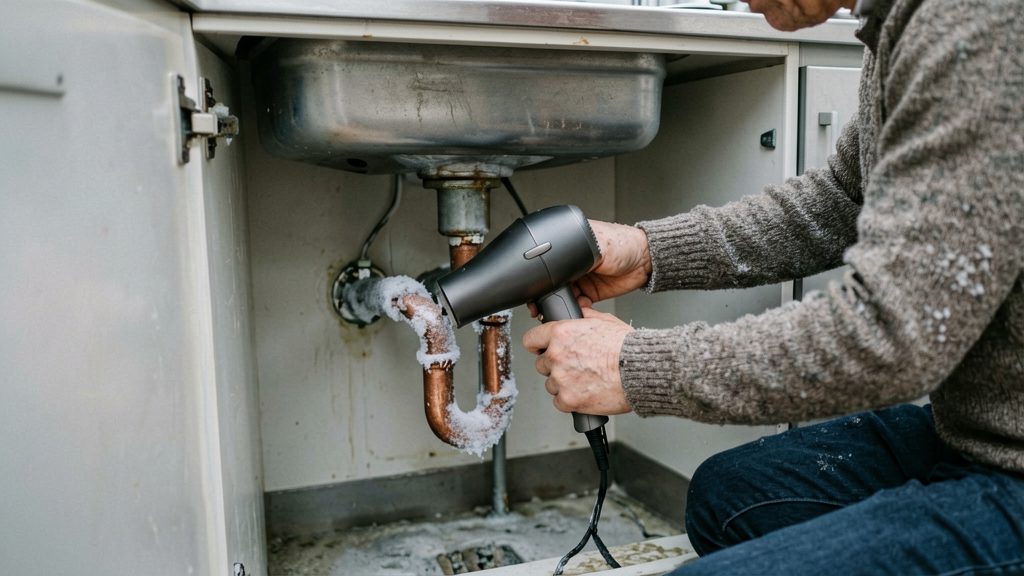
A pipe under a sink is most likely frozen when water flows weakly or not at all from that tap while other taps in the home still run normally, and the exposed pipe may show frost, swelling or cracks. Confirm these signs before applying any heat. A frozen section is often in a cold cupboard, and a bulge or crack may mean the pipe is already damaged.
How do you know a pipe under the sink is frozen? (This guide covers thawing, not cleaning or descaling)
Start at the tap. Weak or absent flow from one tap, while others run normally, suggests a blockage in the supply line serving that sink. Then inspect the visible pipe for:
- Frost on the metal surface, which indicates the water inside has cooled below freezing.
- Swelling or bulging in an exposed section, which can mean ice has expanded inside the pipe.
- Cracks or splits, which mean the pipe may have burst.
Check the cupboard around the sink, along with crawl spaces and other poorly insulated areas nearby, for these signs. This follows Centris.ca (2023).
The table compares the thawing guidance from the three sources, keeping each source’s wording separate.
| Point | City of Winnipeg (2026) | Centris (2023-12-21) | Enercare (2026) |
|---|---|---|---|
| Open flame and boiling water | Do not use boiling water, which can burst the pipe. Open-flame devices, hair dryers and portable heaters are fire hazards. | Do not use a blow torch or other open flame. It is a fire hazard and can damage the pipe. | Not stated |
| Heating method | Apply slow, even heat with a warm towel around the pipe. | Not stated | Heat slowly. Heating too fast can damage the plumbing. |
| Where to start | Start near the faucet and work toward the coldest section. | Not stated | Start at the edges of the frozen area and work in small sections, heating the section nearest the faucet first. |
| Faucet handling | Open the tap closest to the frozen pipe and keep it running until full pressure returns. | Open a cold water faucet so water can run as the ice melts. | Not stated |
| Thawing time | One to six hours. | Not stated | Not stated |
| Shut-off and leaks | If the pipe leaks after thawing, shut off the main valve and contact a licensed contractor. | If the frozen area cannot be found or attempts fail, shut off the water inlet valve and call a licensed plumber. If a pipe breaks, shut off the water right away. | If a leak appears when the supply is reopened slightly, shut the main off and call a plumber. |
Before you start: shut-off valve and open tap
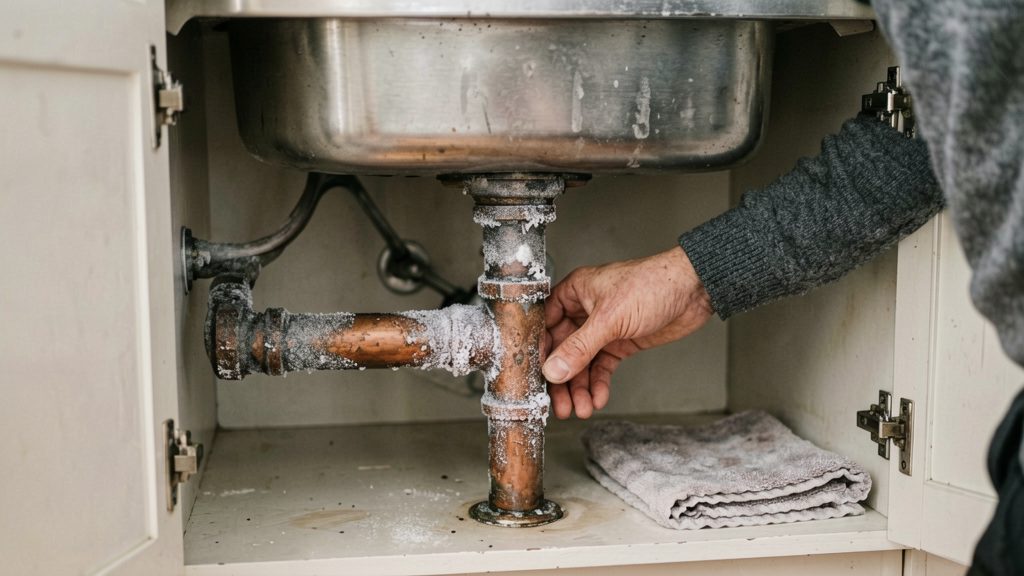
Prepare the water supply and an open outlet before applying any heat. Locate the sink’s valve and clear the area so meltwater cannot damage the cabinet or floor. Keep the valve location in mind in case of a leak, and have towels ready before applying any heat.
Finding the sink’s local shut-off valve
Under the basin, look for the small valve on each supply pipe that feeds the hot and cold taps. Identify which valve serves the frozen section before you start, and check that it turns freely by moving it gently. If it is stiff or does not move, leave it alone and check the manufacturer’s instructions for the fitting.
Sources differ on whether to close the supply before thawing (Enercare says to shut it off first; Centris says to open a cold tap and shut the inlet only if attempts fail or the pipe breaks). This step only identifies the local shut-off valve. Know where it is so you can close it quickly if the pipe leaks or breaks.
Opening the cold tap nearest the frozen section
Open the cold tap closest to the frozen pipe. City of Winnipeg (2026) says to open the tap closest to the frozen pipe, and Centris (2023) says to open a cold faucet so water can run as the ice melts. Keep it open so meltwater has a path out.
Clearing the cupboard and protecting the floor
Empty the cupboard under the sink. Remove cleaning products, bottles, and any bin so you can reach the pipe and nothing is damaged by water or heat. Lay towels and a shallow tray or bucket under the trap and along the pipe to catch meltwater.
If you find a crack or bulge, do not apply heat to that spot.
How to thaw a frozen pipe under a sink safely
Thawing a frozen pipe under a sink means applying slow, even, low heat from the faucet end toward the frozen section. According to City of Winnipeg (2026), thawing can take one to six hours, so steady, gentle heat works better than trying to speed the process up.
- Keep the faucet open until full pressure returns.
- Wrap a warm towel around the pipe. Soak a towel in warm water, wring it out, and wrap it around the pipe section. Re-warm the towel when it cools.
- Start near the faucet and work in small sections. Heat the section nearest the faucet first, then move toward the coldest part of the pipe (City of Winnipeg, 2026). Enercare (2026) also advises working in small sections from the edges of the frozen area.
- Check the pipe as you go. Look for water flow at the faucet before moving to the next section. Once water runs freely from the faucet, the pipe has thawed at that point.
Stay with the pipe while you work, keep towels away from anything combustible, and follow your local municipal guidance on heat sources.
What should you never use to thaw a pipe?
Three common heat sources should stay out of a thawing job: boiling water, open flames, and electric hair dryers or portable heaters. Each carries a different risk, and the first two can damage the pipe itself.
- Boiling water can burst the pipe. According to City of Winnipeg (2026), it should never be poured on a frozen line.
- Blow torches and other open flames are a fire hazard and risk damaging the pipe, according to Centris (2023). Do not use them near a sink cabinet or an exposed pipe.
- Hair dryers and portable heaters are classed as fire hazards by City of Winnipeg (2026). Other guidance differs: Centris and Enercare mention a hair dryer or small heater as an option. Because the advice conflicts, follow your local municipal guidance first, and if you use any electric heat source, keep it attended and away from anything combustible. If you do use any electric heat source, keep it attended and away from anything combustible.
What if the pipe leaks or bursts after thawing?
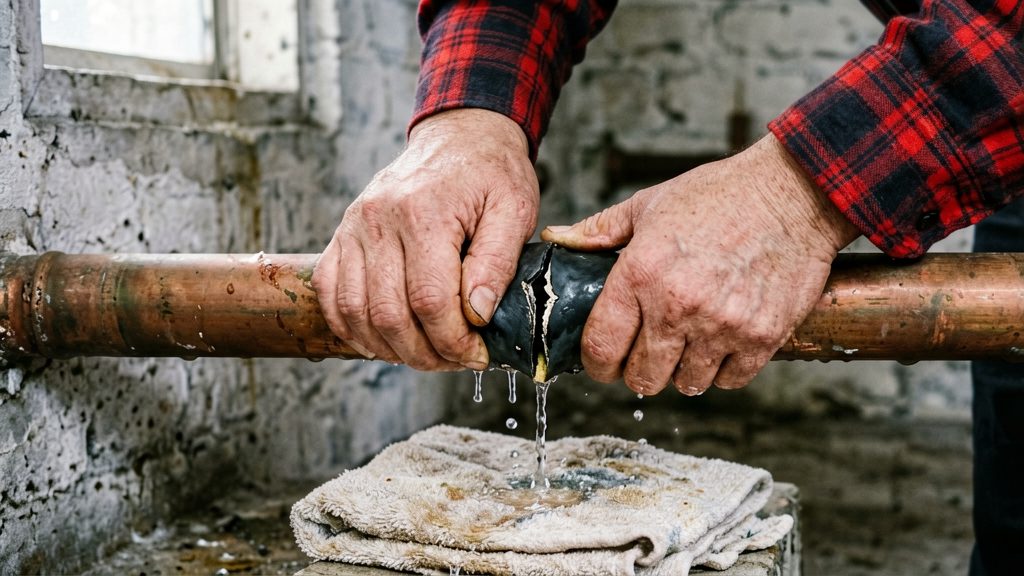
If a pipe leaks or splits once the ice melts, stop the water flow first and then assess the damage. According to City of Winnipeg (2026), the step to take is to shut off the main valve and contact a licensed contractor. Do not keep running water through a damaged line, because a split pipe can release water into the cabinet or floor quickly.
Shut off the flow immediately
As soon as you see water where it should not be, close the main shut-off valve. Do not wait to finish thawing or to find the exact crack. The main valve is the reliable way to stop flow to the whole house. If you already located a local shut-off under the sink, you can use it to isolate that line, but the main still controls the full system.
Check the pipe for splits or cracks
Once the flow is stopped, dry the pipe and look along its length, especially at bends, joints and the section that froze. Look for bulging, hairline splits or drips that appear after the water is off. Keep the main closed while you check the pipe.
Contain the water and protect cabinet contents
Place towels, a bucket or a shallow tray beneath the leak. Water that soaks into the cabinet base can damage the floor and surrounding materials, so act quickly to limit the spread. Keep electrical outlets and appliances away from wet areas, and do not stand in standing water while working near them.
When to call a licensed plumber
Stop DIY thawing and call a licensed plumber when you cannot find or reach the frozen section, when thawing does not restore flow, or when the pipe leaks or bursts. In those cases, shut off the water inlet valve. Centris.ca (December 21, 2023) advises this for an unreachable freeze or failed attempts.
Freezes you cannot locate or reach
If you cannot find the frozen section, or cannot reach it safely, stop and call a plumber rather than opening walls or cabinets yourself (Centris.ca, December 21, 2023).
Thawing attempts that fail
A long attempt is not a failure on its own, since Winnipeg says thawing can take one to six hours. If full pressure does not return after that time, stop and call a plumber.
Leaks after thawing
A leak that appears once you reopen the supply is a reason to stop. Do not keep heating a leaking pipe.
Who pays for the thaw
In Winnipeg, the City of Winnipeg (2026) states that if the freeze is on the owner’s portion of the pipe, the owner pays the thawing fees. If it is on the City’s portion, there is no charge. Before you call anyone, confirm with your municipal utility which section of the pipe is theirs, because the split may differ in other cities.
How can you stop sink pipes freezing again?
Preventing a repeat freeze means keeping the pipe under the sink warmer than the surrounding air. The usual weak point is a cupboard on an outside wall, so the aim is to insulate exposed sections, let warm room air reach them, and keep water moving during cold spells.
Insulate exposed pipes in cupboards and crawl spaces
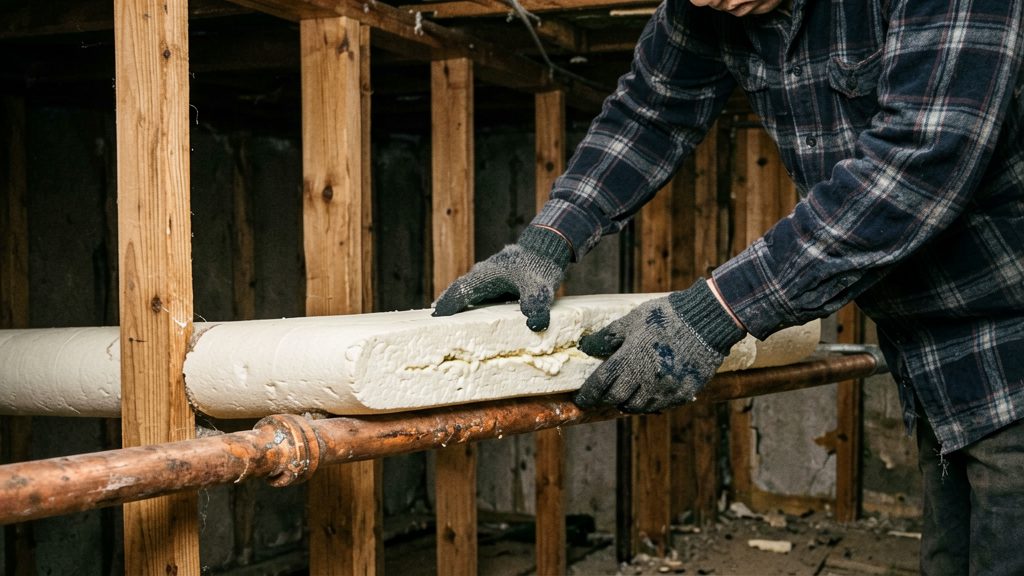
Pay particular attention to pipes against outside walls or near vents and gaps. Wrap exposed sections with pipe insulation sleeves or foam tape along their full length, and seal gaps where pipes pass through walls or floors so cold draughts cannot reach them.
Keep cupboard doors open during cold spells
Some guidance suggests leaving the cupboard doors under the sink open so heated room air can reach the pipes. This helps only while the room is heated, so treat it as a supplement to insulation rather than a replacement. Keep the area in front of the open doors clear so they do not become a trip hazard.
Let a slow drip run during cold snaps
Running water is sometimes used to help prevent a re-freeze. The City of Winnipeg notes that running water to prevent a re-freeze may be needed until spring (City of Winnipeg, 2026). Open the cold tap served by the at-risk pipe to a slow, steady trickle rather than a full flow, and leave it running through the coldest nights.