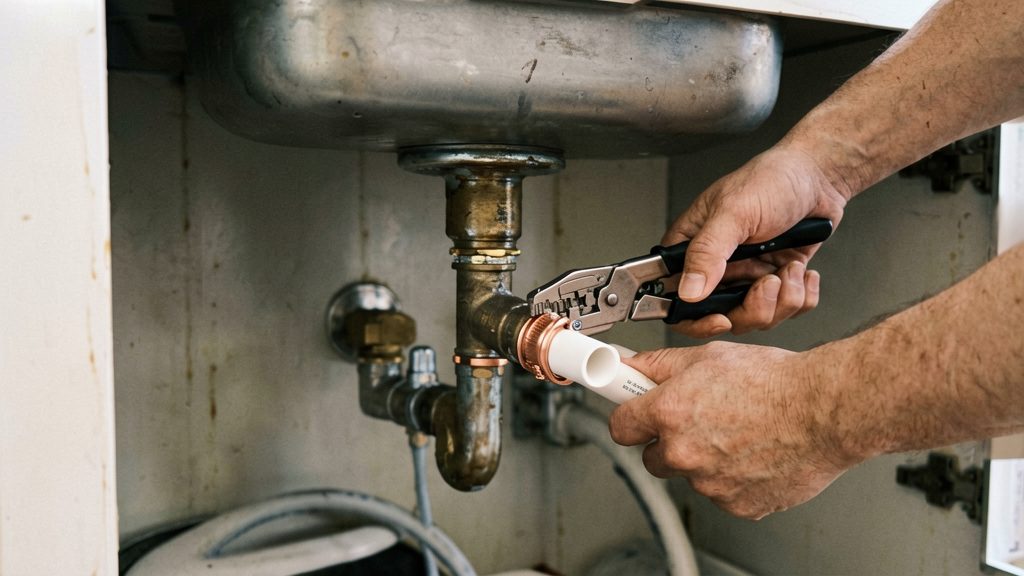
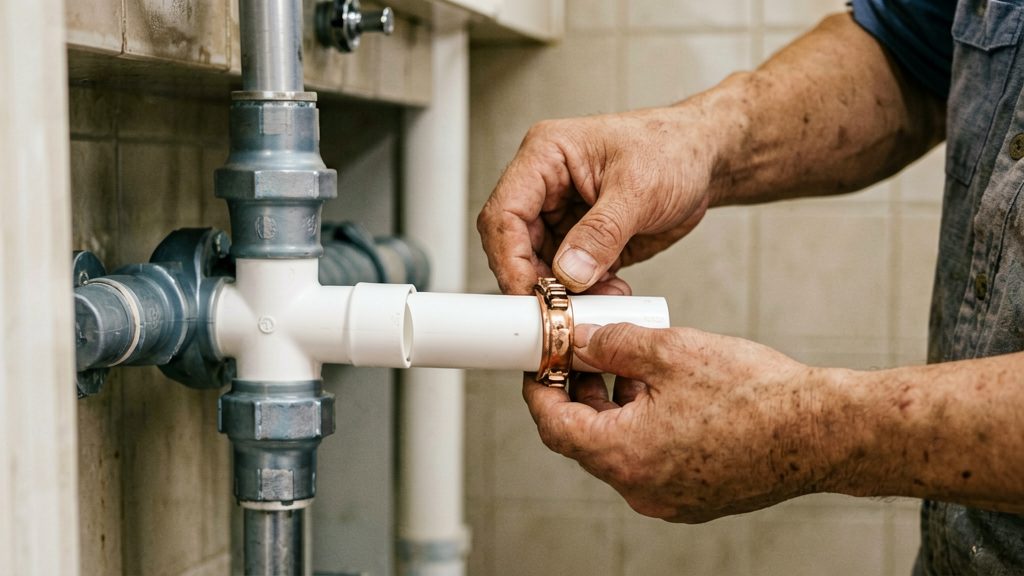
A copper crimp ring is a metal ring that you slide over the PEX tubing and compress with a crimp tool, so the tubing is clamped onto the fitting.
What are PEX crimp rings?
A copper crimp ring is the joining component in a crimp connection. It is not a seal on its own. The tubing is pressed against the fitting’s barbs or ribs, and the ring keeps it there.
How the ring holds the barbs
The fitting has a series of barbs or ribs along its body. The PEX tube is pushed over them, and the ring is placed directly over that section. When the tool compresses the ring, the tube is squeezed down onto the barbs, creating a mechanical grip. Boshart Industries specifies that the ring should sit over the barbs or ribs, not on the bare tube beyond them.
Metal fittings and poly fittings
PEX fittings come in two families, and the standard that governs each one is different:
- Metal fittings are covered by ASTM F1807.
- Poly fittings (plastic-bodied) are covered by ASTM F2159.
The crimp steps are the same for both families (Boshart Industries). Check the fitting maker’s documentation to confirm which family a fitting belongs to before buying rings or tools.
Standards and local rules
ASTM F1807 and ASTM F2159 define the fittings and how they are supposed to perform. They do not replace local plumbing rules. Requirements for PEX use and licensing in Canada vary by province and municipality, so confirm them with the local authority having jurisdiction before starting work.
Tools and parts you need
A PEX crimp joint needs three core items: a PEX-rated pipe cutter, a crimp tool matched to the ring size and fitting, and a go/no-go gauge sized for the ring. Confirm each one before you start, because a mismatch between tool, ring and fitting can cause a joint that fails later.
- PEX-rated pipe cutter: Use a pipe cutter, not a hacksaw, to cut the tubing square. A square, clean end is needed for the fitting to seat fully. Check that the cutter is designed for PEX tubing and that its blade is sharp.
- Crimp tool matched to ring size and fitting: The jaws must correspond to the ring size you are using. Confirm that the tool, ring and fitting come from the same system or that the manufacturer lists the combination as compatible.
- Go/no-go gauge sized for the ring: The gauge checks each finished crimp. Choose a double-slot gauge sized for your ring diameter. The GO slot should fit over the ring and the NO-GO slot should not (Boshart Industries).
Also have the copper crimp ring, the PEX fitting and the tubing ready. Slide the ring onto the pipe before inserting the fitting, because the ring cannot be added once the fitting is in place.
How do you crimp a ring on a PEX fitting?
A proper crimp depends on the order of the steps. Before the first real joint, make a test crimp on a scrap length of the same tubing and fitting to confirm the tool is working. Then make each joint in the sequence below.
- Slide the copper crimp ring onto the cut PEX end.
- Push the fitting into the tubing until the pipe reaches the fitting’s shoulder, so the joint is fully seated.
- Slide the ring back so it sits 1/8 to 1/4 inch from the pipe end (according to Boshart Industries).
- Position the jaws so they are centred over the ring.
- Hold the tool at 90 degrees to the fitting, keeping it square to the tubing.
- Close the jaws fully. With a power tool, let the cycle finish before releasing, because releasing partway can leave the crimp incomplete (according to Fine Homebuilding, 2017).
How do you use a go/no-go gauge?
A double-slot GO/NO-GO gauge checks whether a crimp ring has closed to the correct diameter. Each ring is tested with two slots: one that must pass over the ring and one that must not. Reading both results tells you whether the crimp is within the acceptable range before you accept the joint.
Reading the two slots
Place the gauge over the crimped ring and try each slot in turn, keeping the gauge square to the pipe.
- GO slot: must fit over the crimped ring. If it does not fit, the crimp is too loose (the ring is still too large) and the tool is set too loose.
- NO-GO slot: must not fit over the ring. If it slides on, the ring is too small, meaning the crimp is over-compressed and the tool is set too tight.
| GO slot | NO-GO slot | Meaning |
|---|---|---|
| Fits | Does not fit | Crimp is proper |
| Does not fit | Does not fit | Tool is set too loose |
| Fits | Fits | Tool is set too tight |
Only the first row indicates an acceptable crimp. The other two outcomes mean the tool setting needs attention.
Checking every crimp
Test each joint individually. Do not assume that a crimp is correct because the previous one passed, since a tool that drifts out of setting can produce a poor crimp on the next fitting. Tool wear enlarges the crimp diameter over time, so a tool that once produced passing crimps may start to fail the gauge. Check every crimp before you accept the joint, and only then move on to pressure testing.
What if the crimp fails the gauge?
A crimp that fails the gauge check is not acceptable, and the joint has to be corrected before the line is used. The fix depends on the cause: a failed joint is taken apart and redone, a loose crimp is adjusted at the tool and re-crimped, a too-tight crimp means cutting out the tubing and ring, and a worn tool must be adjusted or replaced.
| Problem | Corrective action | Source |
|---|---|---|
| Joint fails the gauge check | Take it apart and redo it from the start | Boshart Industries |
| Crimp is too loose | Adjust the tool, then re-crimp | Infloor manual (ManualsDir) |
| Crimp is too tight | Cut out the tubing and ring, then redo the joint | Infloor manual (ManualsDir) |
The two sources disagree on the loose-crimp fix. Boshart calls for taking apart any joint that fails the gauge check, while the Infloor manual allows adjusting and re-crimping a loose crimp. Follow the instructions from the maker of the fitting you are using, and if they are unclear, contact the manufacturer.
Common mistakes to avoid
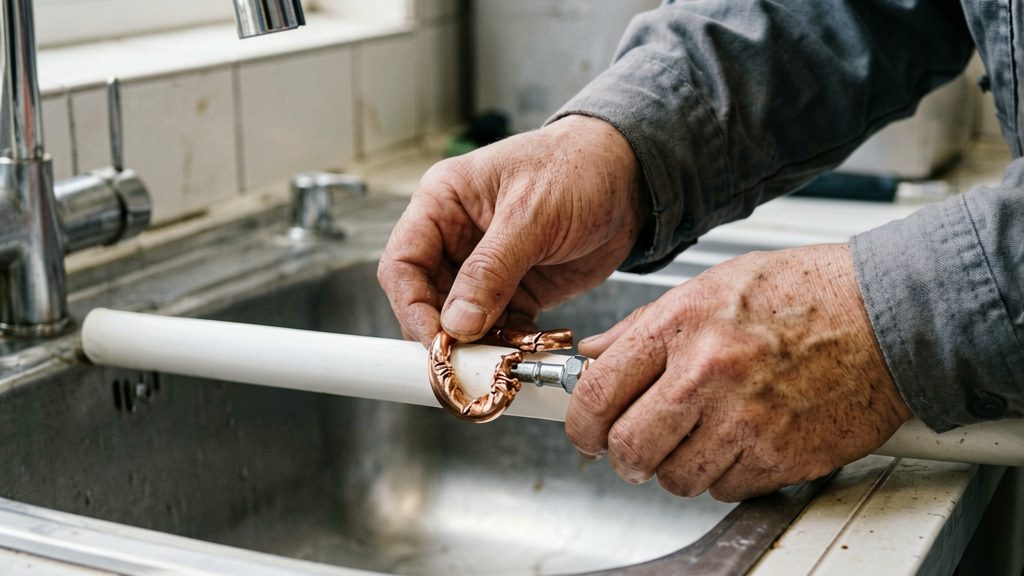
Some joint problems start before the tool touches the fitting. Two errors to avoid are a poor cut at the pipe end and parts that don’t belong together.
Cutting the pipe with a hacksaw or at an angle
A hacksaw or an angled cut leaves a ragged or slanted pipe end, so the fitting may not seat fully. Always cut square with a PEX-rated cutter.
Mixing ring sizes or fittings from different makers
Crimp rings are sized to match specific tubing and fitting dimensions. Using a ring from one range on a fitting from another, or combining components from different manufacturers, can produce a joint that doesn’t match the tool’s crimp profile. Use rings and fittings from the same system, and follow the fitting maker’s instructions for compatible parts.
When to call a licensed plumber
Whether you may do crimp work yourself depends on local rules, and some situations call for a licensed plumber. The main triggers are a joint that keeps failing the gauge check, joints you cannot reach, and any work where local rules require a permit or inspection.
Repeated gauge failures are the first signal. If a joint fails the GO/NO-GO check, you can redo it, but if new joints still fail after you have adjusted or replaced the crimp tool, stop. A fresh tool that still produces failing crimps points to a problem you should not keep testing on your own. A plumber can check the tool, the fittings, and the tubing and find the cause.
Hidden or inaccessible joints deserve extra caution. A joint behind a wall, under a floor, or inside a cabinet cannot be checked visually or re-crimped easily, and an improper crimp may not leak at first but can leak later. If a fitting sits where you cannot see or reach it, call a professional before closing the wall or floor.
Permit and inspection rules vary by location. Whether PEX work needs a permit, who may perform it, and whether an inspection is required are set by the local authority having jurisdiction, so confirm these before starting. A licensed plumber usually knows the local requirements and can handle the paperwork.