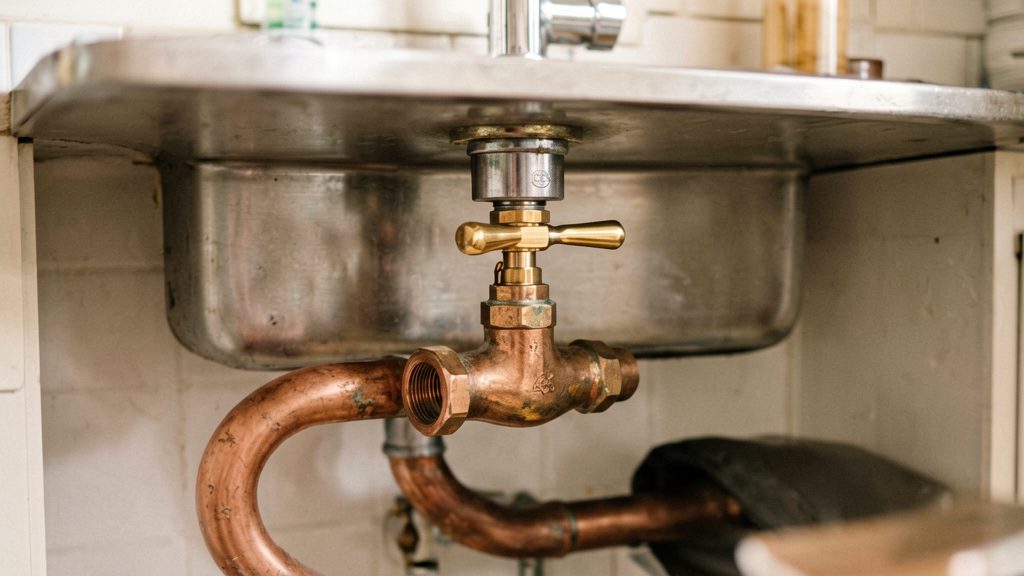
Is your tap a compression tap?
A compression tap has two separate handles, one for hot and one for cold. Each handle drives a compression stem, and the water is held back by a small rubber washer that tightens against the valve seat, according to Bob Vila (undated). Identifying this design before you buy parts matters, because a washer that does not match the stem will not seal.
Recognising the handles and stem
- Check for two handles, each marked hot or cold. A single lever controlling both hot and cold water is not a compression design.
- Gently pry off the decorative cover and remove the handle. A compression tap shows a hex retaining nut around the stem, and a screw at the bottom of the stem holds the washer.
- Each handle should move a stem up and down as you turn it. The handle screw and hex nut can be seized by mineral buildup, so do not force them.
Telling compression taps from cartridge and ceramic taps
The sources used for this section do not describe cartridge or ceramic internals. If the cover reveals no hex nut and no washer screw at the bottom of a stem, the tap is probably a different design, and the washer method below will not apply. Check the manufacturer’s instructions for the model, or look up the model number on the manufacturer’s website.
Matching drip symptoms to a washer design
- Dripping from the spout with the handle closed points to a worn washer on that side, since the washer is the part that seals against the seat.
- Dripping around the base of the handle may point to a worn stem O-ring, which you check when the stem is out.
- Drip continues after a new washer may indicate a worn valve seat, which these sources do not describe. Check the manufacturer’s guidance before assuming the washer is at fault.
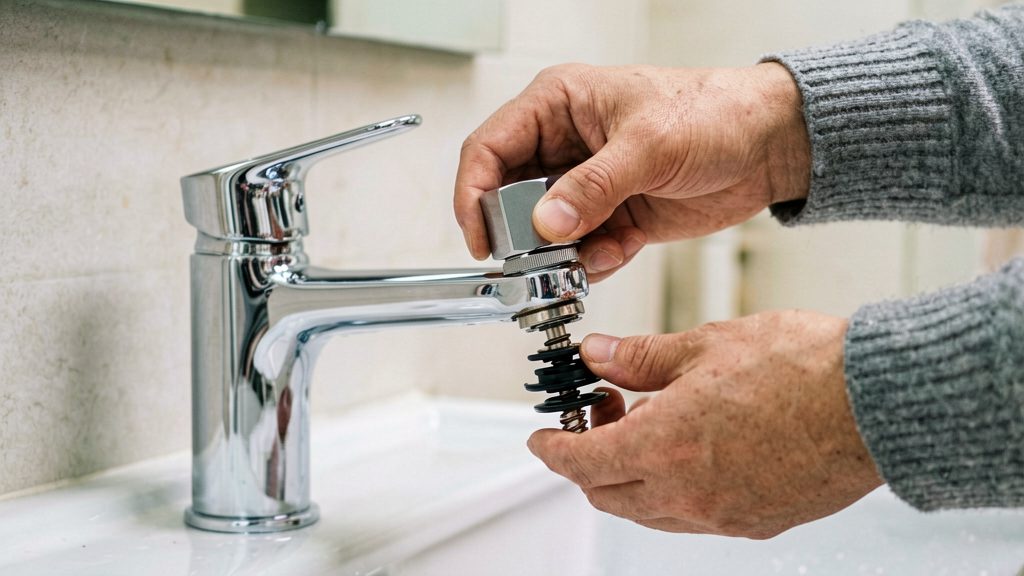
Tools and parts you need
Most of this repair needs a few hand tools and replacement parts. Gather them before you start so you are not stopped mid-job.
| Item | Why you need it |
|---|---|
| Flat-blade screwdriver | Pries off the decorative cover and removes the handle screw. Wrap the tip in tape or cloth to protect the finish, according to City of Calgary (2026). |
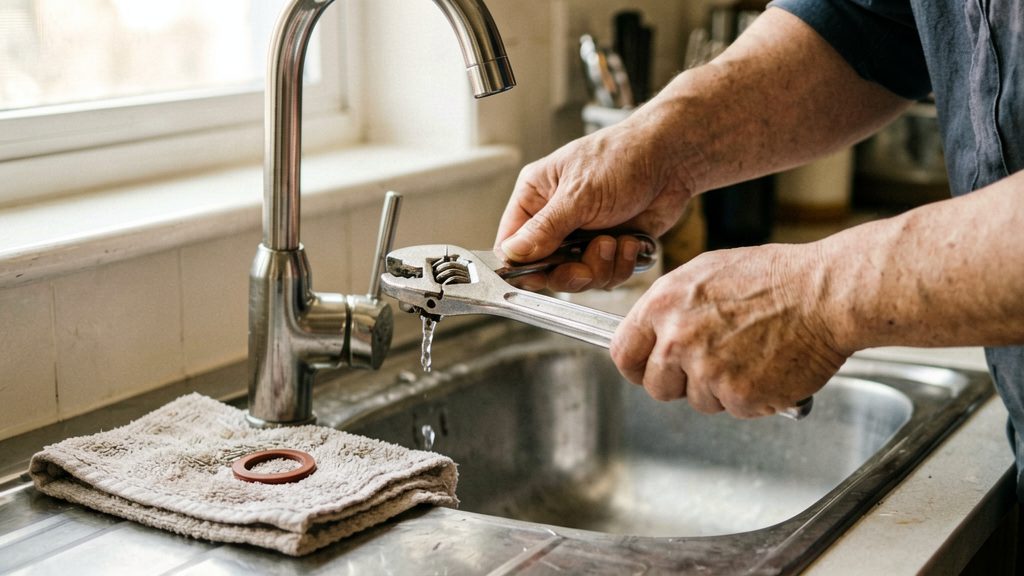
| Adjustable wrench | Loosens the hex retaining nut that holds the stem. Bob Vila advises a toothless wrench on the stem nut to avoid damaging the parts. |
| Replacement rubber washer | Must be the same size as the old washer, according to City of Calgary (2026). |
| Replacement O-ring | Must also be the same size. |
| Petroleum jelly or plumber’s grease | A lubricant to have ready before you begin. |
| Penetrating oil | Use it if the handle screw is seized, according to Bob Vila. |
| Handle puller (optional) | Helps with a stuck handle, according to City of Calgary (2026). |
You need two sets of washers and O-rings, one for the hot side and one for the cold side.
How do you shut off the water first?
Cut the water supply and drain the lines before you open the tap, so the pipes are not under pressure while you work. The City of Calgary (2026) recommends shutting off the supply, then opening the taps to drain the lines. The method depends on whether the fixture has its own shut-off valves.
Sinks with under-sink valves
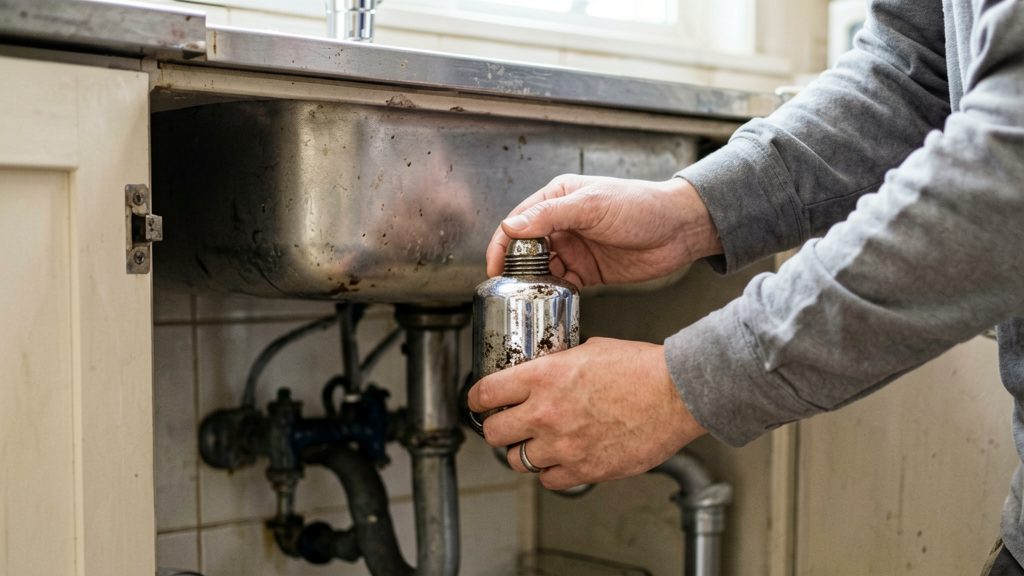
Most sinks have a shut-off valve on each supply line under the basin.
- Turn the hot and cold valves clockwise to close them, as Bob Vila describes.
-
- Open the faucet to release the residual water left in the lines, on both the hot and cold sides.
- Cover the drain with a towel or stopper so that small parts such as screws or washers cannot fall in.
Locating the main house shut-off valve
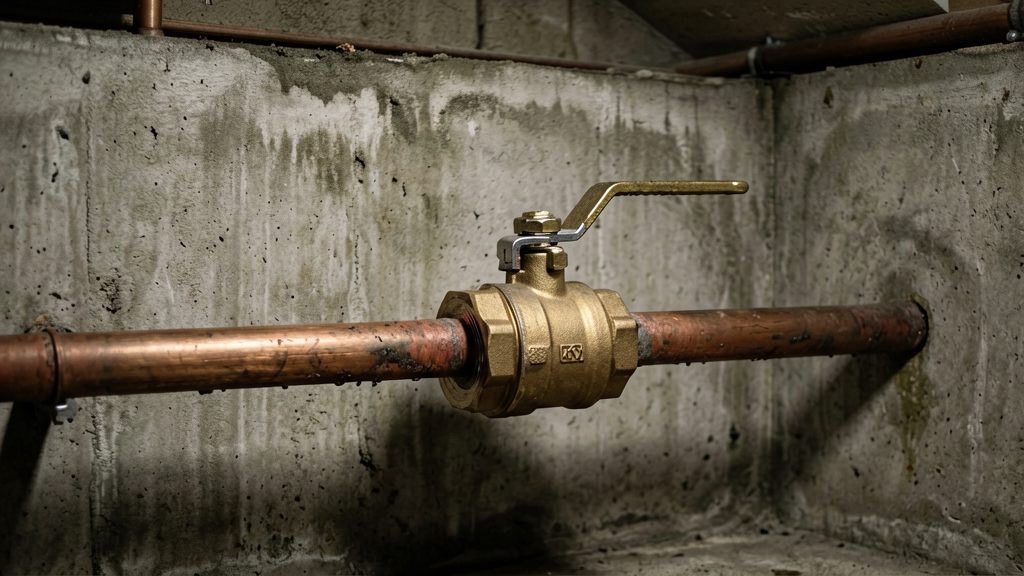
The main house shut-off valve is where the water supply enters the building. In many homes it is in a basement, utility room or near the water meter. If you cannot find it, check the home’s plans or ask your landlord if you rent. Turn the valve off, then open a tap elsewhere in the house to confirm the flow has stopped. Most round-handle (gate) valves close clockwise. A lever handle (ball valve) is closed when it sits at a right angle to the pipe.
Tubs and showers without dedicated valves
Tubs and showers usually have no shut-off valves of their own. The City of Calgary (2026) advises turning off the main house valve first, then opening the handles to drain the pipes.
Remove the handle and stem
Once the water is off and the lines are drained (see the shut-off section above), you can start taking the tap apart.
Remove the cover, handle and stem
- Wrap the tip of a flat-blade screwdriver in tape or cloth, then pry off the decorative cover. The tape protects the finish.
- Remove the handle screw, then lift off the handle.
- Loosen the hex retaining nut with an adjustable wrench. Bob Vila recommends a toothless wrench on the stem nut to avoid damaging the parts.
- Lift the stem out of the body. Lay the parts out in the order you removed them so reassembly is straightforward, as Bob Vila advises.
Handling a stuck handle
Do not force a stuck handle. Mineral buildup can make it hard to remove, and the handle could break, according to the City of Calgary (2026). If the handle screw is seized, apply penetrating oil and wait before trying again, as Bob Vila suggests. A handle puller is optional for a stuck handle, but it should be used gently.
If the handle still will not release, the City of Calgary (2026) advises hiring a plumber if you are not comfortable continuing.
Replace the washer and O-ring
The stem washer is a small rubber disc at the bottom of the valve stem. It presses against the valve seat to stop water flowing through the tap. When it wears, water leaks past it, and the tap drips or runs. Replacing it means working on the stem once it is out of the valve body, swapping the washer, and checking the O-ring on the stem.
Remove the stem washer
With the stem out, remove the screw that holds the rubber washer at the bottom of the stem.
Fit a same-size washer
Take the old washer to a hardware store to get an exact match, according to Bob Vila. Fit the new washer and tighten its screw until it holds. Do not overtighten the screw or deform the washer, as either can prevent it from sealing properly.
Check the stem O-ring
Inspect the O-ring on the stem. If it is broken or worn, replace it with an O-ring of the same size.
Replace both hot and cold washers
A compression faucet has separate hot and cold handles, and each side holds back water with its own washer. Replace the washer on both sides, even if only one leaks. According to the City of Calgary (2026), the other side will likely start leaking soon.
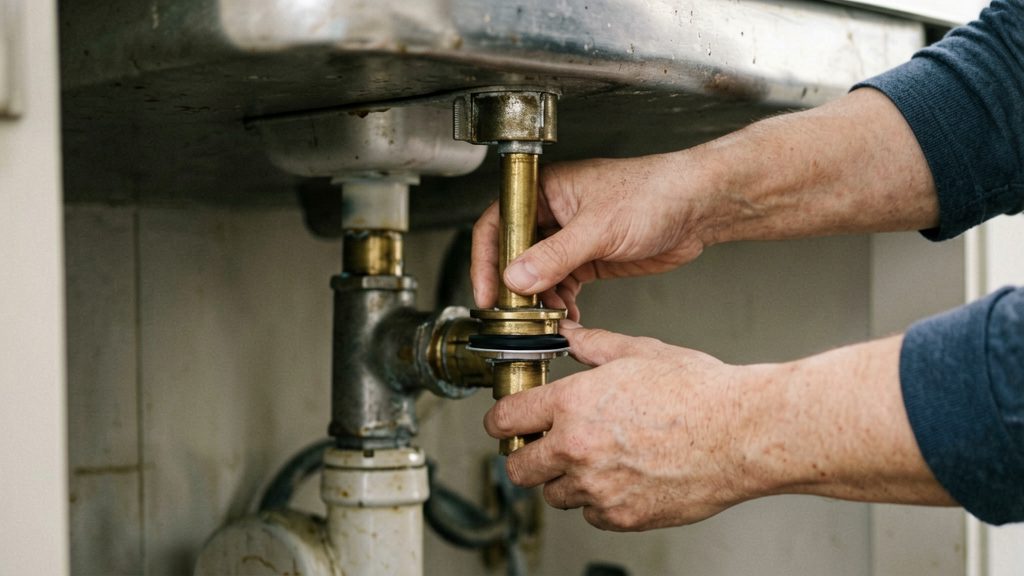
Reassemble and test for leaks
Reassembly is the reverse of removal. Clean the parts first, lubricate the threads, then restore the water slowly so you can see whether the repair holds.
Before reassembly, clean the valve seat and the stem. Remove any mineral deposits and corrosion from both, because a rough or fouled surface can stop the new washer from sealing against the seat. Wipe the parts clean and check that nothing is left in the body of the tap. Use a cloth rather than abrasive tools, which can damage the surfaces the washer needs to seal against.
Next, coat the stem threads with petroleum jelly or plumber’s grease. This keeps the threads moving smoothly when you tighten the hex retaining nut and makes the stem easier to remove next time. Then reverse the removal steps: lower the stem into the body, tighten the hex nut, refit the handle, replace the handle screw and snap the decorative cover back on. Confirm the new washer sits at the bottom of the stem, and tighten the screw that holds it only until it is snug. Do not overtighten it.
Restore the supply slowly. Under a sink, open the hot and cold shut-off valves gradually, anticlockwise, and let the air clear from the lines by running the faucet briefly. Then watch the spout and the base of the handle for drips, checking both the hot and cold sides.
What if the tap still drips?
If a compression tap keeps dripping after a new washer is fitted, check three things in order: the washer size, the worn valve seat, and the stem. Start with the washer because it is the cheapest to rule out. A washer that does not match will not seat properly against the valve seat, which is the surface it tightens against to hold back water.
Identifying a worn seat or stem
With the correct washer fitted, inspect the parts you removed. The seat is the fixed surface inside the valve body, and the washer presses against it. Look for pitting, grooves or a rough ring on that surface. The sources read do not describe specific visual signs of seat wear, so this is a judgement by eye. If the seat shows visible damage and the drip continues with a correctly sized new washer, the seat is the likely cause.
Seat replacement and its limits
A seat wrench is the tool used to remove a seat, and the City of Calgary (2026-11-04) covers seat replacement only for tub and shower faucets. There, you replace the seat washer or the whole seat if it looks worn. The sources read do not cover seat replacement on a sink compression tap, so do not assume a seat wrench will fit or that the seat can be removed the same way. Check the manufacturer’s instructions for your model, or contact a local plumbing service. Do not force a seat that will not turn, as parts can break (City of Calgary, 2026-11-04).
When should you call a plumber?
Call a licensed plumber when the repair goes beyond replacing a washer. The City of Calgary (2026) advises hiring a plumber if you are not comfortable with the repair. Three situations make that advice especially relevant.
- Discomfort with the repair or unfamiliar fittings. If you cannot identify the parts, are unsure how the stem and seat fit together, or cannot find a washer that matches the old one, stop and get help.
- Corroded threads that will not release safely. Mineral buildup can make parts hard to remove, and the City of Calgary (2026) warns that forcing a stuck part could break it. If threads or nuts do not turn freely with normal hand and wrench pressure, a plumber can remove them with less risk of damage to the tap body.
- Visible water damage or structural corrosion around the tap. Staining, soft or swollen material, or corroded metal at the tap base or the surrounding surface means the problem extends past the washer. Water that has reached the wall, floor or cabinet below the sink should be inspected by a professional, because the source and extent of the damage are hard to judge from the tap alone.