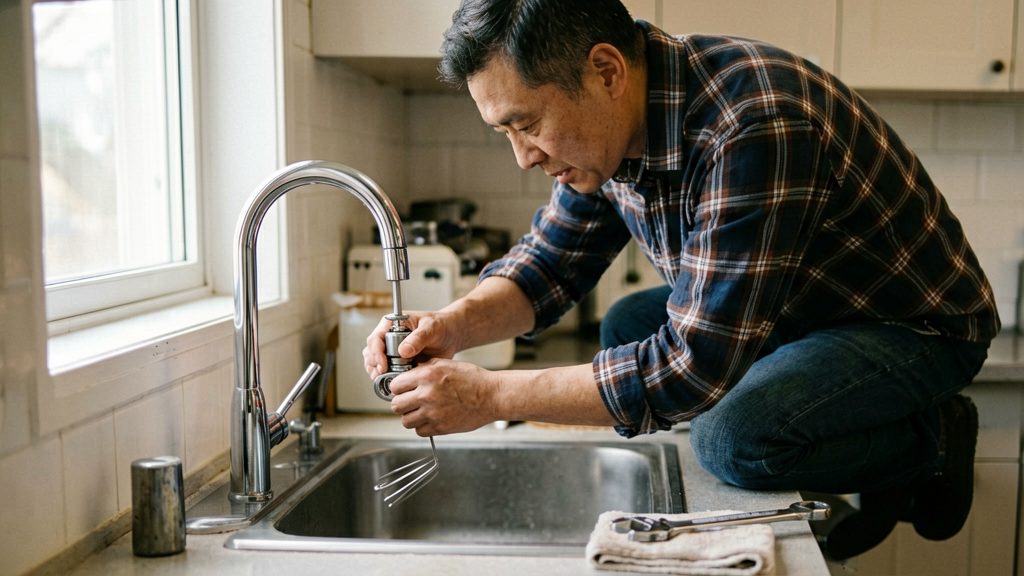
A tap that drips after a cartridge replacement usually has a fixable cause: debris, the wrong or badly seated cartridge, a worn seal, or a loose nut.
Why does a tap drip after a new cartridge?
Debris between the ceramic discs
According to Crosswater (manufacturer), a dripping tap usually means debris is trapped between the ceramic discs inside the cartridge. Because the discs cannot close fully when particles sit between them, the drip continues even with a new part. Tap Warehouse (retailer) notes that grit can also enter a new cartridge during installation, so the problem can come from the replacement itself rather than the old one.
Wrong cartridge size
Cartridges differ in size across models, so a mismatched cartridge can cause a persistent drip, according to Crosswater (manufacturer). Check the cartridge against the manufacturer’s spares information for your tap model before fitting it. If you no longer have the original part, look up the tap’s model name on the manufacturer’s website.
High water pressure
Tap Warehouse (retailer) states that high water pressure can also cause persistent dripping. This is a retailer’s statement, and no official pressure threshold was confirmed for this effect. If you suspect pressure is the cause, check the tap manufacturer’s pressure rating and ask your local water supplier for the pressure at your property.
The table below lists the causes and checks that manufacturer and retailer sources associate with a tap that keeps dripping after a cartridge replacement.
| Cause | Check or action | Source |
|---|---|---|
| Debris trapped between the ceramic discs | Confirm the cartridge sits properly in the body and is aligned correctly | Crosswater (UK manufacturer) |
| Cartridge size does not match the model | Confirm compatibility with the manufacturer’s spares information before buying | Crosswater (UK manufacturer) |
| Springs at the bottom of the cartridge bore left behind or displaced | Check that the springs are in place, then reseat the cartridge | Pfister Faucets Canada (manufacturer) |
| Grit entering the new cartridge during installation | Flush the supply and clean the cartridge | Tap Warehouse (UK retailer blog) |
| Hot and cold cartridges fitted in the wrong direction | Check the opening direction of each cartridge | Tap Warehouse (UK retailer blog) |
| Worn seal or O-ring | Check the seal; leaks around the handle or base point to this cause | Tap Warehouse (UK retailer blog) |
| Retaining nut loose or overtightened | Secure the nut without overtightening; tighten the top screw, retainer nut and dome cap where the model has them | Pfister Faucets Canada (manufacturer), Tap Warehouse (UK retailer blog) |
| Water under the sink not coming from the tap | Inspect the angle stops, supply lines and drain connections | Pfister Faucets Canada (manufacturer) |
| Worn, scratched or corroded valve seat (uncertain; Crosswater calls a scratched seat uncommon on ceramic taps) | Consider this cause if the drip persists after the correct cartridge is fitted | Crosswater (UK manufacturer) |
| High water pressure (uncertain): no Canadian pressure thresholds or official source verified | Treat as a possible cause only; check the manufacturer’s instructions for pressure guidance | Tap Warehouse (UK retailer blog, treated with caution) |
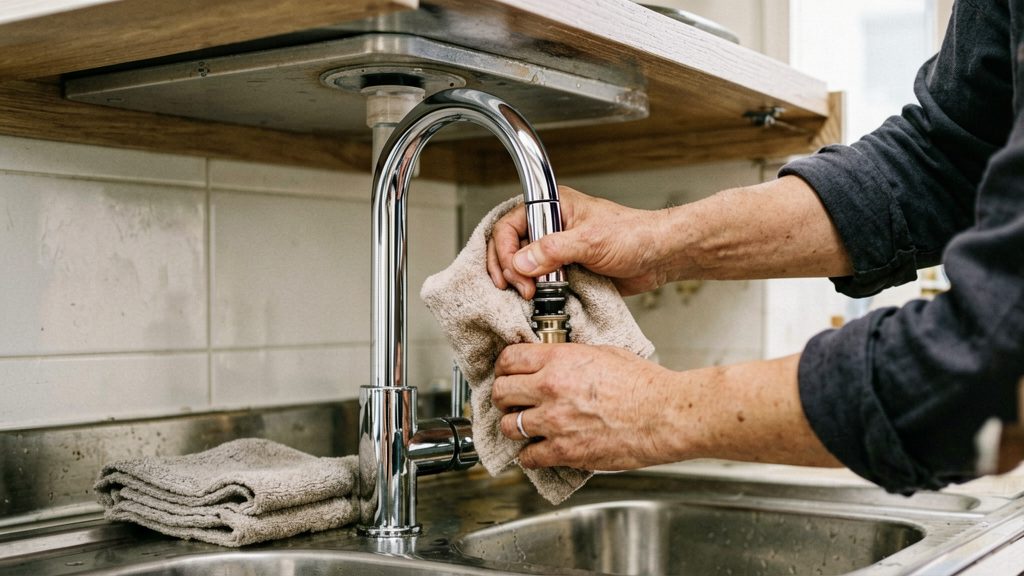
Shut off the water and reopen the tap
Close the isolation valves before you open the tap, so no water flows into the body while the cartridge is out. Opening the tap afterwards releases the water still trapped in the pipework and the body, so the cartridge comes out without a jet of water.
- Close the isolation valves under the sink. Turn them clockwise until they stop.
- Open the tap fully to let the remaining pressure drain. Leave it open while you work.
- Check that no water flows from the tap before you remove the cartridge or any nut.
Once the cartridge is refitted, restore the supply and test the repair:
- Turn the isolation valves back on slowly, then check for leaks around the valve connections.
- Run the tap for one minute with the handle open. According to Pfister Faucets Canada (manufacturer), this is the test step after a repair.
- Shut the tap and check for drips. Watch the spout for a few seconds, as a slow drip may take time to show.
Repeat the one-minute run if the tap still drips after the first test.
Is the cartridge seated and the right model?
Three checks confirm that the new cartridge is correct and sits properly: its size, its seating in the body, and the position of its springs and hot and cold orientation.
Confirm the cartridge size
Identify the tap’s brand and model from the tap itself or its packaging, and match the cartridge to that model.
Seat the cartridge fully
Push the cartridge down until it sits fully in the body, then check that it is aligned correctly. According to Pfister Faucets Canada (manufacturer), reseating the cartridge is the first fix when a tap still drips after a replacement. A cartridge that sits raised or at an angle is not fully in place, so recheck its position before reassembling the tap.
Check the springs and orientation
Check the springs at the bottom of the cartridge bore. They should not be left behind or displaced, according to Pfister Faucets Canada (manufacturer). Hot and cold cartridges may open in different directions, according to Tap Warehouse (UK retailer, specialist blog), so compare the orientation of the new cartridge with the old one before fitting it.
Clear debris and flush the line
Both steps are done with the cartridge out, so the supply pipe is cleared before the cartridge is rinsed and refitted.
Flush the supply
- Close the isolating valves under the sink (the angle stops).
- Remove the cartridge, following the steps for your model’s handle and cap.
- Cover the open tap body with a cloth and put a bucket underneath. Open one isolating valve only slightly for a second or two so a little water carries loose grit out, then close it again. Expect some splashing, and do not open the valve fully.
- Close the isolating valves again before you handle the cartridge.
Clean the cartridge
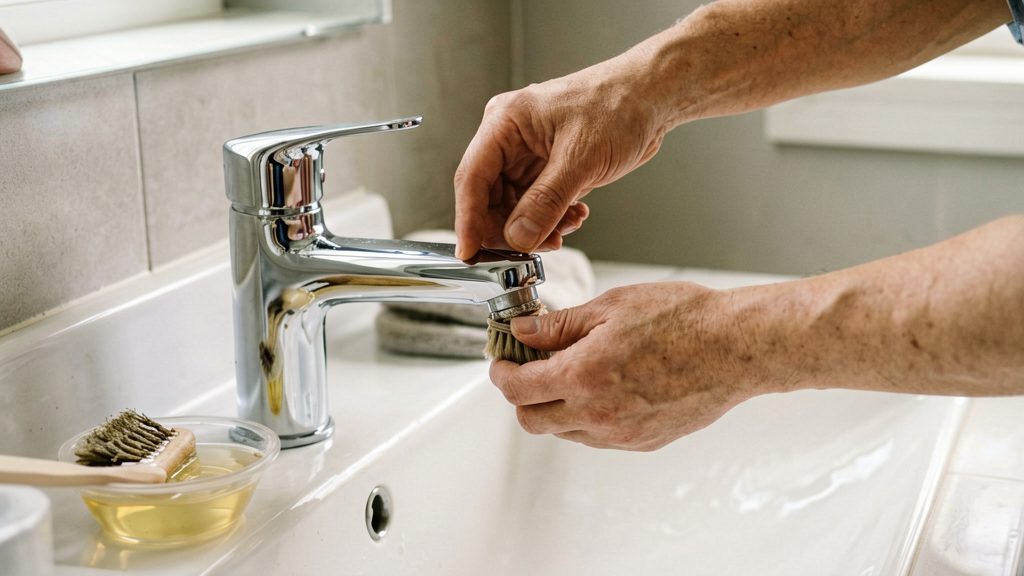
Rinse the cartridge under running water to flush grit out of its ports and bore. Check that the ports are clear before refitting. Refit only once the cartridge is clean and dry, and follow the manufacturer’s instructions for placing it in the body.
Check O-rings, seals and the retaining nut
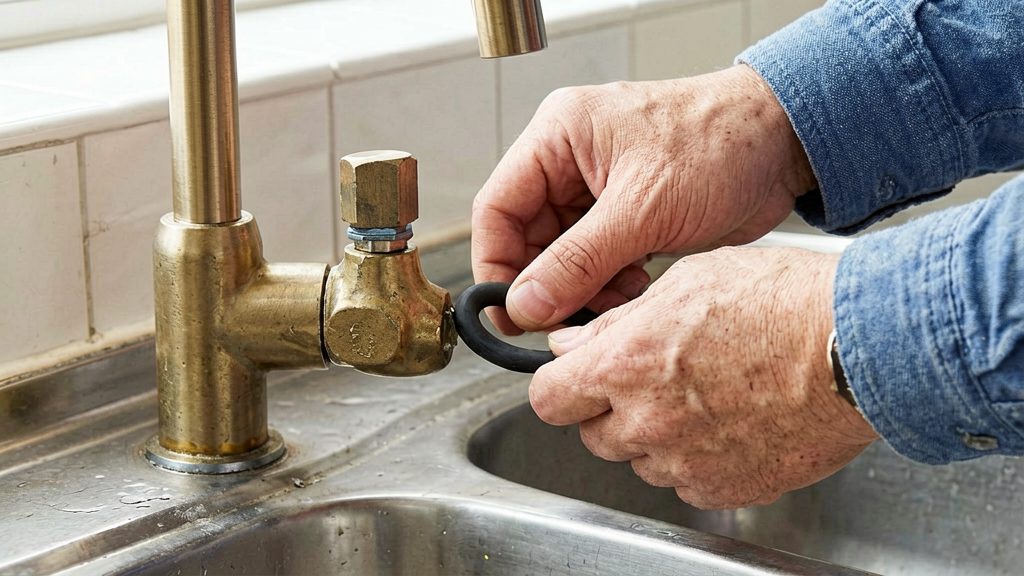
A leak that shows around the handle or the base of the tap, rather than from the spout, usually points to a worn O-ring or seal. According to Tap Warehouse, a worn or damaged seal or O-ring causes leaks around the handle or base. Check these parts before assuming the cartridge is at fault.
To find the leak point, dry the tap body and handle, turn the water on briefly, and watch where the water first appears. If it emerges at the base of the handle or the join with the body, the seal is the likely cause. Replace the O-rings or seals with parts that match your model.
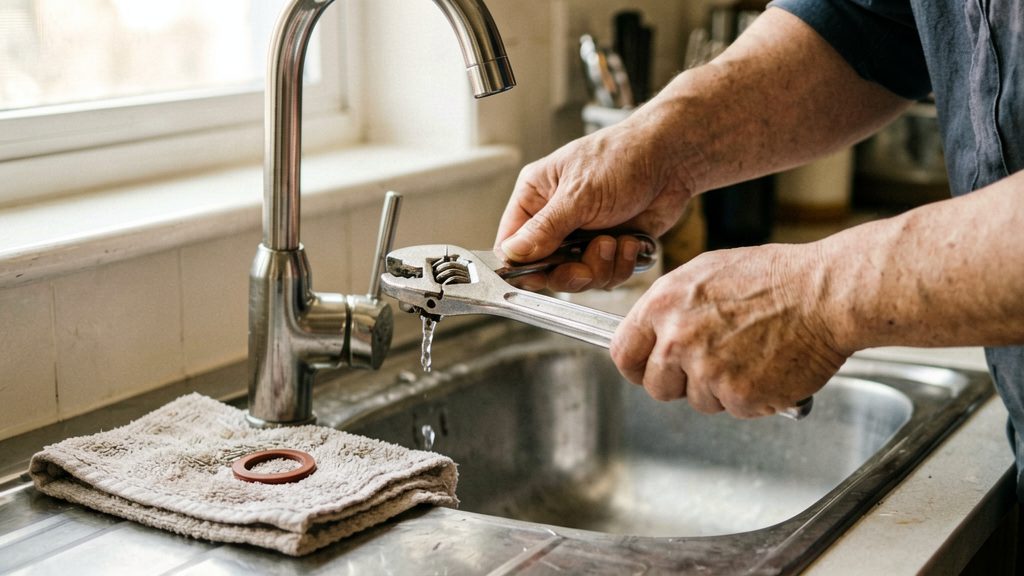
Next, check the retaining nut that holds the cartridge in place. Use a wrench or the correct tool to make it snug. Then check the fixings above it. According to Pfister Faucets Canada, tighten the top screw if the model has one, the retainer nut and the dome cap, and seat the handle firmly on the stem. A loose handle or dome cap can allow water to escape around the top of the tap even when the cartridge is seated correctly.
Is the leak really coming from the tap?
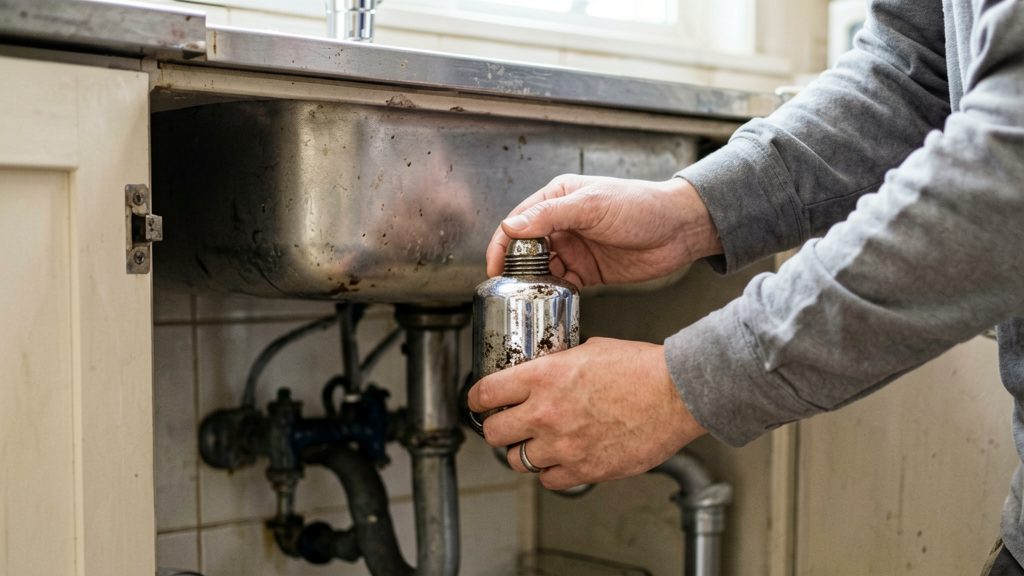
Water under the sink does not always come from the tap. Pfister Faucets Canada notes that it may come from the angle stops, the supply lines or the drain connections instead. Check which of these you are looking at before you open the cartridge.
A water drop that falls from the spout with the handle closed is a spout drip. Crosswater explains that a dripping tap usually means debris is trapped between the ceramic discs in the cartridge, so this points to the cartridge.
Water on the outside of the tap, on the floor of the cabinet or around a connection is a fitting leak. To tell them apart:
- Dry the cabinet floor, the bottom of the basin and the pipes under the sink with a cloth or paper towel.
- Close the handle fully and wait several minutes.
- Check whether water reappears at the outlet, or on the angle stops, supply lines or drain connections.
If the water collects on a connection and the spout stays dry, the cartridge is unlikely to be the source.
Could the valve seat or tap body be worn?
A worn valve seat can keep a tap dripping after the cartridge has been correctly reseated and matched to the tap. The seat is the surface inside the tap body that the cartridge closes against. If it is scratched, pitted or corroded, the cartridge cannot fully shut off the flow even when it is installed properly. According to Crosswater, a scratched seat is uncommon on ceramic taps, so check the cartridge and its alignment first.
How to inspect the seat and body
- Remove the handle, retainer nut and cartridge as the tap’s instructions describe.
- Look into the body where the cartridge sits. Check for scratches, pitting, or green or white mineral build-up on the seating surface.
- Clean the seat gently with a soft cloth. Mineral deposits can look like wear, so judge the surface only after cleaning.
- Refit the cartridge, restore the water and test the tap.
Checks before concluding the body is worn
- Cartridge orientation: hot and cold cartridges may open in different directions, so a cartridge fitted the wrong way can leak on one side.
If the seat is clean and undamaged, and the correct cartridge is fitted correctly, the tap body itself may be at fault. A damaged body can mean the tap needs replacing rather than repairing. Confirm this with the manufacturer’s spares information before buying a new tap.
When to call a licensed plumber
If the tap still drips after the cartridge is correctly seated, the springs and screws are checked, and the water has been tested, the limit of a DIY repair has been reached. At that point, contact the manufacturer or a licensed plumber, depending on where the fault lies.
Contact the manufacturer
If the leak persists after the test (turn the water back on, let it run for a minute, shut the faucet, then check for drips), Pfister Faucets Canada (manufacturer) advises contacting its support line at 1-800-PFAUCET. Have the tap model and the cartridge details to hand, since the support team will need them to identify the correct parts.
When a plumber is needed
Tap Warehouse (UK retailer, specialist blog) recommends calling a licensed plumber if:
- you cannot isolate the water supply to the tap
- the cartridge or retaining nut is stuck and will not move
- the pipework is damaged
- the tap still drips after the correct replacement part is fitted
If you suspect high supply pressure, a licensed plumber can measure it with a gauge. This is a precaution, since the link between pressure and dripping is not confirmed by an official source.