Limescale on a shower head builds slowly, but it is easy to remove once you know which products suit your finish.
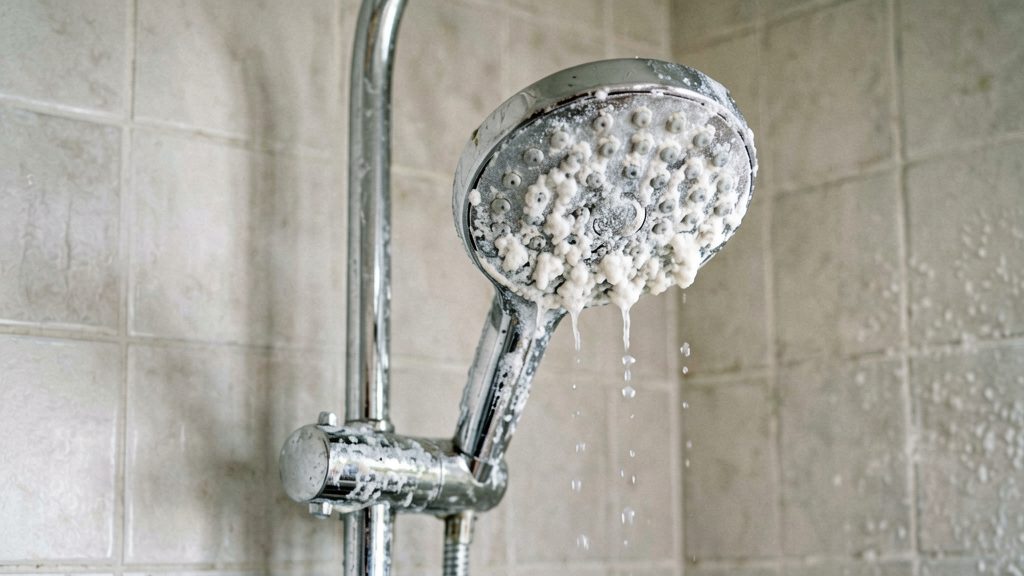
A shower head gets limescale because it is fed with hard water. Hard water carries dissolved calcium and magnesium, and these minerals come out of solution as the water warms and evaporates, then stick to the metal and plastic inside and on the face of the head. Over repeated use, the deposits narrow the outlets and distort the spray.
What causes limescale on a shower head?
Calcium and magnesium deposits from hard water
Groundwater picks up calcium and magnesium as it moves through rock and soil, and the minerals stay dissolved while the water is cold and moving. Once the water is heated, or slows down inside small internal channels, the minerals begin to settle. This is why scale builds up inside the head first, where warm water pauses before it reaches the outlets. The harder the supply, the more minerals each shower leaves behind.
Clogged spray holes restricting flow
Each outlet is a small opening, so even a thin layer of scale around its edge reduces the flow through it. Deposits rarely build up evenly, so some spray holes clog while others stay open. The result is a patchy spray, with some jets weaker or angled differently from the rest. Checking the outlets by eye shows which holes are narrowing.
Evaporation leaving a mineral crust on spray faces
Between showers, water sits on the face of the head and dries, leaving its dissolved minerals behind. Repeated wet and dry cycles turn these residues into a hard mineral crust across the spray face and around the holes. The crust appears as white or chalky marks, and it thickens over time because each new layer of residue bonds to the one beneath it.
Tools and materials you need
Gather these before you start, so you can work on the head without damaging the connection or the finish.
- Adjustable wrench, wrapped in cloth. Use it only if the head unscrews from the shower arm. Wrap the jaws in cloth or tape, and grip the connecting nut rather than the head body.
- Pin or needle. Use it to clear individual spray holes. Choose one that fits the hole without widening it.
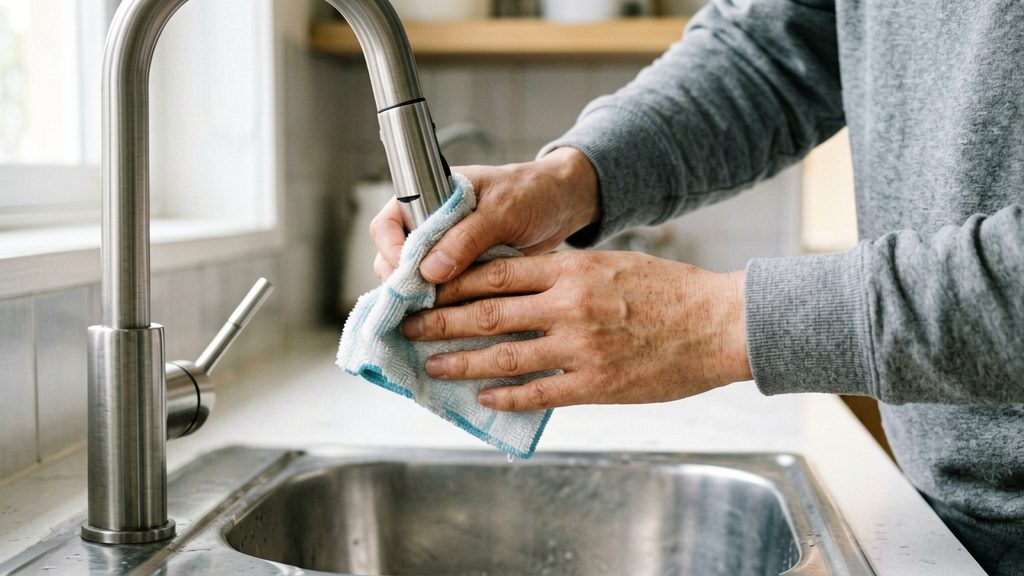
- Soft cloth. Use it to wipe the face and body of the head and to protect the finish when you hold or tighten parts. A clean, lint-free cloth lowers the risk of scratches.
How do I descale a shower head with vinegar?
To descale a removable shower head, use white distilled vinegar only. Malt and brown vinegars should not be used. Expert Reviews (2026) recommends this method:
- Unscrew the shower head from the arm by hand.
- Pour white distilled vinegar into a ziplock bag and submerge the head in it.
- Seal the bag around the head’s connection and fix it in place with an elastic band.
- Soak the head for 15 to 30 minutes.
- Remove the bag and rinse the head under running water.
- Refit the head on the arm and run the water briefly before showering.
Published guidance on soak time varies. Delta (2026) advises a different method for its shower heads that are not Touch-Clean: submerge the head in a 1:1 mix of white vinegar and water, check it from time to time, and scrub remaining buildup with a toothbrush. Delta does not state a soak duration for this method.
For Delta Touch-Clean shower heads, Delta (2026) advises wiping the face of the spray holes to loosen and break up deposits rather than soaking the head.
Cleaning a shower head that can’t be removed
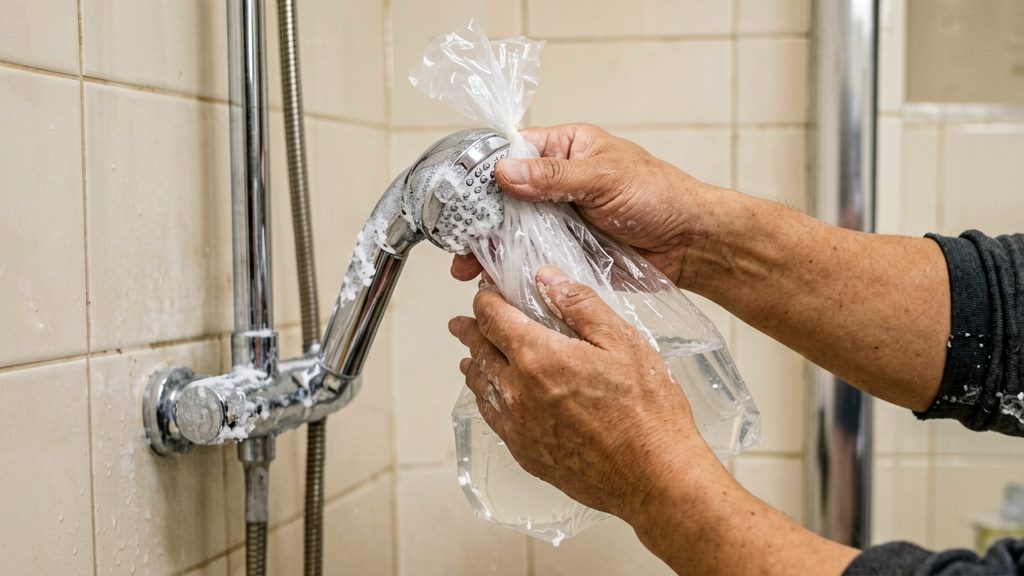
When a shower head is fixed to the arm and can’t be unscrewed, you can still descale it in place. The approach is to isolate the head in a vinegar solution and keep the spray holes free of deposits. Expert Reviews (2026) recommends white distilled vinegar.
Bagging the head to soak in place
- Prepare the solution: white distilled vinegar (Expert Reviews, 2026), or for Delta non-Touch-Clean heads a 1:1 mix of white vinegar and water (Delta Faucet, 2026).
- Fill a ziplock bag with the solution, enough to cover the spray face completely.
- Hold the bag over the head and secure it with an elastic band so the spray face stays submerged.
- Check on the head from time to time and stop once the deposits look loosened. Judge progress by the condition of the holes.
- Remove the bag and run the shower briefly to flush loosened material.
If buildup is thick, check the finish and the manufacturer’s instructions before extending the soak.
Wiping the spray-hole faces on Delta Touch-Clean heads
Delta Touch-Clean heads are designed to be wiped rather than soaked. Delta Faucet (2026) advises wiping the face of the spray holes to loosen and break up deposits. Check Delta’s instructions for your model before adding any cleaning product.
Scrubbing remaining deposits with a toothbrush
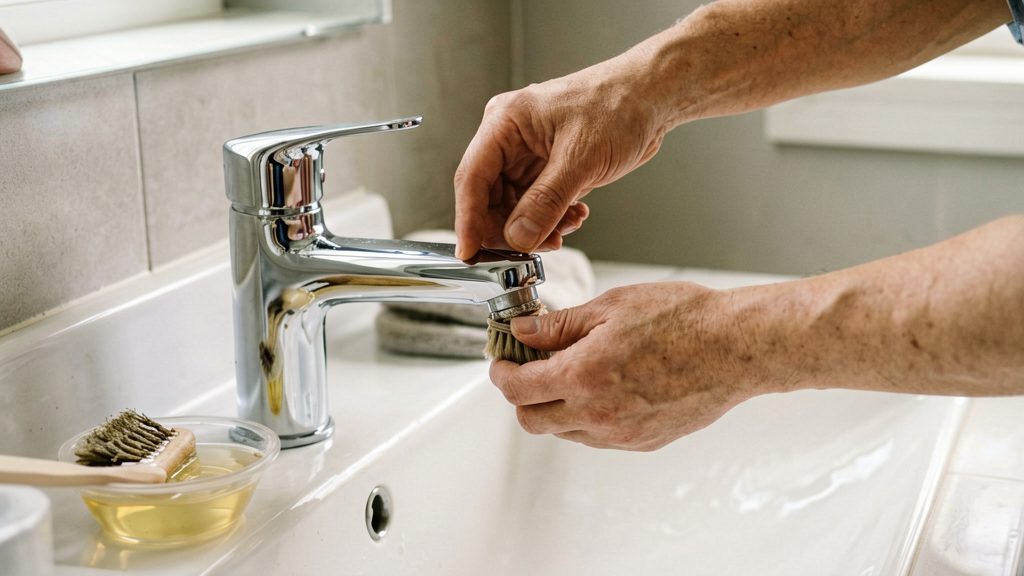
After soaking or wiping, use an old toothbrush to remove deposits still lodged in the spray holes. Delta Faucet (2026) recommends scrubbing remaining buildup with a toothbrush on non-Touch-Clean heads. Work gently around the holes so you don’t scratch the finish.
Which finishes need extra care?
Finish determines which descaling products are safe to use. According to Expert Reviews (2026), bleach must stay away from chrome, brass, nickel and matte coloured finishes.
Brass and black finishes
Brass can tolerate vinegar only with caution, so limit the soak and check the finish afterwards. Black finishes should not be exposed to vinegar at all. Delta states that its 1:1 vinegar soak does not harm the finish on its non-Touch-Clean shower heads (Delta Faucet, 2026). That statement covers Delta heads only and does not extend to brass or black finishes from other manufacturers.
Chrome, brass, nickel and matte finishes
Never use bleach on chrome, brass, nickel or matte coloured finishes (Expert Reviews, 2026). Black finishes are not named in this warning, so do not assume bleach is safe on them.
Other descaling options: citric acid and commercial cleaners
Citric acid is a workable alternative to vinegar. Dissolve one level teaspoon in a little cold water, submerge the shower head, and leave it for 15 to 45 minutes, according to Expert Reviews (2026).
Denture tablets and baking soda (bicarbonate of soda) are other options, but they need an overnight soak rather than a short one.
| Option | Method | Soak time |
|---|---|---|
| Citric acid | One level teaspoon in a little cold water | 15 to 45 minutes |
| Denture tablets or bicarbonate of soda | Soak in solution | Overnight |
| Commercial limescale remover | Follow the product label | Check the label |
If you use a commercial limescale remover, wear gloves and do not spray it overhead, which protects your eyes from splashes.
How often should I clean my shower head?
There is no single schedule that suits every home. The main factor is water hardness: the more dissolved minerals your supply carries, the faster limescale builds up in the spray holes. Use two checks instead of a fixed date: a look during your regular bathroom clean, and a descale whenever crust becomes visible.
Water hardness sets the pace
Homes on hard water will need to inspect the shower head more often than homes on soft water. If you are unsure how hard your supply is, your local water utility can tell you the level for your area.
Check the spray holes during routine cleaning
Each time you clean the bathroom, look closely at the face of the shower head. Pale, chalky deposits around the outlet holes are the early sign that limescale is forming. Checking at the same time as your other cleaning makes it easy to catch buildup before it hardens.
Descale when crust is visible
Once a visible crust forms on the face or around the holes, descale the head. Let the appearance of the deposit decide the timing rather than a calendar date, since buildup rate varies with the water supply and how often the shower is used.
When low pressure isn’t limescale
If weak flow appears suddenly, or affects several outlets, the cause may be upstream of the shower head. Check the valves and supply before you take the head apart.
Partially closed shut-off valves
A shut-off valve turned only part-way restricts flow to the fixture it serves. Check the handle position under the sink or behind the access panel, and open the valve fully. Gate-type valves can look open while still restricting flow, so turn the handle until it stops, then back it off slightly if you are unsure.
Pressure drop affecting the whole house
If several taps, toilets and appliances are weak at the same time, the problem is likely in the supply rather than the shower. Check whether neighbours have the same problem. If they do, contact your local water utility. If only your home is affected, a licensed plumber can check the main shut-off valve and the pressure at the supply.
Inlet screen and mixer cartridge
Many shower heads have a small mesh inlet screen where the head joins the arm or hose. Unscrew the head, remove the screen, and rinse it under running water to clear sediment before refitting. Debris can also lodge in the mixer cartridge that controls flow and temperature. Cartridge removal varies by make and model, so call a licensed plumber if you cannot identify the parts.