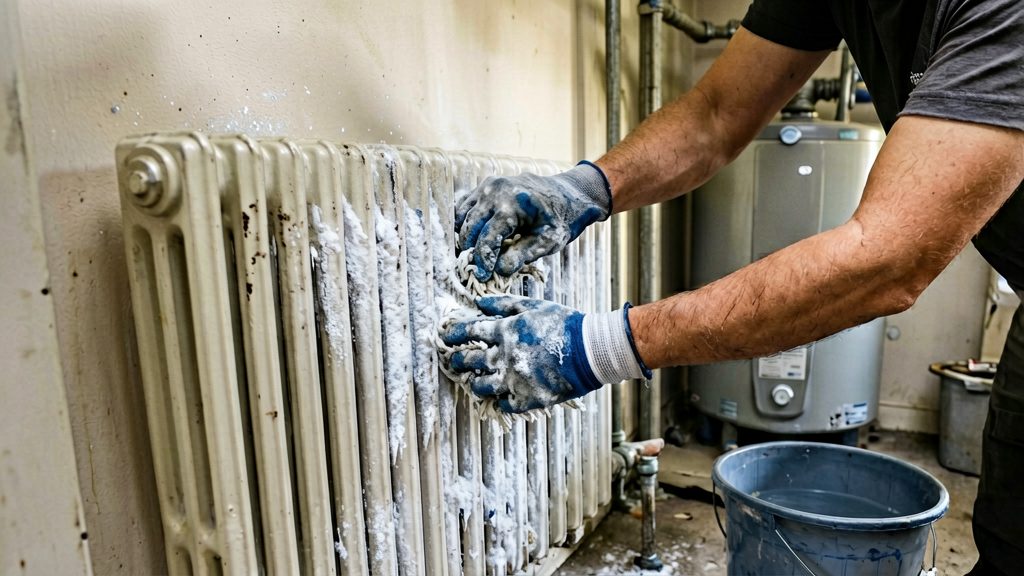
Scale and sediment form because water carries dissolved minerals and fine particles, and heating drives them out of solution. In an electric storage water heater, hard-water minerals such as calcium and magnesium harden into a crust on the immersion element, while heavier debris drops to the tank floor. This article covers storage water heaters, not electric kettles.
Why does scale build up on a water heater element?
Hard water contains dissolved calcium and magnesium. When the element heats the water around it, these minerals come out of solution and stick to the hottest metal surface. Over repeated heating cycles they form a hard, mineral layer bonded to the element, which is what is usually called scale.
How scale damages the element
Scale insulates the element from the water. According to Waiwela (manufacturer manual, hosted on ManualsLib, 2026), scale on a heating element reduces its heating ability, and heavy scale can make the element burn out. The source states only that scale reduces the element’s heating ability and that heavy scale can make it burn out.
How sediment settles in the tank
Sediment is looser debris carried in the water. It collects at the bottom of the tank instead of on the element. According to NB Power (2026), sediment settles at the bottom of the tank and makes the heater less efficient. Left unchecked, it can lead to premature replacement of the heater.
Scale and sediment are separate problems with different effects. Scale attacks the element, while sediment reduces the tank’s efficiency over time.
This table covers electric water heater tanks and their removable elements, not electric kettles.
| Task | Steps | Points to check first |
|---|---|---|
| Flush sediment from an electric tank | Turn off power at the circuit box. Drain the tank, which takes roughly 20 to 60 minutes. Stir sediment by turning the cold supply on and off 3 times and opening and closing the drain valve 3 times. Repeat until the hose runs clear. | Never run the heater with an empty tank. Never force the drain valve. If the valve is plugged or leaks, call a licensed plumber. Follow your manufacturer’s instructions. |
| Chemically descale a removed element | Soak the element in white vinegar or another descaling solution, then rinse thoroughly with fresh water. | Soak time and dilution are not confirmed. Follow the descaling product label. Confirm the product is suitable for heating elements before use. |
| Manually descale a removed element | Let the element dry. Scrub the residue with a non-metallic brush, such as a soft toothbrush, without damaging the surface. Reinstall the element and its gasket, then refill the tank before turning the power on. | The steps come from the manual for a Waiwela WM-2.5 mini-tank. Check the manual for your own tank model before removing the element. |
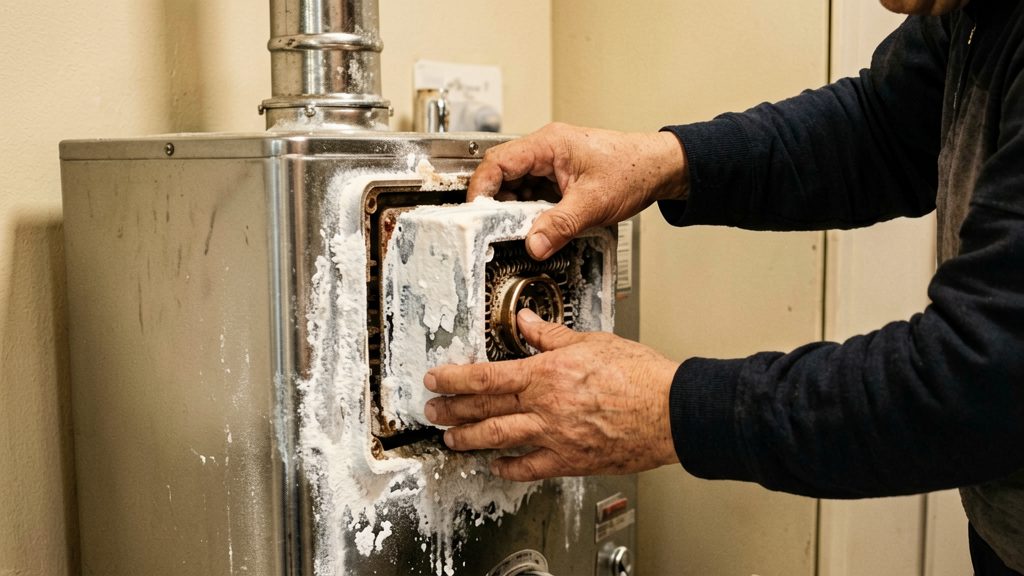
Is your element scaled or just the tank dirty?
The checks below apply to electric storage water heaters, the tank type with an immersed element.
Sediment and element scale both reduce performance, so their symptoms overlap. The difference is where the deposit sits.
Slow heating or longer recovery
Recovery time is how long the water takes to reheat after hot water is drawn. If the tank takes noticeably longer to reheat than it used to, or runs lukewarm sooner, a deposit is probably slowing heat transfer. Both sediment and scale do this, so this symptom alone does not tell you which one is present.
Rumbling or popping noises
Rumbling or popping while the heater runs is worth noting, but noise alone does not confirm either deposit. Use it only alongside the heating and output checks. Note when the noise occurs, for example during a heating cycle or only when the tank is refilling, since that pattern helps when you compare observations later.
Checking hot-water output before any work
Measure the current performance at the taps before you decide whether the element needs attention:
- Draw hot water at the tap closest to the heater and time how long it takes to become warm.
- Repeat the test at a second hot tap. If only one tap is affected, the cause is more likely in that tap or its pipework than in the heater.
- Repeat the draw on another day. A consistent result across several days is more reliable than a single test.
If output is weaker at every hot tap and recovery has slowed steadily, the heater is the likelier source. Confirm with the element inspection before concluding that the element is scaled.
Shut off power and water first
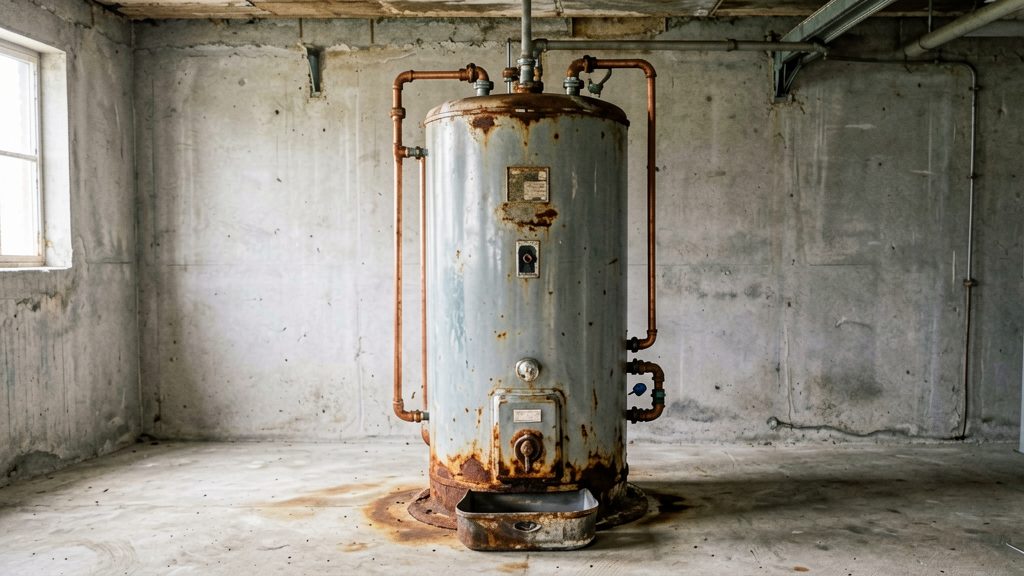
This section covers an electric storage water heater, the insulated tank that supplies hot water to a home. Before you touch the element, cut the electrical supply and stop the water feeding the tank.
-
Switch off the circuit breaker. Find the breaker in the electrical panel (breaker box) that feeds the water heater, often labelled “water heater” or “hot water”, and switch it off. According to MyHealth Alberta (Alberta Health Services) (2026), power should be turned off at the circuit box before flushing. If the breaker is unlabelled, identify it before you start. Do not rely on the heater’s thermostat or its own switch to isolate the element. Switching off the breaker is one check only: confirm the circuit is dead with a suitable voltage tester before touching any wiring, or have a licensed electrician do it.
-
Close the cold water supply valve. Find the cold inlet pipe at the top of the tank and turn its shut-off valve until it is fully closed. For the flush in the next section, you will reopen it briefly to stir the sediment, then close it again before any element work. This stops fresh water refilling the tank while you work on the element.
-
Keep the element dry and unpowered. An electric element is built to heat water, and it can be damaged if it is switched on with no water in the tank. Until the tank is full again, do not let the element receive power.
How to flush sediment from the tank
Flushing works by draining the tank through its drain valve and then stirring loose deposits so they wash out with the water.
- Attach a garden hose to the drain valve at the bottom of the tank and route the other end to a floor drain or outdoors.
- Open the drain valve by hand and let the tank empty. The water can be very hot, so let it cool first and follow your manufacturer’s instructions. According to MyHealth Alberta (Alberta Health Services) (2026), the tank drains in roughly 20 to 60 minutes.
- Once the tank is draining, turn the cold supply on and off 3 times. This is the step to cycle the cold supply, and it pushes water through the tank to lift loose material.
- Open and close the drain valve 3 times to flush the stirred sediment out through the hose.
- Repeat steps 3 and 4 until the water in the hose runs clear.
How do you descale a removed element with vinegar?
Soak the removed element in white vinegar, or in another descaling solution, then rinse it thoroughly with fresh water.
- Soak in white vinegar. Submerge the element in white vinegar so the scale is fully covered. The manual does not give a soak time or dilution, so use the time your manufacturer specifies or, if none is given, check the product’s own instructions.
- Use an alternative if needed. Another descaling solution can replace the vinegar. Follow its label for concentration, contact time and handling.
- Rinse thoroughly. Rinse the element thoroughly with fresh water.

Manual scrubbing of a removed element (removal steps not covered)
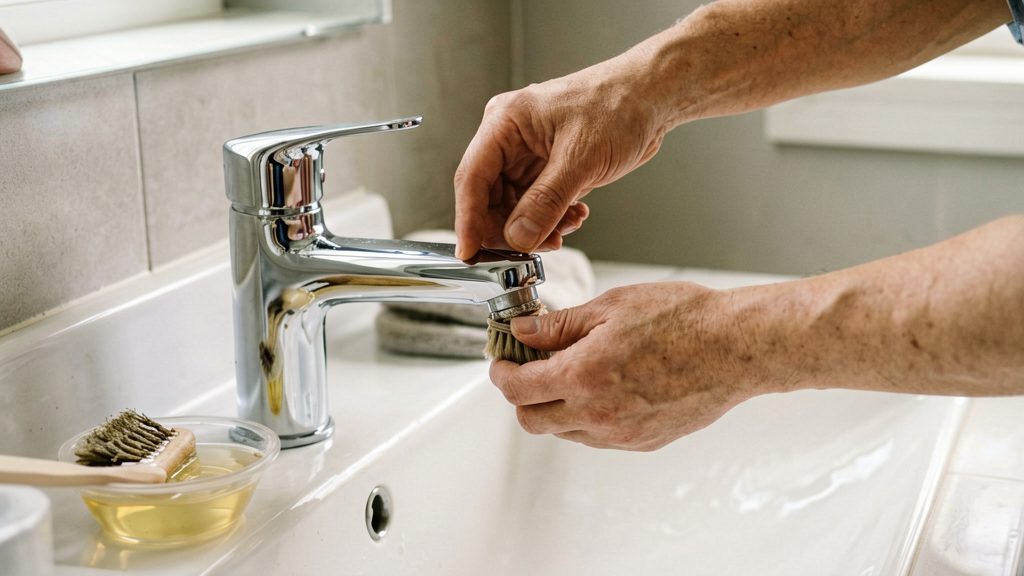
Manual scrubbing removes the loose residue that remains after draining, using a tool that will not mark the metal. The element must be fully dry before you scrub. According to Waiwela’s manual, hosted on ManualsLib (2026), the process is to let the element dry, scrub the residue off with a non-metallic brush such as a soft toothbrush, and avoid damaging the element surface.
Work in this order:
- Dry the element. Let the element dry, as the manufacturer’s manual instructs.
- Scrub with a non-metallic brush. Use a soft toothbrush or a similar soft-bristled brush. Work gently over the scale and take care not to damage the element surface.
- Protect the surface. Use only a non-metallic brush. Avoid steel wool, wire brushes and metal scrapers, which could damage the element surface.
- Reinstall the element and gasket. Check that the gasket sits flat and fully seated before you refit the element. Confirm your model’s instructions on whether the gasket should be reused or replaced.
- Refill before restoring power. Fill the tank completely before you turn the power back on.
The Waiwela manual covers a mini-tank model, not a typical 40 to 60 gallon tank. Check your own heater’s manual for the correct gasket, element access, and refilling steps.
When to call a licensed plumber or electrician
Call a licensed plumber when the drain valve is plugged or leaking, when the tank shows corrosion or leaks, or when you cannot identify the shutoff. Call a licensed electrician when a heating element or thermostat replacement involves electrical work.
Drain valve that is plugged or leaking
According to MyHealth Alberta (Alberta Health Services, 2026), a plugged or leaking drain valve is a job for a plumber.
Element or thermostat replacement that needs electrical work
Cleaning a removed element can be a homeowner task only if the manufacturer’s manual allows it and no wiring work is involved. Removing the element usually means disconnecting the heater’s wiring, which is a job for a licensed electrician. If the job means disconnecting, reconnecting or rerouting the heater’s wiring, hand it to a licensed electrician. If a cleaned element still fails to heat, a professional should check it before you buy a replacement.
The only manufacturer manual that describes element descaling is for a Waiwela mini-tank (WM-2.5), which is smaller than a typical household tank. Check the manual for your own model before following its steps.
Corrosion, leaks, or unclear shutoff
Stop work and call a plumber if the tank shows corrosion or leaks, or if you cannot confirm which valve stops the water supply to the heater. Do not attempt to repair the tank body yourself. Confirm the shutoff before you open any fitting, because an unexpected flow of hot water is the outcome you want to avoid.
How often should you descale in hard water?
The right descaling interval depends on your local water hardness and on how much sediment your tank collects. There is no single fixed schedule that applies to every home, so the practical approach is to base the rhythm on what you observe and on the manufacturer’s manual for your specific unit. The sources available for this article do not give a frequency in days, months or years, so this section does not invent one.
Set the interval from water hardness and sediment
Harder water deposits more scale on the element and more sediment at the bottom of the tank, so it calls for more frequent checks. According to NB Power (2026), sediment left unchecked can lead to premature replacement of the heater. Ask your local water utility or check your water supply report for the hardness of your area, then check the tank more often where hardness is higher.
Match the schedule to the manufacturer’s manual
Follow the manufacturer’s instructions if you have them, since they cover the drain procedure and the element for your model. If the manual gives a maintenance interval, use it as the baseline and adjust it based on what you observe. If you no longer have the manual, look up the model number on the rating plate and contact the manufacturer.
Log each descale to track element condition
Keep a short record of each flush or element inspection: the date, the water condition at the drain (clear or sandy), and any change in heating time or noise. Over several cycles, this shows whether the interval is too long. A falling heating performance between checks is a signal to inspect the element sooner.