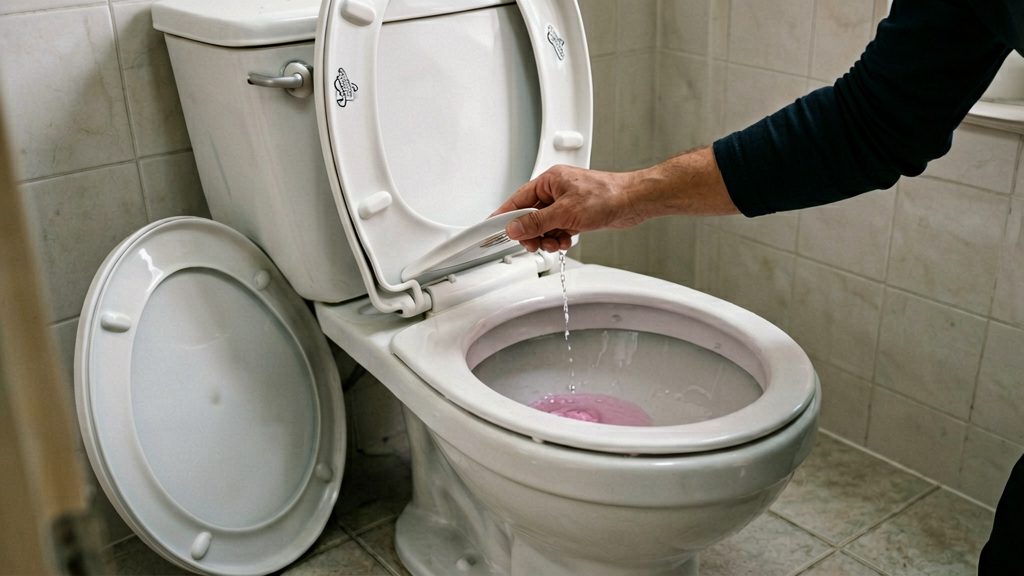
Why is my toilet tank still running?
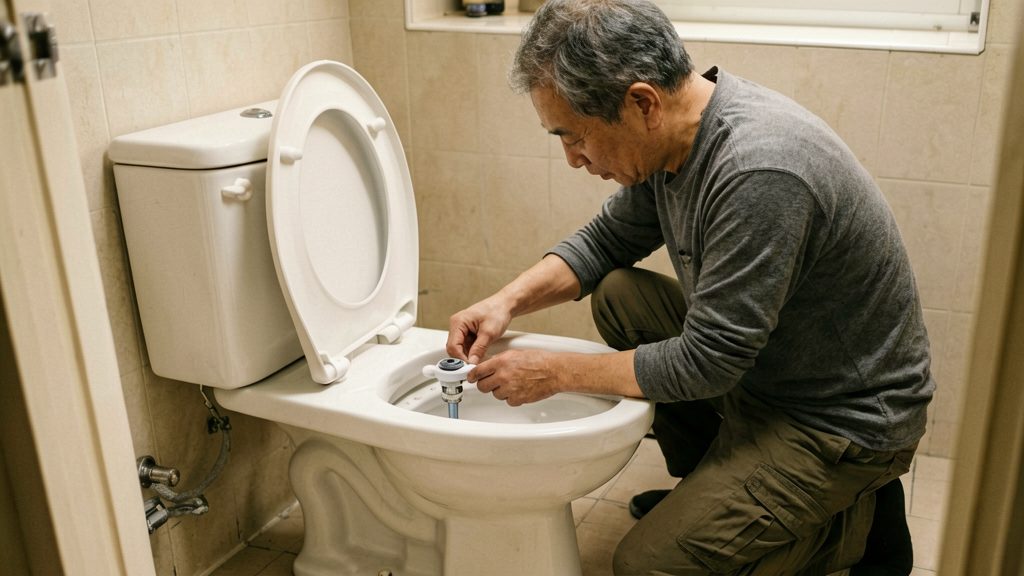
Korky (2026) lists three common causes of a tank that keeps refilling and overflowing. Each one either lets water leak from the tank into the bowl or stops the fill valve from shutting off once the tank is full.
-
Worn flapper or flush valve seal. This is the most common cause, according to Korky (2026). When the rubber flapper no longer seals the drain opening, water drains from the tank, and the fill valve keeps refilling it. The flapper chain also matters. Leave only 1 to 2 links of slack, because extra slack can catch in the drain opening or hold the flapper open (Korky, 2026).
-
Float set too high. If the float arm holds the fill valve open past the correct level, water runs over the top of the overflow tube and down into the bowl. The tank appears to refill constantly and spill.
-
Fill valve that won’t shut off. If the flapper seals but water keeps running after the tank is full, the fill valve may be stuck, clogged, or failing (Korky, 2026).
How to confirm the fill valve is the problem
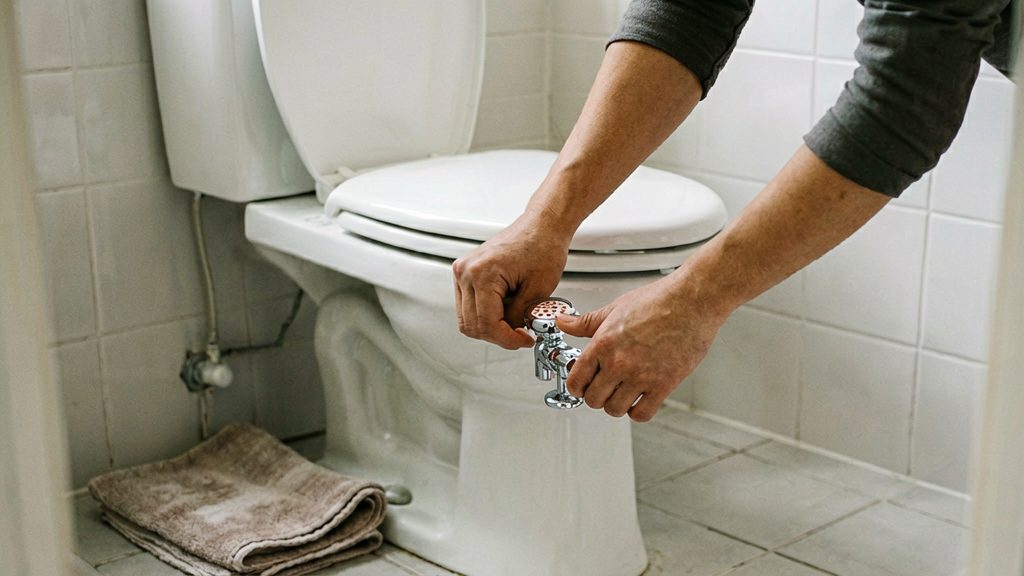
A level test shows whether water is escaping through the flush valve or whether the fill valve is failing to shut off. Run it once the tank has refilled and the bowl has stopped filling.
- Flush the toilet, then wait until the tank refills completely and the fill valve shuts off.
- Mark the water level on the inside wall of the tank with a pencil or a strip of painter’s tape. Don’t flush during the test.
- Close the supply valve to the toilet, so no water can enter the tank.
- Wait at least 25 minutes, then check the level against your mark. Korky (2026) recommends this interval.
Read the result as follows:
| Water level after 25 minutes | What it means |
|---|---|
| Dropped below the mark | A part in the tank is leaking, most often the flapper or flush valve seal. Korky (2026) identifies a worn flapper or seal as the most common cause of a running toilet. |
| Still at the mark | The tank isn’t leaking, so the water is probably coming from the fill valve. |
If the level holds steady, reopen the supply valve and watch the tank. When the flapper is sealing, but water keeps running after the tank is full, the stuck fill valve is the likely cause.
Shut off the water first
Close the supply valve under the toilet before you adjust, inspect or replace any part in the tank. This is the small valve on the wall or floor behind the toilet, with a braided or plastic line running from it to the bottom of the tank. Turn the handle clockwise until it stops. Family Handyman (2026) recommends this step before replacing parts.
Some supply valves are old and leak around the stem or handle. If this one leaks, shut off the main valve instead, which stops water to the whole home. Check the leak with the supply valve closed: if the valve is the source, water will keep dripping from it even when the toilet is not in use.
Once the water is off, the tank stops refilling, so the fill valve and flapper can be handled safely. If you cannot find the main valve, or it does not fully close, call a licensed plumber rather than forcing it.
How do I adjust the float and water level?
The float sets the height where the fill valve shuts off. If it’s too high, water spills into the overflow tube and keeps running. According to Family Handyman (2026), the tank should stop filling about ½ to 1 inch below the top of the overflow pipe, which is roughly 1.3 to 2.5 cm.
To check the level, look into the tank after a refill and compare the waterline with the top rim of the overflow tube. The water should sit below that rim by the amount above, not at it or over it. A small mark on the inside of the tank, made with a marker or a strip of tape at the target height, makes this easier to judge.
To lower the water level:
- Identify the adjustment. Most fill valves have a screw on the top of the valve body or a clip on the float arm. The valve’s label or the manufacturer’s instructions show which one applies.
- Make a small change. Turn the screw a quarter turn, or move the clip slightly, to lower the float’s shut-off point. Avoid large changes, since the level can shift quickly.
- Retest by flushing. Flush, let the tank refill fully, and check whether the water stops at the target height below the overflow rim.
- Repeat only if needed. If the level is still above the target, make another small adjustment and flush again. If it stops in the right place but the tank still runs, the cause lies elsewhere in the tank.
Clean or service the fill valve
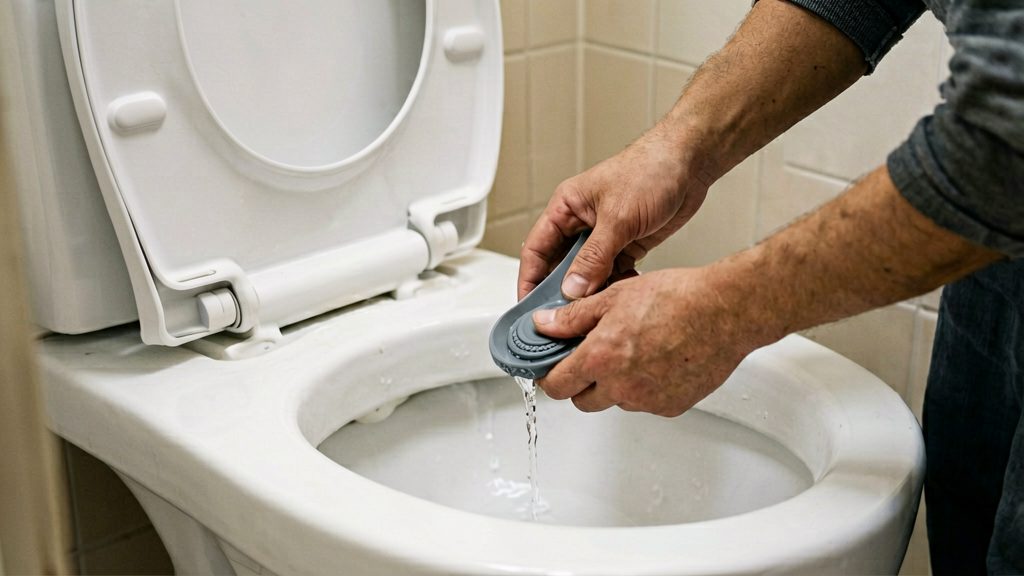
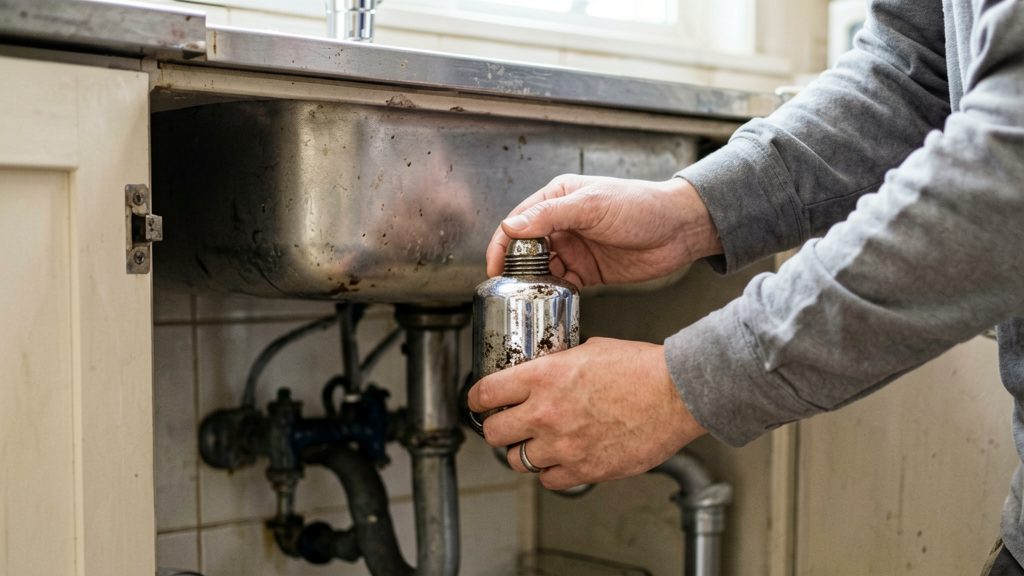
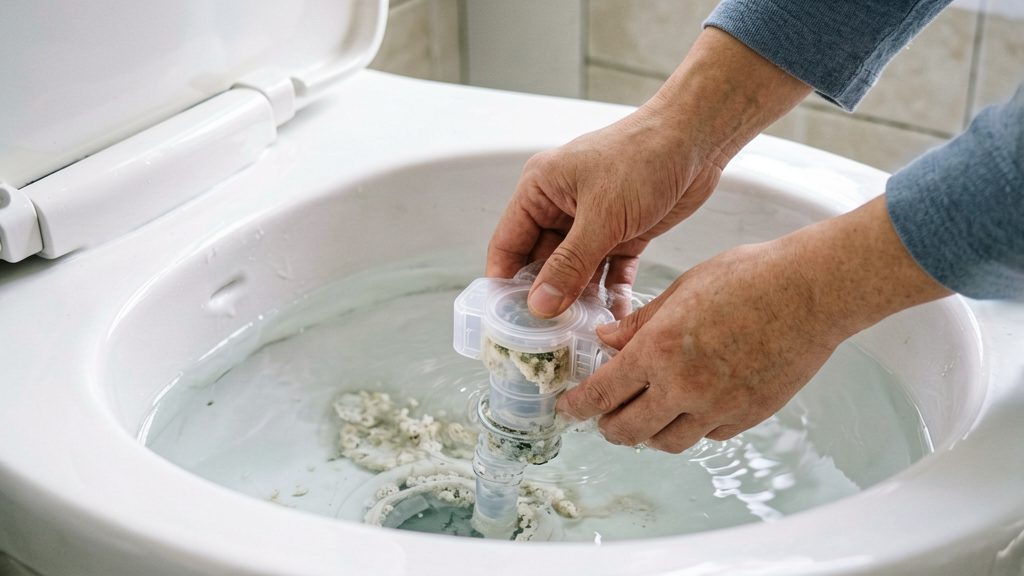
Korky fill valves can be taken apart and serviced, so a valve that won’t shut off may be fixed without buying a new one.
Confirm the valve is a Korky
Look for the Korky name printed or moulded on the valve body. If you can’t see it, check the packaging or any paperwork from the original installation. If the brand still isn’t clear, don’t attempt a repair. Replace the valve instead, or ask a plumbing supplier to identify it from a photo.
Take the valve apart
The reference for disassembly is Korky’s own instructions for your model, since parts and fasteners differ between designs. Work in this order:
- Lay the parts out in the order you removed them. Photographing each step helps with reassembly.
- Keep small parts, such as washers and seals, together so none are lost.
Clean debris and check wear
Rinse the internal parts in clean water and remove any grit or mineral deposits. Check the seals and washers for cracks, flattening or tears. Worn seals can keep the valve from closing fully even after cleaning, so replace any that look damaged.
When to replace the fill valve
Replace the whole fill valve when it is not a Korky unit and water keeps flowing after the tank is full.
Replacing the whole valve on a non-Korky brand
- Close the supply valve under the toilet, then flush the toilet and sponge out the remaining water in the tank.
- Disconnect the supply line from the fill valve.
- Unscrew the locknut under the tank that holds the old valve.
- Lift the old valve out through the tank hole and fit the new one in its place.
- Tighten the locknut a half turn past hand tight.
- Reattach the fill tube and the flapper chain.
- Turn the water on and test-flush (Family Handyman, 2026).
Cost and time for a beginner
For a first-time DIYer, the job takes an hour or less. A US source puts the cost under $20 in USD, but a new fill valve may still be needed (Family Handyman, 2026). Because that price is in US dollars, compare it with current prices at a Canadian hardware store before you buy.
How much water does a running toilet waste?
A running toilet can be measured in litres, and the water meter gives the most reliable estimate. Read the meter during a period when no water is used, then read it again after the same period. The difference is the volume that leaked. You then convert that volume to a cost with your local water rate. City of Toronto (2026) gives up to about 20 cubic metres (20,000 L) a day as the upper figure for a leaky toilet, but a typical leak in your home may be far smaller, so use your own meter reading.
Reading the meter during no-use time
- Turn off every tap, shower, dishwasher, washing machine and outdoor hose. Check that nobody will run water during the test.
- Note the meter reading, including any dials or digits that show small volumes. Check which unit your meter reads in (most Canadian utilities use cubic metres). The unit is printed on the face or given in the utility’s documentation. If it is not cubic metres, ask your utility for the conversion.
- Wait a set period, ideally overnight, long enough for the reading to change if water is still moving.
- Read the meter again and record the new value.
If the reading has not changed, there is probably no continuous loss. If it has moved while nothing was in use, water is leaking somewhere in the system, and the toilet is a common source.
Calculating the loss from the meter change
Subtract the first reading from the second. Then convert the result to litres if your meter reads in another unit:
- Cubic metres to litres: multiply by 1,000.
- US gallons to litres: multiply by 3.785.
Divide the litres by the number of hours in your test period, then multiply by 24 to get an approximate daily loss. This assumes the leak rate stayed steady.
Converting volume to cost with your local rate
Find the per-cubic-metre charge on your water bill. Then use this formula:
Cost = (litres lost ÷ 1,000) × rate per cubic metre
For example, if you lost 500 litres in a day and your rate is R per cubic metre, the daily cost is (500 ÷ 1,000) × R. Replace R with the figure from your bill. Many bills also include fixed service charges, which do not change with leakage, so count only the volume-based part.
When to call a licensed plumber
Some fill valve problems go beyond a part swap. Call a licensed plumber when the fault lies in the building’s supply or when a repair has not worked.
- The main shutoff valve will not close. If the main shutoff valve cannot be fully closed, you cannot isolate the water safely for the repair. Stop and call a plumber rather than forcing the handle.
- A connection still leaks after replacement. If the supply line or locknut still drips after a new fill valve is installed, have a plumber check the fitting. Forcing a connection tighter is not a reliable fix.
- A leak is confirmed. The City of Toronto (2026) advises contacting a plumber if you find a leak.
- The valve brand or type is unknown. If you cannot identify the valve brand or type, a plumber can identify it and fit the correct replacement.
Rules on who may carry out plumbing work are set locally, and they vary by province and territory. This article does not set out the rules for your area. Before working on supply pipes or in a rental unit, check with your provincial or territorial authority or your municipality. Tenants should also check with the landlord before doing any work.