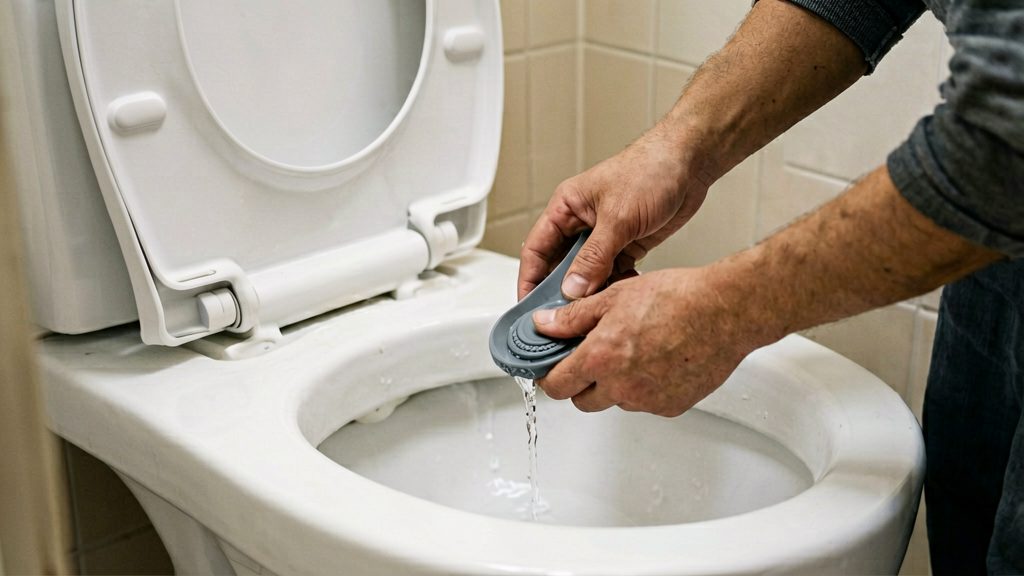
Why does my toilet tank refill every few minutes?
A toilet tank that refills every few minutes is losing water from the tank without a flush, usually past the flapper, the rubber seal at the bottom of the tank. According to City of Calgary (2026), a worn flapper is the most common cause of a leaky toilet. A refill that happens with no flush is a phantom refill. Telling it apart from a normal refill depends mainly on timing, and the sounds and handle behaviour below help narrow down what you are seeing.
Sounds to listen for
Hissing, gurgling, and periodic refill sounds all show that water is moving in the tank, but none of them identifies the faulty part on its own.
- Hissing that continues after the tank has finished filling suggests water is still passing through a valve or seal.
- Gurgling may point to water moving into the overflow tube, but it is not a reliable sign on its own. Calgary gives the correct level as about 1.5 to 2.5 cm below the top of the overflow tube, with the refill tube going no more than 5 cm into it (City of Calgary, 2026).
- Periodic refills are a refill that starts and stops at intervals, with silence in between. Note how often it happens and whether a flush preceded it.
Stuck flush handle and sticky lever
A handle that stays down, sticks, or returns slowly can hold the flapper partly open, so water keeps draining. The chain is the usual link. Manitoba advises leaving about ½ inch of slack in the chain. Too much chain can get caught under the flapper, and too little can stop it closing fully. Either can cause continuous running (Government of Manitoba, 2026). Calgary adds that a kinked chain can be replaced with a ball-type chain (City of Calgary, 2026).
With the lid off, press the handle by hand and watch whether the flapper lifts fully and drops back to seat. A flapper that stays partly lifted, or a chain that tangles under it, explains many repeat refills.
Phantom refill versus a normal refill
A normal refill follows a flush. The tank fills once, the fill valve shuts off at the set level, and the tank stays quiet until the next flush. A phantom refill happens with no flush since the last refill.
| Feature | Normal refill | Phantom refill |
|---|---|---|
| Trigger | A flush | No flush |
| Pattern | One refill per flush | Repeats without flushing |
| Stops at | The set water level | The set water level, then refills again |
To check, note the time of your last flush, then listen for an hour. Refills that repeat with no flush in between are phantom refills.
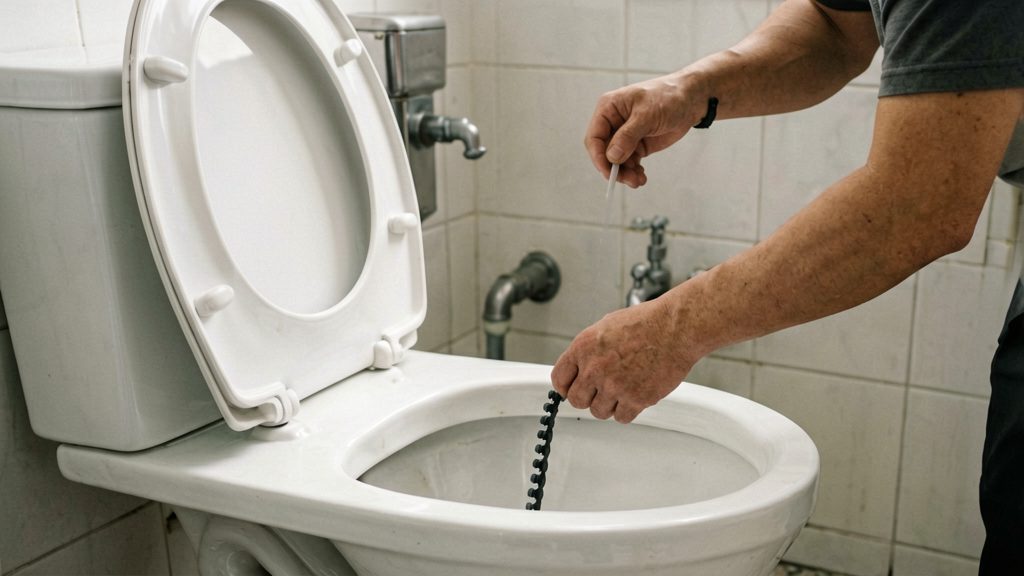
What a phantom refill means
A phantom refill happens when water leaks from the tank into the bowl without a flush. The float detects the falling level and opens the fill valve, so the tank refills, and the cycle repeats. The usual route is past the flapper, the rubber seal at the bottom of the tank that holds water back until you flush. When the flapper no longer seals, water trickles into the bowl, the level drops, and the tank refills. Because the refill is brief and often quiet, many people notice it only from a running sound or a higher water bill.
The waste adds up because the loss is continuous. It runs whenever the tank is full, day and night, so even a small leak can waste a large amount of water over weeks.
The toilet’s age also affects how much each flush costs. An older high-flow toilet can use 13-20 L per flush, compared with about 4.8 L for a WaterSense-labelled toilet (City of Calgary, 2026). A phantom refill does not involve a flush, but a leaking older toilet combines both problems: each flush is costly, and the leak adds water between flushes.
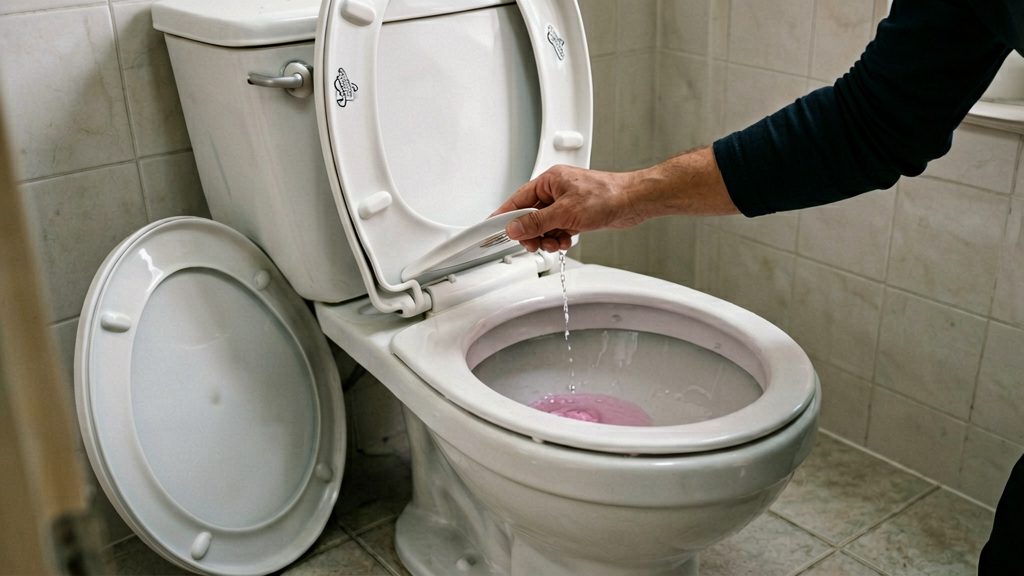
How to test for a leak with food colouring
Add several drops of food colouring to the tank, leave the toilet without flushing, and wait 15-20 minutes. According to City of Calgary (2026), coloured water in the bowl means the toilet is leaking. Manitoba’s guide describes a dye test of about 10 minutes, so the recommended wait varies between guides.
- Lift the tank lid and set it somewhere it won’t be knocked.
- Check that the bowl is empty of dye and the tank is at its normal water level.
- Add several drops of food colouring to the tank water. Don’t stir the water or touch the flapper.
- Leave the toilet alone for 15-20 minutes. Don’t flush, and don’t use the toilet during this time.
- Look into the bowl, ideally with a torch, and check for any colour in the water.
Reading the result
If the bowl shows coloured water, the tank is passing water into the bowl and the toilet is leaking. Identify the leak point before buying parts, and confirm the cause with the flapper check described elsewhere on this page.
If the water stays clear after the full wait, the flapper is probably not leaking. This single test does not rule out other causes, such as the fill valve or a water level set too high. A slow leak can also take longer to show, so repeat the test later, and check the water level and overflow tube if the tank keeps refilling.
Is the flapper the culprit?
The flapper is the rubber disc at the bottom of the tank that seals the flush valve opening between flushes. A worn flapper is the most common cause of a leaky toilet, according to the City of Calgary (2026), so it is the first part to inspect when water is escaping into the bowl.
Once a leak is confirmed, check the flapper for two wear signs:
- Rubber streaks on the flapper’s underside. Streaks on this surface mean the flapper needs replacing (City of Calgary, 2026).
- A hardened flapper that has stiffened and no longer seals the flush valve. This also means replacement (City of Calgary, 2026).
Check the chain and water level
The chain links the handle’s lift arm to the flapper. Its length decides whether the flapper can seal the flush valve, and the water level decides how far the tank refills.
Chain length, slack and position
With the lid off and the flapper closed, check the chain for three faults that stop the flapper sealing:
- Too long: excess chain can get caught under the flapper and hold it open, causing continuous running (Government of Manitoba, 2026).
- Too short: the chain can stop the flapper closing fully, which also causes continuous running (Government of Manitoba, 2026).
- Kinked or caught: a twisted or snagged chain can stop the flapper sealing (City of Calgary, 2026).
To correct the chain, unhook it from the lift arm, straighten any kinks, and free any part that has snagged on the tank or flapper. Reattach it at the point on the lift arm that gives the slack in the table below. Check the flapper seats before you flush again.
Water level and refill tube
Measure the water level with the tank at rest, after it has finished refilling. The refill tube feeds water into the overflow tube, so its height also matters.
| Check | Target |
|---|---|
| Chain slack with flapper closed | About ½ inch (roughly 1.3 cm) (Government of Manitoba, 2026) |
| Water level | About 1.5 to 2.5 cm below the top of the overflow tube (City of Calgary, 2026) |
| Refill tube | No more than 5 cm into the overflow tube (City of Calgary, 2026) |
If the water level or refill tube falls outside these targets, adjust the fill valve or refill tube following your toilet manufacturer’s instructions rather than changing the chain.
Could the fill valve be at fault?
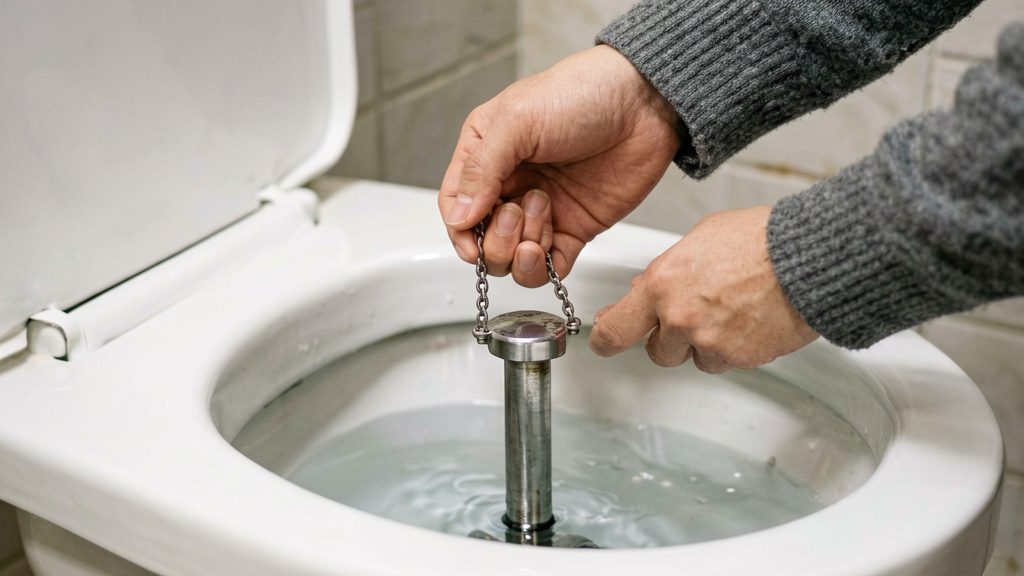
The fill valve controls water entering the tank and should shut off once the water reaches the correct height. If it does not shut off fully, water keeps flowing, spills down the overflow tube, and the tank appears to refill repeatedly. A fill valve that does not shut off can also keep water running, and it can look similar to a leaking flapper, so check the source before replacing parts. The Canadian guidance consulted does not cover fill valves, so follow your toilet manufacturer’s manual.
Signs the fill valve is not shutting off
- Water runs continuously down the overflow tube, even after the tank should be full.
- The refill sound continues long after the tank has stopped filling.
- The water level sits at or above the top of the overflow tube instead of below it.
Adjusting the float
Most fill valves use a float, either a ball or a cup, that rises with the water and signals the valve to close. Raising or lowering the float changes the height at which the valve shuts off. Adjustment methods vary by model, so check the manufacturer’s instructions for your valve first.
- Lift the tank lid and identify the float and its adjustment point. This is usually a screw on top of the valve, a clip on the float arm, or a sliding collar on a rod.
- Make a small adjustment, then let the tank fill.
- Check whether the water now stops below the top of the overflow tube, measured against the target height in the water level guidance.
- Repeat in small steps until the level is correct. Avoid large changes, as the float can overshoot and the valve can keep running.
If the float is cracked or waterlogged, or the valve still runs after adjustment, replacement is the next step. Follow the manufacturer’s manual for your model.
How to replace a flapper
Start by stopping the water. Close the shut-off valve at the base of the toilet, then flush once to empty the tank. The Government of Manitoba (2026) advises turning off the supply and flushing before replacing a flapper.
Choose the right flapper size
Flappers come in 2-inch and 3-inch sizes, and the flapper type is a seat disk, a tank ball or a standard rubber flapper. Toilet age and flush rating point to the size:
| Toilet | Typical flapper size |
|---|---|
| Made before 2005 | 2-inch |
| Made after 2005 | 3-inch |
| Rated 1.6 or 1.28 GPF (US gallons per flush, as marked on the toilet) | 3-inch |
These are typical sizes, so match the size of the flapper you are removing where possible. The GPF rating is often printed on the back of the tank or under the lid (Government of Manitoba, 2026).
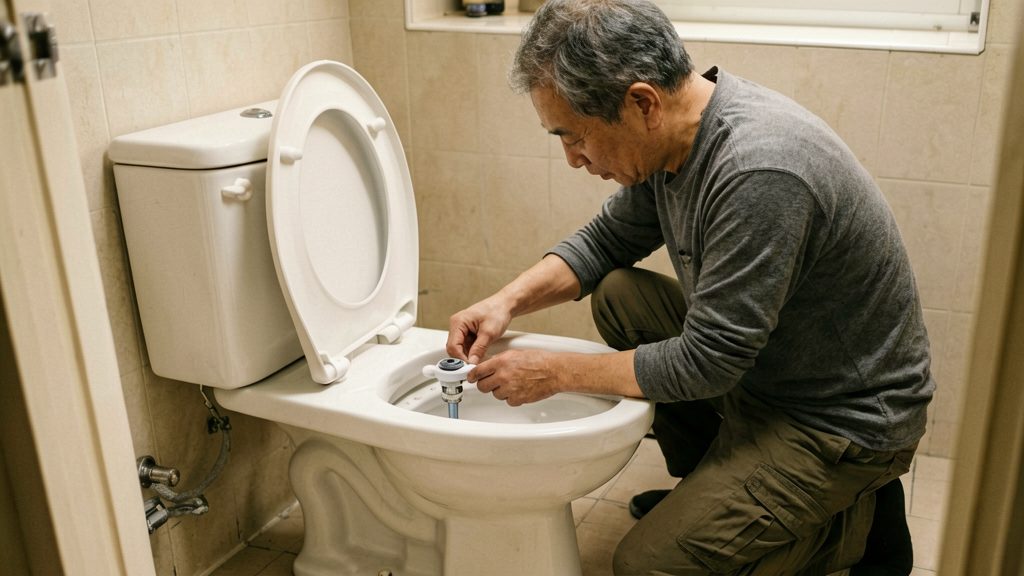
Replace the flapper
- Unhook the chain from the lift arm, then pull the flapper’s ears off the pegs at the base of the overflow tube.
- Fit the new flapper onto the same pegs so it sits flat over the flush valve opening.
- Reattach the chain to the lift arm and the flapper’s ring.
- Turn the water supply back on and let the tank refill.
Swap a kinked chain for a ball-type chain
A kinked chain can be replaced with a ball-type chain (City of Calgary, 2026). A ball-type chain is made of small beads that resist kinking, so it is less likely to catch under the flapper.
- Unhook the old chain from the flapper ring and the lift arm.
- Attach one end of the ball-type chain to the lift arm and the other to the flapper ring.
- Flush and check that the flapper lifts and drops without snagging.
When to call a plumber
Most running-toilet faults involve the flapper, the chain or the fill valve, and many homeowners can handle those parts themselves. Call a licensed plumber when you are not comfortable making a repair, or when the fault lies outside those components. According to City of Calgary (2026), if you are not comfortable making repairs, hire a plumber.
Routine six-monthly leak checks
Treat toilet leak checks as routine maintenance rather than a response to a problem. According to City of Calgary (2026), check toilets for leaks at least every six months. Run the colour-based leak test on each toilet at every check.
Repairs to leave to a plumber
Stop and call a plumber if:
- You are not confident with the repair.
- The problem persists after the flapper and chain are correct. A flapper that seals and a chain set to the right length rule out the most common causes, so continued running or leaking points to something else.
- The fault lies in the fill valve, the water level or the supply side beyond simple adjustment. Fill valve work beyond a simple float adjustment is not covered by the Canadian guidance used here, so follow the manufacturer’s instructions or call a plumber.
- Leaks come from the base of the toilet or the supply connection. These are not addressed by flapper or chain work.