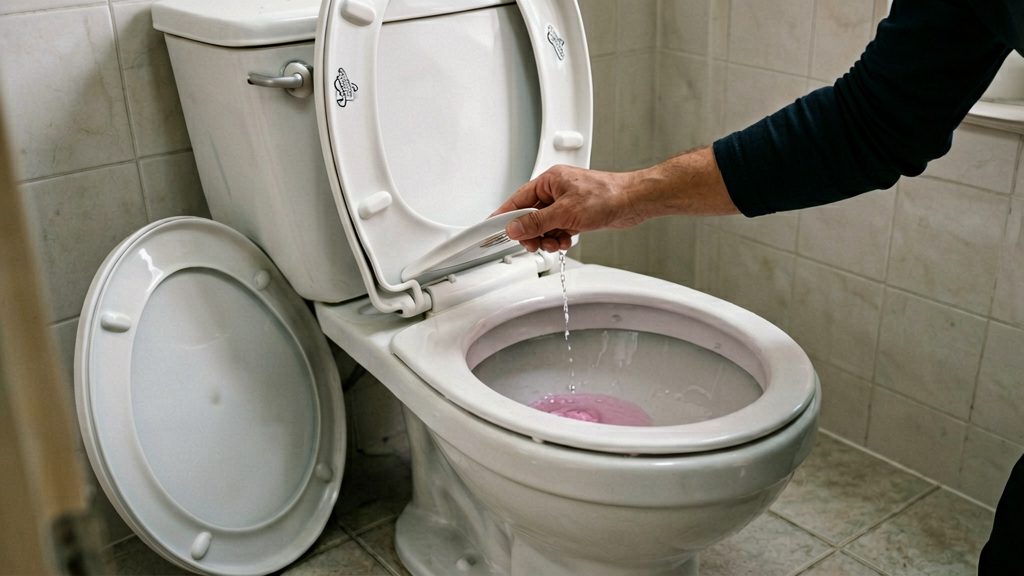
A running toilet almost always means water is escaping the tank, either through the flush valve into the bowl or over the top of the overflow tube, which keeps the fill valve refilling. According to City of Calgary (2026), the most common cause is a worn flapper, the rubber seal over the flush valve opening. Other frequent causes are a kinked or misadjusted chain, a flush handle that needs adjusting, and a water level set too high. Identifying which path the water takes narrows the fault quickly.
Why is my toilet constantly running?
How water moves from the tank to the bowl
When you flush, the flapper lifts and the tank empties into the bowl through the flush valve. The float drops with the water level and opens the fill valve, which refills the tank. When the water reaches its set height, the float closes the fill valve.
A toilet runs continuously in one of two ways. Either the flapper does not seal, so water seeps from the tank into the bowl, or the tank level never reaches the shut-off point, so the fill valve keeps supplying water and the excess drains away.
Common causes
| Cause | What happens | Typical sign |
|---|---|---|
| Worn flapper (most common) | Water seeps past the seal into the bowl | Flapper leaves rubber streaks on a finger, or has gone from soft to hard (City of Calgary, 2026) |
| Kinked or misadjusted chain | Chain holds the flapper partly open or prevents it from closing fully | Flapper does not sit flat when the tank is full |
| Flush handle needing adjustment | Handle stays partly down and holds the flapper open | Handle springs back slowly or sticks |
| Water level too high | Water spills into the overflow tube | Water runs into the overflow tube and the fill valve keeps filling |
Check the chain first, since a flapper that is not sealing may simply need more slack.
Overflow tube and why excess water spills
The overflow tube is a vertical pipe inside the tank that drains into the bowl if the water rises above its top edge. It acts as a safety outlet. If the float is set too high, water pours down the tube continuously, so the fill valve never shuts off.
The tank water level should sit about 1.5-2.5 cm below the top of the overflow tube, according to City of Calgary (2026). Family Handyman (2026), a US source, gives 1/2 to 1 inch (about 1.3-2.5 cm), which is roughly the same range. The refill tube should discharge no deeper than 5 cm into the overflow tube (City of Calgary, 2026).
Quick checks before you touch anything
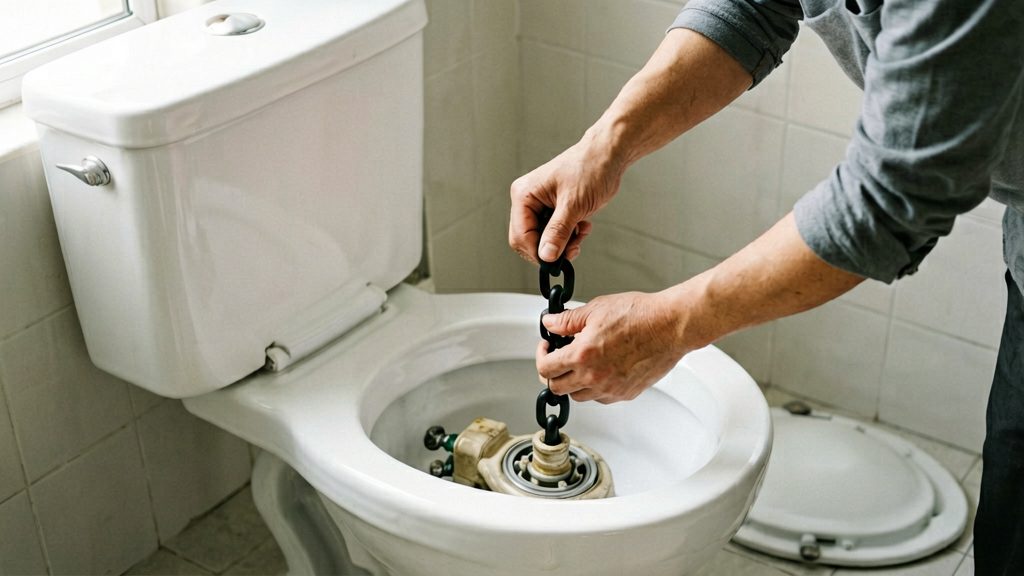
Start with three checks that need no tools and change nothing in the tank. Listen first, then test the handle, then find the shut-off valve so you can stop the water if you need to open the tank.
Listen for hiss or trickle. With the toilet idle, stand still for a minute and listen near the tank. A steady hiss usually means water is passing through a valve and the tank is refilling. A trickle that continues after the tank has filled points to water escaping into the bowl. Neither sound tells you on its own which part is at fault. The fill valve and the flapper are covered in their own sections.
Check the flush handle and lever return. Press the handle down and let go. It should spring back to its resting position without sticking. A handle that stays partly down, sits loose, or feels stiff can hold the flapper slightly open. According to City of Calgary (2026), a flush handle that needs adjusting or replacing is one of the common causes of a running toilet. Look at the lever arm inside the tank as well: it should move freely and lift the flapper cleanly when you flush.
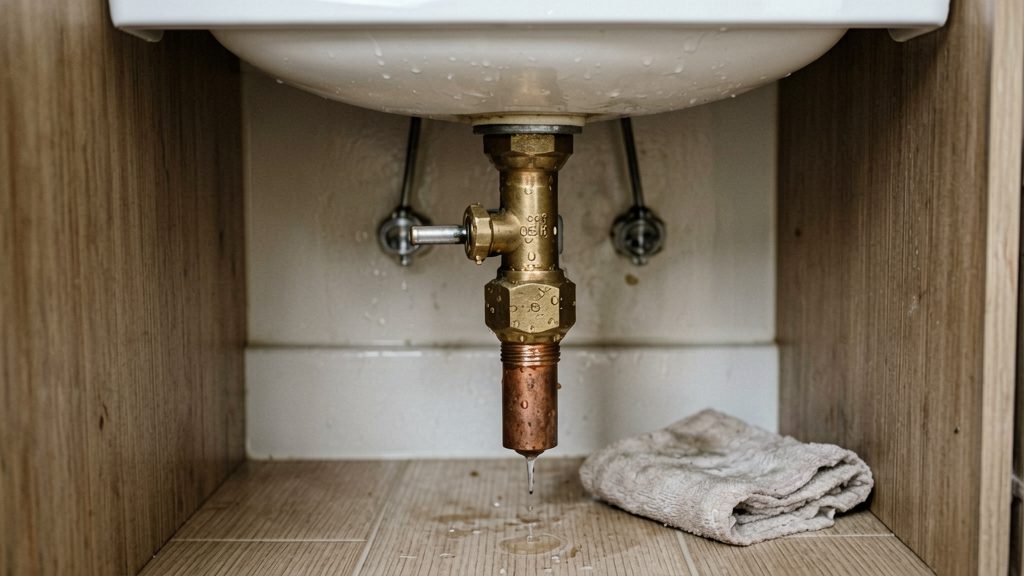
Locate the shut-off valve behind the toilet. The valve sits on the supply pipe that feeds the tank, usually on the wall or floor directly behind or beside the toilet. Turn it clockwise to close it. Turn it gently and stop if it resists, because a valve forced into a seized position can leak or break. If it will not close fully, do not force it. Contact a licensed plumber to replace it, and use the main shut-off for the building in the meantime.
Is the flapper the culprit?
The flapper’s condition and fit show whether it is sealing, so you can judge it before replacing anything. Check the flapper itself first, then the chain, then the seal on dual-flush models.
Signs the flapper is worn
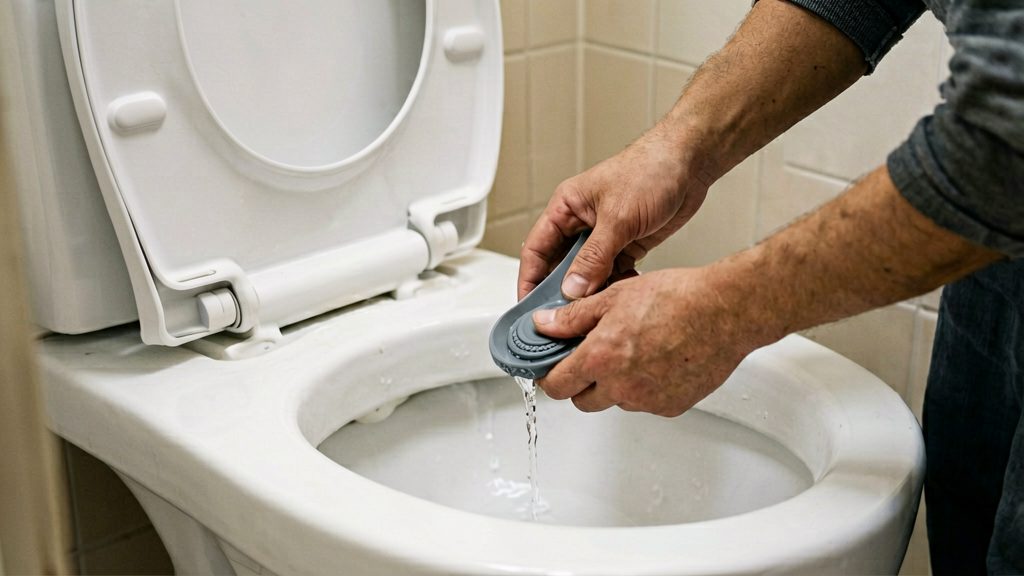
- Rubber streaks: Rub a finger across the flapper’s sealing face. If it leaves rubber residue, the surface has broken down and should be replaced (City of Calgary, 2026).
- Hardening: A flapper that has gone from soft to hard no longer conforms to the valve seat, so it lets water through (City of Calgary, 2026).
- Push test: While the toilet is running, push the flapper down with a stick. If the water stops, the flapper is not sealing (Family Handyman, 2026).
If the flapper shows any of these signs, it is the likely leak source. If the push test does not stop the water, look at the seat it sits on and the chain before buying parts.
Chain length and kinks
The chain links the flush handle to the flapper, and its length affects how the flapper seats. City of Calgary (2026) lists a kinked or misadjusted chain as a separate cause of running water. When the flapper is closed, the chain should have a little chain slack, so it does not pull the flapper partly open. A chain that is too short holds the flapper up. A kinked chain can catch under the flapper and stop it closing fully.
Dual-flush canister seal
On dual-flush toilets, the flapper equivalent is the flush valve seal at the base of the centre canister. City of Calgary (2026) names a worn flush valve seal as the usual culprit on these models. Inspect it in the same way: look for hardening or wear, and confirm the canister sits squarely over its opening.
Check the product label or the manufacturer’s instructions before buying a replacement.
Is the fill valve or float set too high?
The water level in the tank decides whether the toilet keeps running. If the level sits too high, water spills into the overflow tube and drains back into the bowl, so the fill valve never shuts off. Checking the level and the float is the fastest way to tell an overfilling tank apart from a faulty fill valve.
Start by lifting the lid and looking at the water line. Compare it with the top of the overflow tube, the tall vertical pipe in the centre of the tank. If the water is at or above the rim, the level needs lowering.
Lowering the water level
On most toilets, the float is a ball or cup attached to a metal or plastic rod. The float rises with the water and closes the fill valve at the set height. To lower the level:
- Locate the float rod adjusting screw, usually on the top of the fill valve or on the arm connecting the float to the valve.
- Turn the screw clockwise to lower the water level. Make small turns, then flush and check the new level.
Checking the refill tube
The refill tube is the thin plastic hose that feeds water into the overflow tube and refills the bowl after a flush. It should reach no deeper than 5 cm into the overflow tube. If it sits lower, water keeps flowing through the overflow even when the level is correct, so reposition the hose so it clips to the overflow tube at the proper depth.
Testing the float and fill valve
Lift the float arm by hand while the tank is filling. If the water stops, the fill valve works but the float is set too high, so adjust the float height as described above. If the water keeps running even when the float is lifted, the fill valve is faulty and needs replacing. A waterlogged float that sinks or feels heavy also needs replacing, as it will not rise high enough to shut the valve off.
How do I do a dye test for a silent leak?
A dye test shows whether water is slipping from the tank into the bowl without a flush, which can make a toilet run silently. Put colouring in the tank, wait, then check the bowl. Cities give different waiting times, so allow the longer window for the most reliable result.
Adding the dye
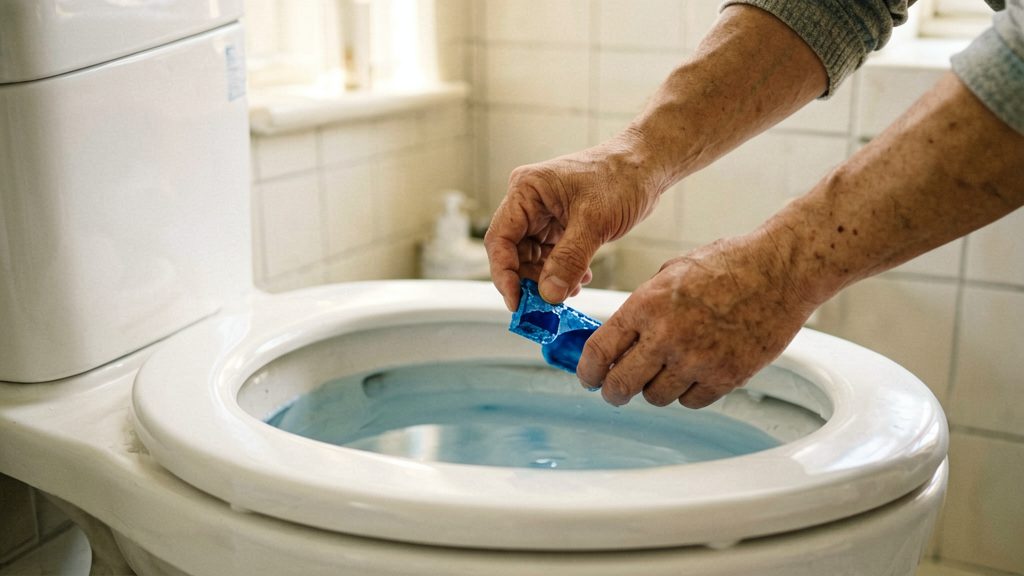
Lift the tank lid and add several drops of food colouring, or drop in a dye tablet. Calgary also accepts coffee or tea if you have no colouring on hand. Replace the lid and leave the toilet alone.
Choosing the wait time
The waiting period differs by city. According to City of Toronto (2026), 10-15 minutes is enough. According to City of Calgary (2026), you should wait 15-20 minutes. Check the bowl at the shorter time, and if it is still clear, wait until the longer time before concluding that there is no leak. This is a practical approach, since the two cities’ figures do not fully agree.
Reading the result
If colour appears in the bowl, the flush valve is leaking. Calgary (2026) frames the result this way, and Toronto (2026) describes it more broadly: colour seeping into the bowl means the toilet is leaking.
If the bowl stays clear for the full wait, the test does not show a leak through the flush valve. It does not rule out water spilling into the overflow tube, so check the water level and run the meter test before assuming the toilet is sound.
How to replace a flapper or fill valve
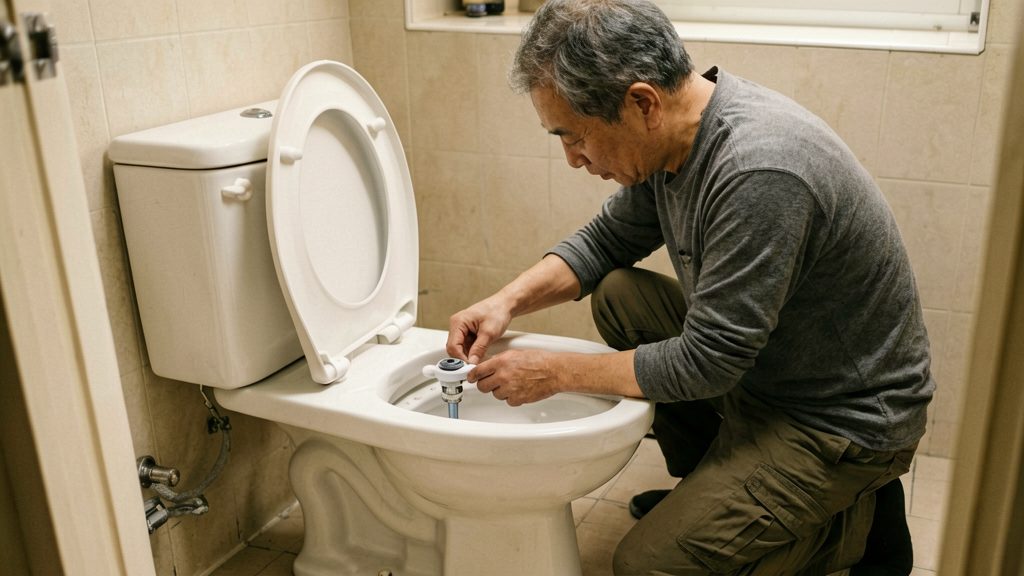
Replacing either part follows a fixed order: stop the water, empty the tank, fit the new part, then restore the water and test the repair.
- Shut off the water at the toilet’s supply valve, then flush to empty the tank.
- Before you remove the old flapper, note its chain length. Fit the new flapper with the chain at that same length.
- Compare the new flapper with the old one before installing it, and check the product label or the toilet manufacturer’s instructions to confirm it suits your model.
- Clean the valve seat, the ring the flapper sits on, and sand it smooth with fine sandpaper. Wipe away the dust so the new flapper can seal flat.
- Turn the water back on, let the tank refill, and repeat the dye test as described by City of Calgary (2026).
When replacing a fill valve, Family Handyman (2026) advises tightening the locknut about a half turn past hand tight.
What does a running toilet cost you?
A running toilet can waste far more water than most owners expect, and the loss continues every hour until it is fixed. City of Toronto (2026) says a leaky toilet can waste up to about 20 cubic metres (20,000 litres) a day, at a cost of $97.26 a day. That is a worst-case figure; other municipal guides give much lower figures (for example up to 750 litres a day, or up to 200,000 litres a year in Ottawa, both seen only in search summaries), so the most useful step is to measure your own toilet’s loss.
Measuring the loss on your meter
Your water meter can show the loss directly:
- Turn off every tap, shower, and appliance that uses water, and make sure nobody in the house uses water during the test.
- Find the meter’s flow indicator (often a small dial or triangle) and check whether it moves. Movement with everything off means water is passing through the system.
- Record the meter reading, wait one hour, and record it again.
- Subtract the first reading from the second. The difference is the volume lost in one hour.
Convert the result to litres if your meter reads in cubic metres (1 cubic metre = 1,000 litres), then scale it up with simple arithmetic:
| Period | Calculation |
|---|---|
| Per day | hourly loss × 24 |
| Per week | daily loss × 7 |
| Per month | daily loss × 30 |
| Per year | daily loss × 365 |
Multiply the daily figure by your local water rate to estimate the cost. Check your water bill or your utility’s published tariff for that rate, as it varies by area.
Replacement parts and ongoing waste
The parts that usually cause a running toilet are inexpensive. Family Handyman (2026) rates a fill valve replacement as a beginner job that takes an hour or less and costs under US$20, though that is a US price and you should check local prices for your region and for the flapper and fill valve parts for your toilet’s brand.
Waste does not stop at one day’s loss. Each week the leak continues adds to the total, so a small leak left for a month can cost more than a part that would have fixed it on day one. Calgary (2026) recommends checking toilets for leaks at least every six months, so a meter test during each of those checks gives you an early warning.
When should you call a licensed plumber?
Stop DIY work and call a licensed plumber when a repair falls outside what you’re comfortable handling, when a leak returns after the basic parts are replaced, or when the damage is to the tank, the supply pipes or their fittings. Some of these thresholds are clear-cut; others depend on how the repair goes.
| Situation | Action |
|---|---|
| You are not comfortable adjusting or replacing tank components such as the float, refill tube or flapper | Hire a plumber. City of Calgary (2026) advises this when you are not comfortable making the adjustments. |
| Water still runs after a new flapper is fitted with the chain at the same length and the valve seat is cleaned | Repeat the flapper test. If water still runs with the flapper seated, move on to the fill valve test. |
| The tank still fills or runs after the fill valve is replaced and the float is adjusted | Call a plumber. The problem is likely in the supply or the tank’s internal fittings, which go beyond a basic part swap. |
| The tank is cracked | Shut off the water and call a plumber to assess the damage and whether the tank needs replacing. |
| Pipes are damaged, or fittings are corroded | Shut off the water at the shut-off valve and have a plumber assess the damage and repair it. |
Use the persistent leak rule as your cutoff: if a leak continues after the parts you can reach have been checked and replaced, further DIY work is unlikely to fix it, and a plumber can check the parts that are harder to access.