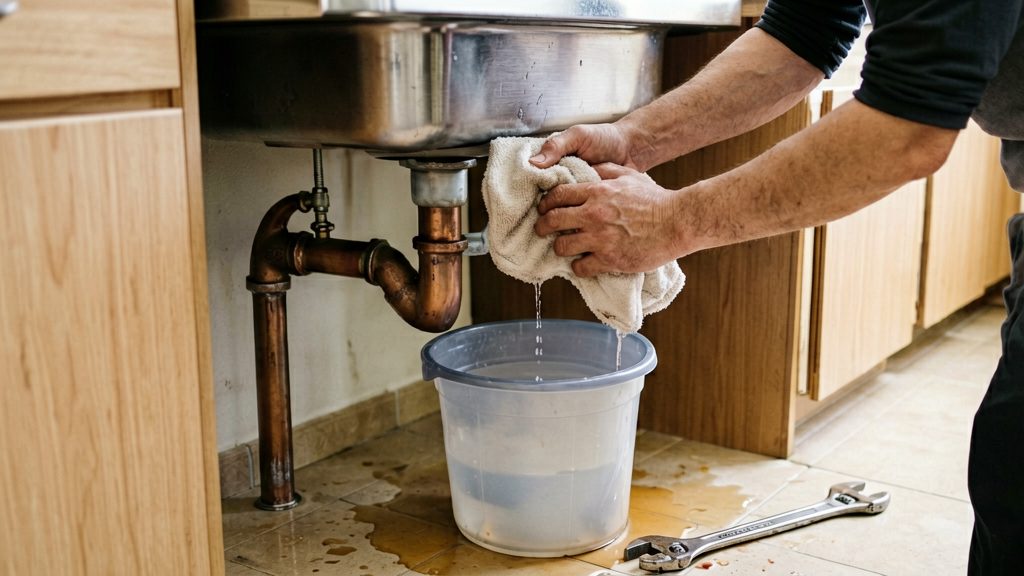
A leaking pipe is an emergency when water is spraying, the pipe has burst, or water is coming through a ceiling. Those situations mean water is entering the building structure, and damage grows while the leak continues. A slow weep at an exposed joint with no stains, sagging or damp materials nearby is less urgent, but a visual check alone cannot rule out a hidden leak. Catch the drip, close the local shut-off valve if there is one, run the meter test described below, and arrange a plumber visit soon. Call right away if it worsens.
Is a leaking pipe an emergency?
Urgency depends on what the water is doing and where it is going:
| Situation | Urgency |
|---|---|
| Burst or spraying pipe | Immediate action |
| Sagging ceiling or active dripping through a ceiling | Immediate call to a plumber |
| Stains, bubbling paint, or a musty smell on a ceiling | Possible hidden or burst pipe: shut off the main valve and call a plumber |
Stains, sagging drywall, bubbling paint, and musty smells can all point to a hidden pipe problem, according to Mr. Rooter Plumbing (2026). The pipe is often not directly above the mark, so the visible damage does not show the full extent of the leak.
The mould window is short. According to Mr. Rooter Plumbing of Toronto (2026), mould can develop within 24 to 48 hours of water exposure. Stopping the water and drying wet materials quickly reduces the chance of mould taking hold.
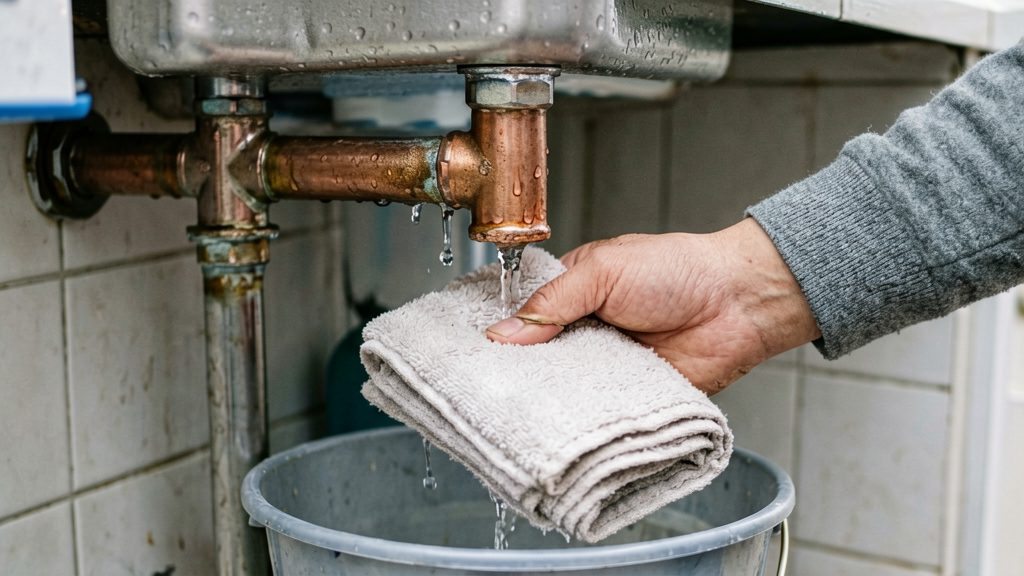
What to do first: shut off the water
Stopping the flow at the main shutoff is the first move in any leak. Once the supply is closed, you can judge the damage and decide whether a repair is safe. According to Mr. Rooter Plumbing (2026), the steps before a plumber arrives are to shut off the main water valve, turn off power or gas to the water heater if needed, photograph or video the damage, move valuables, and clear access.
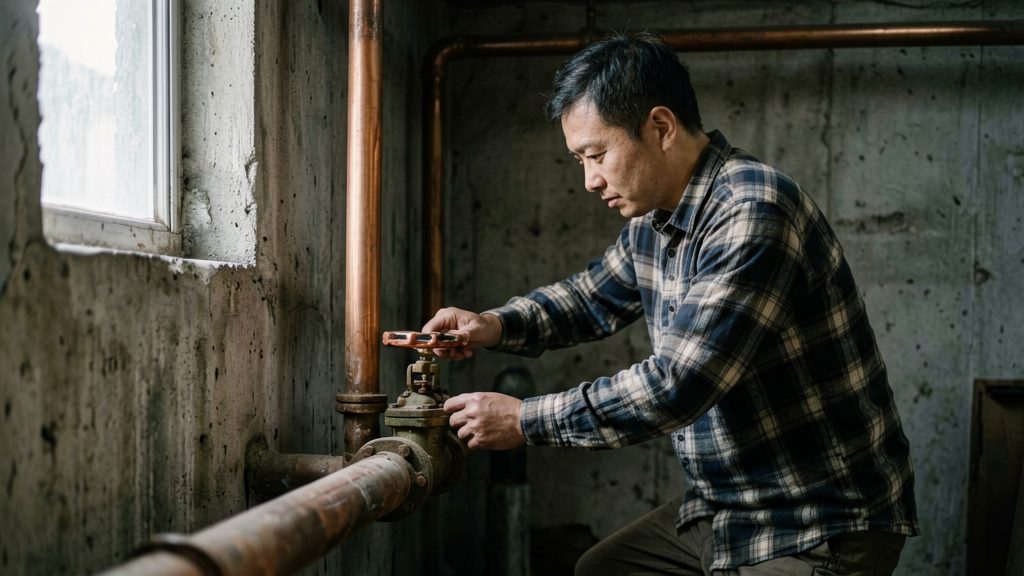
Locate and close the main shutoff valve
Every household member should know where the main shutoff valve is, since a leak can happen when no one who usually handles the house is present. It is commonly found where the water line enters the home, such as a basement, utility room, or near the water meter. Turn a round handle clockwise until it stops, or turn a lever handle a quarter turn so it sits across the pipe. Do not force a valve that resists; if it will not close, call a plumber.
Switch off the water heater if needed
If water is spraying from or around the tank, or the leak is near the heater’s controls, cut its power supply before anything else. For an electric unit, switch off its breaker at the panel. For a gas unit, follow the control instructions on the appliance label and the gas supplier’s guidance; beyond that, leave gas equipment to a licensed professional.
Photograph the damage and protect belongings
Before you mop, move, or tear anything out, take photos or video of the wet areas, the source of the leak, and any stained ceilings or walls. This record is useful for the plumber and for any claim you later make. Then move valuables, electronics, rugs, and documents away from the water, and clear a path to the leak so the plumber can reach it.
Leaks you can fix yourself
According to Mr. Rooter Plumbing (Edmonton) (2026), a small leak such as a leaky faucet can be a DIY job for an experienced homeowner. The repairs below cover the most common cases. Before you start any of them, close the local isolation valve under the sink, or turn off the water supply to the fixture, and open the tap to drain the remaining water.
Faucet washers, cartridges and O-rings
Most dripping taps leak because a worn washer or cartridge lets water pass when the tap is closed. A worn O-ring around the stem can cause leaks at the base of the handle instead.
- Remove the handle, usually after taking off a decorative cap and a retaining screw.
- Unscrew the stem or cartridge retainer and lift out the old part.
- Compare the old part with its replacement. Match the brand, model and size, since fittings are not interchangeable.
- Fit the new washer, O-ring or cartridge, lubricate O-rings with plumber’s grease, and reassemble.
- Open the isolation valve slowly and check for drips.
Loose compression fittings under the sink
A drip at the compression nut where the supply line meets the tap or shut-off valve is often fixed by a small additional turn. Hold the valve body steady with one wrench and tighten the nut with a second, adjustable wrench, turning in small increments.
Toilet flapper and fill valve
A running toilet is usually caused by the flapper, the rubber seal at the bottom of the tank, or by the fill valve, which keeps refilling the tank.
- Flapper: Check that the chain has a small amount of slack when the flapper is closed. If the chain is too tight, the flapper cannot seal. If the flapper is warped, cracked or stiff, replace it with a model that matches your flush valve.
- Fill valve: Adjust the float so the water stops filling below the top of the overflow tube. Adjustment methods differ between fill valve models, so follow the manufacturer’s instructions.
Signs of a hidden leak
Water can escape through a pipe well before a puddle or stain appears. Three signs point to this: a water meter that moves while nothing is running, a water bill that rises without explanation, and changes to floors and paint such as soft spots, warped boards or peeling paint.
Meter movement with everything off
The water meter is the most direct test. Turn off every tap, the washing machine, the dishwasher and any other appliance that draws water. Note the reading or the position of the meter’s leak indicator, wait, and check again. According to Mr. Rooter of Toronto (2026), a meter that keeps moving with everything off indicates a hidden leak. If the meter keeps moving with everything off, a hidden leak is likely. If it is still moving after 30 minutes with nothing running, call a plumber soon.
Unexplained rise in the water bill
A bill that climbs without a change in how the household uses water is worth investigating. Compare it with bills from the same months in earlier years, since normal use varies with the season. An unexplained rise is one of the signs of a hidden leak listed by Mr. Rooter of Toronto (2026). If the rise persists after you have checked for running fixtures, have a plumber check the supply lines.
Soft spots, warped floors and peeling paint
Water that soaks into materials out of view can change what you see and feel at floor and wall level. Look for:
- Soft or spongy spots underfoot
- Floorboards or tiles that have warped, lifted or buckled
- Paint or wallpaper that bubbles, flakes or peels
According to Mr. Rooter of Toronto (2026), soft spots, peeling paint and warped floors are signs of a hidden leak. If these changes are new, or appear near a pipe run, call a plumber.
When should I call a licensed plumber?
Call a licensed plumber when a leak or pipe fault goes beyond a small, contained repair. Three situations mean you should stop and call a professional:
- Main shutoff that will not close: According to Mr. Rooter Plumbing (Edmonton) (2026), if you cannot shut off the main water valve, call a plumber. If it is stuck, do not keep working on it alone.
- Pipes sputtering after the water is back on: Mr. Rooter Plumbing (Edmonton) (2026) also advises calling a plumber if the pipes keep sputtering after the water is turned back on. Repeated sputtering after a shutoff points to a fault in the system that you cannot diagnose from the faucet alone.
- A leak that continues after your repair: If a leak still runs after you have tightened a connection, replaced a washer, or renewed a seal, the cause is probably elsewhere or the repair did not address it. Stop further attempts and have a licensed plumber check the connection. Repeated failed fixes can also make the eventual repair more complicated.
Licensing rules differ by province and territory, including which work is restricted to licensed trades, so check with your provincial regulator or municipality before doing work you are unsure about. If insurance coverage matters, confirm with your insurer before carrying out repairs yourself.
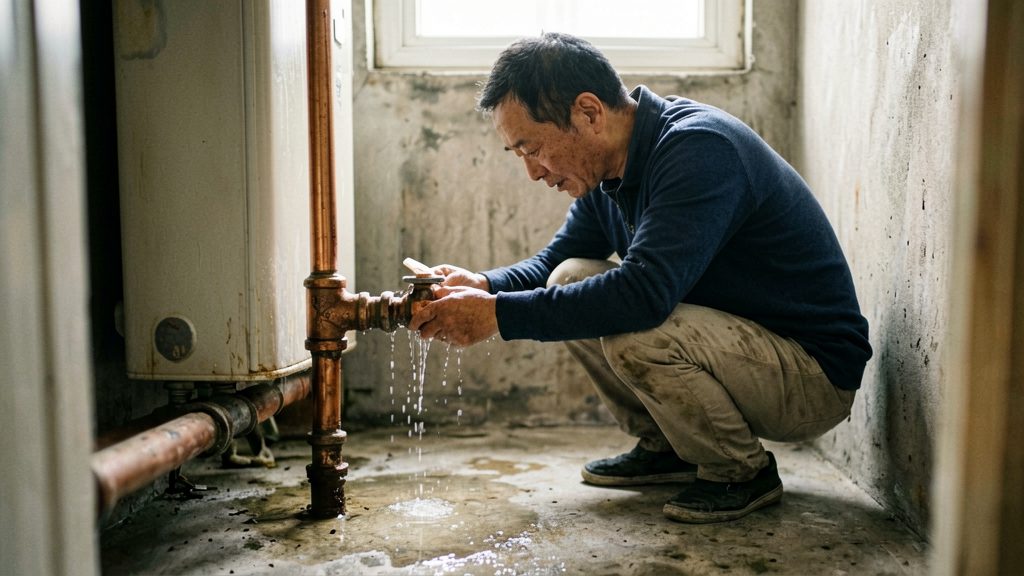
Leaks that always need a pro
Some leaks sit where a homeowner or tenant cannot safely reach, test or repair them. Three cases stand out: buried outdoor lines, leaks hidden inside walls or under floors, and pipes beyond your property line. In each case the repair involves digging, opening the structure or work on a line you do not own, so a licensed plumber is the appropriate route.
Buried outdoor sewer and water lines
According to Mr. Rooter Plumbing (Edmonton) (2026), buried outdoor sewer and water lines are complex and risky to dig up. Excavating a suspected leak yourself therefore carries more risk than a surface repair. Have a plumber locate and assess the leak before any digging starts.
Leaks inside walls or under floors
Leaks inside walls or under floors usually require tearing into the structure, which is why they are treated as professional work (Mr. Rooter Plumbing (Edmonton), 2026). Reaching the pipe means opening drywall, flooring or subfloor, which changes the scope of the job well beyond a tap or fitting repair.
Pipes beyond your property line
According to the same source, lines beyond your property line belong to the municipality, so leaks there are not DIY repairs (Mr. Rooter Plumbing (Edmonton), 2026). Confirm who pays for or carries out the repair on these municipality-owned pipes before assuming it is yours.
Does licensing affect insurance?
A plumber’s license can affect an insurance claim, but your policy wording and your insurer’s own rules decide how much. Some policies may require work by a licensed plumber, and a claim could be affected if they do not. This is not confirmed for every policy, so check the wording and ask your insurer before the work.
What to ask your insurer
Ask in writing whether the policy requires work by a licensed contractor, and whether the insurer needs a written repair report. Keep the reply with your policy documents.
Itemized invoices and written repair reports
Ask for an itemized invoice that shows:
- the date of the work and the property address
- the failed part and the location of the leak
- the materials used, such as copper, PEX, or PVC fittings
- labour and parts charged separately
- the plumber’s name, business name, and license number
A written repair report should describe what failed, what caused it, and what was done. Keep copies of the invoice, the report, and any photos or notes from before the repair.
Checking a plumber’s license
Look up the plumber with the licensing body or regulator for your province or territory, or with your municipality. Rules differ across Canada, so confirm which work requires a licensed tradesperson where you live. Search by name or license number, then confirm the license is current and matches the business name on the invoice. If the search finds nothing, ask the plumber for the license number in writing and verify it with the board directly, not through a link the plumber provides.
Prevent leaks before they start
Routine checks catch loose or ageing connections before water reaches a cabinet floor or ceiling. Three tasks cover most of the work: inspecting visible fittings, replacing supply hoses before they fail, and insulating exposed pipes in cold spaces.
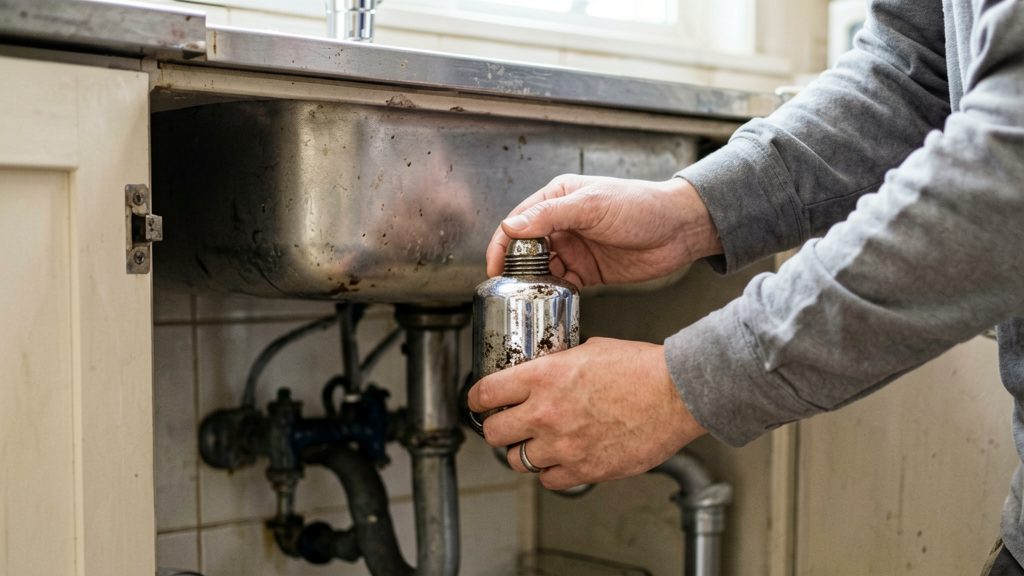
Inspect visible connections and under-sink fittings
Check the connections under sinks and behind toilets every few months, and after any repair. Dry the area first, because a small drip is easier to spot on a dry surface.
- Remove items from the cabinet and wipe every joint dry.
- Place a dry paper towel or tissue around each joint.
- Run the tap and let the drain run for a few minutes, then check the towel.
Look for wet patches, white or green mineral crust, and discoloured or soft wood on the cabinet base. Mould can start to develop within 24 to 48 hours of water exposure according to Mr. Rooter of Toronto (2026), so dry any damp area quickly.
| Checkpoint | What to look for | Action |
|---|---|---|
| Supply hose nuts | Drips or crust at the nut | Snug the nut a fraction of a turn |
| Drain trap joints | Slow drips or a sour smell | Hand-tighten the slip nuts and check the trap washers |
| Pipe walls | Hairline cracks, bulges or corrosion | Get a plumber to assess before attempting a repair |
Replace ageing supply hoses before they fail
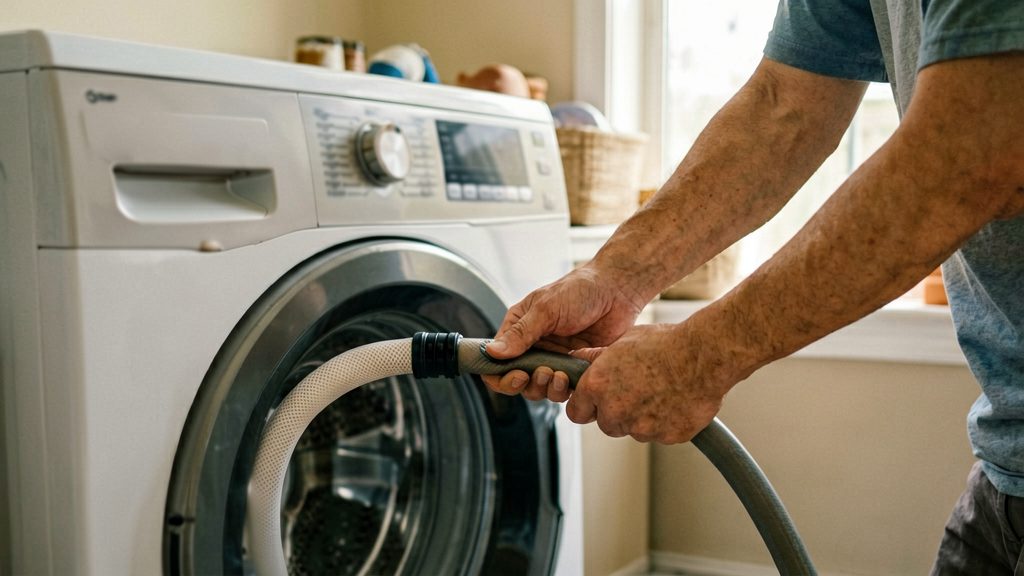
Supply hoses link the tap or toilet to the wall valve. Check the manufacturer’s label or instructions for a recommended replacement interval, and replace a hose sooner if you see bulging, cracking, kinks or rust at the fittings.
To swap a hose:
- Close the shutoff valve under the sink, then open the tap to release the pressure.
- Place a bucket and towel under the connection and unscrew the old hose.
- Fit the new hose with the washer supplied, hand-tighten, then use a wrench for a final snug turn.
- Open the valve slowly and check the joint for drips.
Braided stainless steel hoses are a common replacement for older rubber hoses. Use the length that matches the existing connection so the hose does not kink or stretch.
Insulate exposed pipes against freezing
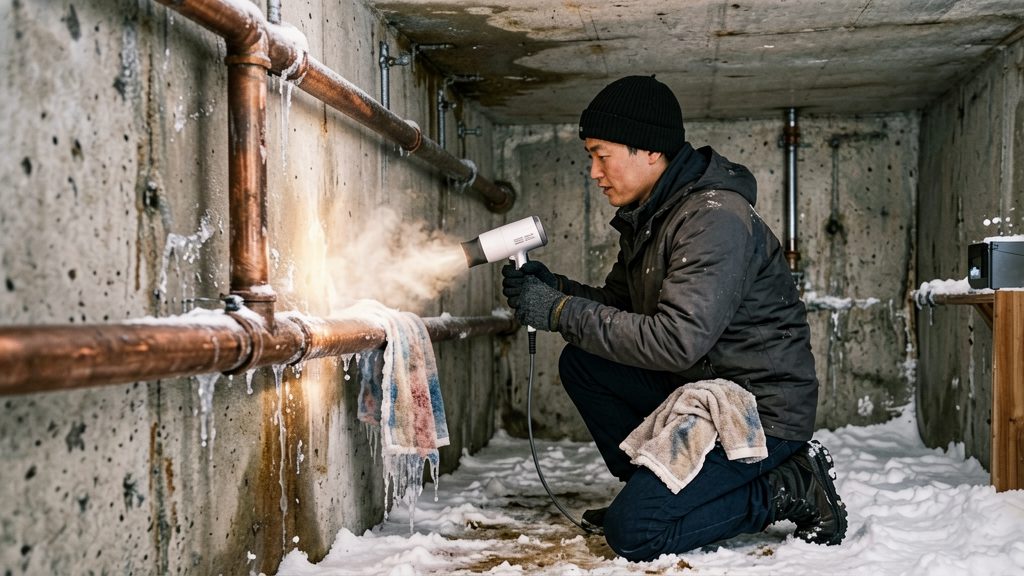
Insulate pipes in unheated areas, such as garages, crawl spaces, attics and against outside walls. Pre-formed foam pipe sleeves are a simple option for straight runs, and wrap-style insulation suits fittings and bends. Check the product label for the temperature rating and whether it suits the pipe type. Insulation only slows freezing and does not prevent it in severe cold.
Seal gaps where pipes pass through exterior walls or floors with expanding foam or caulk to block cold draughts that reach the pipe. Insulation does not replace heating, so keep the space warm enough for the pipes to stay above freezing.